


 本文介绍了如何在Spring Cloud Eureka中设置Zone和Region,通过示例展示了如何配置Eureka Server和Client。还探讨了开启HTTP Basic认证以增强Eureka Server的安全性,包括配置Spring Security并禁用CSRF校验。
2.3 Spring Cloud Eureka 实战
2.3.1 Eureka Zone与Region实战
这里需要创建2个Eureka Server,分为2个Zone,同属于shanghai这个Region。其中Eureka Server的配置文件代码如下:
-
创建Eureka Server工程:
代码清单:ch2_2/ch2_2_eureka_server_1/src/main/resources/application.yml
spring:
  application:
    name: spring-cloud-eureka-1
server:
  port: 8761
eureka:
  instance:
    hostname: localhost
    metadata-map:
      zone: zone-1
  client:
    register-with-eureka: false
    fetch-registry: false
    prefer-same-zone-eureka: true
    region: shanghai
    availability-zones:
      shanghai: zone-1, zone-2
    service-url:
      zone-1: http://localhost:8761/eureka/
      zone-2: http://localhost:8762/eureka/
  server:
    enable-self-preservation: false
    wait-time-in-ms-when-sync-empty: 0
代码清单:ch2_2/ch_2_eureka_server_2/src/main/resources/application.yml
spring: application: name: spring-cloud-eureka-2 server: port: 8762 eureka: instance: hostname: localhost metadata-map: zone: zone-2 client: register-with-eureka: false fetch-registry: false prefer-same-zone-eureka: true region: shanghai availability-zones: shanghai: zone-1, zone-2 service-url: zone-1: http://localhost:8761/eureka/ zone-2: http://localhost:8762/eureka/ server: enable-self-preservation: false wait-time-in-ms-when-sync-empty: 0- eureka.client.prefer-same-zone-eureka:为true优先选择client实例所在的zone的服务
- eureka.client.region:标识当前所属region
- eureka.client.availability-zones:当前可用的Zones
- eureka.client.service-url:这里需要分开Zone做配置
再创建2个Eureka Client端,分别属于Zone1和Zone2中,如下:
-
创建Eureka Client工程
代码清单:ch2_2/ch2_2_eureka_client_1/src/main/resources/application.yml
server:
  port: 8080
spring:
  application:
    name: spring-cloud-eureka-client
eureka:
  instance:
    prefer-ip-address: true
    metadata-map:
      zone: zone-1
  client:
    prefer-same-zone-eureka: true
    region: shanghai
    availability-zones:
      shanghai: zone-1, zone-2
    service-url:
      zone-1: http://localhost:8761/eureka/
      zone-2: http://localhost:8762/eureka/
代码清单:ch2_2/ch2_2_eureka_client_1/src/main/resources/application.yml
server:
  port: 8081
spring:
  application:
    name: spring-cloud-eureka-client
eureka:
  instance:
    prefer-ip-address: true
    metadata-map:
      zone: zone-2
  client:
    prefer-same-zone-eureka: true
    region: shanghai
    availability-zones:
      shanghai: zone-1, zone-2
    service-url:
      zone-1: http://localhost:8761/eureka/
      zone-2: http://localhost:8762/eureka/
在Eureka Client端添加一个HelloController.java,用作后续测试:
代码清单:ch2_2/ch2_2_eureka_client_1/src/main/java/com/springcloud/book/ch2_2_eureka_client_1/controller/HelloController.java
package com.springcloud.book.ch2_2_eureka_client_2.controller;

import org.springframework.web.bind.annotation.GetMapping;
import org.springframework.web.bind.annotation.RestController;

/**
* @Date: 2019/7/24 9:28
* @Version: 1.0
* @Desc:
*/
@RestController
public class HelloController {

    @GetMapping("/hello")
    public String hi() {
        return "Hello, this is Zone-1";
    }
}
代码清单:ch2_2/ch2_2_eureka_client_2/src/main/java/com/springcloud/book/ch2_2_eureka_client_2/controller/HelloController.java
package com.springcloud.book.ch2_2_eureka_client_2.controller;

import org.springframework.web.bind.annotation.GetMapping;
import org.springframework.web.bind.annotation.RestController;

/**
* @Date: 2019/7/24 9:28
* @Version: 1.0
* @Desc:
*/
@RestController
public class HelloController {

    @GetMapping("/hello")
    public String hi() {
        return "Hello, this is Zone-2";
    }
}
以上,我们在Eureka Client端提供了一个Hello方法,顺次启动2个Eureka Server和2个Eureka Client后,在浏览器分别访问http://localhost:8080/hello和http://localhost:8081/hello,浏览器可以正常显示Hello, this is Zone-1和Hello, this is Zone-2,证明Eureka Client可以正常提供hello服务。
-
创建consumer工程
项目依赖pom.xml
代码清单:ch2_2/ch2_2_eureka_consumer/pom.xml
<?xml version="1.0" encoding="UTF-8"?> <project xmlns="http://maven.apache.org/POM/4.0.0" xmlns:xsi="http://www.w3.org/2001/XMLSchema-instance" xsi:schemaLocation="http://maven.apache.org/POM/4.0.0 http://maven.apache.org/xsd/maven-4.0.0.xsd"> <modelVersion>4.0.0</modelVersion> <parent> <artifactId>ch2_2</artifactId> <groupId>com.springcloud.book</groupId> <version>0.0.1-SNAPSHOT</version> <relativePath>../pom.xml</relativePath> </parent> <artifactId>ch2_2_eureka_consumer</artifactId> <version>0.0.1-SNAPSHOT</version> <name>ch2_2_eureka_consumer</name> <description>ch2_2_eureka_consumer</description> <properties> <project.build.sourceEncoding>UTF-8</project.build.sourceEncoding> <project.reporting.outputEncoding>UTF-8</project.reporting.outputEncoding> <java.version>1.8</java.version> </properties> <dependencies> <dependency> <groupId>org.springframework.boot</groupId> <artifactId>spring-boot-starter-web</artifactId> </dependency> <dependency> <groupId>org.springframework.cloud</groupId> <artifactId>spring-cloud-starter-netflix-eureka-client</artifactId> </dependency> <dependency> <groupId>org.springframework.cloud</groupId> <artifactId>spring-cloud-starter-openfeign</artifactId> </dependency> </dependencies> <build> <plugins> <plugin> <groupId>org.springframework.boot</groupId> <artifactId>spring-boot-maven-plugin</artifactId> </plugin> </plugins> </build> </project>- openfeign:声明式Web Service客户端,后面会详细介绍。
配置文件:
代码清单:ch2_2/ch2_2_eureka_consumer/src/main/resources/application.yml
spring:
  application:
    name: spring-cloud-eureka-consumer
server:
  port: 8000
eureka:
  instance:
    prefer-ip-address: true
    metadata-map:
      zone: zone-1
  client:
    register-with-eureka: true
    fetch-registry: true
    prefer-same-zone-eureka: true
    region: shanghai
    availability-zones:
      shanghai: zone-1,zone-2
    service-url:
      zone-1: http://localhost:8761/eureka/
      zone-2: http://localhost:8762/eureka/
创建HelloRemote.java
代码清单:ch2_2/ch2_2_eureka_consumer/src/main/java/com/springcloud/book/ch2_2_eureka_consumer/remote/HelloRemote.java
package com.springcloud.book.ch2_2_eureka_consumer.remote;

import org.springframework.cloud.openfeign.FeignClient;
import org.springframework.web.bind.annotation.RequestMapping;

/**
* @Date: 2019/7/24 10:37
* @Version: 1.0
* @Desc:
*/
@FeignClient(name= "spring-cloud-eureka-client")
public interface HelloRemote {

    @RequestMapping(value = "/hello")
    String hello();

}
创建HelloController.java
代码清单:ch2_2/ch2_2_eureka_consumer/src/main/java/com/springcloud/book/ch2_2_eureka_consumer/controller/HelloController.java
package com.springcloud.book.ch2_2_eureka_consumer.controller;

import com.springcloud.book.ch2_2_eureka_consumer.remote.HelloRemote;
import org.springframework.beans.factory.annotation.Autowired;
import org.springframework.web.bind.annotation.RequestMapping;
import org.springframework.web.bind.annotation.RestController;

/**
* @Date: 2019/7/24 10:40
* @Version: 1.0
* @Desc:
*/
@RestController
public class HelloController {

    @Autowired
    HelloRemote helloRemote;

    @RequestMapping("/hello")
    public String index() {
        return helloRemote.hello();
    }
}
到这里,整个测试样例已经构建完成,现在可以顺次启动Eureka Server、Eureka Client、Consumer。
首先在浏览器中访问:http://localhost:8000/hello ,页面正常返回Hello, this is Zone-1,刷新多次后,并无变化,说明消费者消费就近原则,消费Zone-1成功,并不会消费到Zone-2中,这时,我们停止Eureka Client1的服务,再去刷新浏览器http://localhost:8000/hello ,这时可以看到,页面跳转到500,并且刷新有等待时间,这是Eureka的本地缓存,稍等一会后,等缓存过期,再次刷新浏览器,可以看到页面返回Hello, this is Zone-2,证明,我们的服务已经转到Zone-2中了,测试成功。
2.3.2 开启HTTP Basic认证
在生产环境中,往往需要考虑安全问题,Eureka Server对外暴露的REST API,如果没有安全验证,是一件非常危险的事情,任何人都可以通过Eureka Server的REST API随意更改服务的注册信息,造成服务异常,这里我们可以集成Spring Security来对Eureka Server做访问权限控制,只有验证通过的客户端才能在Eureka Server正常的注册、修改、注销服务实例。
-
创建Eureka Server
工程依赖增加
spring-boot-starter-security,pom.xml如下:代码清单:ch2_3/ch2_3_eureka_server/pom.xml
<dependency>
    <groupId>org.springframework.boot</groupId>
    <artifactId>spring-boot-starter-security</artifactId>
</dependency>
由于篇幅原因,这里仅展示新增部分,更多详细内容可以访问Github仓库。
配置文件如下:
代码清单:ch2_3/ch2_3_eureka_server/src/main/resources/application-security.yml
server: port: 8761 eureka: instance: hostname: localhost client: register-with-eureka: false fetch-registry: false service-url: defaultZone: http://${eureka.instance.hostname}:${server.port}/eureka/ server: enable-self-preservation: false wait-time-in-ms-when-sync-empty: 0 spring: security: user: name: admin password: 809d3ffb-6860-45a7-b395-123e26af8e42spring.security.user.name:security用户名spring.security.user.password:security密码
由于
spring-boot-starter-security默认开启了CSRF校验,当Spring Security在classpath路径下,它将要求每个客户端请求带上CSRF TOKEN,Eureka Client端通常不会拥有一个有效的CSRF TOKEN。但是没有配置文件的方式禁用,需要自己写Java配置来禁用,代码如下:代码清单:ch2_3/ch2_3_eureka_server/src/main/java/com/springcloud/book/ch2_3_eureka_server_security/config/WebSecurityConfig.java
package com.springcloud.book.ch2_3_eureka_server_security.config;

import org.springframework.security.config.annotation.web.builders.HttpSecurity;
import org.springframework.security.config.annotation.web.configuration.EnableWebSecurity;
import org.springframework.security.config.annotation.web.configuration.WebSecurityConfigurerAdapter;

/**
* @Date: 2019/7/23 14:39
* @Version: 1.0
* @Desc:
*/
@EnableWebSecurity
public class WebSecurityConfig extends WebSecurityConfigurerAdapter {

    @Override
    protected void configure(HttpSecurity http) throws Exception {
        super.configure(http);
        http.csrf().disable().httpBasic();
    }
}
然后启动Eureka Server,打开浏览器访问:http://localhost:8761 ,结果如图2-10所示:
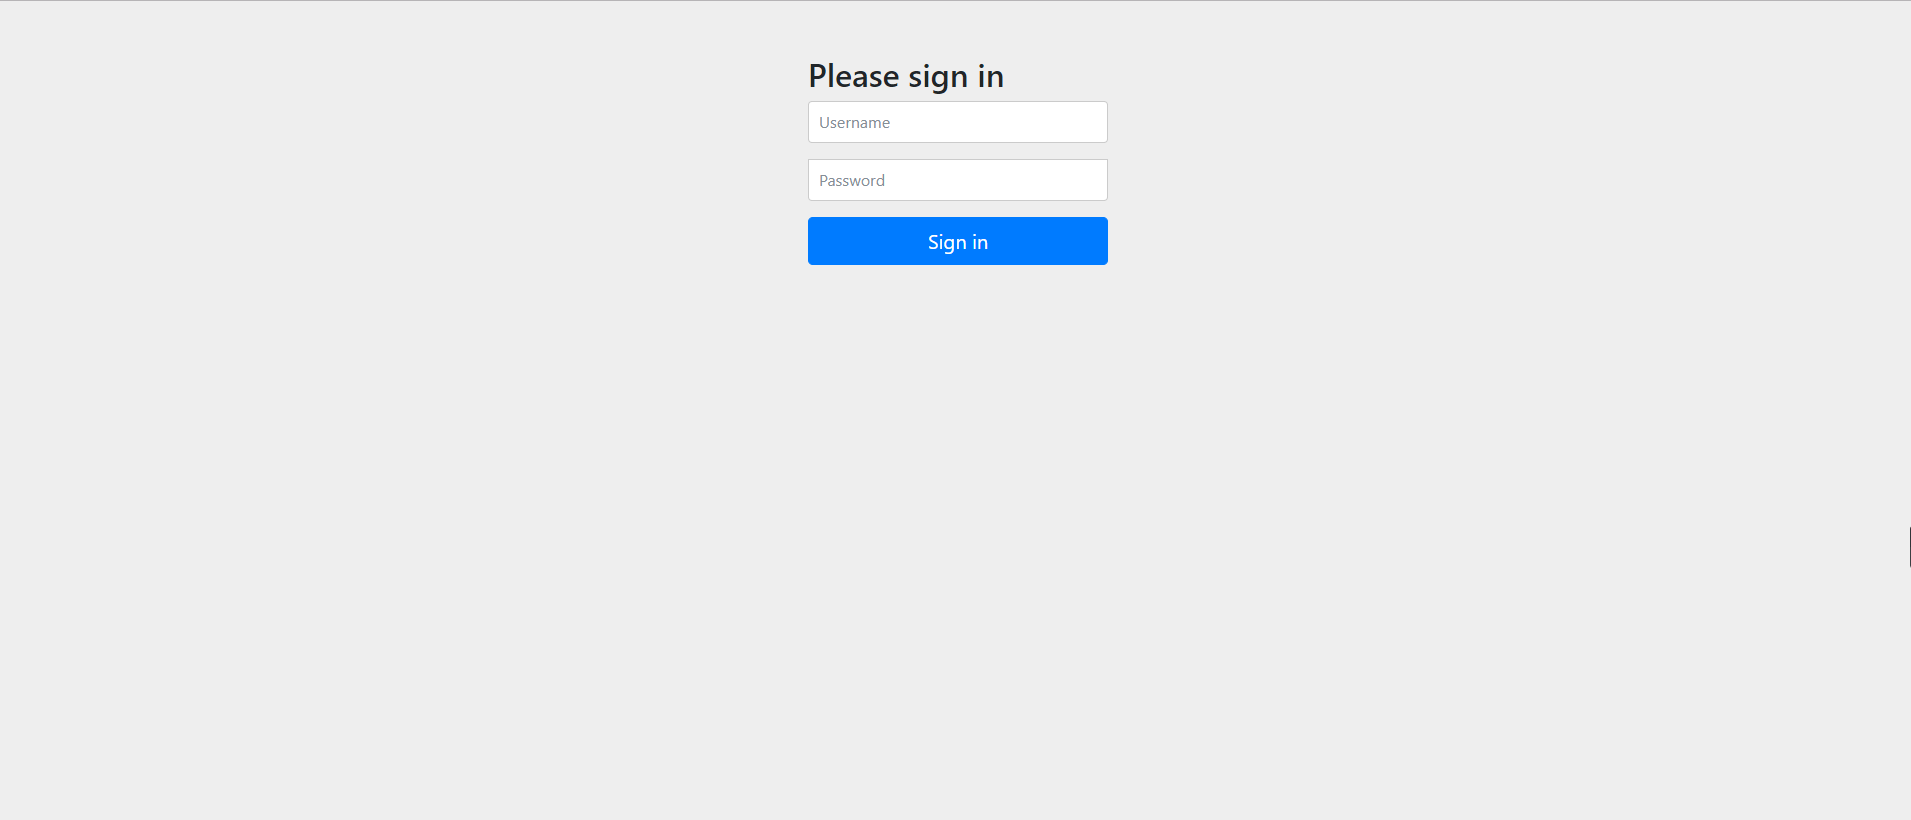
这里需要我们输入刚才在配置文件中配置的用户名和密码才能登录。
-
创建Eureka Client
配置文件:
代码清单:ch2_3/ch2_3_eureka_client/src/main/resources/application.yml
server: port: 8080 spring: application: name: spring-cloud-eureka-client eureka: client: service-url: defaultZone: http://admin:809d3ffb-6860-45a7-b395-123e26af8e42@localhost:8761/eureka/- defaultZone:这里的格式为http://{username}:{password}@localhost:8761/eureka/
启动Eureka Client,看一下Eureka Server的UI,可以看到Eureka Client已经正常注册在Eureka Server上。


 被折叠的 条评论
为什么被折叠?
被折叠的 条评论
为什么被折叠?
 到【灌水乐园】发言


