


 本文详细介绍了Spring框架中如何进行集合类型的注入,包括List、Set、Map及Properties等四种类型的配置方法,并通过具体示例展示了每种集合类型的配置过程。
到目前为止,我们已经学习了如何使用Spring配置简单的属性值(使用value属性)和引用其他bean属性(使用ref属性),但是value和ref仅在bean属性值是单个值的情况下,那么问题来了,如果我要装配的属性是多个值或者说一个集合怎么办。
Spring提供了四种类型的集合配置元素
| 集合元素 | 用途 |
|---|---|
| <list> | 装配list类型的值,允许重复 |
| <set> | 装配set类型的值,不允许重复 |
| <map> | 装配map类型的值,名称和值可以是任意类型 |
| <props> | 装配Properties类型的值,名称和值都必须是String类型 |
我们还是来举例子说明。
装配List集合
我们先声明一个接口,表演者的表演方式
package Hello;

public interface Performer {
    public void perform();
}
接下来,我们在写一个“乐器”类,属性暂时先只有 “乐器的名称” name。
package Hello;

public class Instrument {
  String name;

    public String getName() {
        return name;
    }

    public void setName(String name) {
        this.name = name;
    }
    public  void play(){
        System.out.println("play "+name);
    }
}
然后再写一个“音乐家”的类,实现了“表演者”接口,音乐家有一个“会弹奏的乐器”的集合
package Hello;

import java.util.Collection;

public class Musician  implements Performer{
    private Collection<Instrument> instruments;

    public Collection<Instrument> getInstruments() {
        return instruments;
    }

    public void setInstruments(Collection<Instrument> instruments) {
        this.instruments = instruments;
    }
    @Override
    public void perform() {
        for (Instrument instrument: instruments) {
            instrument.play();
        }
    }
}
接下来,我们就在Bean.xml配置文件中,注入instruments集合
<?xml version="1.0" encoding="UTF-8"?>
<beans xmlns="http://www.springframework.org/schema/beans"
       xmlns:p ="http://www.springframework.org/schema/p"
       xmlns:xsi="http://www.w3.org/2001/XMLSchema-instance"
       xsi:schemaLocation="http://www.springframework.org/schema/beans http://www.springframework.org/schema/beans/spring-beans.xsd">
    <bean id="guitar" class="Hello.Instrument" p:name="guitar"/>
    <bean id="cymbal" class="Hello.Instrument" p:name="cymbal"/>
    <bean id="pinao" class="Hello.Instrument" p:name="pinao"/>
    <bean id="musician" class="Hello.Musician">
        <property name="instruments">
            <list>
                <ref bean="guitar"/>
                <ref bean="cymbal"/>
                <ref bean="pinao"/>
            </list>
        </property>

    </bean>
</beans>
当然,你也可以写成下面这种形式
<?xml version="1.0" encoding="UTF-8"?>
<beans xmlns="http://www.springframework.org/schema/beans"
       xmlns:p ="http://www.springframework.org/schema/p"
       xmlns:xsi="http://www.w3.org/2001/XMLSchema-instance"
       xsi:schemaLocation="http://www.springframework.org/schema/beans http://www.springframework.org/schema/beans/spring-beans.xsd">

    <bean id="musician" class="Hello.Musician">
        <property name="instruments">
            <list>
                <bean id="guitar" class="Hello.Instrument" p:name="guitar"/>
                <bean id="cymbal" class="Hello.Instrument" p:name="cymbal"/>
                <bean id="pinao" class="Hello.Instrument" p:name="pinao"/>
            </list>
        </property>

    </bean>
</beans>
这两张配置方式是等价的。
所有东西都准备好了,那我们就开始表演吧。
新建一个action类然后运行:
package Hello;

import org.springframework.context.ApplicationContext;
import org.springframework.context.support.ClassPathXmlApplicationContext;

public class action {
    public static void main(String[] args) {
        ApplicationContext context = new ClassPathXmlApplicationContext("Beans.xml");
        Performer performer = (Performer)context.getBean("musician");
        performer.perform();
    }
}
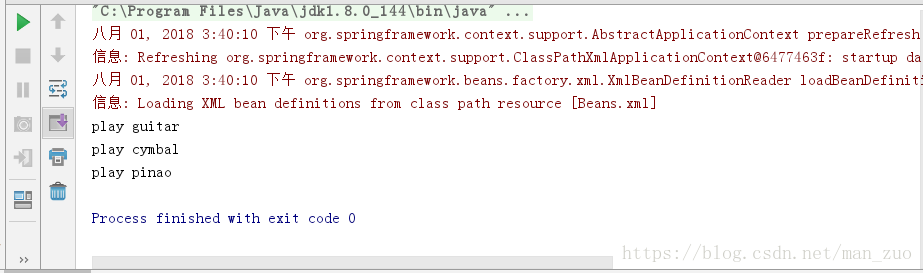
装配Set集合:
装配set集合的方式和装配List集合几乎一模一样,因为乐器集合声明的时候,我是声明成Collection类型的,所以,我知道把xml配置文件中的<list>标签换成<set>标签即可。
<?xml version="1.0" encoding="UTF-8"?>
<beans xmlns="http://www.springframework.org/schema/beans"
       xmlns:p ="http://www.springframework.org/schema/p"
       xmlns:xsi="http://www.w3.org/2001/XMLSchema-instance"
       xsi:schemaLocation="http://www.springframework.org/schema/beans http://www.springframework.org/schema/beans/spring-beans.xsd">

    <bean id="musician" class="Hello.Musician">
        <property name="instruments">
            <set>
                <bean id="guitar" class="Hello.Instrument" p:name="guitar"/>
                <bean id="cymbal" class="Hello.Instrument" p:name="cymbal"/>
                <bean id="pinao" class="Hello.Instrument" p:name="pinao"/>
            </set>
        </property>

    </bean>
</beans>
装配Map集合:
| 属性 | 用途 |
|---|---|
| key |
指定map中entry键为String |
| key-ref | 指定map中entry键为Spring上下文其他bean的引用 |
| value | 指定map中entry键为String |
| value-ref | 指定map中entry键为Spring上下文其他bean的引用 |
我们来修改一下musican类
package Hello;
import java.util.Map;

public class Musician  implements Performer{
    private Map<String,Instrument> instruments;

    public Map<String,Instrument> getInstruments() {
        return instruments;
    }

    public void setInstruments(Map<String,Instrument> instruments) {
        this.instruments = instruments;//以Map类型注入instrument
    }
    @Override
    public void perform() {
        for (String key:instruments.keySet()){
            System.out.print(key+" ");
            Instrument instrument = instruments.get(key);
            instrument.play();
        }
    }
}
xml配置格式如下:
<?xml version="1.0" encoding="UTF-8"?>
<beans xmlns="http://www.springframework.org/schema/beans"
xmlns:p ="http://www.springframework.org/schema/p"
xmlns:xsi="http://www.w3.org/2001/XMLSchema-instance"
xsi:schemaLocation="http://www.springframework.org/schema/beans http://www.springframework.org/schema/beans/spring-beans.xsd">
<bean id="guitar" class="Hello.Instrument" p:name="guitar"/>
<bean id="cymbal" class="Hello.Instrument" p:name="cymbal"/>
<bean id="pinao" class="Hello.Instrument" p:name="pinao"/>
<bean id="musician" class="Hello.Musician">
<property name="instruments">
<map>
<entry key="GUITAR" value-ref="guitar"/>
<entry key="CYMBAL" value-ref="cymbal"/>
<entry key="PINAO" value-ref="pinao"/>
</map>
</property>
</bean>
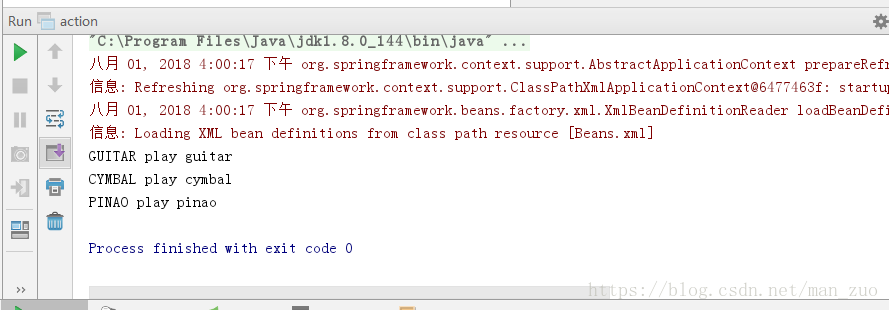
</beans>
然后,action类不用修改,可以直接运行,一切正常的话,运行结果如下:
装配Properties 集合
Properties类提供了和Map大致相同的内容,只不过Properties类限定键和值都必须为String 类型
musican类修改如下:
package Hello;
import java.util.Properties;

public class Musician  implements Performer{
    private Properties instruments;

    public Properties getInstruments() {
        return instruments;
    }

    public void setInstruments(Properties instruments) {
        this.instruments = instruments;//以Properties类型注入instrument
    }
    @Override
    public void perform() {
        for (Object key:instruments.keySet()){
            System.out.println(key+" "+instruments.get(key).toString());

        }
    }
}
xml配置文件修改如下:
<?xml version="1.0" encoding="UTF-8"?>
<beans xmlns="http://www.springframework.org/schema/beans"
       xmlns:p ="http://www.springframework.org/schema/p"
       xmlns:xsi="http://www.w3.org/2001/XMLSchema-instance"
       xsi:schemaLocation="http://www.springframework.org/schema/beans http://www.springframework.org/schema/beans/spring-beans.xsd">
    <bean id="musician" class="Hello.Musician">
        <property name="instruments">
            <props>
                <prop key="GUITA">吉他</prop>
                <prop key="PINAO">钢琴</prop>
                <prop key="CYMBAL">锣</prop>

            </props>
        </property>
    </bean>
</beans>
运行:
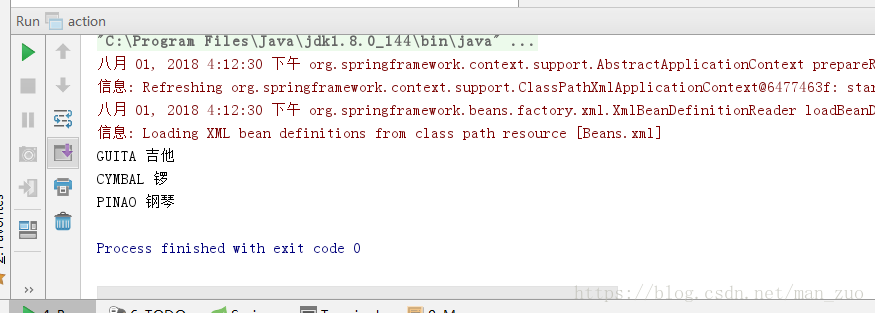
注意:
<property> 用于把值或者Bean引用注入到Bean属性中

<props> 用于定义一个java.util.Properties类型的集合值

<prop>用于定义<props>集合的一个成员


 2169
2169

 被折叠的 条评论
为什么被折叠?
被折叠的 条评论
为什么被折叠?
 到【灌水乐园】发言


