


一、两台服务器编译安装nginx
yum -y install gcc pcre-devel openssl-devel zlib-devel wget
useradd -s /sbin/nologin nginx
cd /usr/local/src/
wget http://nginx.org/download/nginx-1.27.3.tar.gz
tar -zxvf nginx-1.27.3.tar.gz
cd nginx-1.27.3
./configure --prefix=/usr/local/nginx \
--user=nginx \
--group=nginx \
--with-http_ssl_module \
--with-http_v2_module \
--with-http_realip_module \
--with-http_stub_status_module \
--with-http_gzip_static_module \
--with-pcre \
--with-stream \
--with-stream_ssl_module \
--with-stream_realip_module

[root@centos8 nginx-1.18.0]#make && make install
#修改权限
[root@centos8 nginx-1.18.0]#chown -R nginx.nginx /usr/local/nginx

[root@centos8  nginx-1.27.3]# cd /usr/local/nginx/
[root@centos8  nginx]# ll
total 0
drwxr-xr-x 2 nginx nginx 333 Jan  6 09:51 conf
drwxr-xr-x 2 nginx nginx  40 Jan  6 09:51 html
drwxr-xr-x 2 nginx nginx   6 Jan  6 09:51 logs
drwxr-xr-x 2 nginx nginx  19 Jan  6 09:51 sbin
二、验证版本及编译参数
[root@centos8 nginx]# ls /usr/local/nginx/sbin/nginx
/usr/local/nginx/sbin/nginx
[root@centos8 nginx]# ln -s /usr/local/nginx/sbin/nginx  /usr/sbin/
[root@centos8 nginx]# nginx -v
nginx version: nginx/1.27.3
[root@centos8 nginx]# nginx -V
nginx version: nginx/1.27.3
built by gcc 4.8.5 20150623 (Red Hat 4.8.5-44) (GCC)
built with OpenSSL 1.0.2k-fips  26 Jan 2017
TLS SNI support enabled
configure arguments: --prefix=/usr/local/nginx --user=nginx --group=nginx --with-http_ssl_module --with-http_v2_module --with-http_realip_module --with-http_stub_status_module --with-http_gzip_static_module --with-pcre --with-stream --with-stream_ssl_module --with-stream_realip_module
三、启动和停止测试
#启动nginx
[root@centos8 ~]#nginx
netstat -tunlp | grep 80
#浏览器可以访问看到下面图示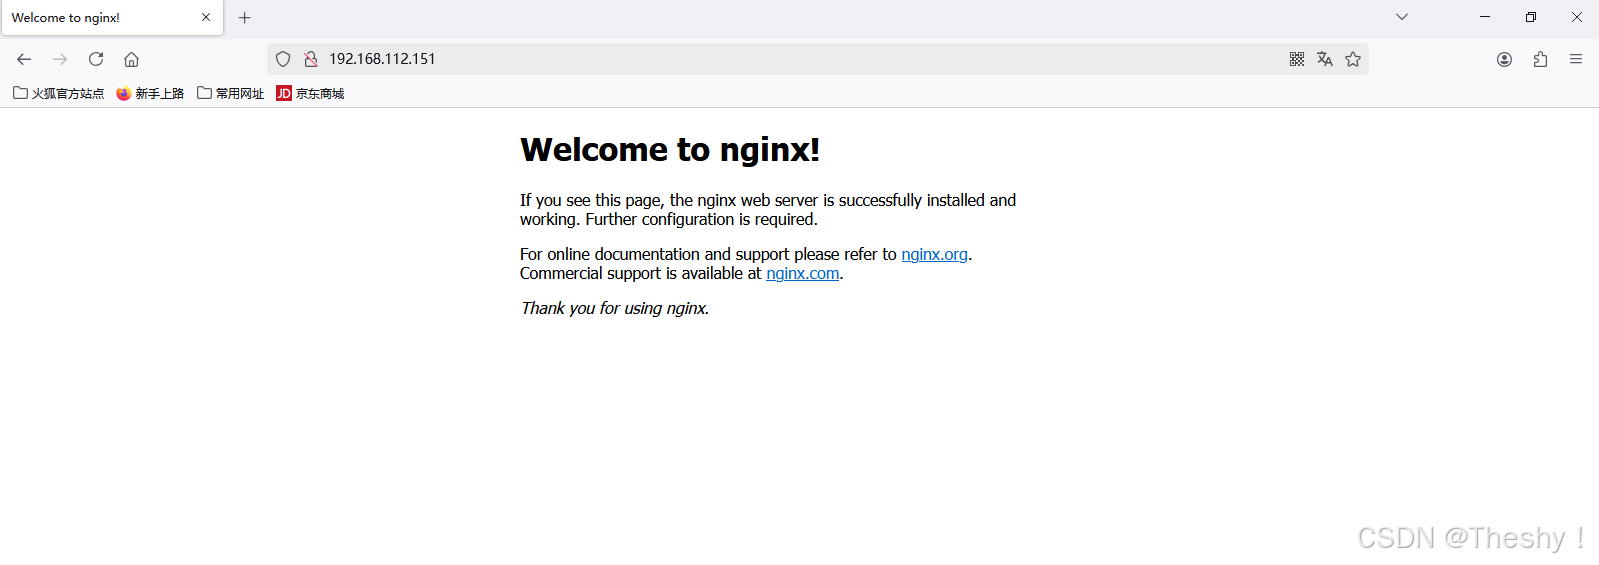
停止nginx
#关闭nginx
[root@centos8 ~]#nginx -s stop
netstat -tunlp | grep 80
四、创建nginx自启动文件
[root@centos8 ~]#vim /usr/lib/systemd/system/nginx.service
[Unit]
Description=nginx - high performance web server
Documentation=http://nginx.org/en/docs/
After=network-online.target remote-fs.target nss-lookup.target
Wants=network-online.target
[Service]
Type=forking
PIDFile=/usr/local/nginx/run/nginx.pid
ExecStart=/usr/local/nginx/sbin/nginx -c /usr/local/nginx/conf/nginx.conf
ExecReload=/bin/kill -s HUP SMAINPID
ExecStop=/bin/kill -s TERM $MAINPID
[Instal1]
WantedBy=multi-user.target

#创建目录
[root@centos8 ~]#mkdir /usr/local/nginx/run/
#修改配置文件
[root@centos8 ~]#vim /usr/local/nginx/conf/nginx.conf
pid /usr/local/nginx/run/nginx.pid;
五、验证nginx自启动文件
systemctl daemon-reload && systemctl start nginx

systemctl enable --now nginx

systemctl status nginx

systemctl stop nginx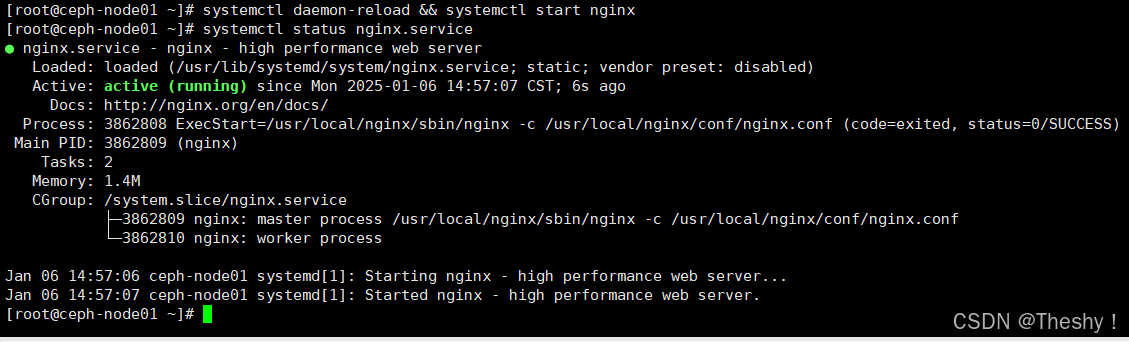
六、编译安装keepalived
yum -y install gcc curl openssl-devel libnl3-devel net-snmp-
devel
wget https://keepalived.org/software/keepalived-2.0.20.tar.gz
tar xvf keepalived-2.0.20.tar.gz -C /usr/local/src
cd /usr/local/src/keepalived-2.0.20/
#选项--disable-fwmark 可用于禁用iptables规则,可访止VIP无法访问,无此选项默认会启用ipatbles
规则
[root@centos7 keepalived-2.0.20]#./configure --prefix=/usr/local/keepalived #--
disable-fwmark
[root@centos7 keepalived-2.0.20]#make && make install
[root@centos7 keepalived-2.0.20]#cd
[root@centos7 ~]#/usr/local/keepalived/sbin/keepalived -v
创建配置文件
mkdir /etc/keepalived
cp /usr/local/keepalived/etc/keepalived/keepalived.conf etc/keepalived

#默认会自动生成unit文件
[root@centos7 ~]#cat /usr/lib/systemd/system/keepalived.service
[Unit]
Description=LVS and VRRP High Availability Monitor
After=network-online.target syslog.target
Wants=network-online.target
[Service]
Type=forking
PIDFile=/run/keepalived.pid
KillMode=process
EnvironmentFile=-/usr/local/keepalived/etc/sysconfig/keepalived
ExecStart=/usr/local/keepalived/sbin/keepalived $KEEPALIVED_OPTIONS
ExecReload=/bin/kill -HUP $MAINPID
[Install]
WantedBy=multi-user.target

systemctl enable --now keepalived.service
systemctl status keepalived.service
# 启动
systemctl start keepalived.service
# 重启
systemctl restart keepalived.service
# 停止
systemctl stop keepalived.service
# 查看运行状态
systemctl status keepalived
# 查看运行进程
ps -ef|grep keepalived
七、全局配置keepalived
#/etc/keepalived/keepalived.conf
global_defs {
notification_email {
root@localhost #keepalived 发生故障切换时邮件发送的目标邮箱,可以按行区分写
多个
root@wangxiaochun.com
29308620@qq.com
}
notification_email_from keepalived@localhost #发邮件的地址
smtp_server 127.0.0.1 #邮件服务器地址
smtp_connect_timeout 30 #邮件服务器连接timeout
router_id ka1.example.com #每个keepalived主机唯一标识,建议使用当前主机名,但多节点重名
不影响
vrrp_skip_check_adv_addr #对所有通告报文都检查,会比较消耗性能,启用此配置后,如果收到的
通告报文和上一个报文是同一个路由器,则跳过检查,默认值为全检查
vrrp_strict #严格遵守VRRP协议,启用此项后以下状况将无法启动服务:1.无VIP地址 2.配置了单播邻
居 3.在VRRP版本2中有IPv6地址,开启动此项并且没有配置vrrp_iptables时会自动开启iptables防火
墙规则,默认导致VIP无法访问,建议不加此项配置
vrrp_garp_interval 0 #gratuitous ARP messages 报文发送延迟,0表示不延迟
vrrp_gna_interval 0 #unsolicited NA messages (不请自来)消息发送延迟
vrrp_mcast_group4 224.0.0.18 #指定组播IP地址范围:224.0.0.0到239.255.255.255,默认
值:224.0.0.18
vrrp_iptables #此项和vrrp_strict同时开启时,则不会添加防火墙规则,如果无配置
vrrp_strict项,则无需启用此项配置
}
八、master配置
vim /etc/keepalived/keepalived.conf
global_defs {
notification_email {
root@localhost #keepalived 发生故障切换时邮件发送的对象,可以按行区分写多个
}
notification_email_from keepalived@localhost
smtp_server 127.0.0.1
smtp_connect_timeout 30
router_id ka1.example.com
vrrp_skip_check_adv_addr #所有报文都检查比较消耗性能,此配置为如果收到的报文和上一个报文
是同一个路由器则跳过检查报文中的源地址
#vrrp_strict #严格遵守VRRP协议,禁止状况:1.无VIP地址,2.配置了单播邻居,3.在VRRP版本2中有
IPv6地址
vrrp_garp_interval 0 #ARP报文发送延迟
vrrp_gna_interval 0 #消息发送延迟
vrrp_mcast_group4 224.0.0.18 #默认组播IP地址,可指定组播范围:224.0.0.0到
239.255.255.255
}
vrrp_instance VI_1 {
state MASTER #在另一个结点上为BACKUP
interface eth0
virtual_router_id 66 #每个虚拟路由器必须唯一,同属一个虚拟路由器的多个keepalived节点必
须相同
priority 100 #在另一个结点上为80
advert_int 1
authentication {
auth_type PASS #预共享密钥认证,同一个虚拟路由器的keepalived节点必须一样
auth_pass 12345678
}
virtual_ipaddress {
10.0.0.10 dev eth0 label eth0:0
}
}
九、slave配置
#配置文件和master基本一致,只需修改三行
[root@ka2-centos8 ~]#vim /etc/keepalived/keepalived.conf
global_defs {
notification_email {
root@localhost
}
notification_email_from keepalived@localhost
smtp_server 127.0.0.1
smtp_connect_timeout 30
router_id ka2.example.com #修改此行
vrrp_skip_check_adv_addr
#vrrp_strict
vrrp_garp_interval 0
vrrp_gna_interval 0
vrrp_mcast_group4 224.0.0.18
}
vrrp_instance VI_1 {
state BACKUP #修改此行

interface eth0
virtual_router_id 66
priority 80 #修改此行
advert_int 1
authentication {
auth_type PASS
auth_pass 12345678
}
virtual_ipaddress {
10.0.0.10 dev eth0 label eth0:0
}
}
十、编写 Nginx 状态检测脚本
#!/bin/bash
A=`ps -C nginx --no-header |wc -l`
if [ $A -eq 0 ];then
    # 这里需要替换成自己的nginx安装路径
    # 尝试重新启动nginx
    systemctl start nginx
    # 睡眠2秒
    sleep 2
    if [ $A -eq 0 ];then
        #启动失败,将keepalived服务杀死。
        killall keepalived
    fi
fi


 被折叠的 条评论
为什么被折叠?
被折叠的 条评论
为什么被折叠?
 到【灌水乐园】发言


