


test
javax.servlet
<art 《一线大厂Java面试题解析+后端开发学习笔记+最新架构讲解视频+实战项目源码讲义》无偿开源 威信搜索公众号【编程进阶路】 ifactId>javax.servlet-api
${servlet.version}
provided
org.projectlombok
lombok
${lombok.version}
provided
ssm
src/main/java
**/*.xml
src/main/resources
*.properties
*.xml
org.apache.maven.plugins
maven-compiler-plugin
${maven.compiler.plugin.version}
${maven.compiler.source}${maven.compiler.target}
${project.build.sourceEncoding}
org.mybatis.generator
mybatis-generator-maven-plugin
1.3.2
mysql
mysql-connector-java
${mysql.version}
true
maven-clean-plugin
3.1.0
maven-resources-plugin
3.0.2
maven-compiler-plugin
3.8.0
maven-surefire-plugin
2.22.1
maven-war-plugin
3.2.2
maven-install-plugin
2.5.2
maven-deploy-plugin
2.8.2
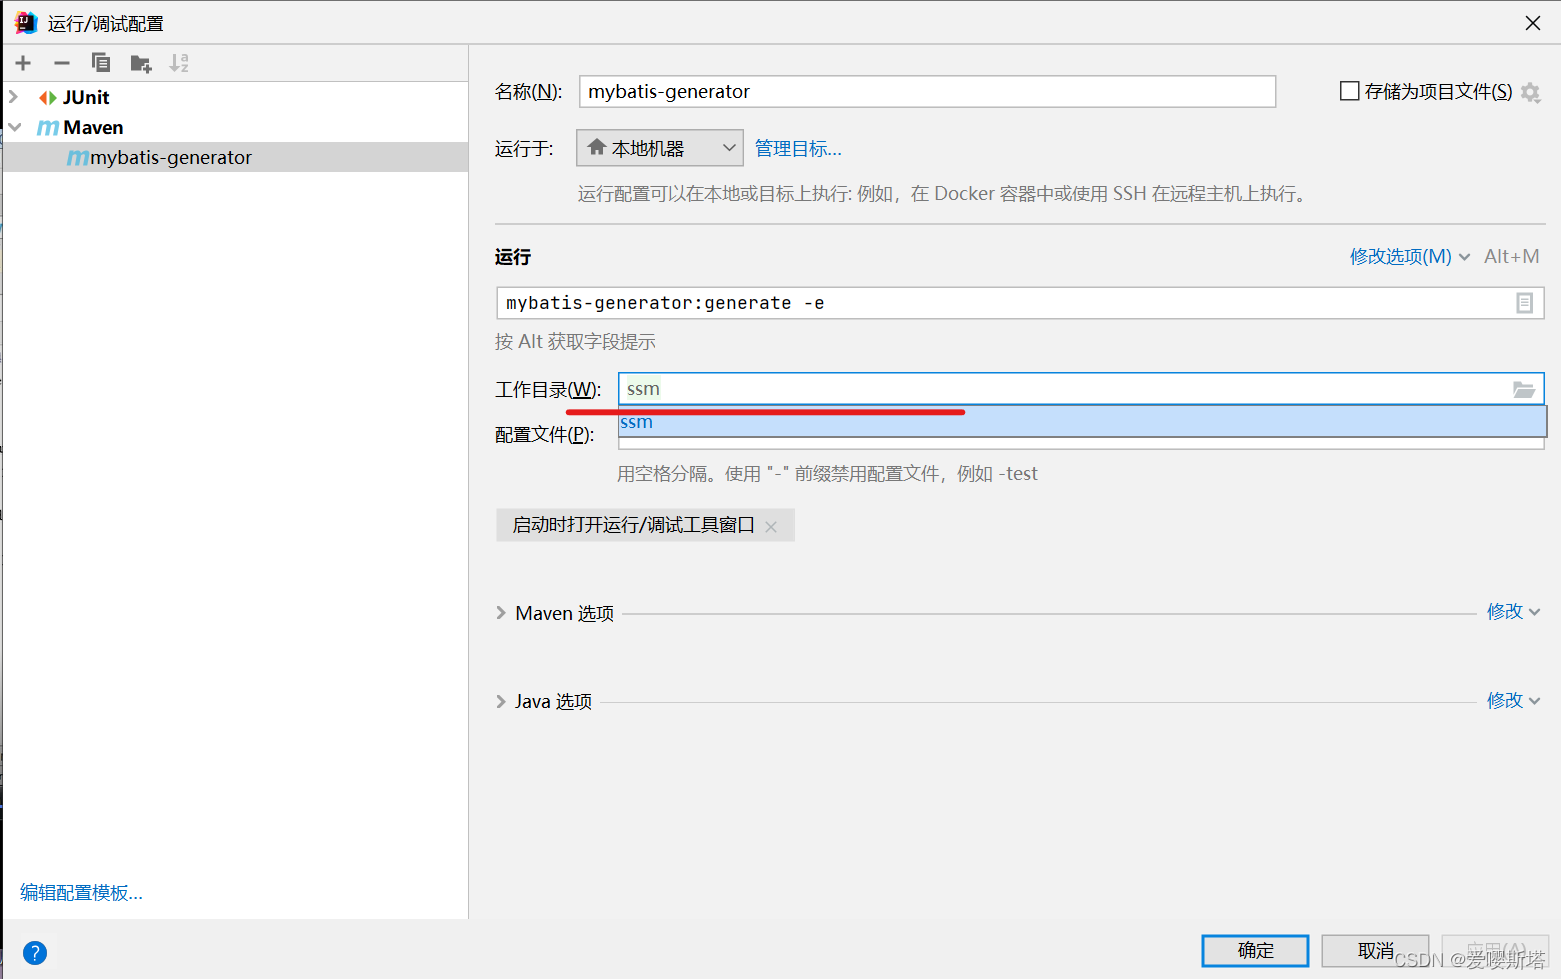
记得切换运行目录:
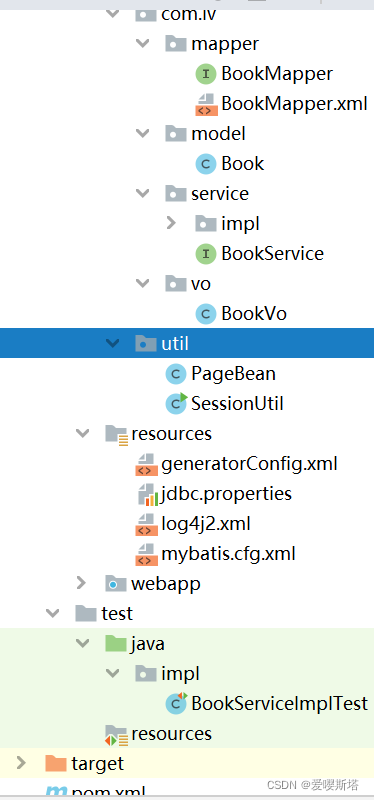
3、利用mybatis逆向工程生成模型层层代码
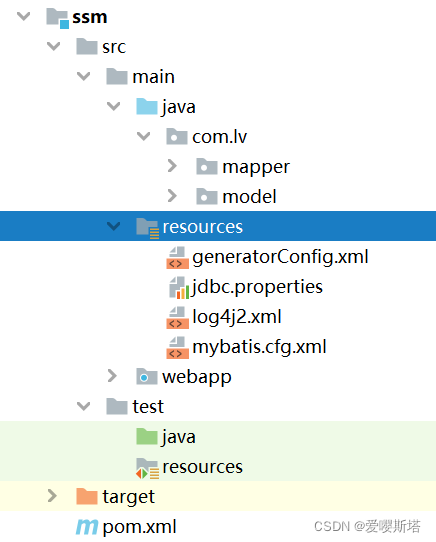
将所需的文件导入,我们这就引用了上一期内容:
4、编写配置文件applicationContext-mybatis.xml
在resources类中新建文件applicationContext-mybatis.xml
<?xml version="1.0" encoding="UTF-8"?><beans xmlns=“http://www.springframework.org/schema/beans”
xmlns:xsi=“http://www.w3.org/2001/XMLSchema-instance”
xmlns:context=“http://www.springframework.org/schema/context” xmlns:tx=“http://www.springframework.org/schema/tx”
xmlns:aop=“http://www.springframework.org/schema/aop”
xsi:schemaLocation=“http://www.springframework.org/schema/beans http://www.springframework.org/schema/beans/spring-beans.xsd http://www.springframework.org/schema/context http://www.springframework.org/schema/context/spring-context.xsd http://www.springframework.org/schema/tx http://www.springframework.org/schema/tx/spring-tx.xsd http://www.springframework.org/schema/aop http://www.springframework.org/schema/aop/spring-aop.xsd”>
context:annotation-config/
<context:component-scan base-package=“com.lv”/>
<context:property-placeholder location=“classpath:jdbc.properties”/>
<bean id=“dataSource” class=“org.apache.commons.dbcp2.BasicDataSource”
destroy-method=“close”>
helperDialect=mysql
<tx:annotation-driven transaction-manager=“transactionManager” />
aop:aspectj-autoproxy/
5、Spring Test+junit完美组合
①、在工程的pom文件中增加spring-test的依赖
我已经在前面就增加了依赖
org.springframework
spring-test
${spring.version}
②、创建测试类,在该类上加上两个注解
@RunWith(SpringJUnit4ClassRunner.class)
@ContextConfiguration(locations={“classpath:applicationContext.xml”})
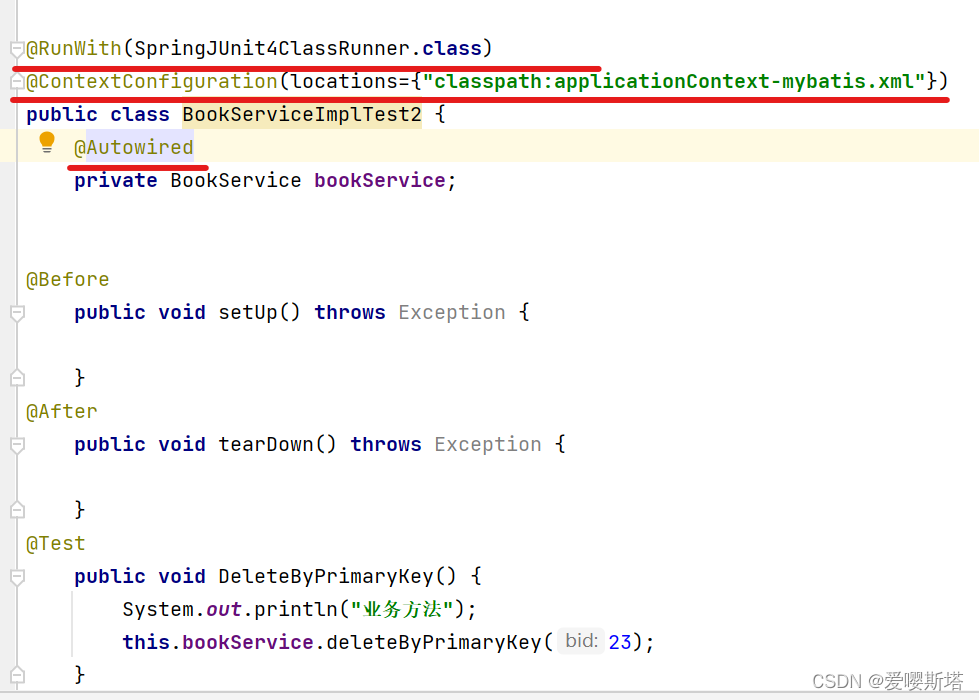
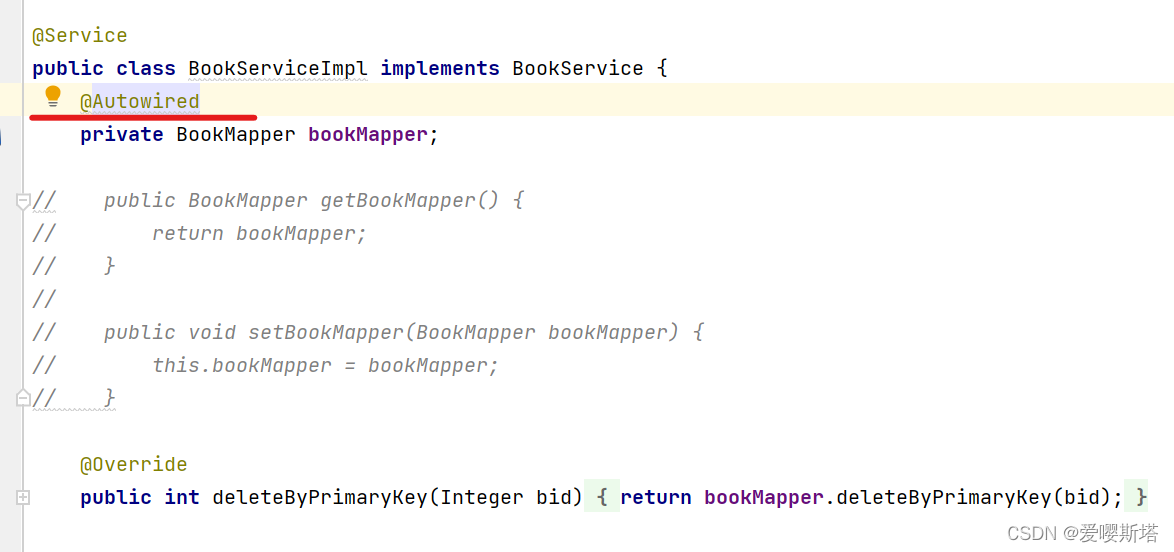
同样service层也需注解,这样无需写get/set方法:
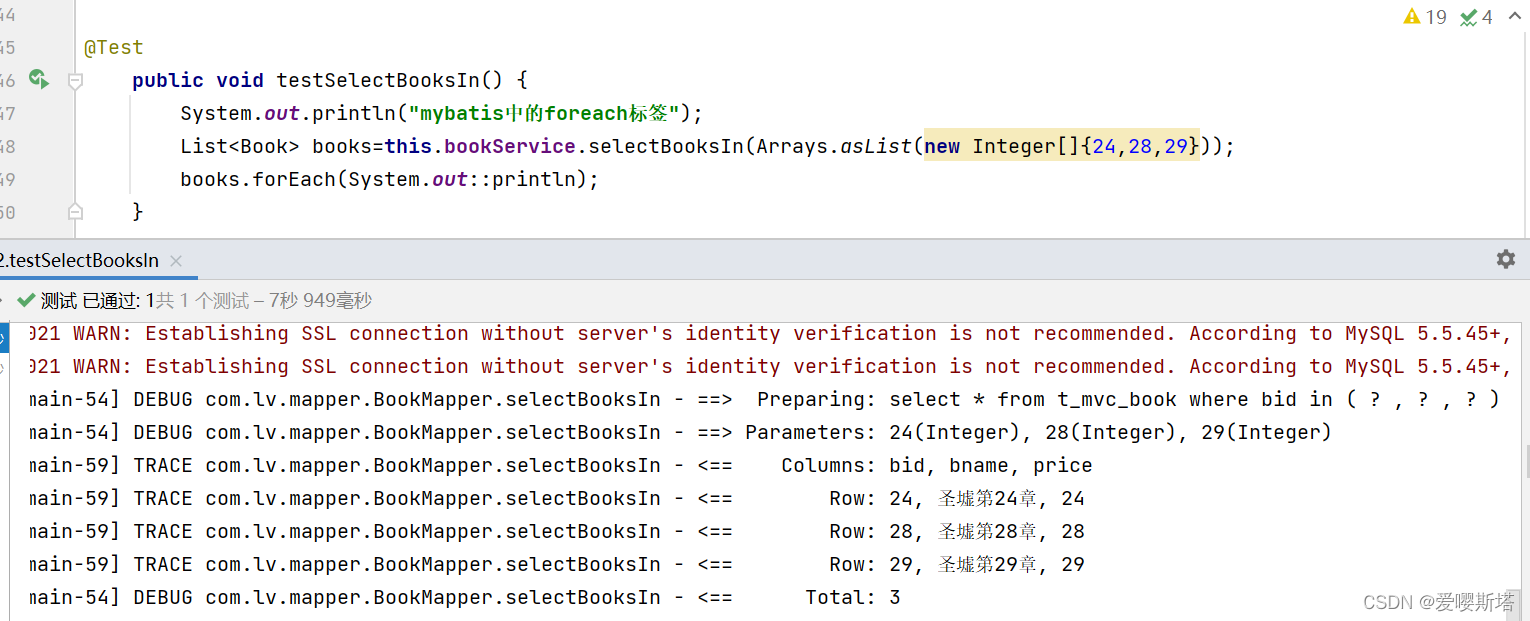
测试一下查看的方法,检查是否成功:
二、aop整合pagehelper
如果一个项目里有很多分页,每次都按照上一期内容写很麻烦,内容重复,这节内容就是使用AOP编程解决分页代码重复的问题**。**以下是每次分页需要写的方法👇
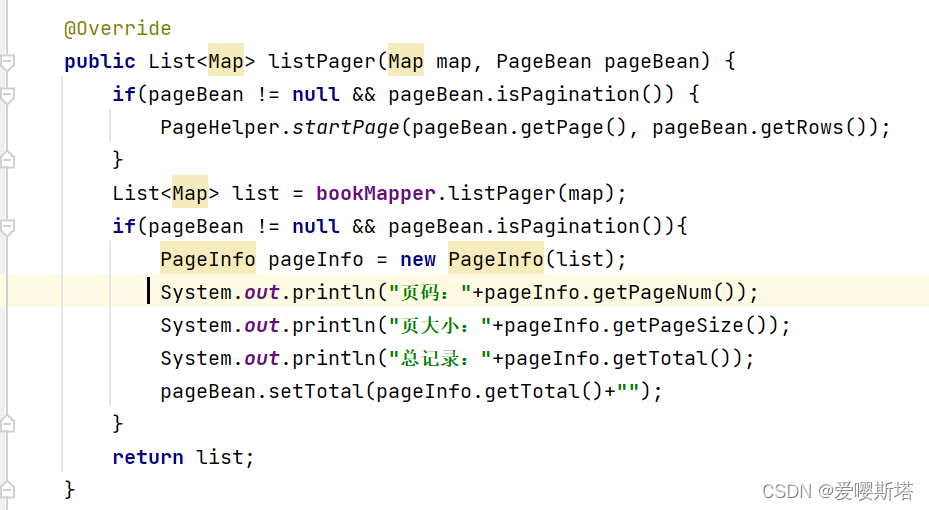
根据👆总结分页内容:
①、定义分页的方法,分页方法至少要传递两个参数
②、 分页的核心关键点:pageBean、PageHelper
③、代码逻辑顺序
PageHelper.startPage 启动分页
正常业务查询——》加入环绕通知中
处理查询的结果集——》加入环绕通知中
1、新建一个切面类(类型为Java类class)
2、切面类上要定义规则,只有分页方法才能进入切面类
3、必须要判断*Pager是否传递了pagebean
4、编码阶段
①、拿到被代理的方法的参数列表,进行遍历,如果列表包含了pagebean,那么给pagebean赋值
②、核心代码
——》PageHelper.startPage 启动分页
——》处理查询的结果集
PagerAspect:
package com.lv.aspect;
import com.github.pagehelper.PageHelper;
import com.github.pagehelper.PageInfo;
import com.lv.util.PageBean;
import org.aspectj.lang.ProceedingJoinPoint;
import org.aspectj.lang.annotation.Around;
import org.aspectj.lang.annotation.Aspect;
import org.springframework.stereotype.Component;
import java.util.List;
@Component
@Aspect
public class PagerAspect {
@Around(“execution(* *…*Service.*Pager(…))”)
public Object invoke(ProceedingJoinPoint args) throws Throwable {
Object[] params = args.getArgs();//argument参数
PageBean pageBean = null;
for (Object param : params) {
if(param instanceof PageBean){
pageBean = (PageBean)param;
break;
}
}
if(pageBean != null && pageBean.isPagination()) {
PageHelper.startPage(pageBean.getPage(), pageBean.getRows());
}
Object list = args.proceed(params);
if(null != pageBean && pageBean.isPagination()){
PageInfo pageInfo = new PageInfo((List) list);
pageBean.setTotal(pageInfo.getTotal()+“”);
}
return list;
}


 被折叠的 条评论
为什么被折叠?
被折叠的 条评论
为什么被折叠?
 到【灌水乐园】发言


