


文章目录
-
- 环境准备
- 安装
- 小结
环境准备
准备一台服务器
关闭防火墙
systemctl stop firewalld
setenforce 0
gitlab安装
配置yum源
[root@git-server ~]# cd /etc/yum.repos.d/
[root@git-server yum.repos.d]# vi gitlab-ce.repo
[gitlab-ce]
name=gitlab CE Repository
baseurl=https://mirrors.tuna.tsinghua.edu.cn/gitlab-ce/yum/el7/
repo_gpgcheck=0
gpgcheck=0
enabled=1
gpgkey=https://packages.gitlab.com/gpg.key
安装相关依赖
yum install -y postfix curl policycoreutils-python openssh-server
systemctl enable sshd
systemctl start sshd
yum install postfix  -y   #安装邮箱
systemctl enable postfix
systemctl start postfix
yum install -y gitlab-ce  #将会安装gitlab最新版本
配置gitlab登录链接
[root@gitlab ~]# vim /etc/gitlab/gitlab.rb
1.# 添加对外的域名(gitlab.papamk.com请添加A记录指向本服务器的公网IP):将原来的修改为
external_url 'http://192.168.43.151'
2.设置地区
gitlab_rails['time_zone'] = 'Asia/Shanghai'

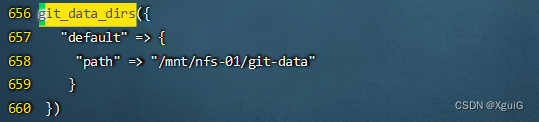
将数据路径的注释去掉,可以更改
开启ssh服务:

初始化gitlab:
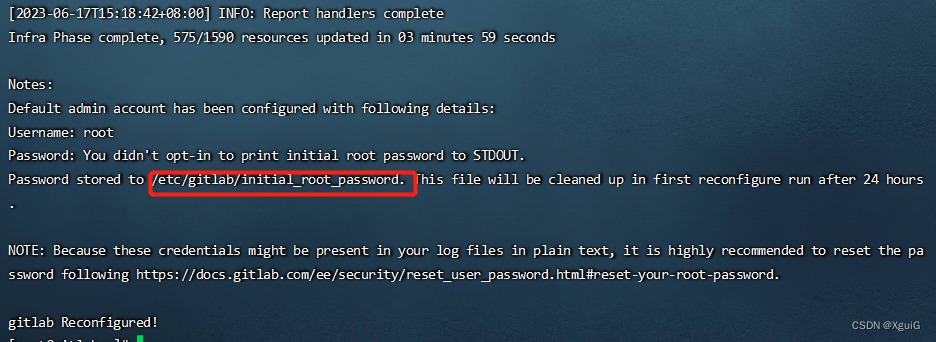
[root@gitlab ~]# gitlab-ctl reconfigure #需要很长时间
启动Gitlab服务
[root@gitlab ~]# gitlab-ctl start
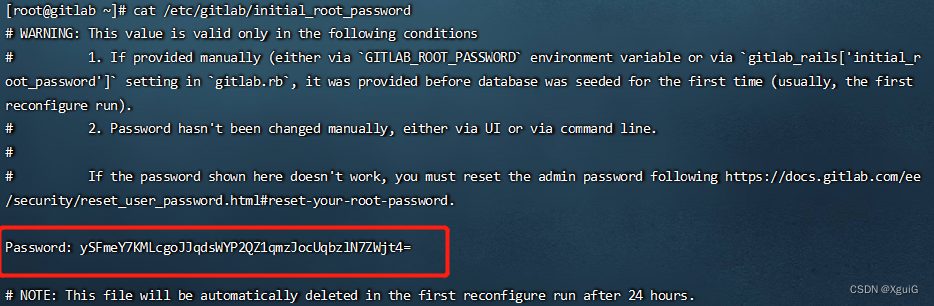
记住密码,登录进去要修改
测试访问
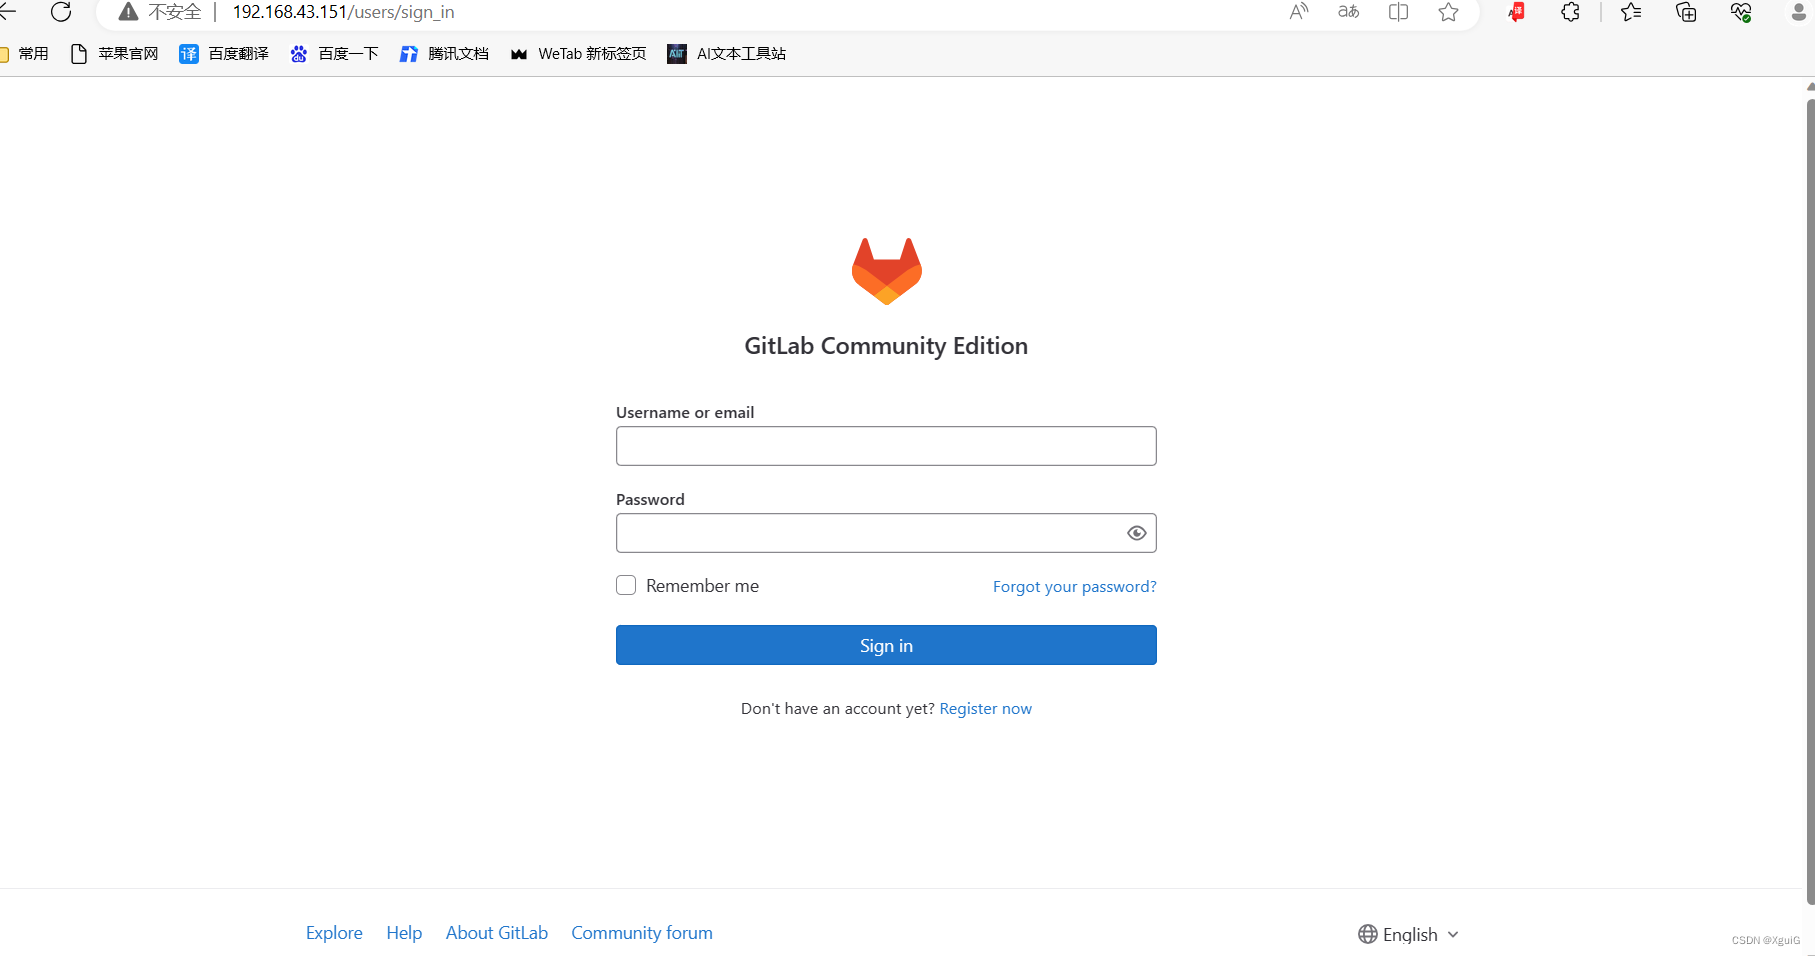
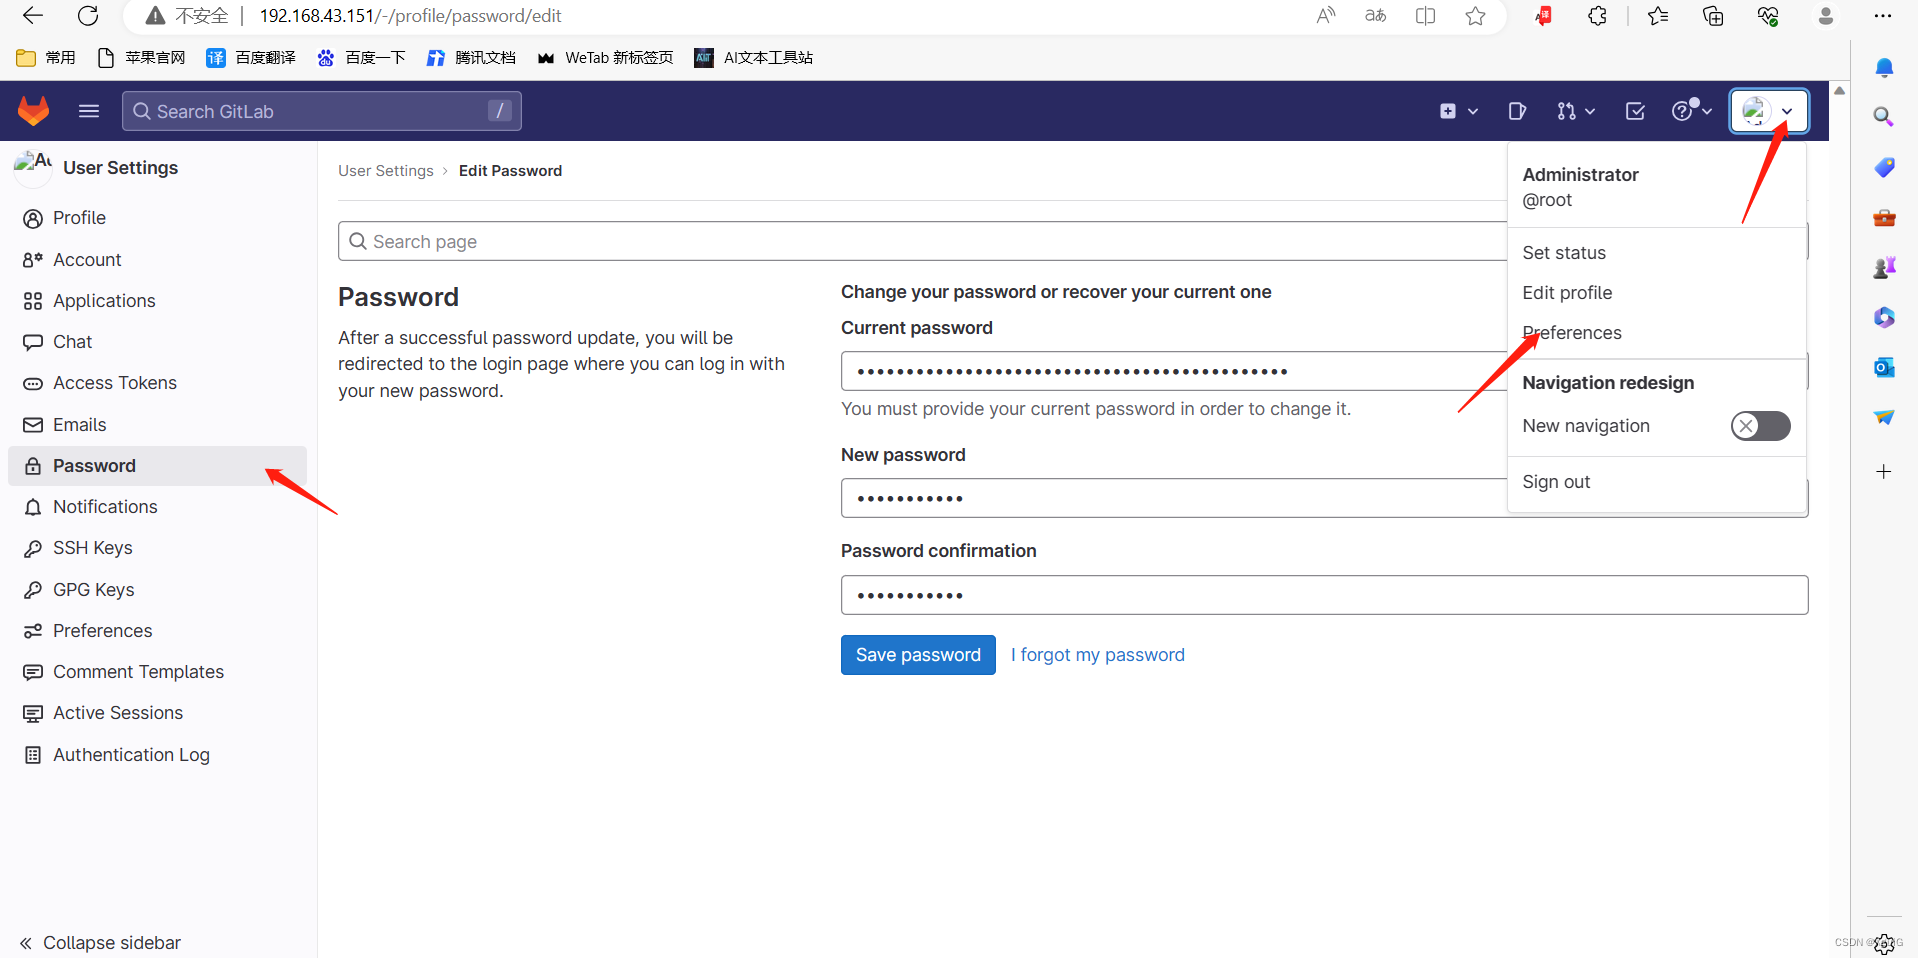
修改密码
小结
安装好gltlab后,我们可以安装jenkins配合maven实现代码的自动化部署。
qq:813478685 大家加油学习哦,不懂得可以私聊我


 1183
1183

 被折叠的 条评论
为什么被折叠?
被折叠的 条评论
为什么被折叠?
 到【灌水乐园】发言


