


 本文深入解析Android中的AIDL技术,介绍如何实现跨进程通信,并结合Toast的内部工作原理,详细阐述了从客户端到服务端的数据传递过程,包括代理对象的创建、序列化和回调机制。
先看看上面用到的asInterface方法:
public static top.greendami.aidl.IMyTest asInterface(android.os.IBinder obj) {
if ((obj == null)) {
return null;
}
android.os.IInterface iin = obj.queryLocalInterface(DESCRIPTOR);
if (((iin != null) && (iin instanceof top.greendami.aidl.IMyTest))) {
return ((top.greendami.aidl.IMyTest) iin);
}
return new top.greendami.aidl.IMyTest.Stub.Proxy(obj);
}
这里是先在本地查找看看有没有对象,如果有就说明没有跨进程,直接返回本地对象。如果没有就要返回一个代理了。这里可以看做服务端为客户端准备一个‘假’的自己,让客户端看起来就像拥有一个真正的服务端对象。
Proxy(obj)中把代理中每个方法都进行了处理,如果有add和hello两个方法:
private static class Proxy implements top.greendami.aidl.IMyTest {
private android.os.IBinder mRemote;
Proxy(android.os.IBinder remote) {
mRemote = remote;
}
@Override
public android.os.IBinder asBinder() {
return mRemote;
}
public java.lang.String getInterfaceDescriptor() {
return DESCRIPTOR;
}
@Override
public int add(int a, int b) throws android.os.RemoteException {
android.os.Parcel _data = android.os.Parcel.obtain();
android.os.Parcel _reply = android.os.Parcel.obtain();
int _result;
try {
_data.writeInterfaceToken(DESCRIPTOR);
_data.writeInt(a);
_data.writeInt(b);
mRemote.transact(Stub.TRANSACTION_add, _data, _reply, 0);
_reply.readException();
_result = _reply.readInt();
} finally {
_reply.recycle();
_data.recycle();
}
return _result;
}
@Override
public java.lang.String hello(java.lang.String s) throws android.os.RemoteException {
android.os.Parcel _data = android.os.Parcel.obtain();
android.os.Parcel _reply = android.os.Parcel.obtain();
java.lang.String _result;
try {
_data.writeInterfaceToken(DESCRIPTOR);
_data.writeString(s);
mRemote.transact(Stub.TRANSACTION_hello, _data, _reply, 0);
_reply.readException();
_result = _reply.readString();
} finally {
_reply.recycle();
_data.recycle();
}
return _result;
}
}
static final int TRANSACTION_add = (android.os.IBinder.FIRST_CALL_TRANSACTION + 0);
static final int TRANSACTION_hello = (android.os.IBinder.FIRST_CALL_TRANSACTION + 1);
}
大致就是把需要传递的参数序列化,然后调用方法的真正实现,然后拿到返回的结果并且返回。我们看到真正的方法实现在mRemote.transact这里,这个Proxy就真的只是代理,和客户端交互,传递一下参数而已。
在onTransact方法中实现了真正的调用:
public boolean onTransact(int code, android.os.Parcel data, android.os.Parcel reply, int flags) throws android.os.RemoteException {
switch (code) {
case INTERFACE_TRANSACTION: {
reply.writeString(DESCRIPTOR);
return true;
}
case TRANSACTION_add: {
data.enforceInterface(DESCRIPTOR);
int _arg0;
_arg0 = data.readInt();
int _arg1;
_arg1 = data.readInt();
int _result = this.add(_arg0, _arg1);
reply.writeNoException();
reply.writeInt(_result);
return true;
}
case TRANSACTION_hello: {
data.enforceInterface(DESCRIPTOR);
java.lang.String _arg0;
_arg0 = data.readString();
java.lang.String _result = this.hello(_arg0);
reply.writeNoException();
reply.writeString(_result);
return true;
}
}
return super.onTransact(code, data, reply, flags);
}
这里调用的this.add(_arg0, _arg1);和this.hello(_arg0);就是在AIDL中定义好的接口。因为abstract class Stub中实现了top.greendami.aidl.IMyTest接口(当然它也是一个Bind),在top.greendami.aidl.IMyTest接口中声明了add和hello这两个方法,所以这两个方法是在实现Stub这个类的时候实现的。
一般情况下,在Service的onBind方法中返回一个Stub对象,new这个Stub对象的时候就实现了这两个方法。这样服务端就准备好了。
在客户端调用的时候bindService(intent, mServiceConnection, Context.BIND_AUTO_CREATE);这里有个mServiceConnection回调,在回调中public void onServiceConnected(ComponentName name, IBinder service)可以拿到service对象,通过***.Stub.asInterface(service)就可以拿到代理对象,然后就可以调用方法了。
回到Toast
sService = INotificationManager.Stub.asInterface(ServiceManager.getService(“notification”));
通过这样,拿到了‘排队’的服务,然后调用service.enqueueToast(pkg, tn, mDuration);就去排队了。这里的tn是一个TN类型的类型,保存了这个Toast相关信息,包括View,显示时长等等。同时TN也是一个ITransientNotification.Stub实现。这里就是第二步的时候作为服务端被调用(类似回调的作用)。
看看NotificationManagerService.java中enqueueToast()方法:
public void enqueueToast(String pkg, ITransientNotification callback, int duration) {
…
final boolean isSystemToast = isCallerSystemOrPhone() || (“android”.equals(pkg));
final boolean isPackageSuspended =
isPackageSuspendedForUser(pkg, Binder.getCallingUid());
if (ENABLE_BLOCKED_TOASTS && !isSystemToast &&
(!areNotificationsEnabledForPackage(pkg, Binder.getCallingUid())
|| isPackageSuspended)) {
…
return;
}
synchronized (mToastQueue) {
int callingPid = Binder.getCallingPid();
long callingId = Binder.clearCallingIdentity();
try {
ToastRecord record;
int index = indexOfToastLocked(pkg, callback);
// If it’s already in the queue, we update it in place, we don’t
// move it to the end of the queue.
if (index >= 0) {
record = mToastQueue.get(index);
record.update(duration);
} else {
// Limit the number of toasts that any given package except the android
// package can enqueue. Prevents DOS attacks and deals with leaks.
if (!isSystemToast) {
int count = 0;
final int N = mToastQueue.size();
for (int i=0; i<N; i++) {
final ToastRecord r = mToastQueue.get(i);
if (r.pkg.equals(pkg)) {
count++;
if (count >= MAX_PACKAGE_NOTIFICATIONS) {
Slog.e(TAG, "Package has already posted " + count
- " toasts. Not showing more. Package=" + pkg);
return;
}
}
}
}
Binder token = new Binder();
mWindowManagerInternal.addWindowToken(token, TYPE_TOAST, DEFAULT_DISPLAY);
record = new ToastRecord(callingPid, pkg, callback, duration, token);
mToastQueue.add(record);
index = mToastQueue.size() - 1;
keepProcessAliveIfNeededLocked(callingPid);
}
// If it’s at index 0, it’s the current toast. It doesn’t matter if it’s
// new or just been updated. Call back and tell it to show itself.
// If the callback fails, this will remove it from the list, so don’t
// assume that it’s valid after this.
if (index == 0) {
showNextToastLocked();
}
} finally {
Binder.restoreCallingIdentity(callingId);
}
}
}
这个方法首先校验了包名和回调是不是空,是的话就返回(代码省略)。 然后看看是不是被系统禁止显示通知的App(通过包名判断)。
前面的校验都通过了,就是开始排队了synchronized (mToastQueue),首先是拿到进程号,然后看看这个相同的App和回调之前有没有在队列中,如果在就更新一下显示时间,如果没在还要看看这个App有多少Toast,超过50就不让排队。如果这些都满足条件就进入队列排队。
if (index == 0) {
showNextToastLocked();
}
如果队列里面只有一个成员,就立马去显示(如果不是,就说明队列已经在循环了),看看showNextToastLocked()方法:
void showNextToastLocked() {
ToastRecord record = mToastQueue.get(0);
while (record != null) {
if (DBG) Slog.d(TAG, “Show pkg=” + record.pkg + " callback=" + record.callback);
try {
record.callback.show(record.token);
scheduleTimeoutLocked(record);
return;
} catch (RemoteException e) {
Slog.w(TAG, "Object died trying to show notification " + record.callback
- " in package " + record.pkg);
// remove it from the list and let the process die
int index = mToastQueue.indexOf(record);
if (index >= 0) {
mToastQueue.remove(index);
}
keepProcessAliveIfNeededLocked(record.pid);
if (mToastQueue.size() > 0) {
record = mToastQueue.get(0);
} else {
record = null;
}
}
}
}
显示的就是下面这句了, record.callback.show(record.token); 下面这句是用handler启用一个延时,取消显示 scheduleTimeoutLocked(record);。这里的record.callback就是之前传进来的TN对象了,看看Toast中TN的实现:
private static class TN extends ITransientNotification.Stub {
…
static final long SHORT_DURATION_TIMEOUT = 4000;
static final long LONG_DURATION_TIMEOUT = 7000;
TN(String packageName, @Nullable Looper looper) {
…
mHandler = new Handler(looper, null) {
@Override
public void handleMessage(Message msg) {
switch (msg.what) {
case SHOW: {
IBinder token = (IBinder) msg.obj;
handleShow(token);
break;
}
case HIDE: {
handleHide();
mNextView = null;
break;
}
case CANCEL: {
handleHide();
mNextView = null;
try {
getService().cancelToast(mPackageName, TN.this);
} catch (RemoteException e) {
}
break;
}
}
}
};
}
/**
- schedule handleShow into the right thread
*/
@Override
public void show(IBinder windowToken) {
mHandler.obtainMessage(SHOW, windowToken).sendToTarget();
}
/**
- schedule handleHide into the right thread
*/
@Override
public void hide() {
if (localLOGV) Log.v(TAG, "HIDE: " + this);
mHandler.obtainMessage(HIDE).sendToTarget();
}
public void cancel() {
if (localLOGV) Log.v(TAG, "CANCEL: " + this);
mHandler.obtainMessage(CANCEL).sendToTarget();
最后
分享一份工作1到5年以上的Android程序员架构进阶学习路线体系,希望能对那些还在从事Android开发却还不知道如何去提升自己的,还处于迷茫的朋友!
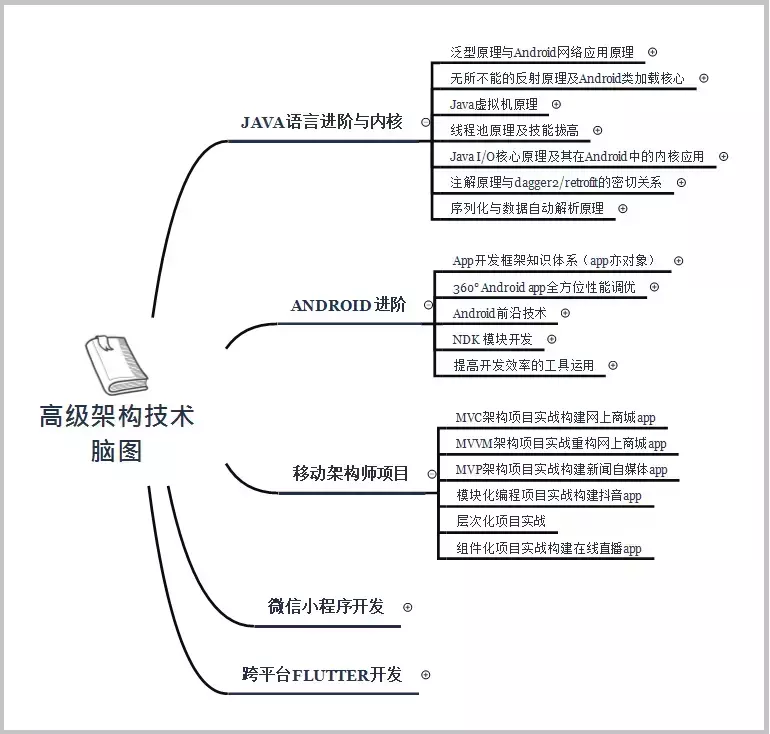
- 阿里P7级Android架构师技术脑图;查漏补缺,体系化深入学习提升(详细点击我的GitHub领取)
- **全套体系化高级架构视频;**七大主流技术模块,视频+源码+笔记
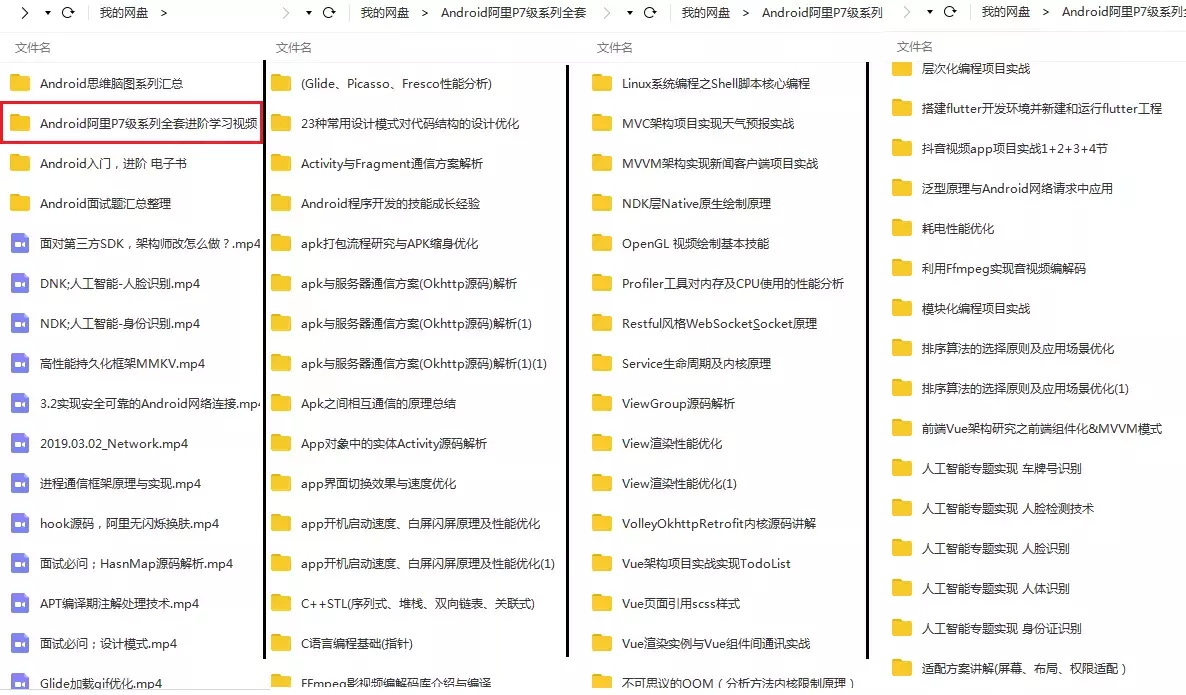
需要架构学习笔记导图的可以点击我的GitHub领取
群内有许多技术大牛,高手如云,有任何问题,欢迎广大网友一起来交流,群内还不定期免费分享高阶Android学习视频资料和面试资料包~
43697)]
需要架构学习笔记导图的可以点击我的GitHub领取
群内有许多技术大牛,高手如云,有任何问题,欢迎广大网友一起来交流,群内还不定期免费分享高阶Android学习视频资料和面试资料包~


 191
191

 被折叠的 条评论
为什么被折叠?
被折叠的 条评论
为什么被折叠?
 到【灌水乐园】发言


