


1.在pom文件中添加Mybatis起步依赖
        <!--springboot集成Mybatis-->
        <dependency>
            <groupId>org.mybatis.spring.boot</groupId>
            <artifactId>mybatis-spring-boot-starter</artifactId>
            <version>2.3.1</version>
        </dependency>
2.编写实体类Student和表tb_student,随便编几个字段测试即可。
3.编写Mapper接口
@Mapper
public interface StudentMapper {
     List<Student> getStudentList();
}
4.开启注解包扫描,在启动类上加上@MapperScan
@SpringBootApplication
@MapperScan("com.fzy.mapper")//自动扫描mapper接口
public class FzyTestApplication {

    public static void main(String[] args) {
        SpringApplication.run(FzyTestApplication.class, args);
    }

}
5.编写mapper接口对应的映射文件StudentMapper.xml。在resources目录下面编写。看完注意的点再编写。先下载个Mybatis的插件MyBatisX,他会有个小鸟标记对应上。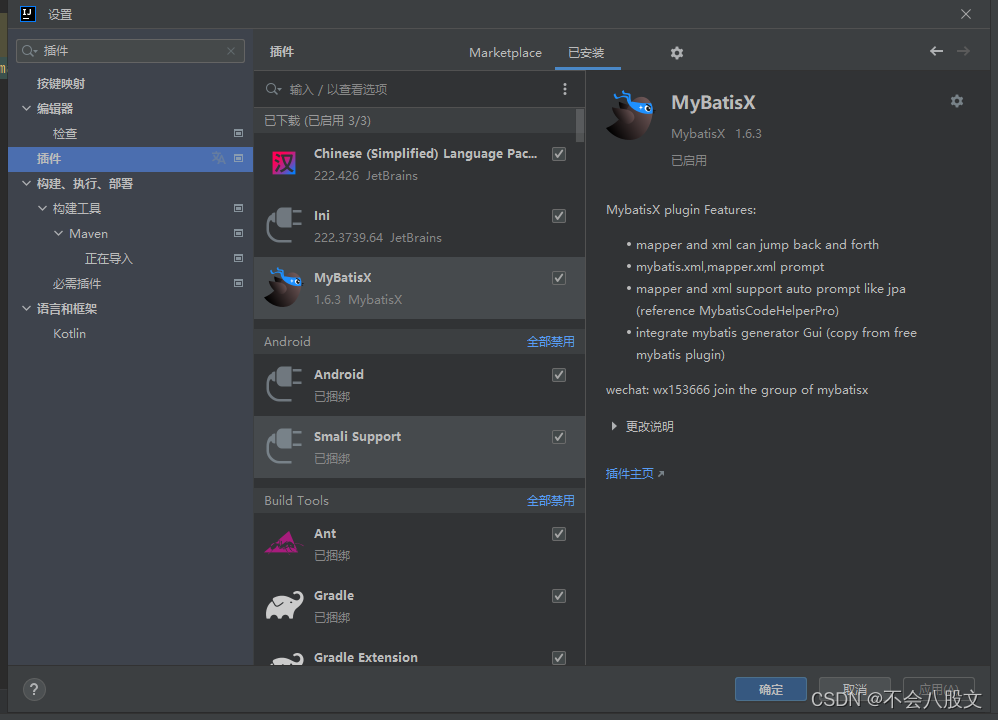
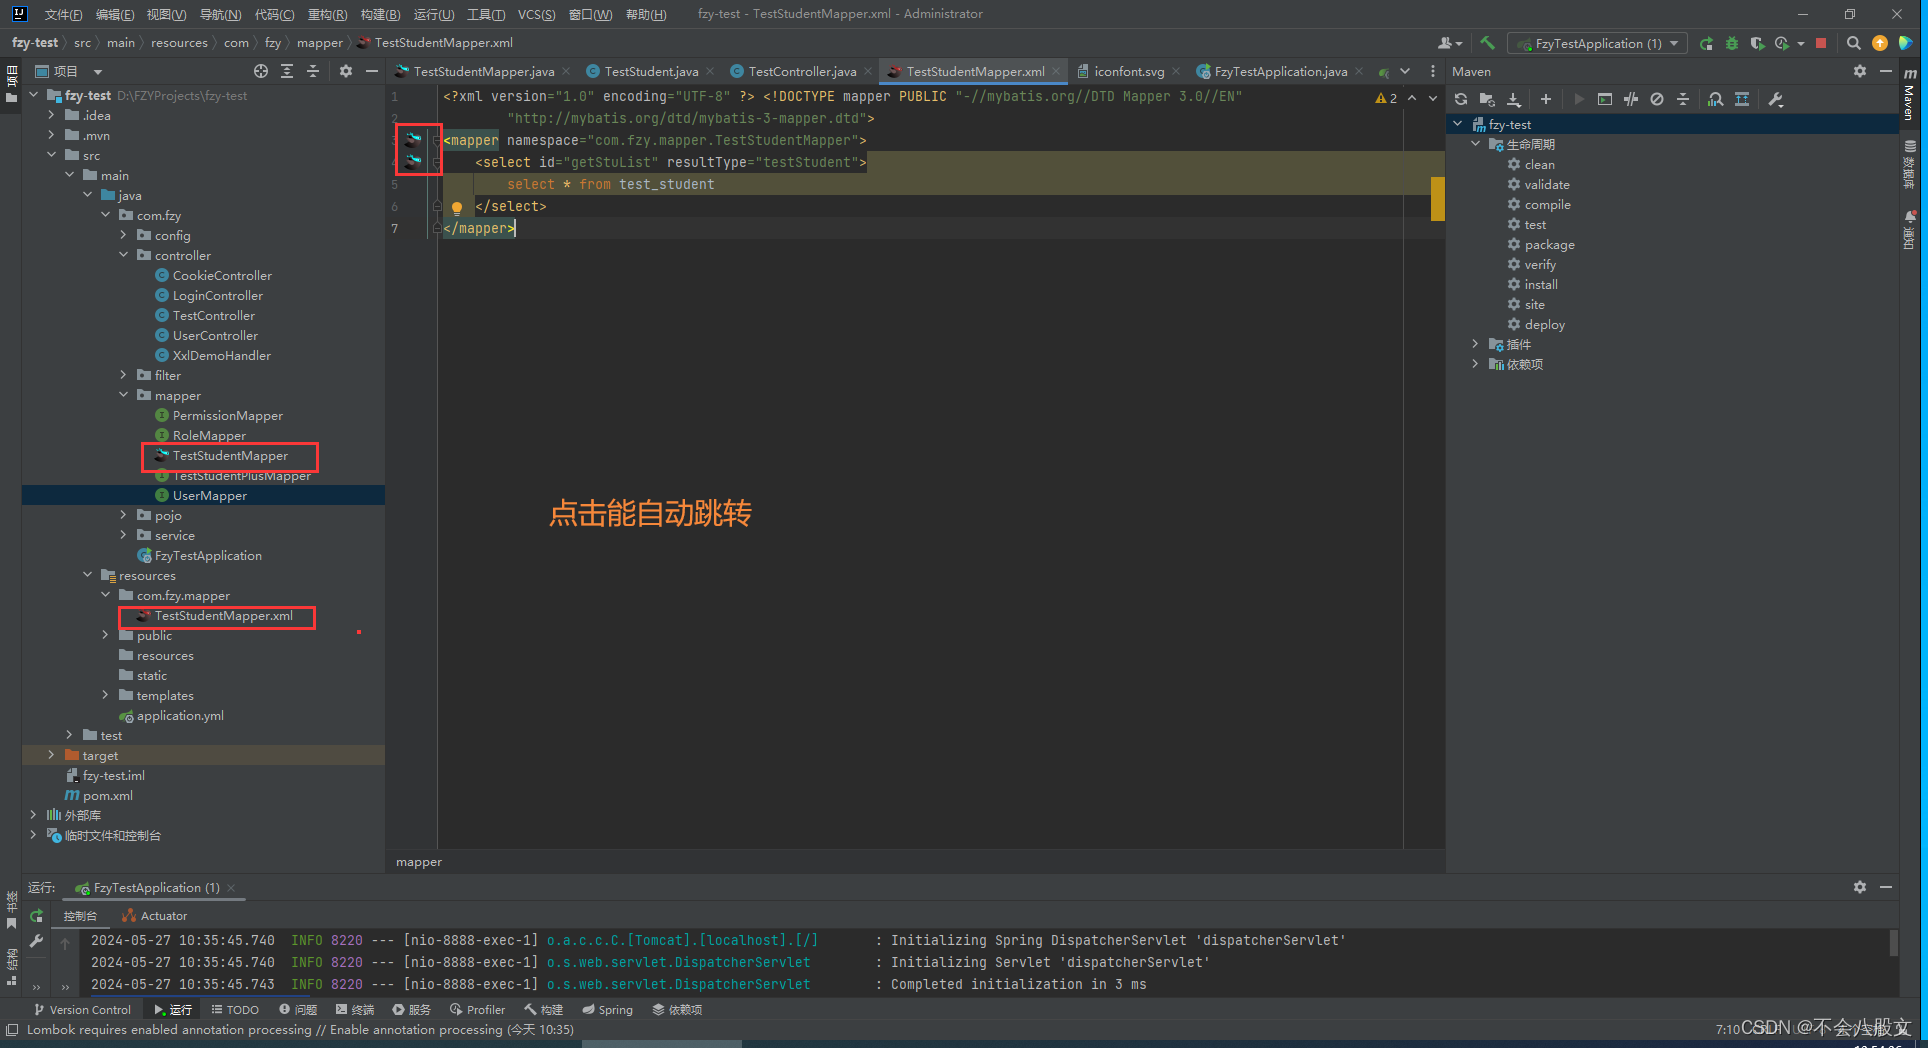
编写mapper映射文件需要注意的点:
1.包名一致:我的都是com.fzy.mapper
2.类名一致:保证映射文件的名称和接口名称完全一致
3.namespace:为接口的全限定类名,也就是包名.类名的形式
4.id:与接口中的方法名一致
5.参数类型和返回值类型保持一致
6.配置application.yml文件,主要配置接口映射文件和别名包扫描,起别名的目的是:例如返回值类型你可以直接写类名的驼峰式小写,比如实体类是AxxBxx,此处就可以写成axxBxx。
spring:
  application:
    name: fzy-test
  datasource:
    driver-class-name: com.mysql.jdbc.Driver
    username: 用户名
    password: 密码
    url: jdbc:mysql://localhost:3306/数据库?useUnicode=true&characterEncoding=utf-8&serverTimezone=UTC
    type: com.alibaba.druid.pool.DruidDataSource
mybatis:
  # 核心配置文件
  # config-location:  classpath:mybatis/mybatis-config.xml
  # 映射文件配置
  mapper-locations: classpath:com/fzy/mapper/StudentMapper.xml
  # 别名包扫描
  type-aliases-package: com.fzy.pojo
server:
  port: 8888


 2903
2903

 被折叠的 条评论
为什么被折叠?
被折叠的 条评论
为什么被折叠?
 到【灌水乐园】发言


