


目录
一、树形菜单功能实现
1.确定静态树形菜单节点的样式排版
2.获取树形节点的数据
this.axios.post
3.通过拿到的数据,渲染树形节点
v-for 渲染节点
定义渲染节点的变量
①、先注销掉main.js中以下代码
process.env.MOCK && require('@/mock') 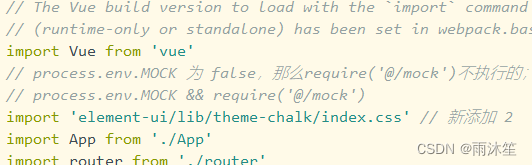
LeftNav.vue
<template>
  <el-menu default-active="2" class="el-menu-vertical-demo" background-color="#334157" text-color="#fff"
    active-text-color="#ffd04b" :collapse="collapsed">
    <!-- <el-menu default-active="2" :collapse="collapsed" collapse-transition router :default-active="$route.path" unique-opened class="el-menu-vertical-demo" background-color="#334157" text-color="#fff" active-text-color="#ffd04b"> -->
    <div class="logobox">
      <img class="logoimg" src="../assets/img/logo.png" alt="">
    </div>
    <el-submenu index="1-4">
      <template slot="title">
        <i class="el-icon-location"></i>
        <span>一级菜单</span>
      </template>
      <el-menu-item index="1-4-1">
        <i class="el-icon-location"></i>
        <span>二级菜单</span>
      </el-menu-item>
    </el-submenu>
  </el-menu>
</template>
<script>
  export default {
    data() {
      return {
        collapsed: false
      }
    },
    created() {
      // 从总线上取出this.collapsed变量
      this.$root.Bus.$on("collapsed-side", v => {
        this.collapsed = v;
      });
  }
</script>
<style>
  .el-menu-vertical-demo:not(.el-menu--collapse) {
    width: 240px;
    min-height: 400px;
  }

  .el-menu-vertical-demo:not(.el-menu--collapse) {
    border: none;
    text-align: left;
  }

  .el-menu-item-group__title {
    padding: 0px;
  }

  .el-menu-bg {
    background-color: #1f2d3d !important;
  }

  .el-menu {
    border: none;
  }

  .logobox {
    height: 40px;
    line-height: 40px;
    color: #9d9d9d;
    font-size: 20px;
    text-align: center;
    padding: 20px 0px;
  }

  .logoimg {
    height: 40px;
  }
</style>
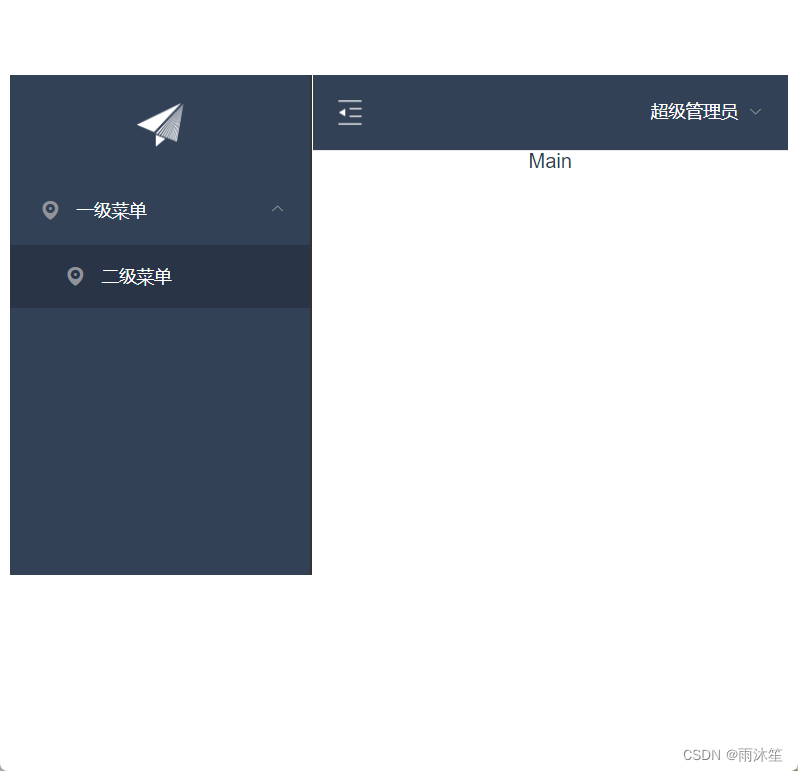
效果:
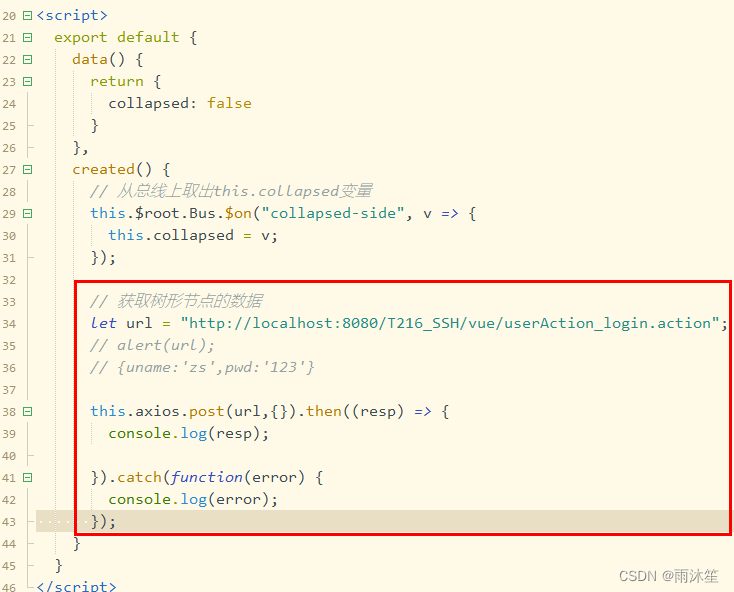
② 、将以下代码段加入到 LeftNav.vue
// 获取树形节点的数据
      let url = "http://localhost:8080/T216_SSH/vue/userAction_login.action";
      // alert(url);
      // {uname:'zs',pwd:'123'}

      this.axios.post(url,{}).then((resp) => {
        console.log(resp);

      }).catch(function(error) {
        console.log(error);
}); 
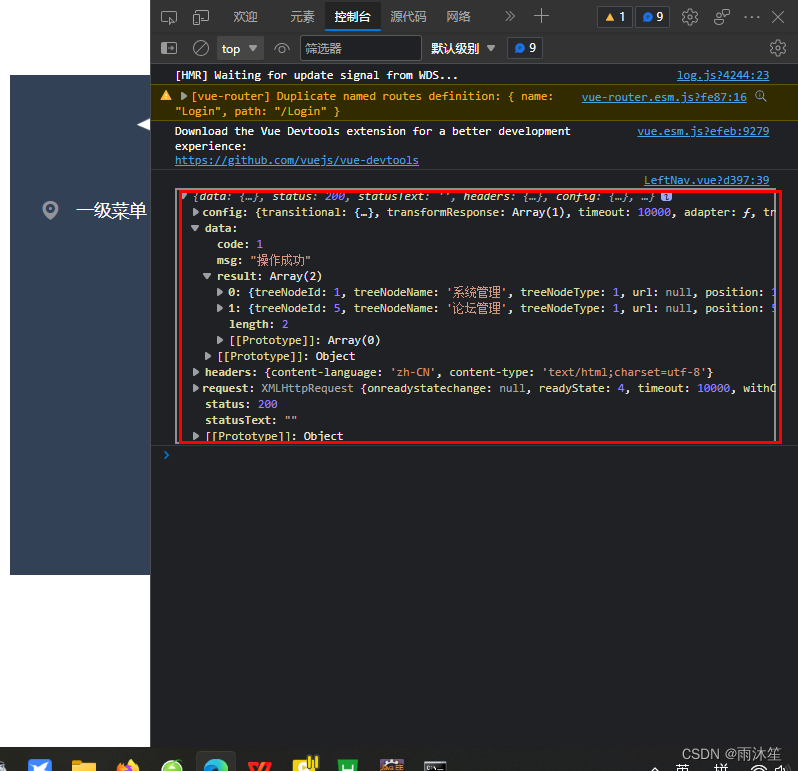
效果:
③、 LeftNav.vue
<template>
  <el-menu router :default-active="$route.path" default-active="2" class="el-menu-vertical-demo" background-color="#334157" text-color="#fff"
    active-text-color="#ffd04b" :collapse="collapsed">
    <!-- <el-menu default-active="2" :collapse="collapsed" collapse-transition router :default-active="$route.path" unique-opened class="el-menu-vertical-demo" background-color="#334157" text-color="#fff" active-text-color="#ffd04b"> -->
    <div class="logobox">
      <img class="logoimg" src="../assets/img/logo.png" alt="">
    </div>
    <el-submenu v-for="m in menus" :index="'id_'+m.treeNodeId">
      <template slot="title">
        <i class="el-icon-location"></i>
        <span>{{m.treeNodeName}}</span>
      </template>
      <el-menu-item v-for="m2 in m.children" :key="'id_'+m2.treeNodeId" :index="m2.url">
        <i class="el-icon-location"></i>
        <span>{{m2.treeNodeName}}</span>
      </el-menu-item>
    </el-submenu>
  </el-menu>
</template>
<script>
  export default {
    data() {
      return {
        collapsed: false,
        menus:[]
      }
    },
    created() {
      // 从总线上取出this.collapsed变量
      this.$root.Bus.$on("collapsed-side", v => {
        this.collapsed = v;
      });

      // 获取树形节点的数据
      let url = this.axios.urls.SYSTEM_MENU_TREE;
      // alert(url);
      // {uname:'zs',pwd:'123'}

      this.axios.post(url,{}).then((resp) => {
        console.log(resp);
        this.menus=resp.data.result;
      }).catch(function() {

      });
    }
  }
</script>
<style>
  .el-menu-vertical-demo:not(.el-menu--collapse) {
    width: 240px;
    min-height: 400px;
  }

  .el-menu-vertical-demo:not(.el-menu--collapse) {
    border: none;
    text-align: left;
  }

  .el-menu-item-group__title {
    padding: 0px;
  }

  .el-menu-bg {
    background-color: #1f2d3d !important;
  }

  .el-menu {
    border: none;
  }

  .logobox {
    height: 40px;
    line-height: 40px;
    color: #9d9d9d;
    font-size: 20px;
    text-align: center;
    padding: 20px 0px;
  }

  .logoimg {
    height: 40px;
  }
</style>
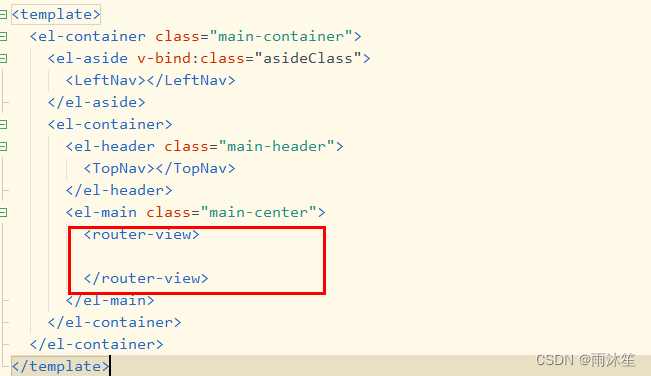
在AppMain.vue中定义锚点
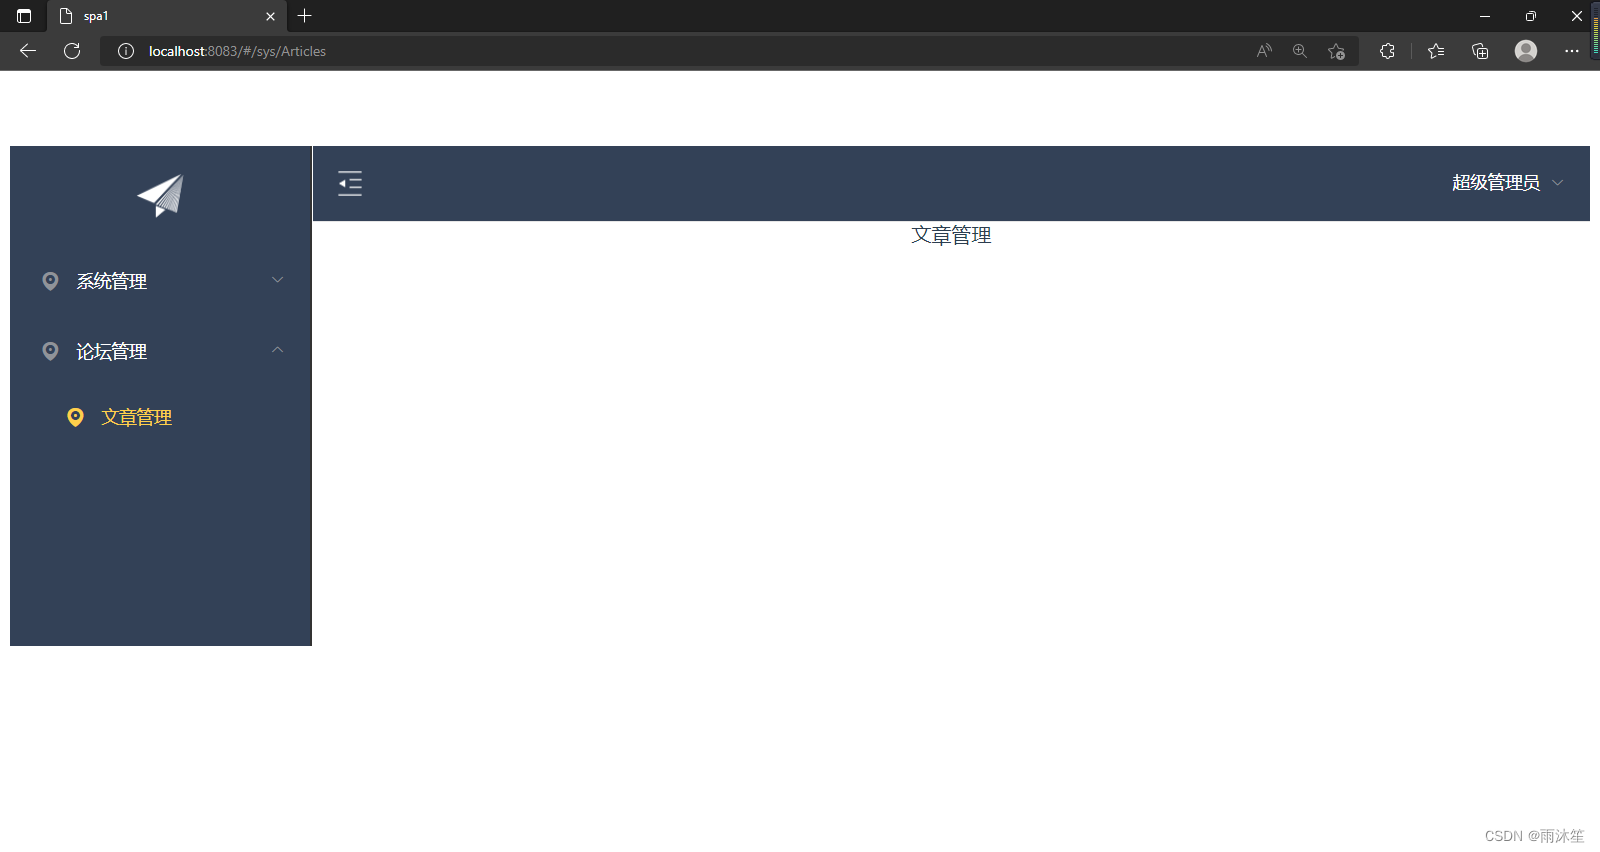
然后创建一个Articles.vue
<template>
  <div>
    文章管理
  </div>
</template>

<script>
  export default {
    name: 'Articles',
    data () {
      return {
        msg: 'Welcome to Your Vue.js App'
      }
    }
  }
</script>

<style>
</style>
然后添加路由
import Articles from '@/views/sys/Articles'以下代码加入到AppMain的childrent中
{
          path: '/sys/Articles',
          name: 'Articles',
          component: Articles
        }
二、书籍列表查询
1.el-table 列表组件
2.利用axios调用后台的文章查询接口 ->created
3.el-pagination列表组件
size-change 页大小改变调用的事件
current-change 页码改变调用的事件
4.优化 将调用后台的文章查询接口的代码进行封装,为了复用
5.el-from 查询的筛选条件 传参了
<template>
  <div>
    <!-- 搜索筛选-->
    <el-form :inline="true" :model="formInline" class="user-search">
    			<el-form-item label="搜索:">
    				<el-input size="small" v-model="formInline.title" placeholder="输入文章标题"></el-input>
    			</el-form-item>
    			<el-form-item>
    				<el-button size="small" type="primary" icon="el-icon-search" @click="search">搜索</el-button>
    				<!-- <el-button size="small" type="primary" icon="el-icon-plus" @click="handleEdit()">添加</el-button> -->
    			</el-form-item>
    		</el-form>
    <!--列表-->
    <el-table size="small" :data="listData" highlight-current-row style="width: 100%;">
      <el-table-column align="center" type="selection" width="60">
      </el-table-column>
      <el-table-column sortable prop="id" label="文章ID" width="300">
      </el-table-column>
      <el-table-column sortable prop="title" label="文章标题" width="300">
      </el-table-column>
      <el-table-column sortable prop="body" label="文章内容" width="300">
      </el-table-column>
      <el-table-column align="center" label="操作" min-width="300">
        <template slot-scope="scope">
          <el-button size="mini" @click="handleEdit(scope.$index, scope.row)">编辑</el-button>
          <el-button size="mini" type="danger" @click="deleteUser(scope.$index, scope.row)">删除</el-button>
        </template>
      </el-table-column>
    </el-table>

    <!-- 分页条 -->
    <el-pagination style="margin-top: 20px;" @size-change="handleSizeChange" @current-change="handleCurrentChange"
      :current-page="formInline.page" :page-sizes="[10, 20, 30, 50]" :page-size="100" layout="total, sizes, prev, pager, next, jumper"
      :total="formInline.total">
    </el-pagination>
  </div>
</template>

<script>
  export default {
    name: 'Articles',
    data() {
      return {
        listData:[],
        formInline:{
          page: 1,
          total: 10,
          title:''
        }
      }
    },
    methods: {
      handleSizeChange(rows) {
        this.formInline.page = 1;
        this.formInline.rows = rows;
        this.search();
      },
      handleCurrentChange(page) {
        this.formInline.page = page;
        this.search();

      },
      // 为了代码复用
      doSearch(parm){
        // 获取树形节点的数据
        let url = this.axios.urls.SYSTEM_ARTICLE_LIST;
        // alert(url);
        // {uname:'zs',pwd:'123'}

        this.axios.post(url, parm).then((resp) => {
          console.log(resp);
          this.listData = resp.data.result;
          this.formInline=resp.data.pageBean;
        }).catch(function() {

        });
      },
      search(){
        // 按照条件查询
        this.doSearch(this.formInline);
      }
    },
    created() {
      this.doSearch({});
    }
  }
</script>

<style>
</style>
效果:


 167
167

 被折叠的 条评论
为什么被折叠?
被折叠的 条评论
为什么被折叠?
 到【灌水乐园】发言


