


 本文详细介绍了如何使用vue-cli搭建SPA项目,从安装环境到创建项目骨架,再到配置路由和组件开发。同时,讲解了基于SPA的组件开发流程,包括组件分离、路由配置和嵌套路由的实现,最后展示了实际运行效果。
目录
②、不引用HelloWorld组件,新建Home.vue和Abort.vue
一、通过vue-cli脚手架构建SPA项目
使用脚手架的目的:规范前端项目开发的目录结构
1、前提:搭建好NodeJS环境
node -v
npm -v
2.、什么是vue-cli?
vue-cli是vue.js的脚手架,用于自动生成vue.js+webpack的项目模板,创建命令如下:
vue init webpack xxx
注1:xxx 为自己创建项目的名称
注2:必须先安装vue,vue-cli,webpack,node等一些必要的环境
3、安装vue-cli
npm install -g vue-cli
npm install -g webpack
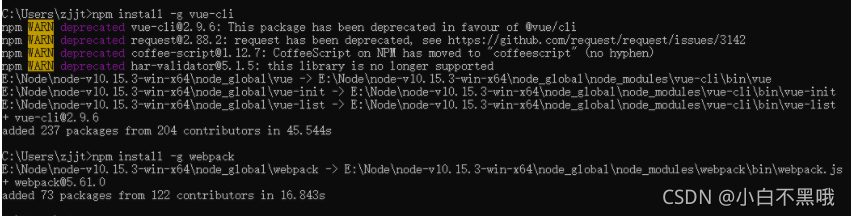
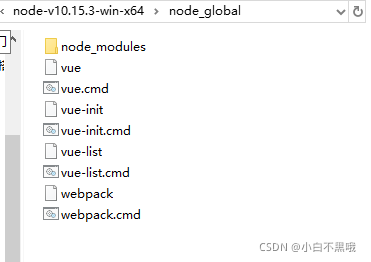
安装成功后,会出现如下文件
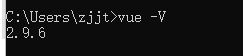
安装完成之后打开命令窗口并输入 vue -V(注意这里是大写的“V”),如果出现相应的版本号,则说明安装成功。
4、 使用脚手架vue-cli(2.X版)来构建项目
①、使用脚手架创建项目骨架
cmd #打开命令窗口
d: #切换到d盘
cd d:\temp 进入d:\temp目录
vue init webpack spa1 此命令用于创建SPA项目
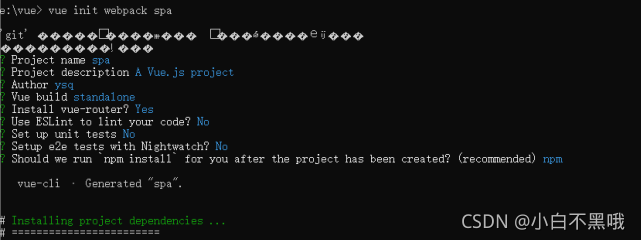
②、“一问一答”模式
1.Project name:项目名,默认是输入时的那个名称spa1,直接回车
2.Project description:项目描述,直接回车
3.Author:作者,随便填或直接回车
4.Vue build:选择题,一般选第一个
4.1Runtime + Compiler: recommended for most users//运行加编译,官方推荐,就选它了
4.2Runtime-only: about 6KB lighter min+gzip, but templates (or any Vue-specific HTML) are ONLY allowed in .vue files
- render functions are required elsewhere//仅运行时,已经有推荐了就选择第一个了
5.Install vue-router:是否需要vue-router,Y选择使用,这样生成好的项目就会有相关的路由配置文件
6.Use ESLint to lint your code:是否用ESLint来限制你的代码错误和风格。N 新手就不用了,但实际项目中一般都会使用,这样多人开发也能达到一致的语法
7.Set up unit tests:是否安装单元测试 N
8.Setup e2e tests with Nightwatch?:是否安装e2e测试 N
9.Should we run `npm install` for you after the project has been created? (recommended) (Use arrow keys)
> Yes, use NPM
Yes, use Yarn
No, I will handle that myself //选择题:选第一项“Yes, use NPM”是否使用npm install安装依赖全部选择好回车就进行了生成项目,出现如下内容表示项目创建完成
# Project initialization finished!
# ========================
③、安装需要的模块
cd spa 改变路径到spa1文件夹下
npm install 安装所有项目需要的npm模块

④、启动并访问项目
cd spa
npm run dev
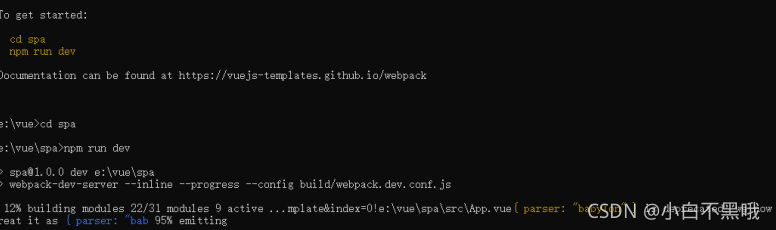
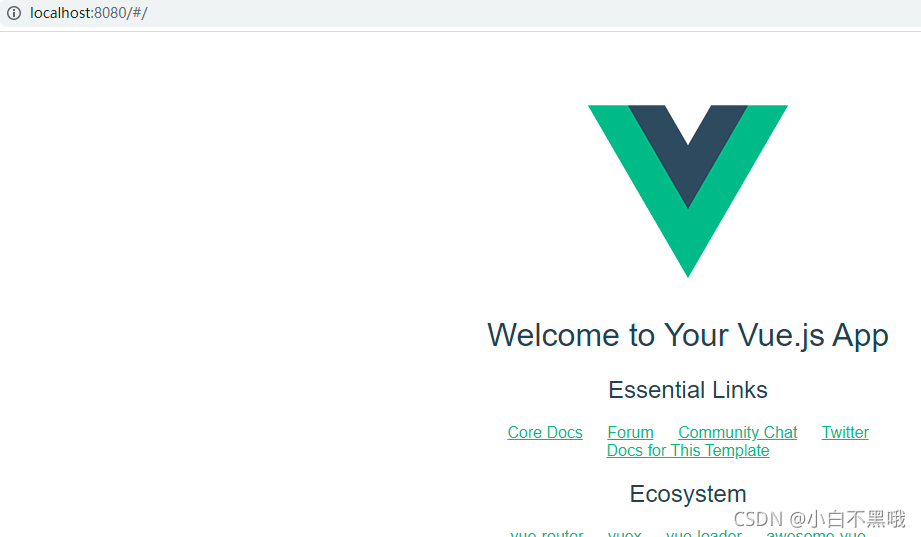
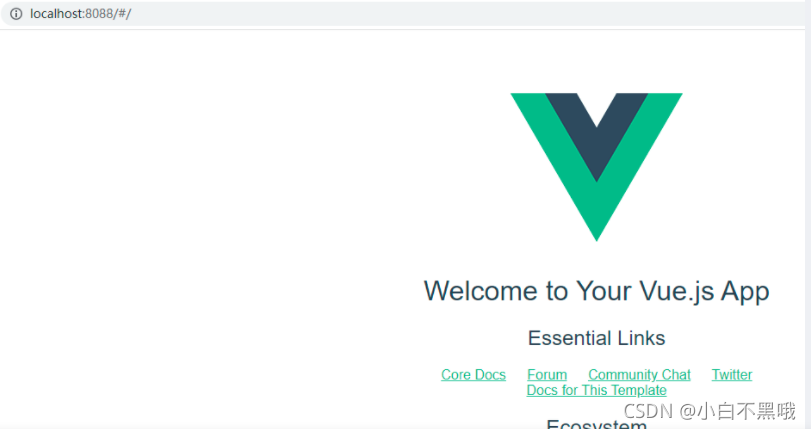
项目启动成功后,打开浏览器输入“http://localhost:8080”即可
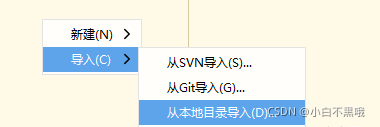
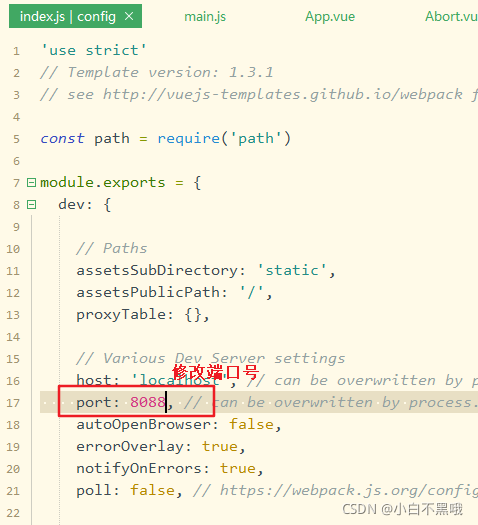
⑤、 更改调试地址的端口号
(1)、导入项目
(2)、修改
(3)、终止操作
Ctrl+C:终止操作
![]()
(4)、重新启动
npm run dev:重新启动

二、基于SPA项目的组件开发流程
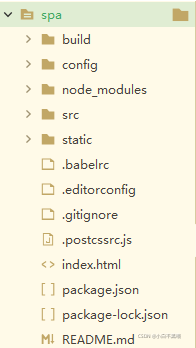
1. vue项目结构说明
build文件夹 这个文件夹主要是进行webpack的一些配置
webpack.base.conf.js webpack基础配置,开发环境,生产环境都依赖
webpack.dev.conf.js webpack开发环境配置
webpack.prod.conf.js webpack生产环境配置
build.js 生产环境构建脚本
vue-loader.conf.js 此文件是处理.vue文件的配置文件config文件夹
dev.env.js 配置开发环境
prod.env.js 配置生产环境
index.js 这个文件进行配置代理服务器,例如:端口号的修改
node_modules文件夹 存放npm install时根据package.json配置生成的npm安装 包的文件夹src文件夹 源码目录(开发中用得最多的文件夹)
assets 共用的样式、图片
components 业务代码存放的地方,里面分成一个个组件存放,一个页面是一个组 件,一个页面里面还会包着很多组件
router 设置路由
App.vue vue文件入口界面
main.js 对应App.vue创建vue实例,也是入口文件,对应 webpack.base.config.js里的入口配置static文件夹 存放的文件不会经过webpack处理,可以直接引用,例如swf文件如果要 引用可以在webpack配置
对swf后缀名的文件处理的loader,也可以直接将swf文件放在这个文件夹引用
package.json 这个文件有两部分是有用的:scripts 里面设置命令以及在dependencies 和devDependencies中,
分别对应全局下载和局部下载的依赖包
2、原理
index.html:整Spa唯一的界面,而且开发不需要写任何东西
<!DOCTYPE html>
<html>
  <head>
    <meta charset="utf-8">
    <meta name="viewport" content="width=device-width,initial-scale=1.0">
    <title>spa</title>
  </head>
  <body>
    <!-- 边界-->
    <div id="app"></div>
    <!-- built files will be auto injected -->
  </body>
</html>
main.js:整个SPA项目唯一的入口(想使用的工具包都在这里面引用),index.html想显示什么都 由main.js决定
// The Vue build version to load with the `import` command
// (runtime-only or standalone) has been set in webpack.base.conf with an alias.
import Vue from 'vue'
import App from './App'
import router from './router'
Vue.config.productionTip = false
/* eslint-disable no-new */
/* 绑定了index.html的边界 */
new Vue({
el: '#app',
router,
components: { App },
template: '<App/>'
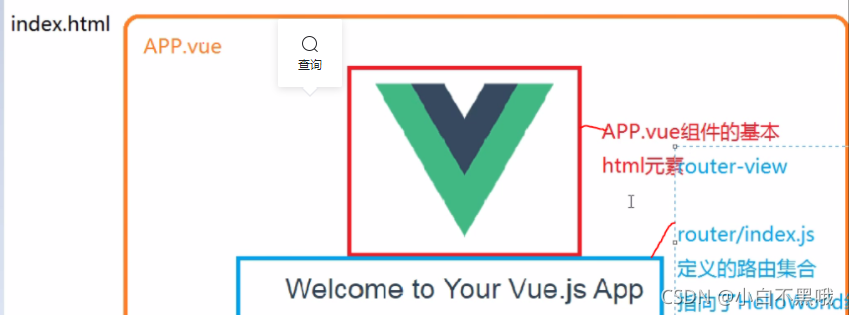
})App.vue:引用了图片,锚点
<template>
  <div id="app">
    <!-- 引用了图片-->
    <img src="./assets/logo.png">
    <!-- 锚点显示的内容取决于路由指向的组件-->
    <router-view/>
  </div>
</template>

<script>
export default {
  name: 'App'
}
</script>
<style>
#app {
  font-family: 'Avenir', Helvetica, Arial, sans-serif;
  -webkit-font-smoothing: antialiased;
  -moz-osx-font-smoothing: grayscale;
  text-align: center;
  color: #2c3e50;
  margin-top: 60px;
}
</style>
index.js:HelloWorld的组件最终会显示到App.vue的<router-view/>锚点
import Vue from 'vue'
import Router from 'vue-router'
import HelloWorld from '@/components/HelloWorld'
Vue.use(Router)
export default new Router({
routes: [
{
path: '/',
name: 'HelloWorld',
component: HelloWorld
}
]
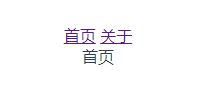
})2、将index.html与组件分开
①、删掉图片创建按钮
App.vue
<template>
  <div id="app">
    <router-link to="/">首页</router-link>
    <router-link to="/Abort">关于</router-link>
    <!-- 锚点显示的内容取决于路由指向的组件-->
    <router-view/>
  </div>
</template>
<script>
export default {
  name: 'App'
}
</script>
<style>
#app {
  font-family: 'Avenir', Helvetica, Arial, sans-serif;
  -webkit-font-smoothing: antialiased;
  -moz-osx-font-smoothing: grayscale;
  text-align: center;
  color: #2c3e50;
  margin-top: 60px;
}
</style>
②、不引用HelloWorld组件,新建Home.vue和Abort.vue
Home.vue
<template>
  <div>
    首页
  </div>
</template>

<script>
  export default {
    name: 'Home',
    data () {
      return {
        msg: 'Welcome to Your Vue.js App'
      }
    }
  }
</script>

<style>
</style>
Abort.vue
<template>
  <div>
    关于
    <router-view></router-view>
  </div>
</template>

<script>
  export default {
    name: 'Abort',
    data () {
      return {
        msg: 'Welcome to Your Vue.js App'
      }
    }
  }
</script>

<style>
</style>
③、配置路由,修改index.js引用的组件
import Vue from 'vue'
import Router from 'vue-router'
import HelloWorld from '@/components/HelloWorld'
import Home from '@/components/Home'
import Abort from '@/components/Abort'
Vue.use(Router)
export default new Router({
  routes: [
    {
      path: '/',
      name: 'Home',
      component: Home
    },
    {
      path: '/Abort',
      name: 'Abort',
      component: Abort
    }
  ]
})
3、得到结果
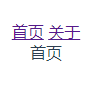
①、首页
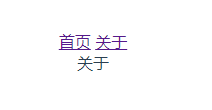
②、关于
三、嵌套路由
④、关于2
1、创建Abort1.vue、Abort2.vue
①、Abort1.vue
<template>
  <div>
    关于小白
  </div>
</template>

<script>
  export default {
    name: 'Abort1',
    data () {
      return {
        msg: 'Welcome to Your Vue.js App'
      }
    }
  }
</script>

<style>
</style>
②、Abort2.vue
<template>
  <div>
    关于小黑
  </div>
</template>

<script>
  export default {
    name: 'Abort2',
    data () {
      return {
        msg: 'Welcome to Your Vue.js App'
      }
    }
  }
</script>

<style>
</style>
2、配置路由
import Vue from 'vue'
import Router from 'vue-router'
import HelloWorld from '@/components/HelloWorld'
import Home from '@/components/Home'
import Abort from '@/components/Abort'
import Abort1 from '@/components/Abort1'
import Abort2 from '@/components/Abort2'

Vue.use(Router)

export default new Router({
  routes: [
    {
      path: '/',
      name: 'Home',
      component: Home
    },
    {
      path: '/Abort',
      name: 'Abort',
      component: Abort,
      children:[
        {
          path: '/Abort1',
          name: 'Abort1',
          component: Abort1
        },{
      path: '/Abort2',
      name: 'Abort2',
      component: Abort2
    }
      ]
    }
  ]
})
3、定义锚点
<template>
  <div>
    <router-link to="/Abort1">关于1</router-link>
    <router-link to="/Abort2">关于2</router-link>
    <router-view></router-view>
  </div>
</template>

<script>
  export default {
    name: 'Abort',
    data () {
      return {
        msg: 'Welcome to Your Vue.js App'
      }
    }
  }
</script>

<style>
</style>
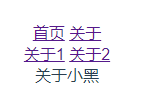
4、结果
①、首页
②、关于
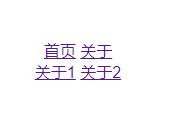
③、关于1
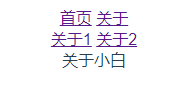
④、关于2


 374
374

 被折叠的 条评论
为什么被折叠?
被折叠的 条评论
为什么被折叠?
 到【灌水乐园】发言


