


 本文介绍了如何使用Spring官方和阿里云平台创建SpringBoot项目,详细步骤包括选择SpringBoot版本、添加Mybatis依赖、配置数据源、设置Mapper映射文件路径和实体类包名,并通过@MapperScan注解指定Dao接口包名。此外,还展示了如何引入Druid连接池并配置其参数,以及自定义启动时的banner和调整数据库驱动版本。
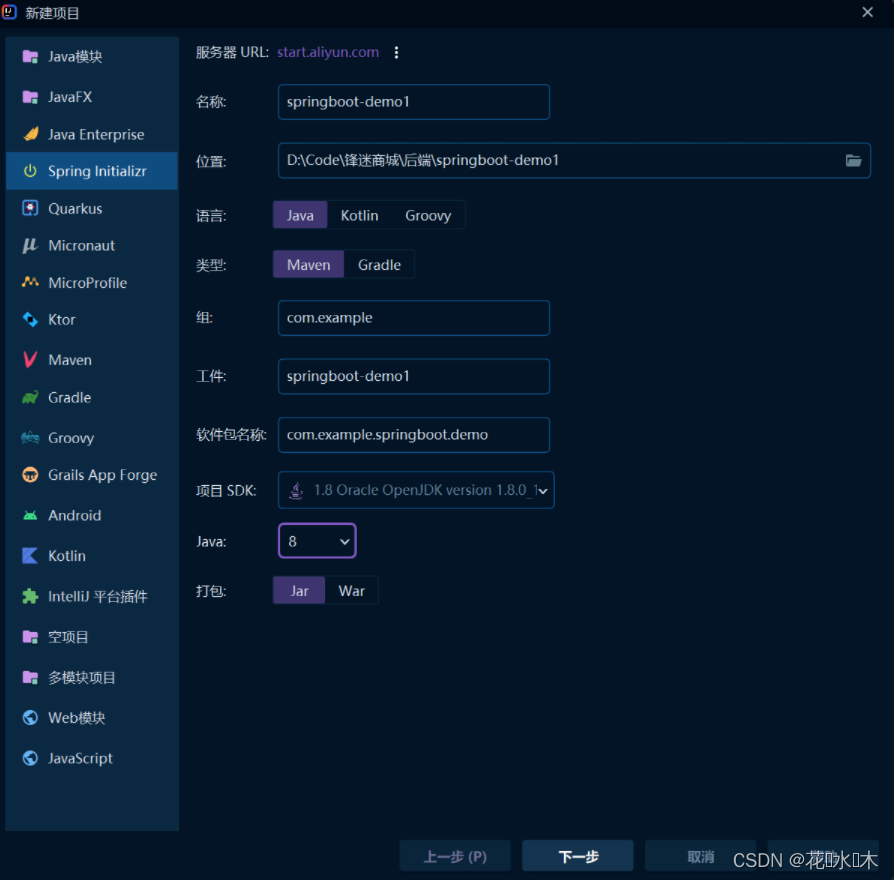
创建一个SpringBoot项目
SpringBoot应用需要依赖远程服务器进行创建
远程服务器:
- Spring官方:https://start.spring.io
- ali:https://start.aliyun.com
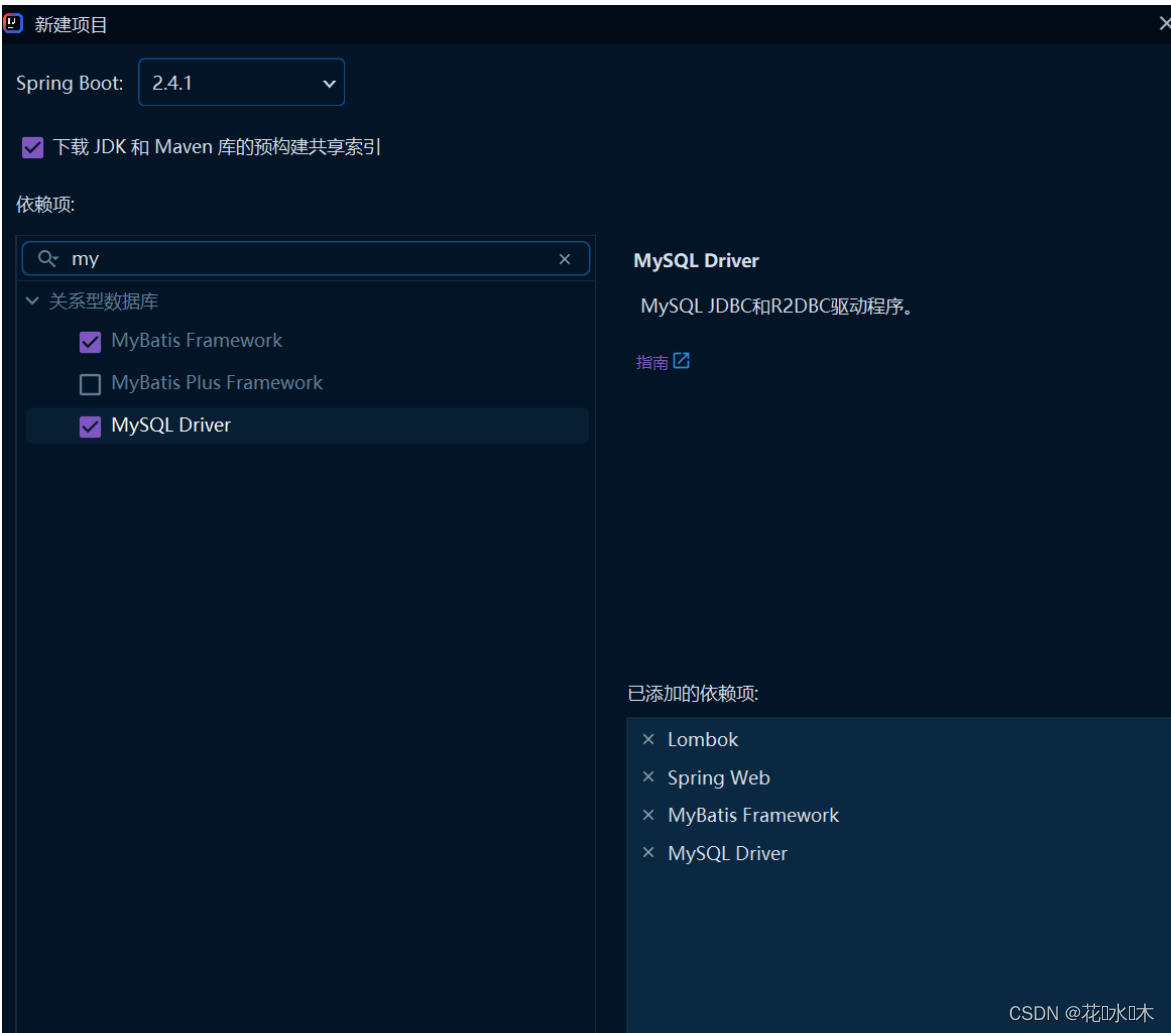
2.选择 springboot 版本,添加依赖
3. SpringBoot项目配置-Mybatis
SpringBoot 会帮我们完成通用性配置,但是数据库连接地址、账号、密码还是需要手动配置
- 修改mysql驱动的版本(选择性的)
- 配置数据源
# 配置数据源
spring:
  datasource:
    driver-class-name: com.mysql.jdbc.Driver
    url: jdbc:mysql://localhost:3306/db_mybatis?characterEncoding=utf-8
    username: root
    password: root
2.配置映射文件路径及实体类包名
#配置映射文件路径及实体类包名
mybatis:
  mapper-locations: classpath:mappers/*Mapper.xml
  type-aliases-package: com.example.springboot.demo.entity
3.在SpringBoot启动类通过 @MapperScan 注解指定Dao接口的包名
@SpringBootApplication
@MapperScan("com.example.springboot.demo.dao")
public class SpringbootDemo1Application {

    public static void main(String[] args) {
        SpringApplication.run(SpringbootDemo1Application.class, args);
    }

}
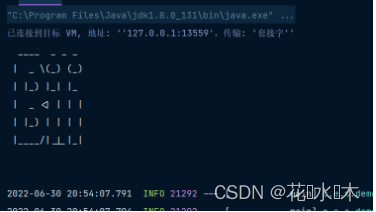
4. 启动项目
SpringBoot自带Servlet容器—Tomcat,因此无需进行额外的服务器配置
一些无聊的操作
banner:
http://patorjk.com/software/taag/
在 resources 目录下新建 banner.txt 文件,就会修改启动时的文字
导入Druid starter 数据库连接池
https://mvnrepository.com/
<!-- https://mvnrepository.com/artifact/com.alibaba/druid-spring-boot-starter -->
<dependency>
    <groupId>com.alibaba</groupId>
    <artifactId>druid-spring-boot-starter</artifactId>
    <version>1.2.8</version>
</dependency>
spring:
  datasource:
    druid:
      driver-class-name: com.mysql.jdbc.Driver
      url: jdbc:mysql://localhost:3306/db_mybatis?characterEncoding=utf-8
      username: root
      password: root
      #初始化容器大小
      initial-size: 1
      #最小连接数
      min-idle: 1
      #最大活跃连接数
      max-active: 20
#初始化容器大小
  initial-size: 1
  #最小连接数
  min-idle: 1
  #最大活跃连接数
  max-active: 20


 被折叠的 条评论
为什么被折叠?
被折叠的 条评论
为什么被折叠?
 到【灌水乐园】发言


