


 本文详细介绍了如何使用Android Studio创建一个类似微信的用户界面,包括顶部标题栏、底部导航栏和中间内容区域的设置,以及通过Fragment实现页面切换。在布局文件中设置组件和样式,然后在Java代码中处理点击事件和页面切换逻辑。同时,文章提到了遇到的Gradle版本不兼容问题,解决方案是将jcenter()替换为mavenCentral()。
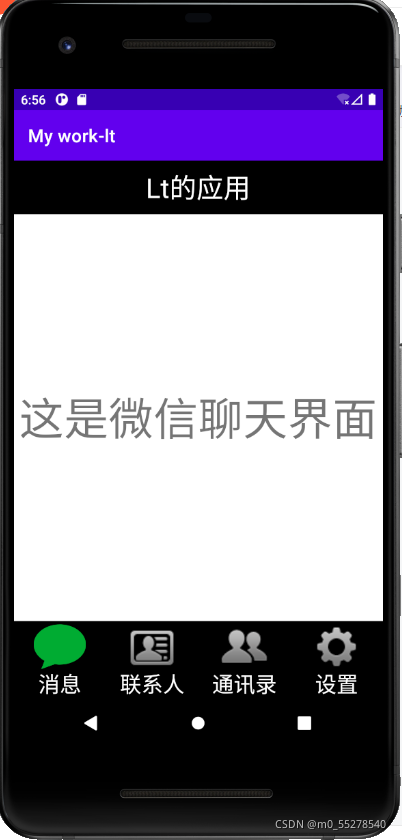
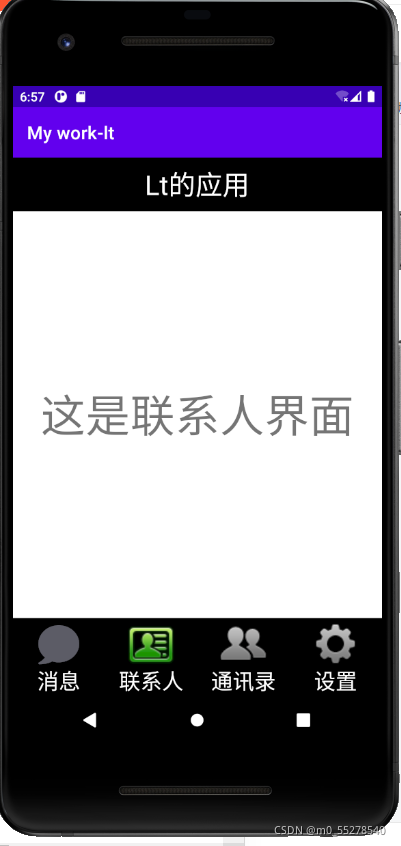
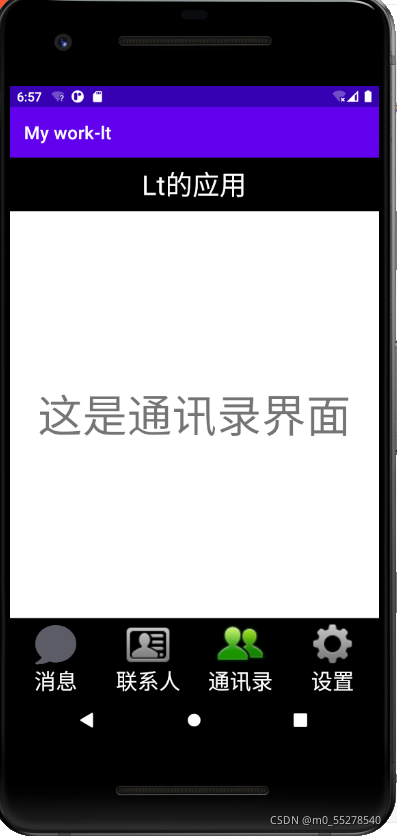
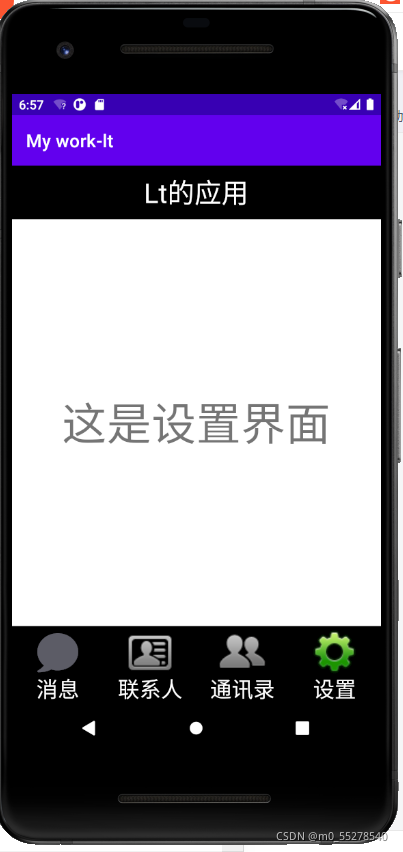
一、运行界面展示
二、功能实现步骤方法
1.顶部标题页面设置
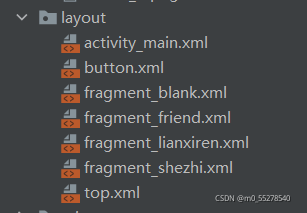
创建layout文件top.xml中,添加文本框,添加文字LT的应用,设置为居中,修改文字颜色为白色和FrameLayout背景颜色黑色。
<?xml version="1.0" encoding="utf-8"?>
<androidx.constraintlayout.widget.ConstraintLayout xmlns:android="http://schemas.android.com/apk/res/android"
    android:layout_width="match_parent"
    android:layout_height="60dp">

    <FrameLayout
        android:layout_width="match_parent"
        android:background="@color/black"
        android:layout_height="match_parent">

        <TextView
            android:id="@+id/textView5"
            android:layout_width="match_parent"
            android:layout_height="match_parent"
            android:gravity="center"
            android:text="Lt的应用"
            android:textColor="@color/white"
            android:textSize="30sp" />
    </FrameLayout>
</androidx.constraintlayout.widget.ConstraintLayout>
2.底部按钮界面设置
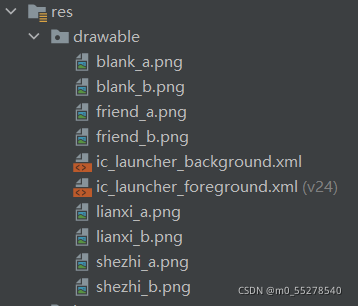
先将四个按钮所需图片放入drawble文件夹中,设置好点击前的图片为_b,点击后的图片为_a
四个按钮布局使用一个大的LinearLayout嵌套四个小的LinearLayout实现,在LinearLayout中添加ImageView图片和TextView文字
大的LinearLayout
<?xml version="1.0" encoding="utf-8"?>
<LinearLayout xmlns:android="http://schemas.android.com/apk/res/android"
    xmlns:app="http://schemas.android.com/apk/res-auto"
    xmlns:tools="http://schemas.android.com/tools"
    android:layout_width="match_parent"
    android:layout_height="90dp"
    android:background="@color/black">
小的LinearLayout里面的mageView图片和TextView文字
<LinearLayout
        android:id="@+id/linearLayout1"
        android:layout_width="0dp"
        android:layout_height="match_parent"
        android:layout_weight="1"
        android:gravity="center"
        android:orientation="vertical">

        <ImageView
            android:id="@+id/imageView1"
            android:layout_width="match_parent"
            android:layout_height="50dp"
            android:src="@drawable/blank_b" />

        <TextView
            android:id="@+id/textView1"
            android:layout_width="match_parent"
            android:layout_height="wrap_content"
            android:gravity="center"
            android:text="消息"
            android:textColor="@color/white"
            android:textSize="24sp" />
    </LinearLayout>
3.中间内容页面设置
新建四个fragment.xml文件,分别添加textview文字,修改成显示内容
<?xml version="1.0" encoding="utf-8"?>
<LinearLayout xmlns:android="http://schemas.android.com/apk/res/android"
    xmlns:tools="http://schemas.android.com/tools"
    android:layout_width="match_parent"
    android:layout_height="match_parent"
    tools:context=".BlankFragment">

    <!-- TODO: Update blank fragment layout -->
    <TextView
        android:layout_width="match_parent"
        android:layout_height="match_parent"
        android:text="这是微信聊天界面"
        android:gravity="center"
        android:textSize="50sp"/>

</LinearLayout>
4.合并各个部分形成微信UI基础布局
activity_main.xml文件编写
此文件的目的是将此前编写的上中下三个部分进行整合
<?xml version="1.0" encoding="utf-8"?>
<LinearLayout xmlns:android="http://schemas.android.com/apk/res/android"
xmlns:app="http://schemas.android.com/apk/res-auto"
xmlns:tools="http://schemas.android.com/tools"
android:layout_width="match_parent"
android:layout_height="match_parent"
android:orientation="vertical"
tools:context=".MainActivity">
<include layout="@layout/top"/>
<FrameLayout
android:id="@+id/id_content"
android:layout_width="match_parent"
android:layout_height="0dp"
android:layout_weight="1">
</FrameLayout>
<include layout="@layout/button"/>
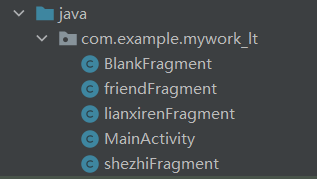
</LinearLayout>5.Fragment.java文件编写
实现点击四个button分别切换到不同的四个页面的跳转控制,所以选择使用Fragment类:将四个布局文件压缩分别到fragment类里,成为类的实例对象,将页面对象化
新建四个fragment文件
package com.example.mywork_lt;

import android.os.Bundle;

import android.app.Fragment;
import android.view.LayoutInflater;
import android.view.View;
import android.view.ViewGroup;

/**
 * A simple {@link Fragment} subclass.
 * Use the {@link BlankFragment# method to
 * create an instance of this fragment.
 */
public class BlankFragment extends Fragment {

    public BlankFragment() {
        // Required empty public constructor
    }


    @Override
    public View onCreateView(LayoutInflater inflater, ViewGroup container,
                             Bundle savedInstanceState) {
        // Inflate the layout for this fragment
        return inflater.inflate(R.layout.fragment_blank, container, false);
    }
}
6.java文件编写
主要目的:点击按钮,按钮会变色,并且跳转到相应的页面,之前生成的界面也会在下一个点击之后隐藏起来
函数的作用简介
protected void onCreate(Bundle savedInstanceState) //监听整个屏幕
private void initFragment() //将4个页面放到Framelayout中
private void hideFragment(FragmentTransaction transaction) //在显示一个界面之前将所有的界面都hide,点击对应的button之后再把对应的页面显示出来
public void onClick(View v) //监听函数
private void resetimg() //调用灰色的图片,以让点击过后的图片回复原色
private void showfragment(int i) //控制图片颜色的变换,其意义是点击一个图片之后该图片就会变亮
package com.example.mywork_lt;

import androidx.appcompat.app.AppCompatActivity;
import androidx.appcompat.view.menu.MenuView;

import android.app.Fragment;
import android.app.FragmentManager;
import android.app.FragmentTransaction;

import android.os.Bundle;
import android.view.SurfaceControl;
import android.view.View;
import android.widget.ImageView;
import android.widget.LinearLayout;

public class MainActivity extends AppCompatActivity  implements View.OnClickListener {
    private Fragment BlankFragment = new BlankFragment();
    private Fragment friendFragment = new friendFragment();
    private Fragment lianxirenFragment = new lianxirenFragment();
    private Fragment shezhiFragment = new shezhiFragment();

    private FragmentManager fragmentManager;

    private LinearLayout linearLayout1, linearLayout2, linearLayout3, linearLayout4;
    private ImageView imageView1,imageView2,imageView3,imageView4;

    @Override
    protected void onCreate(Bundle savedInstanceState) {
        super.onCreate(savedInstanceState);
        setContentView(R.layout.activity_main);


        linearLayout1 = findViewById(R.id.linearLayout1);
        linearLayout2 = findViewById(R.id.linearLayout2);
        linearLayout3 = findViewById(R.id.linearLayout3);
        linearLayout4 = findViewById(R.id.linearLayout4);


        imageView1=findViewById(R.id.imageView1);
        imageView2=findViewById(R.id.imageView2);
        imageView3=findViewById(R.id.imageView3);
        imageView4=findViewById(R.id.imageView4);

        initFragment();
        showfragment(0);

        linearLayout1.setOnClickListener(this);   //定义监听范围
        linearLayout2.setOnClickListener(this);
        linearLayout3.setOnClickListener(this);
        linearLayout4.setOnClickListener(this);


    }

    private void initFragment() {    //将四个界面放到fraglayout中
        fragmentManager = getFragmentManager();
        FragmentTransaction transaction = fragmentManager.beginTransaction();
        transaction.add(R.id.id_content, BlankFragment);
        transaction.add(R.id.id_content, shezhiFragment);
        transaction.add(R.id.id_content, lianxirenFragment);
        transaction.add(R.id.id_content, friendFragment);
        transaction.commit();

    }

    private void hideFragment(FragmentTransaction transaction) {    //在显示一个界面之前将所有的界面都hide,点击对应的button之后再把对应的页面显示出来

        transaction.hide(BlankFragment);
        transaction.hide(lianxirenFragment);
        transaction.hide(friendFragment);
        transaction.hide(shezhiFragment);


    }

    @Override
    public void onClick(View v) {   //监听函数
        resetimg();
        switch (v.getId()) {
            case R.id.linearLayout1:
                showfragment(0);
                break;
            case R.id.linearLayout2:
                showfragment(1);
                break;
            case R.id.linearLayout3:
                showfragment(2);
                break;
            case R.id.linearLayout4:
                showfragment(3);
                break;
            default:
                break;

        }

    }

    private void resetimg() {    //调用灰色的图片,以让点击过后的图片回复原色
        imageView1.setImageResource(R.drawable.blank_b);
        imageView2.setImageResource(R.drawable.lianxi_b);
        imageView3.setImageResource(R.drawable.friend_b);
        imageView4.setImageResource(R.drawable.shezhi_b);

    }

    private void showfragment(int i) {    //控制图片颜色的变换,其意义是点击一个图片之后该图片就会变亮
        FragmentTransaction transaction = fragmentManager.beginTransaction();
        hideFragment(transaction);
        switch (i) {
            case 0:
                transaction.show(BlankFragment);
                imageView1.setImageResource(R.drawable.blank_a);
                break;
            case 1:
                transaction.show(lianxirenFragment);
                imageView2.setImageResource(R.drawable.lianxi_a);
                break;
            case 2:
                transaction.show(friendFragment);
                imageView3.setImageResource(R.drawable.friend_a);
                break;
            case 3:
                transaction.show(shezhiFragment);
                imageView4.setImageResource(R.drawable.shezhi_a);
                break;
            default:
                break;
        }
        transaction.commit();
    }


} https://github.com/ning52003/-.git
7.最新的gradle版本不兼容
1. 问题描述:
编译的时候出现使用了弃用的gradle特性,导致与最新的gradle不兼容具体体现如下:
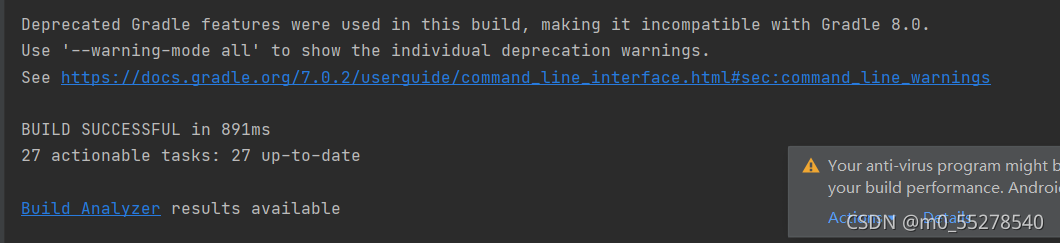
2.问题排查:
根据提示,用如下命令
gradlew --warning-mode all
进行编译,提示如下:
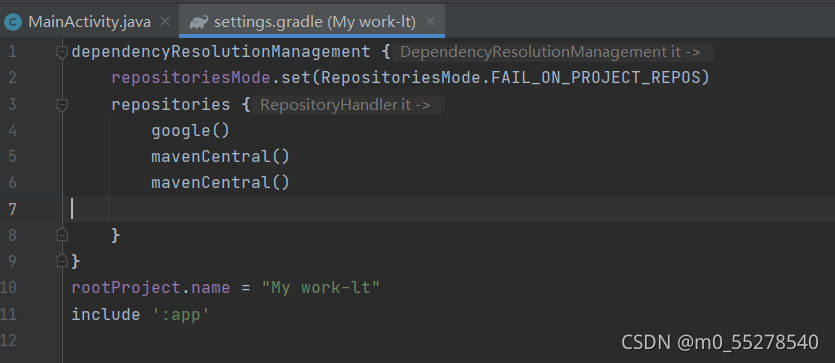
将mavenCentral() 替换掉repositoryHandler.jcenter()即可

3.问题解决:
在settings.gradle文件下的jcenter()修改成mavenCentral() 问题就解决了


 被折叠的 条评论
为什么被折叠?
被折叠的 条评论
为什么被折叠?
 到【灌水乐园】发言


