


前言
最近的开发进度就到这里,从这里开始记录学习的过程。本章涉及部分语言设置,命令设置,插件设置等。有什么不对的地方欢迎指正
功能设置
-
期望功能
- 扫描当前文件
- 扫描指定文件夹
- 扫描相对文件夹
命令设置
在这里设置的命令会在ctrl+shift+p中找到,
"contributes": {
    "commands": [ //格式"command":[{},{}...]
      {
      	// 该命令扫描当前文件夹
        "command": "cppcheck-tool.scanCurrentFile", //在搜索栏可以搜到的名字
        "title": "%cppcheck-tool.command.title.scanCurrentFile%",//标题(支持中文)
        "description": "%cppcheck-tool.command.description.scanCurrentFile%",//描述(支持中文)
        "category": "cppcheck-tool" //该命令所属的类别
      },
      {
        //该命令扫描指定文件夹
        "command": "cppcheck-tool.scanSpecifiedDir",
        "title": "%cppcheck-tool.command.title.scanSpecifiedDir%",
        "description": "%cppcheck-tool.command.description.scanSpecifiedDir%",
        "category": "cppcheck-tool"
      },
      {
        // 该命令扫描设置的路径
        "command": "cppcheck-tool.scanSettingPath",
        "title": "%cppcheck-tool.command.title.scanSettingPath%",
        "description": "%cppcheck-tool.command.description.scanSettingPath%",
        "category": "cppcheck-tool"
      },
      //后续的命令顾名思义
      {
        "command": "cppcheck-tool.setCppcheckPath",
        "title": "%cppcheck-tool.command.title.setCppcheckPath%",
        "category": "cppcheck-tool"
      },
      {
        "command": "cppcheck-tool.setCppcheckArgs",
        "title": "%cppcheck-tool.command.title.setCppcheckArgs%",
        "category": "cppcheck-tool"
      },
      {
        "command": "cppcheck-tool.setAutoScan",
        "title": "%cppcheck-tool.command.title.setAutoScan%",
        "description": "%cppcheck-tool.command.description.setAutoScan%",
        "category": "cppcheck-tool"
      },
      {
        "command": "cppcheck-tool.setScanPath",
        "title": "%cppcheck-tool.command.title.setScanPath%",
        "category": "cppcheck-tool"
      }
    ]
 ···········//后续为剩下的内容
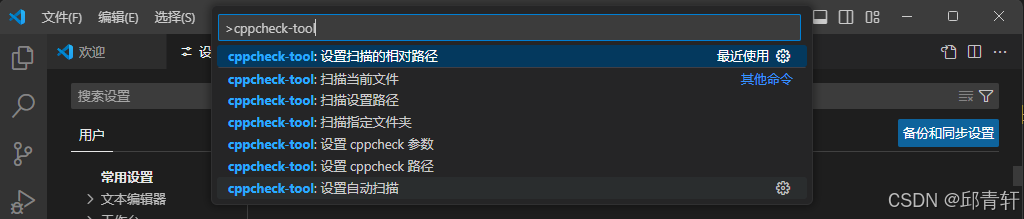
点击f5调试,ctrl+shift+p输入cppcheck-tool即可找到设置的命令。显示的标题可能有些不一样,不着急,继续看。
添加设置选项
在这里添加的设置选项会在VSCode的设置选项中找到,方便设置参数到自己的插件,或者控制某些功能
"contributes": { //同样在contributes下
 "configuration": { //控制选项的key
      "type" : "object", //种类
      "title": "%cppcheck-tool.setting.title%", //添加设置的标题
      "properties": { //具体的添加的设置在这个key下
        "cppcheck-tool.cppcheckPath": { //设置的id
          "type": "string", //设置的类型,这里是字符串
          "default": "", //默认值,这里默认是空
          "description": "%cppcheck-tool.setting.description.cppcheckPath%", //描述,支持中文
          "category": "cppcheck-tool" //类别,这里依然是cppcheck-tool
        },
        "cppcheck-tool.Arguments":{
          "type": "string",
          "default": "",
          "description": "%cppcheck-tool.setting.description.cppcheckArgs%",
          "category": "cppcheck-tool"
        },
        "cppcheck-tool.autoScan":{
          "type": "boolean",// 这里是布尔值,只有true和false
          "default": true, //这里默认是true
          "description": "%cppcheck-tool.setting.description.autoScan%",
          "category": "cppcheck-tool"
        },
        "cppcheck-tool.scanPath":{
          "type": "string",
          "default": "",
          "description": "%cppcheck-tool.setting.description.scanPath%",
          "category": "cppcheck-tool"
        }
      }
    }
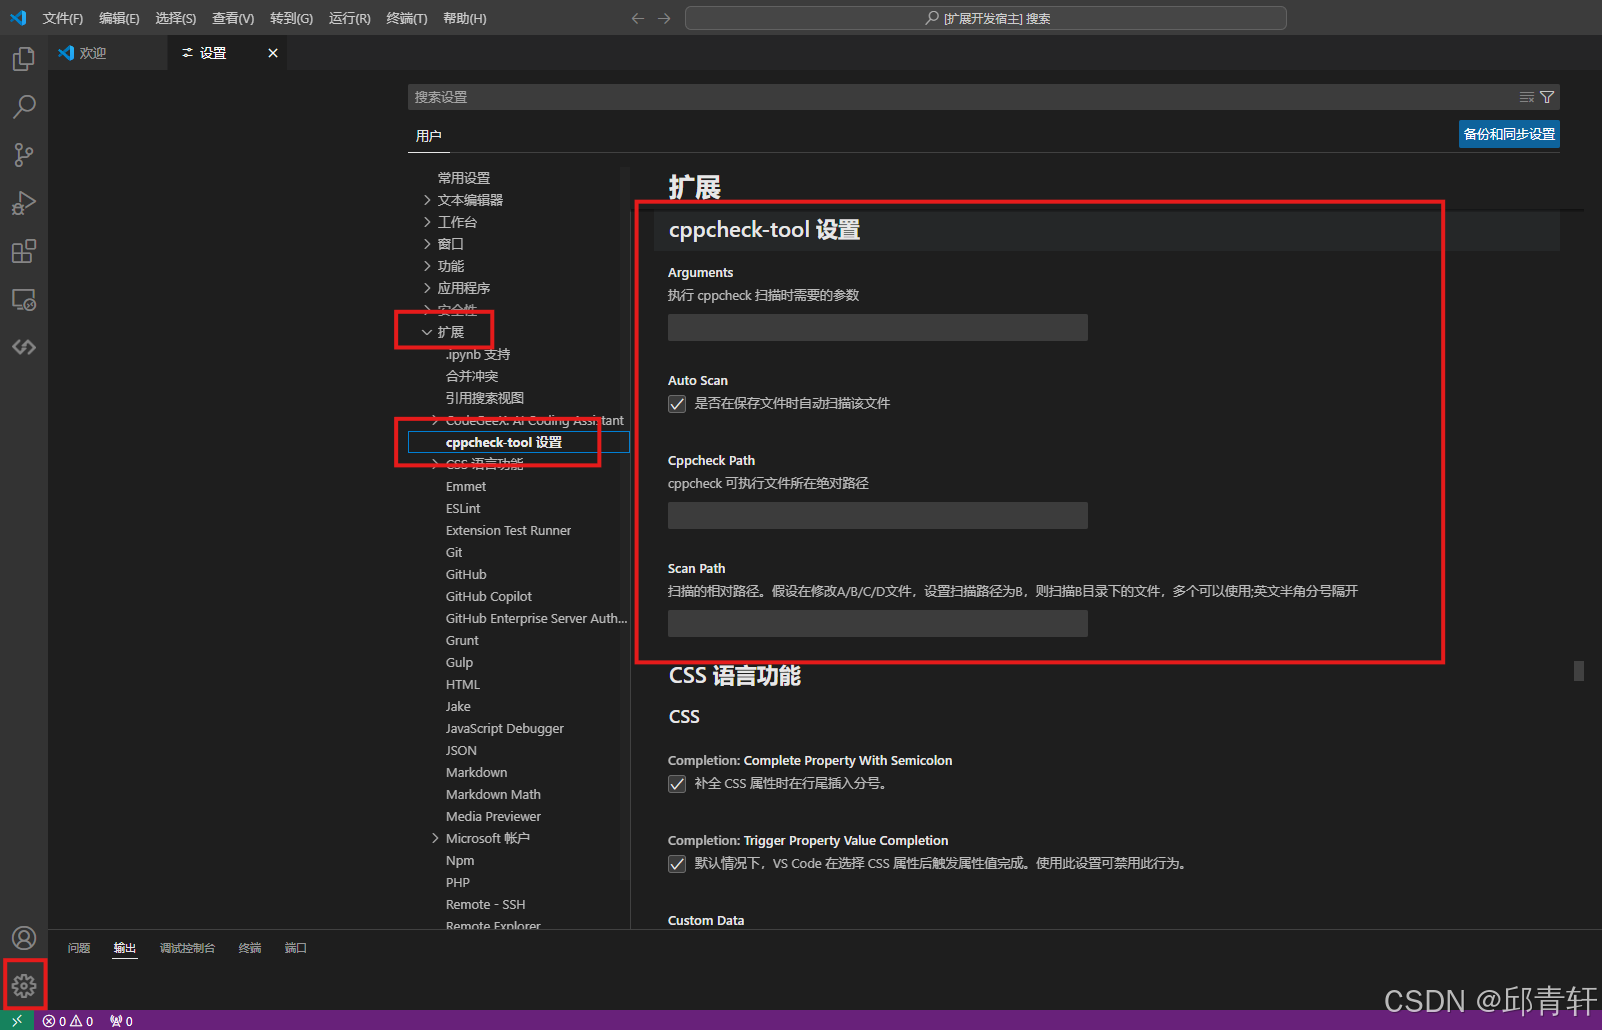
依旧是F5调试,点击左下角的齿轮图标,点击扩展,就可以看到cppcheck-tool的设置选项了。
显示的描述和图片里依旧不一样。
语言设置
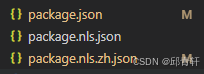
刚才设置的标题和描述都是%xxx.xxx%这样的,这是语言设置的时候VSCode会根据当前的语言选择不同的显示内容。要实现这样的功能需要在package.json同级目录下创建一个package.nls.json(英文)和package.nls.zh.json(中文)文件。
创建完毕之后添加内容
在文件package.nls.zh.json中添加如下内容
{
    "cppcheck-tool.setting.title":"cppcheck-tool 设置",
    "cppcheck-tool.setting.title.cppcheckPath": "cppcheck 路径",
    "cppcheck-tool.setting.description.cppcheckPath": "cppcheck 可执行文件所在绝对路径",
    "cppcheck-tool.setting.title.cppcheckArgs": "cppcheck 参数",
    "cppcheck-tool.setting.description.cppcheckArgs": "执行 cppcheck 扫描时需要的参数",
    "cppcheck-tool.setting.title.autoScan": "自动扫描",
    "cppcheck-tool.setting.description.autoScan": "是否在保存文件时自动扫描该文件",
    "cppcheck-tool.setting.description.scanPath": "扫描的相对路径。假设在修改A/B/C/D文件,设置扫描路径为B,则扫描B目录下的文件,多个可以使用;英文半角分号隔开",

    "cppcheck-tool.command.title.scanCurrentFile" : "扫描当前文件",
    "cppcheck-tool.command.description.scanCurrentFile" : "运行 cppcheck 扫描当前文件",
    "cppcheck-tool.command.title.scanSettingPath" : "扫描设置路径",
    "cppcheck-tool.command.description.scanSettingPath" : "运行 cppcheck 扫描设置中的相对路径",
    "cppcheck-tool.command.title.scanSpecifiedDir" : "扫描指定文件夹",
    "cppcheck-tool.command.description.runScanAll" : "运行 cppcheck 扫描扫描指定文件夹",
    "cppcheck-tool.command.title.setCppcheckPath" : "设置 cppcheck 路径",
    "cppcheck-tool.command.description.setCppcheckPath" : "设置 cppcheck 路径",
    "cppcheck-tool.command.title.setCppcheckArgs" : "设置 cppcheck 参数",
    "cppcheck-tool.command.description.setCppcheckArgs" : "设置 cppcheck 参数",
    "cppcheck-tool.command.title.setAutoScan" : "设置自动扫描",
    "cppcheck-tool.command.description.setAutoScan" : "在保存文件时自动扫描该文件",
    "cppcheck-tool.command.title.setScanPath": "设置扫描的相对路径",
    "cppcheck-tool.command.description.setScanPath": "设置 cppcheck 扫描的相对路径"
}
在文件package.nls.json中添加如下内容
英文没有翻译完,英文环境下的需要设置的可以自行复制中文的json文件的内容然后将其翻译为中文。后续会将该文件修改后会修改文章的内容。
{
    "cppcheck-tool.setting.title.cppcheckPath": "cppcheck path",
    "cppcheck-tool.setting.description.cppcheckPath": "The absolute path where the cppcheck executable file is located",
    "cppcheck-tool.setting.title.cppcheckArgs": "cppcheck Arguments",
    "cppcheck-tool.setting.description.cppcheckArgs": "Arguments required for performing cppcheck scan",
    "cppcheck-tool.setting.title.autoScan": "auto Scan",
    "cppcheck-tool.setting.description.autoScan": "Automatically scan the file when saving it"

}
最后就会得到和上述效果图一样的内容啦。
不早了今天就记录到这里。下次应该就是逻辑的实现了。
参考链接
VSCode官方文档链接
VSCode Github 的example


 7万+
7万+


 到【灌水乐园】发言


