


nginx访问控制官方文档
http://nginx.org/en/docs/http/ngx_http_access_module.html
访问控制
用于http, server, location, limit_except段
allow:设定允许哪台或哪些主机访问
deny:设定禁止哪台或哪些主机访问
本机IP地址192.168.141.141
[root@nginx ~]# ip a
2: eth0: <BROADCAST,MULTICAST,UP,LOWER_UP> mtu 1500 qdisc fq_codel state UP group default qlen 1000
    link/ether 00:16:3e:43:a5:ea brd ff:ff:ff:ff:ff:ff
    inet 192.168.141.141/24 brd 192.168.141.255 scope global noprefixroute eth0
       valid_lft forever preferred_lft forever
    inet6 fe80::216:3eff:fe43:a5ea/64 scope link noprefixroute
       valid_lft forever preferred_lft forever
[root@nginx ~]#

[root@nginx ~]# vim /usr/local/nginx/conf/nginx.conf
 41         #access_log  logs/host.access.log  main;
 43         location / {
 44             root   html;
 45             index index.html index.htm;
 46             allow 192.168.141.141/24;   //仅允许这个IP访问
 47             deny all;  //拒绝所有主机访问"/"
 48         }

[root@nginx ~]# systemctl restart nginx.service
[root@nginx ~]# curl 127.0.0.1		//连本机都访问不了了
<html>
<head><title>403 Forbidden</title></head>
<body>
<center><h1>403 Forbidden</h1></center>
<hr><center>nginx/1.22.0</center>
</body>
</html>
只能通过这个192.168.141.141 IP地址访问

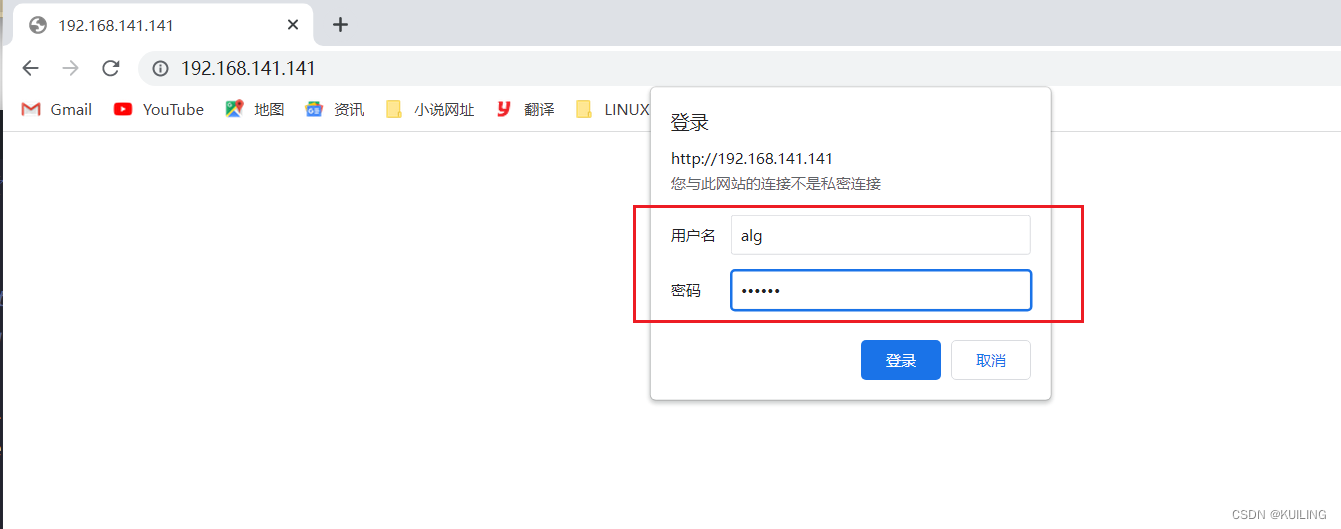
Nginx用户认证
应用于http, server, location, limit_except段
配置如下
auth_basic "欢迎信息";
auth_basic_user_file "/path/to/user_auth_file"
操作演示
//首先要下载httpd-tools软件包
[root@nginx ~]# dnf -y install httpd-tools
//生成密码隐藏文件.usr_auth_file,后面的alg是用alg用户登录
[root@nginx ~]# htpasswd -c -m /usr/local/nginx/conf/.usr_auth_file alg
New password: 123456
Re-type new password: 123456
Adding password for user alg
//密码文件格式
[root@nginx ~]# cat /usr/local/nginx/conf/.usr_auth_file
alg:$apr1$mHl6OmOc$nExY9EYqa9m2dQrSUNqzw0
[root@nginx ~]#
//修改配置文件,开启用户认证
[root@nginx ~]# vim /usr/local/nginx/conf/nginx.conf
location / {
root html;
index index.html index.htm;
auth_basic "hello";
auth_basic_user_file /usr/local/nginx/conf/.usr_auth_file;
}
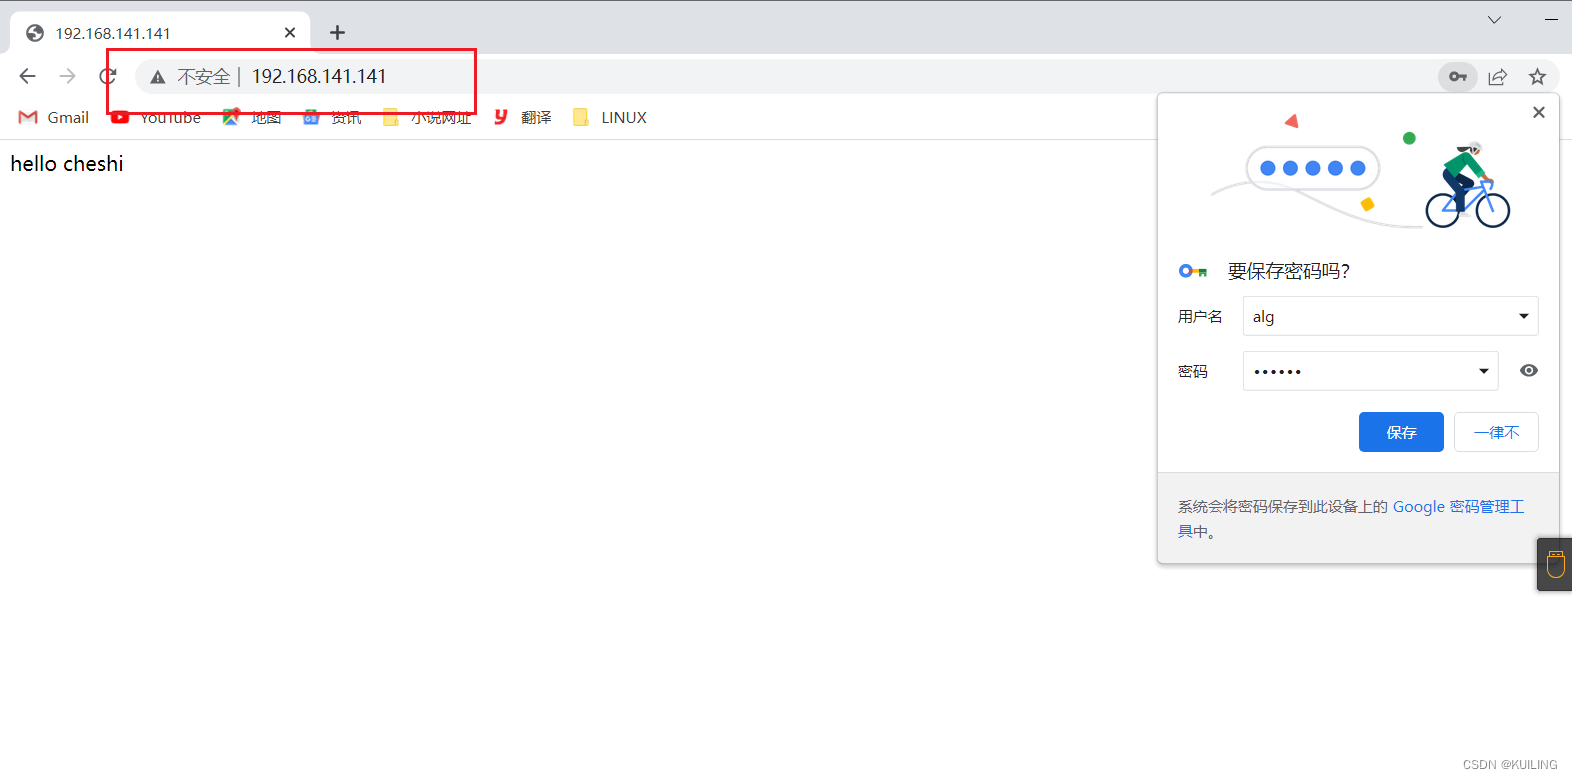
//重启服务去网页访问
[root@nginx ~]# systemctl restart nginx.service
https配置
生成私钥,生成证书签署请求并获得证书,然后在nginx.conf中配置如下内容:
[root@nginx ~]# mkdir -p /etc/pki/CA
[root@nginx ~]# cd /etc/pki/CA/
[root@nginx CA]# mkdir private
[root@nginx CA]# ls
private

#生成密钥,括号必须要
[root@nginx CA]# (umask 077;openssl genrsa -out private/cakey.pem 2048)
Generating RSA private key, 2048 bit long modulus (2 primes)
.....................................+++++
..............+++++
e is 65537 (0x010001)

[root@nginx CA]# openssl rsa -in private/cakey.pem -pubout    #提取公钥
writing RSA key
-----BEGIN PUBLIC KEY-----
MIIBIjANBgkqhkiG9w0BAQEFAAOCAQ8AMIIBCgKCAQEAqripoVCvec2uL/VBUF72
qT+U71t6mcFGSIg09lP8k5IuRPoOj4PJbO+lMf44r+VlPTw/Hkx0GTYR7d4peX5d
WyBsHva1CvRzAhsEbNNAMSM4NObAbNQ3UE8mzaKGM5kWHcGY1QVeVxcjyyTxgdUV
V0jVUysm8IHZ3DIc2WicrUkjdHuI8QclrSNtYHZQiaVcEWM8JIfJlii718jiuCxr
8MwOlEDUzxmOpbEvqZPoTtrrNy/A3meLEiQImuWGQQlS6L2RfYkuSw05fSuHARCL
TNhEsbGibZP9cp3Oh78yN+G+vgDZlaa3J1dJYedN6dPODgRnkW8frlCkBuXbX2GW
EQIDAQAB
-----END PUBLIC KEY-----
[root@nginx CA]#

#生成自签署证书
[root@nginx CA]# openssl req -new -x509 -key private/cakey.pem -out cacert.pem -days 365

You are about to be asked to enter information that will be incorporated
into your certificate request.
What you are about to enter is what is called a Distinguished Name or a DN.
There are quite a few fields but you can leave some blank
For some fields there will be a default value,
If you enter '.', the field will be left blank.
-----
Country Name (2 letter code) [XX]:CN
State or Province Name (full name) []:HB
Locality Name (eg, city) [Default City]:WH
Organization Name (eg, company) [Default Company Ltd]:www.runtime.com
Organizational Unit Name (eg, section) []:www.runtime.com
Common Name (eg, your name or your server's hostname) []:www.runtime.com
Email Address []:long@163.com
[root@localhost CA]# ls
cacert.pem  private

#读出cacert.pem证书的内容
[root@nginx CA]# openssl x509 -text -in cacert.pem
Certificate:
    Data:
        Version: 3 (0x2)
        Serial Number:
            24:87:84:10:38:7a:c9:26:b8:a0:97:5b:d8:91:85:9c:ce:58:97:a1
        Signature Algorithm: sha256WithRSAEncryption
        Issuer: C = CN, ST = HB, L = www.runtime.com, O = www.runtime.com, OU = www.runtime.com, CN = www.runtime.com, emailAddress = long@163.com
....

#CA生成自签署证书
[root@nginx CA]# mkdir certs newcerts crl
[root@nginx CA]# touch index.txt && echo 01 > serial
[root@nginx CA]# ls
cacert.pem  certs  crl  index.txt  newcerts  private  serial

[root@nginx ~]# cd /usr/local/nginx/conf/
[root@nginx conf]# mkdir ssl
[root@nginx conf]# cd ssl/
[root@nginx ssl]# (umask 077;openssl genrsa -out nginx.key 2048)
Generating RSA private key, 2048 bit long modulus (2 primes)
..................................................+++++
.......+++++
e is 65537 (0x010001)
[root@nginx ssl]# ls
nginx.key

#客户端生成证书签署请求
[root@nginx ssl]# openssl req -new -key nginx.key -days 365 -out nginx.csr

Ignoring -days; not generating a certificate
You are about to be asked to enter information that will be incorporated
into your certificate request.
What you are about to enter is what is called a Distinguished Name or a DN.
There are quite a few fields but you can leave some blank
For some fields there will be a default value,
If you enter '.', the field will be left blank.
-----
Country Name (2 letter code) [XX]:CN
State or Province Name (full name) []:HB
Locality Name (eg, city) [Default City]:WH
Organization Name (eg, company) [Default Company Ltd]:www.runtime.com
Organizational Unit Name (eg, section) []:www.runtime.com
Common Name (eg, your name or your server's hostname) []:www.runtime.com
Email Address []:1@2.com

Please enter the following 'extra' attributes
to be sent with your certificate request
A challenge password []:   //文件是否加密,这里我不加密
An optional company name []:
[root@localhost ssl]#
[root@localhost ssl]# ls
nginx.csr  nginx.key
[root@localhost ssl]#


#CA签署客户端提交上来的证书

[root@nginx ssl]# openssl ca -in nginx.csr -out nginx.crt -days 365
Certificate is to be certified until Oct 13 15:52:29 2023 GMT (365 days)
Sign the certificate? [y/n]:y

1 out of 1 certificate requests certified, commit? [y/n]y
Write out database with 1 new entries
Data Base Updated
[root@nginx ssl]#

#nginx.csr不需要了
[root@nginx ssl]# ls
nginx.crt  nginx.csr  nginx.key
[root@nginx ssl]# rm -rf nginx.csr
[root@nginx ssl]# ls
nginx.crt  nginx.key
[root@nginx ssl]#
编辑配置文件
[root@nginx ~]# vim /usr/local/nginx/conf/nginx.conf
//注意是在 HTTPS server 取消注释并修改注释
   # HTTPS server
   #
    server {
        listen       443 ssl;
        server_name  www.runtime.com;

        ssl_certificate      ssl/nginx.crt;
        ssl_certificate_key  ssl/nginx.key;

        ssl_session_cache    shared:SSL:1m;
        ssl_session_timeout  5m;

        ssl_ciphers  HIGH:!aNULL:!MD5;
        ssl_prefer_server_ciphers  on;

        location / {
            root   html;
            index  index.html index.htm;
        }
    }
}


[root@nginx ~]# systemctl restart nginx.service
[root@nginx ~]# ss -anlt
State    Recv-Q   Send-Q       Local Address:Port       Peer Address:Port   Process
LISTEN   0        128                0.0.0.0:80              0.0.0.0:*
LISTEN   0        128                0.0.0.0:22              0.0.0.0:*
LISTEN   0        128                0.0.0.0:443             0.0.0.0:*
LISTEN   0        128                   [::]:22                 [::]:*
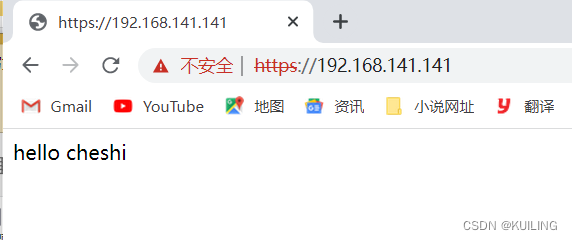
浏览器访问
https://192.168.141.141/
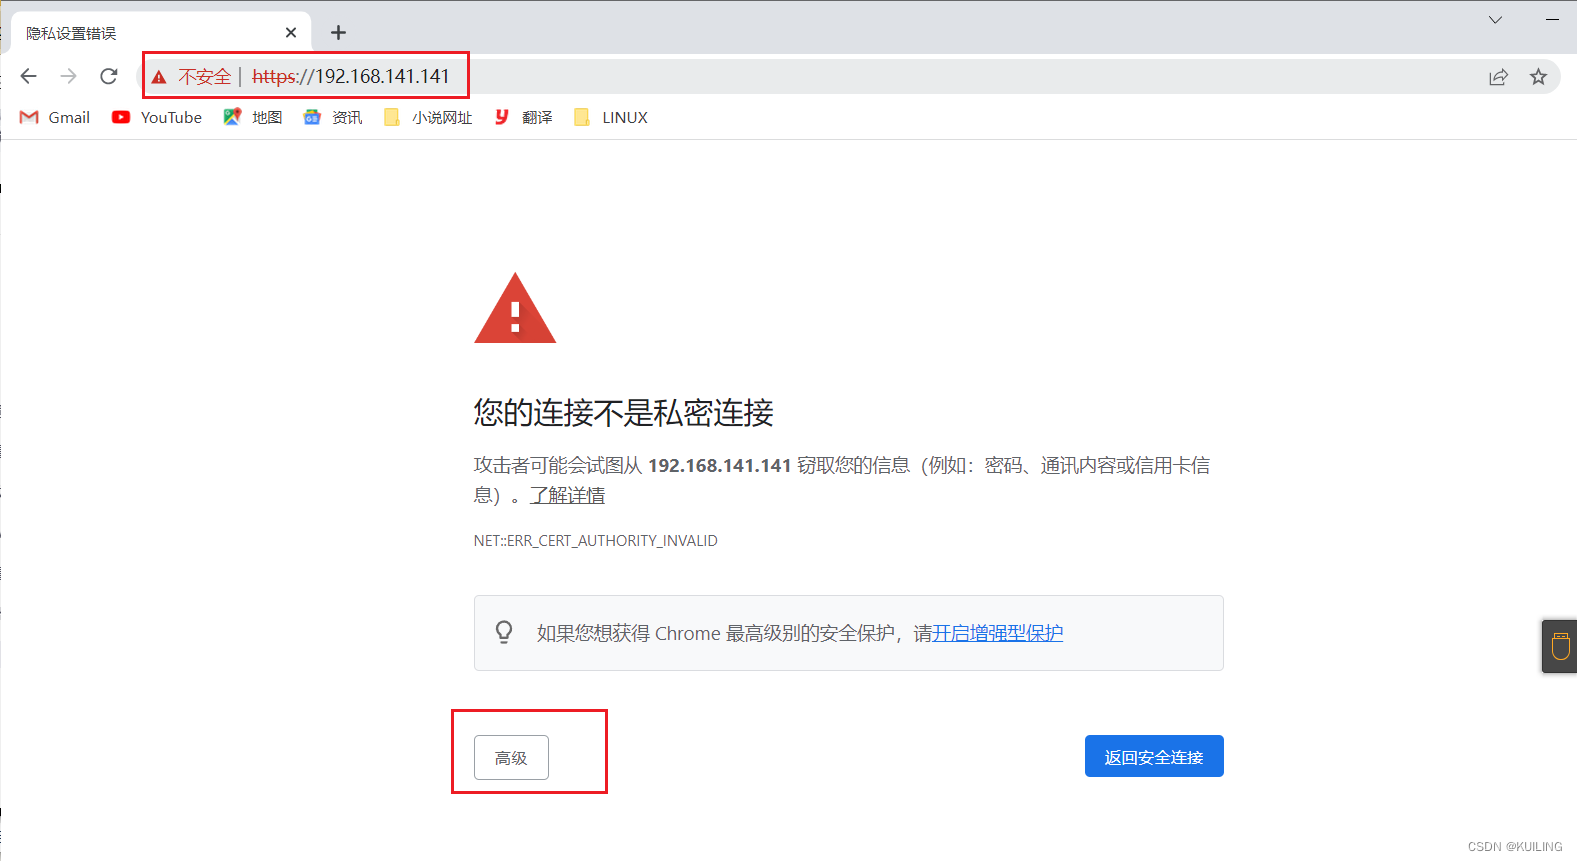
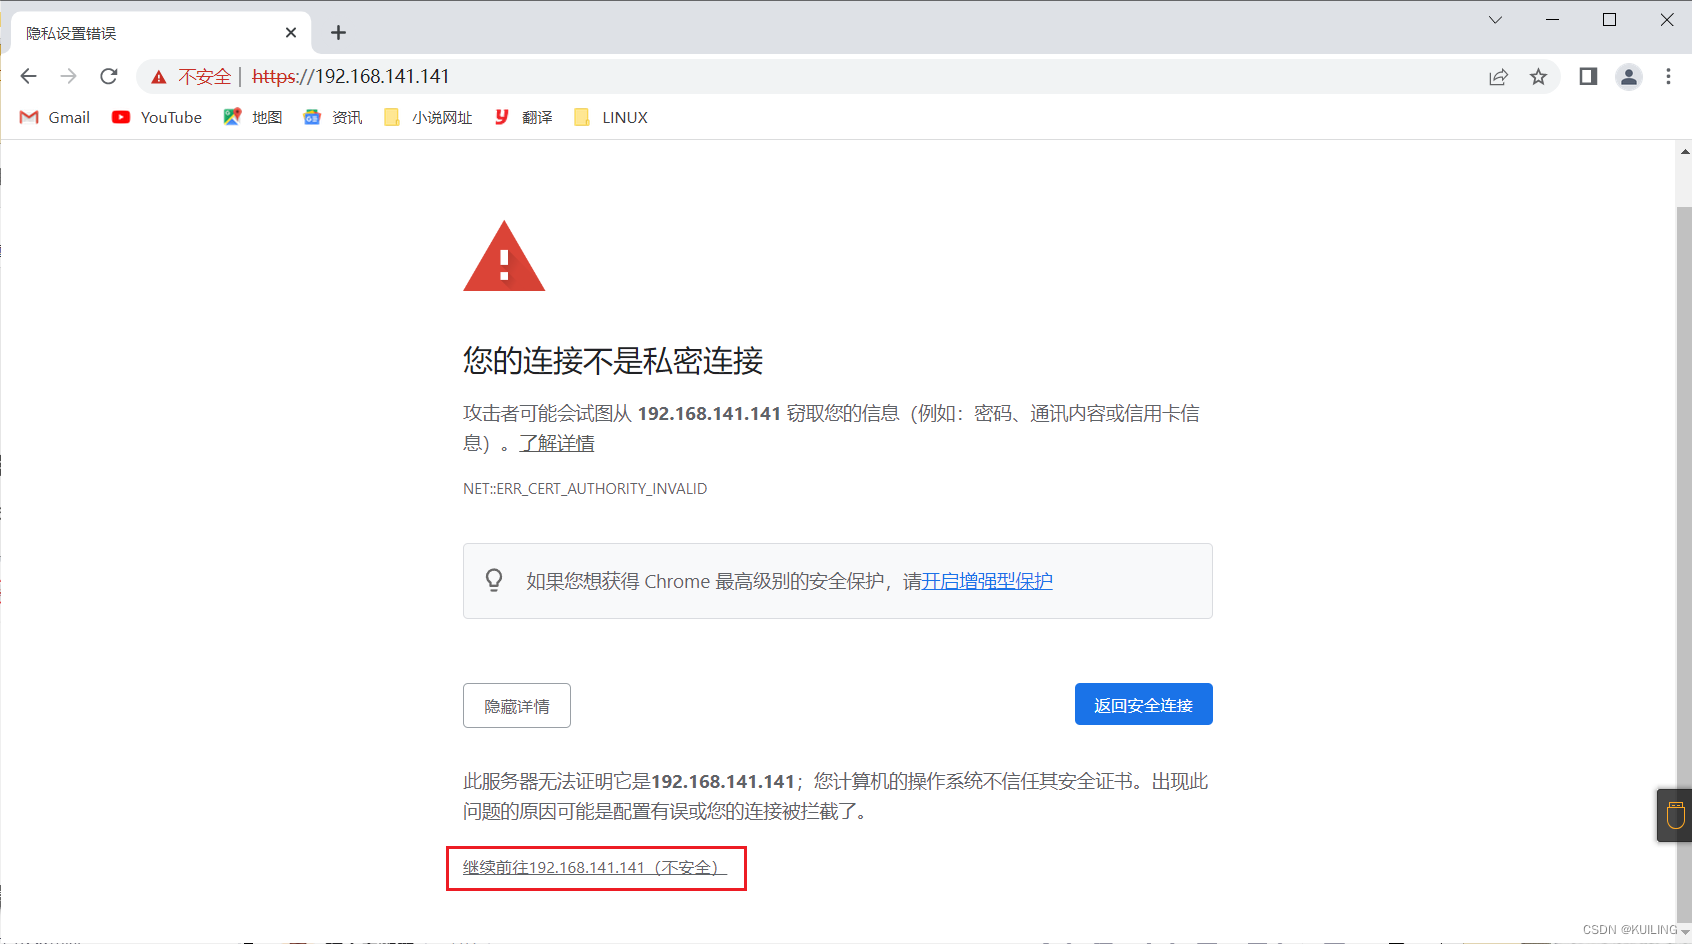
访问成功
开启状态界面
官方文档:Module ngx_http_stub_status_module
开启status:
location /status {
  stub_status {on | off};
  allow 172.16.0.0/16;
  deny all;
}
访问状态页面的方式:http://server_ip/status
[root@nginx conf]# vim /usr/local/nginx/conf/nginx.conf
 41         #access_log  logs/host.access.log  main;
 42
 43          location = /status {
 44              stub_status;
 45          }
 46
[root@nginx conf]# systemctl restart nginx.service
访问显示的网站信息
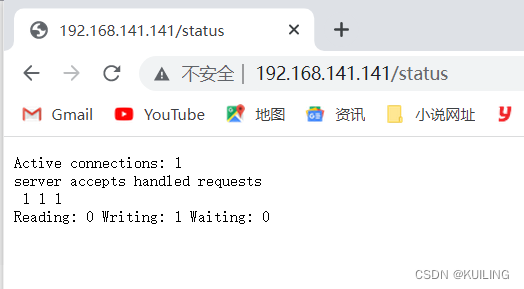
[root@nginx ~]# curl http://192.168.141.141/status
Active connections: 3
server accepts handled requests
 3 3 2
Reading: 0 Writing: 1 Waiting: 2
[root@nginx ~]#
状态页面信息详解:
| 状态码 | 表示的意义 |
|---|---|
| Active connections 2 | 当前所有处于打开状态的连接数 |
| accepts | 总共处理了多少个连接 |
| handled | 成功创建多少握手 |
| requests | 总共处理了多少个请求 |
| Reading | nginx读取到客户端的Header信息数,表示正处于接收请求状态的连接数 |
| Writing | nginx返回给客户端的Header信息数,表示请求已经接收完成,且正处于处理请求或发送响应的过程中的连接数 |
| Waiting | 开启keep-alive的情况下,这个值等于active - (reading + writing),意思就是Nginx已处理完正在等候下一次请求指令的驻留连接 |
rewrite
语法:rewrite regex replacement flag;,如:
regex正态表达用来匹配用户的URL的
replacement 新的地址
flag 标记
rewrite ^/images/(.*\.jpg)$ /imgs/$1 break;
访问/images/下的任意的.jpg图片 /imgs/是图片新存放的位置
此处的$1用于引用(.*.jpg)匹配到的内容, break匹配到了就终止
rewrite ^/bbs/(.*)$ http://www.idfsoft.com/index.html redirect;
只要是访问/bbs/ 就直接访问www.idfsoft.com这个域名 redirect立即访问
如上例所示,replacement可以是某个路径,也可以是某个URL
实列1
[root@nginx ~]# cd /usr/local/nginx/html/
[root@nginx html]# ls
50x.html index.html index.html-bak
[root@nginx html]# mkdir images
[root@nginx html]# cd images/
[root@nginx images]# ls
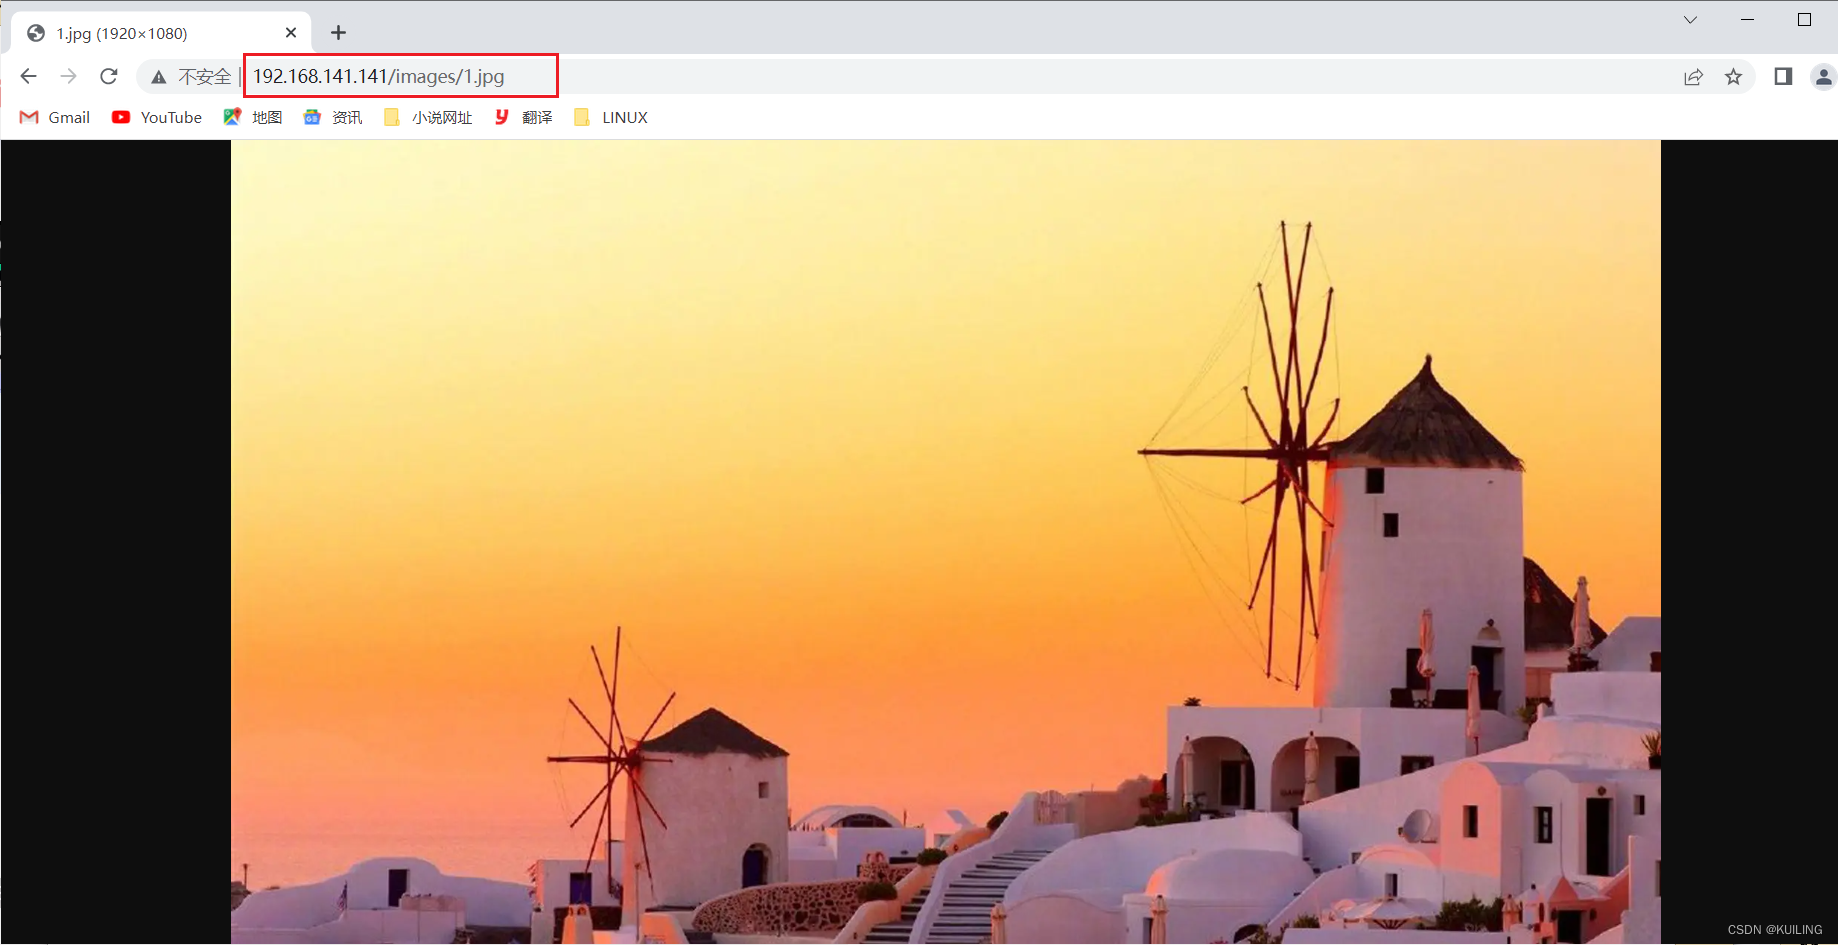
1.jpg //任意上传一张照片
[root@nginx images]#
#注意这里nginx.conf配置文件里面要有如下设置
[root@nginx images]# vim /usr/local/nginx/conf/nginx.conf
location / {
root html;
index index.html;
}
[root@nginx images]# systemctl restart nginx.service
浏览器访问
如果此时images/ 这个目录更改名字了,访问人员不知道这个更换名字了这时继续访问就无法访问到照片,需要修改配置
[root@nginx html]# mv images/ imag
[root@nginx html]# ls
50x.html  imag  index.html  index.html-bak
[root@nginx html]#
此时就可以使用 rewrite语法修改使访问者可以继续按照原来的地址继续访问
语法:rewrite regex replacement flag;,如:
rewrite ^/images/(.*.jpg)$ /imgs/$1 break;
先把要网站的访问地址和内容创建好,在修改文件目录名称使其访问报错,然后用rewrite语法其成功访问
[root@nginx html]# vim /usr/local/nginx/conf/nginx.conf
//添加如下配置
        location /images {
            rewrite ^images/(.*\.jpg)$ /imag/$1 break;
        }
[root@nginx html]# systemctl restart nginx.service
这样就可以继续按照原来的网址地址访问
实列2
如下案例的演示
rewrite ^/bbs/(.*)$ http://www.idfsoft.com/index.html redirect;
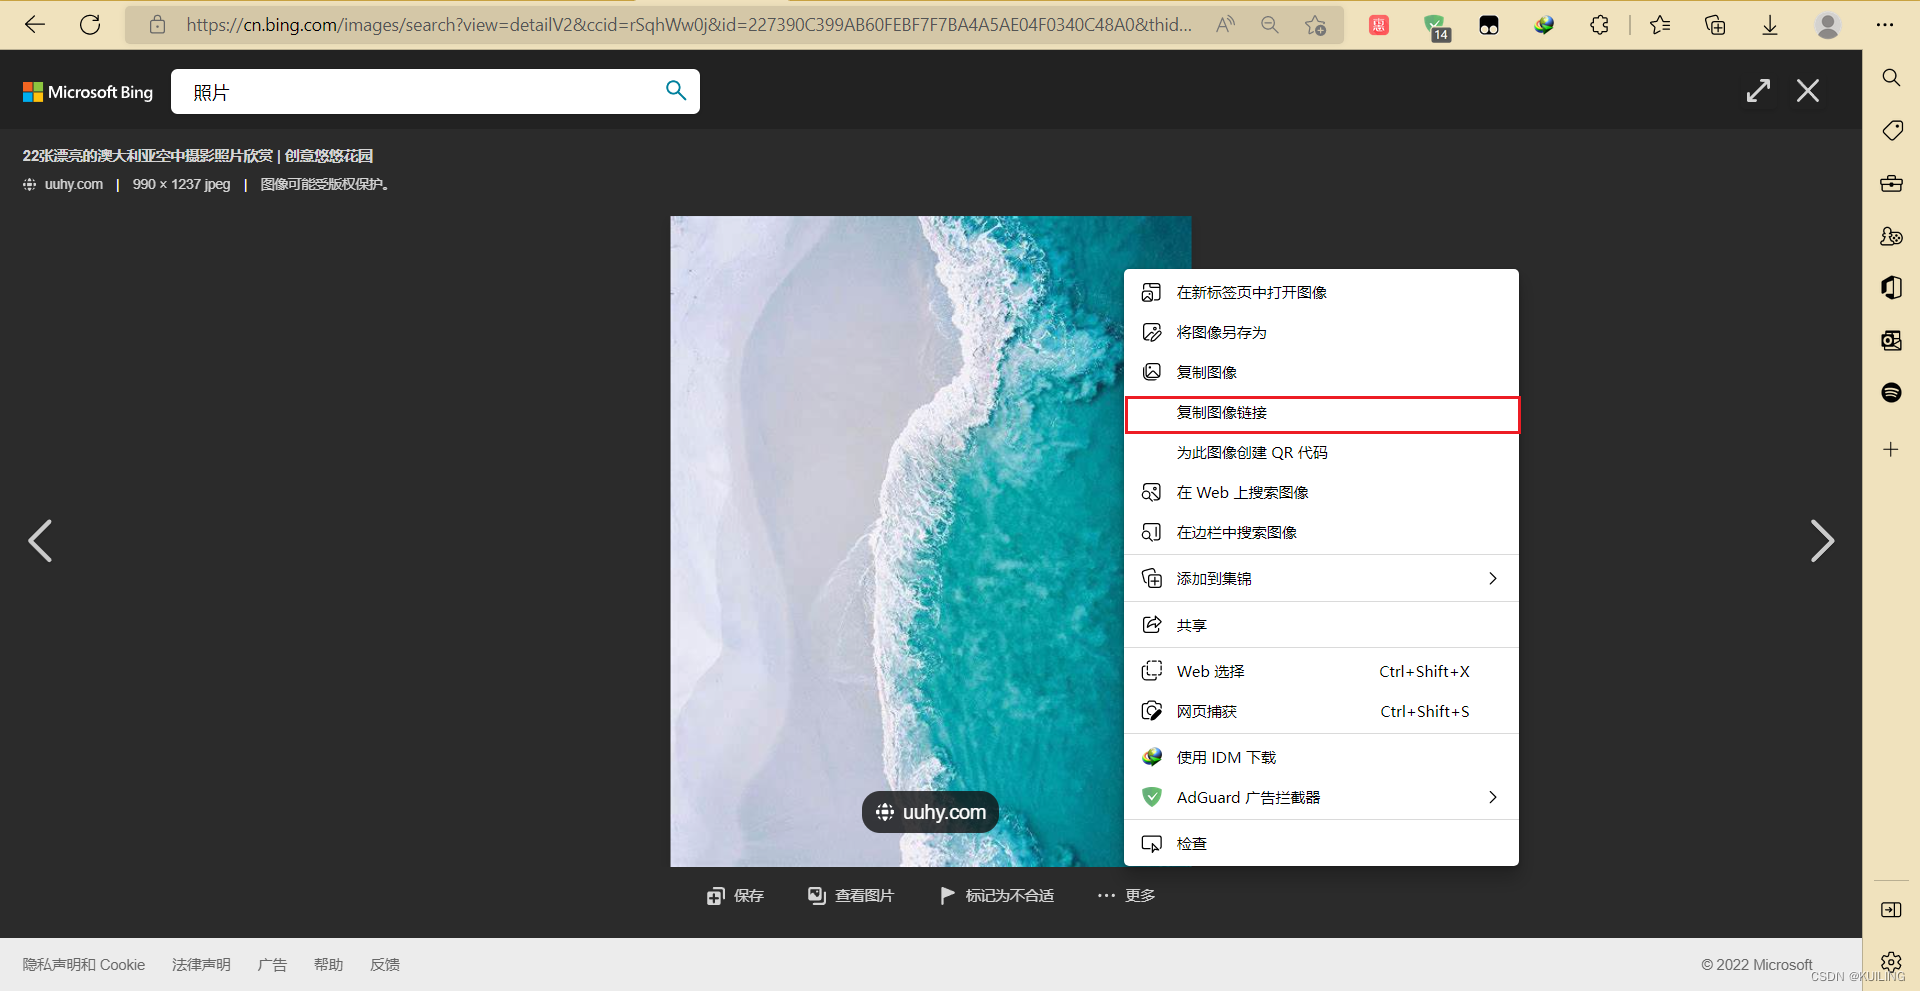
此时在网页上随便找一张照片然后复制照片链接
[root@nginx html]# vim /usr/local/nginx/conf/nginx.conf
#/imag/$1把这个换成照片的链接
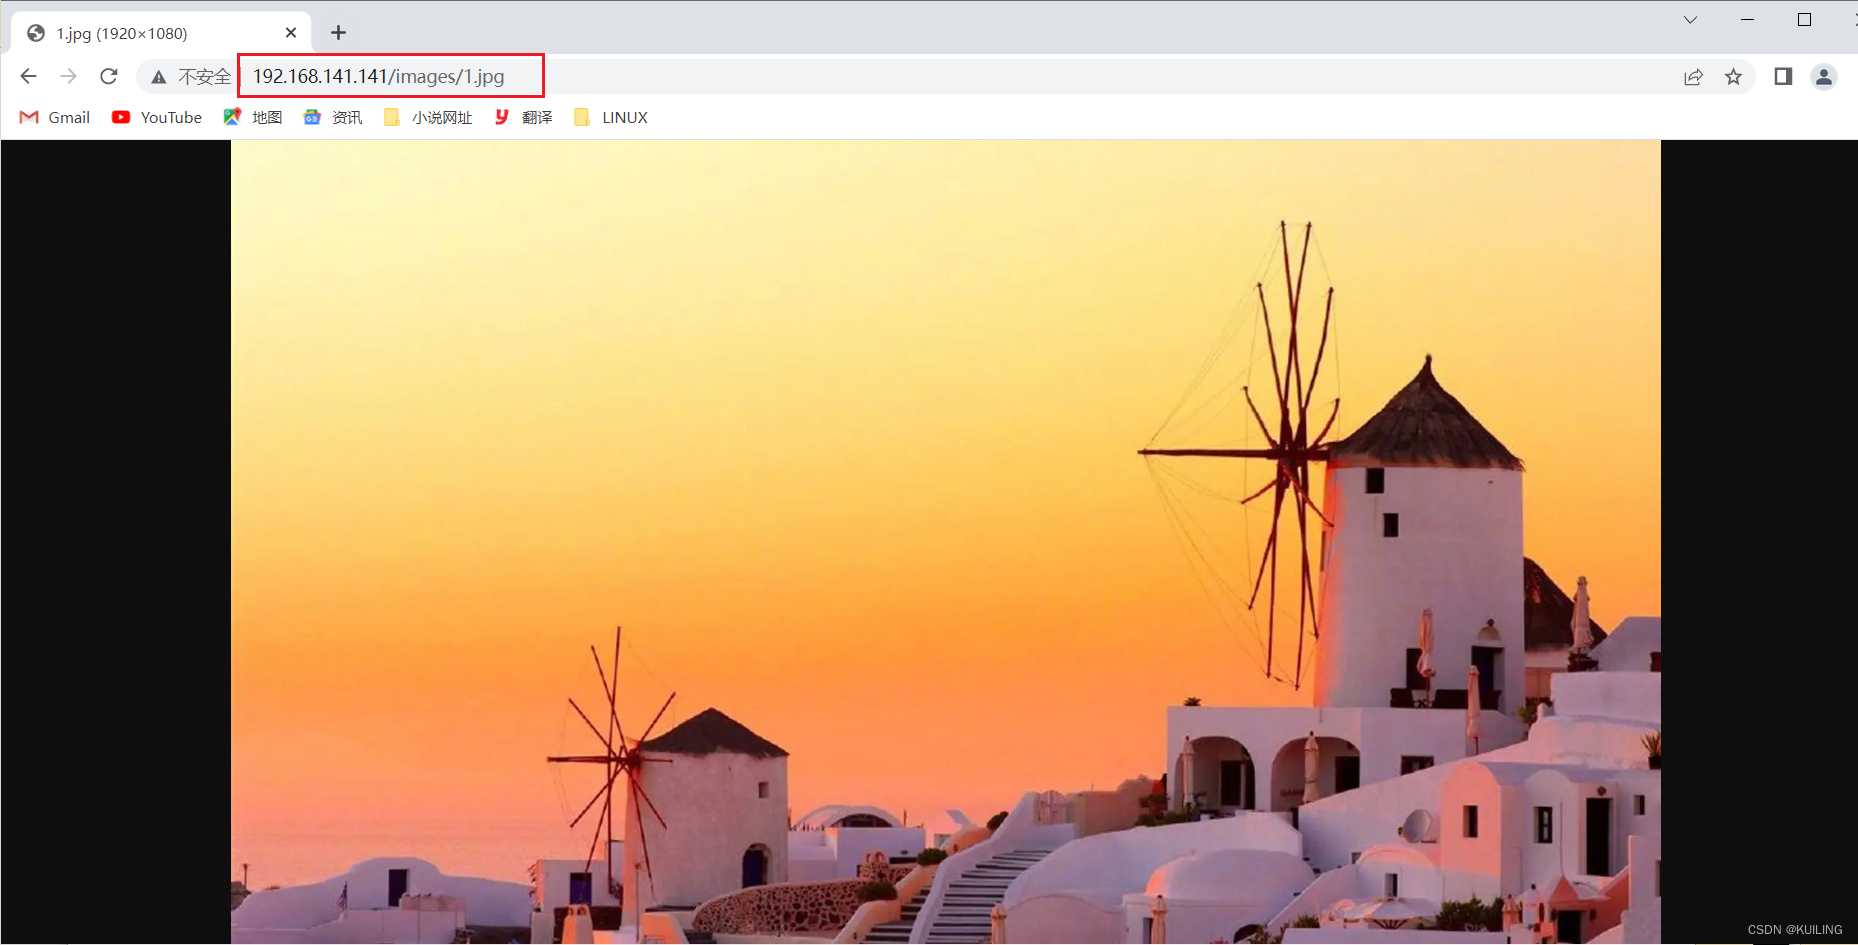
location /images {
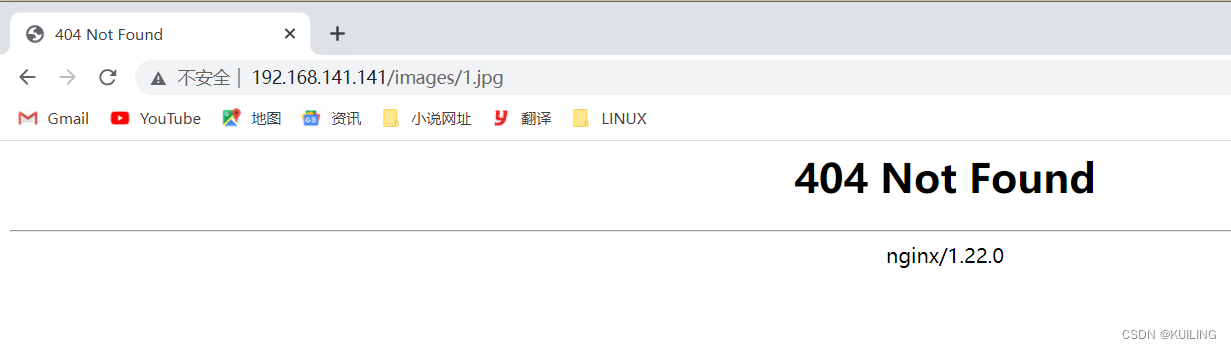
rewrite ^/images/(.*\.jpg)$ https://cn.bing.com/images/search?view=detailV2&ccid=rSqhWw0j&id=227390C399AB60FEBF7F7BA4A5AE04F0340C48A0&thid=OIP.rSqhWw0jAPhGK1b6eTU3KAHaJQ&mediaurl=https%3a%2f%2fts1.cn.mm.bing.net%2fth%2fid%2fR-C.ad2aa15b0d2300f8462b56fa79353728%3frik%3doEgMNPAErqWkew%26riu%3dhttp%253a%252f%252fpic.uuhy.com%252fuploads%252f2017%252f03%252f21%252f11-5.jpg%26ehk%3d%252fsPJRDO1JUE4LsSXNks5UL%252f8BW6MXtt9ti6MluXoQtE%253d%26risl%3d%26pid%3dImgRaw%26r%3d0&exph=1237&expw=990&q=%e7%85%a7%e7%89%87&simid=608045109082872377&FORM=IRPRST&ck=EA5CE371854D33373DD864A8C1387D1D&selectedIndex=132 break;
}
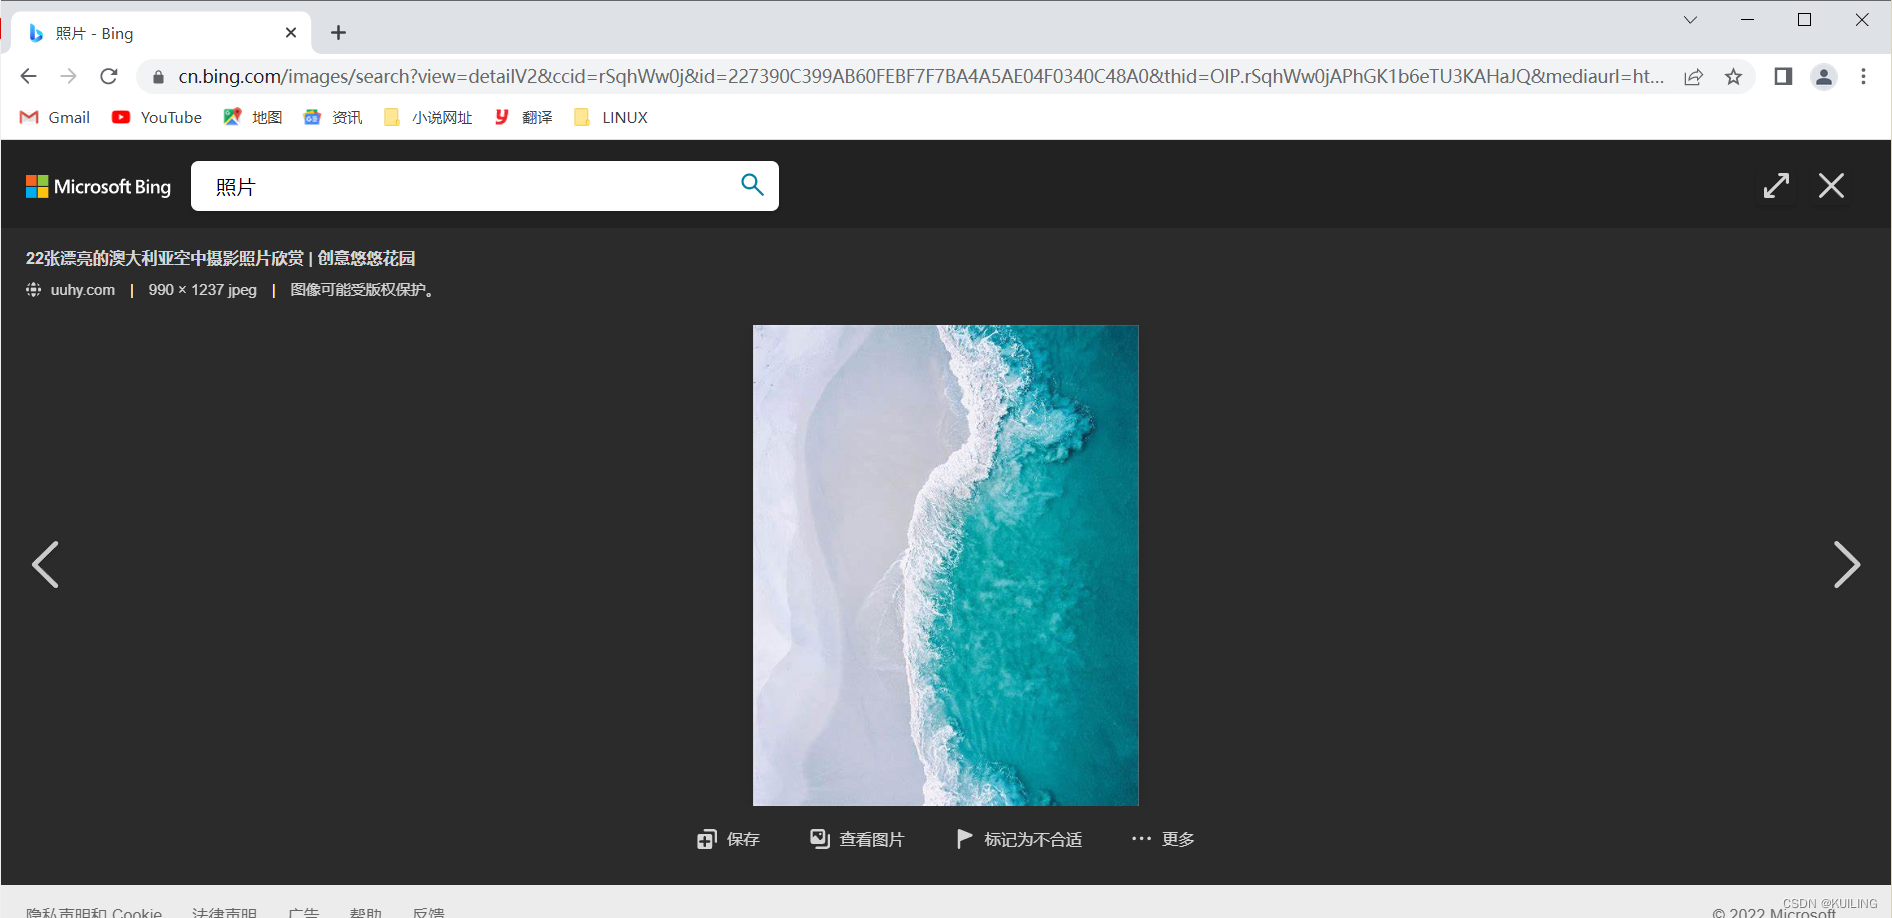
访问http://192.168.141.141/images/1.jpg 时自动跳转到照片复制的网页地址
实列3域名访问
此处的$1用于引用(.*.jpg)匹配到的内容,又如:
rewrite ^/bbs/(.*)$ http://www.idfsoft.com/index.html redirect;
如上例所示,replacement可以是某个路径,也可以是某个URL
[root@nginx ~]# vim /usr/local/nginx/conf/nginx.conf
        #access_log  logs/host.access.log  main;

         location = /status {
             stub_status;
         }

        location / {
                root html;
                index index.html;
        }

        location /bbs {
                rewrite ^/bbs/(.*)$ http://bbs.long.com break;
        }

        location /images {
            rewrite ^/images/(.*\.jpg)$ https://cn.bing.com/images/search?view=detailV2&ccid=rSqhWw0j&id=227390C399AB60FEBF7F7BA4A5AE04F0340C48A0&thid=OIP.rSqhWw0jAPhGK1b6eTU3KAHaJQ&mediaurl=https%3a%2f%2fts1.cn.mm.bing.net%2fth%2fid%2fR-C.ad2aa15b0d2300f8462b56fa79353728%3frik%3doEgMNPAErqWkew%26riu%3dhttp%253a%252f%252fpic.uuhy.com%252fuploads%252f2017%252f03%252f21%252f11-5.jpg%26ehk%3d%252fsPJRDO1JUE4LsSXNks5UL%252f8BW6MXtt9ti6MluXoQtE%253d%26risl%3d%26pid%3dImgRaw%26r%3d0&exph=1237&expw=990&q=%e7%85%a7%e7%89%87&simid=608045109082872377&FORM=IRPRST&ck=EA5CE371854D33373DD864A8C1387D1D&selectedIndex=132 break;
        }

[root@nginx ~]# systemctl restart nginx.service
修改HOSTS配置
目录地址: C:\Windows\System32\drivers\etc
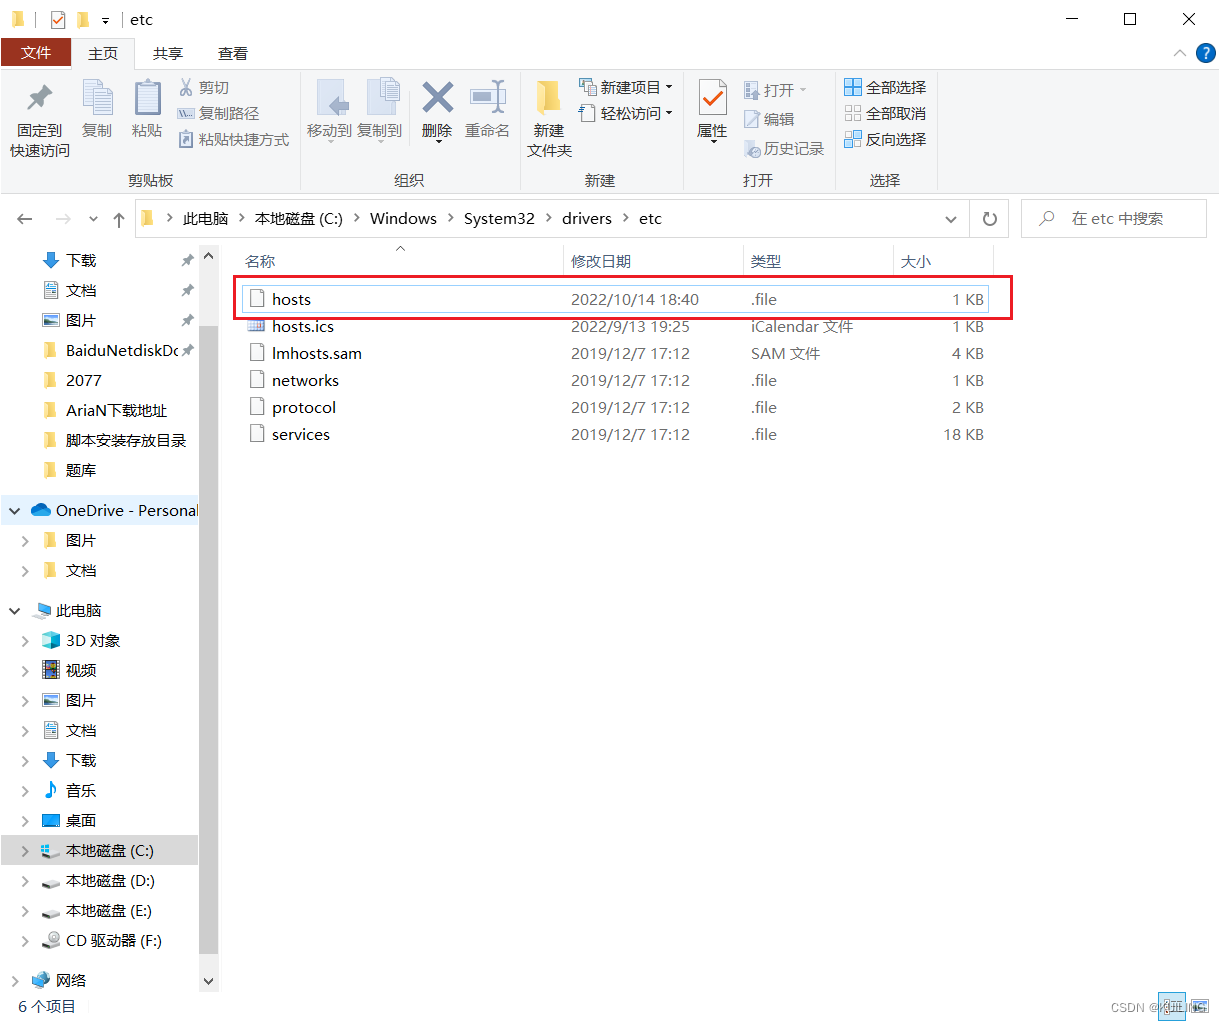
笔记本模式打开,然后添加IP和域名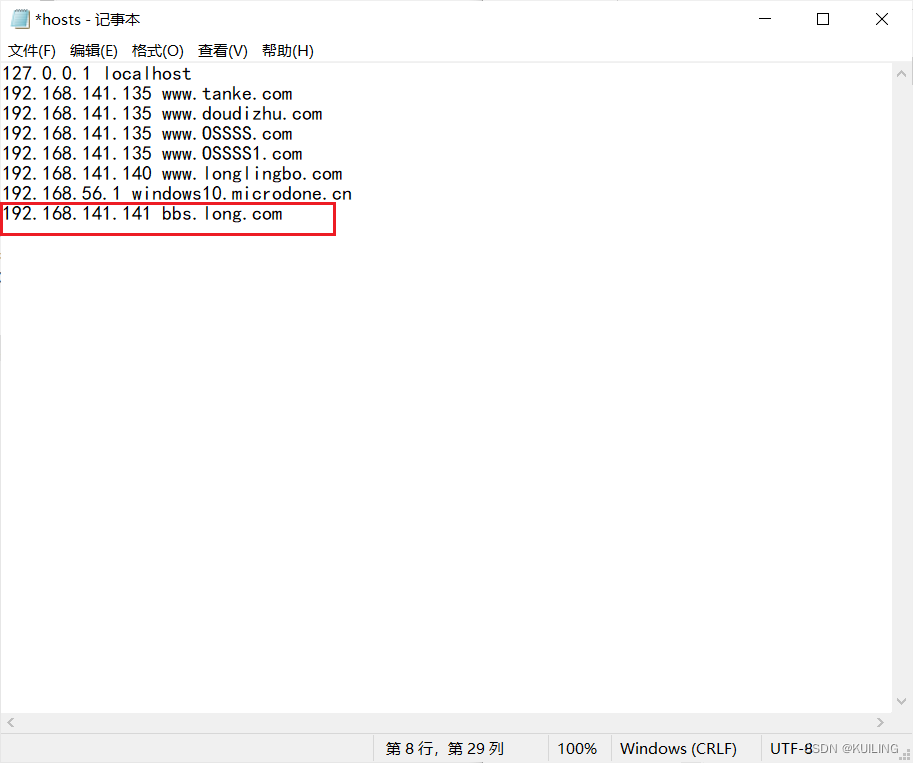
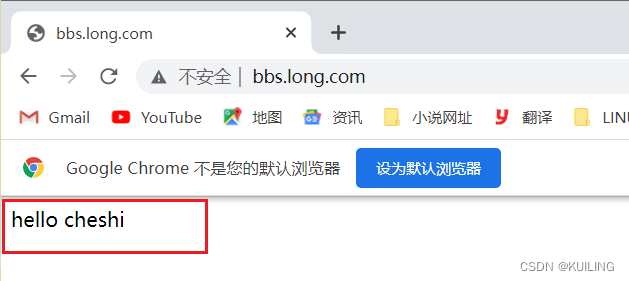
修改成功可以访问更改后设置的网页
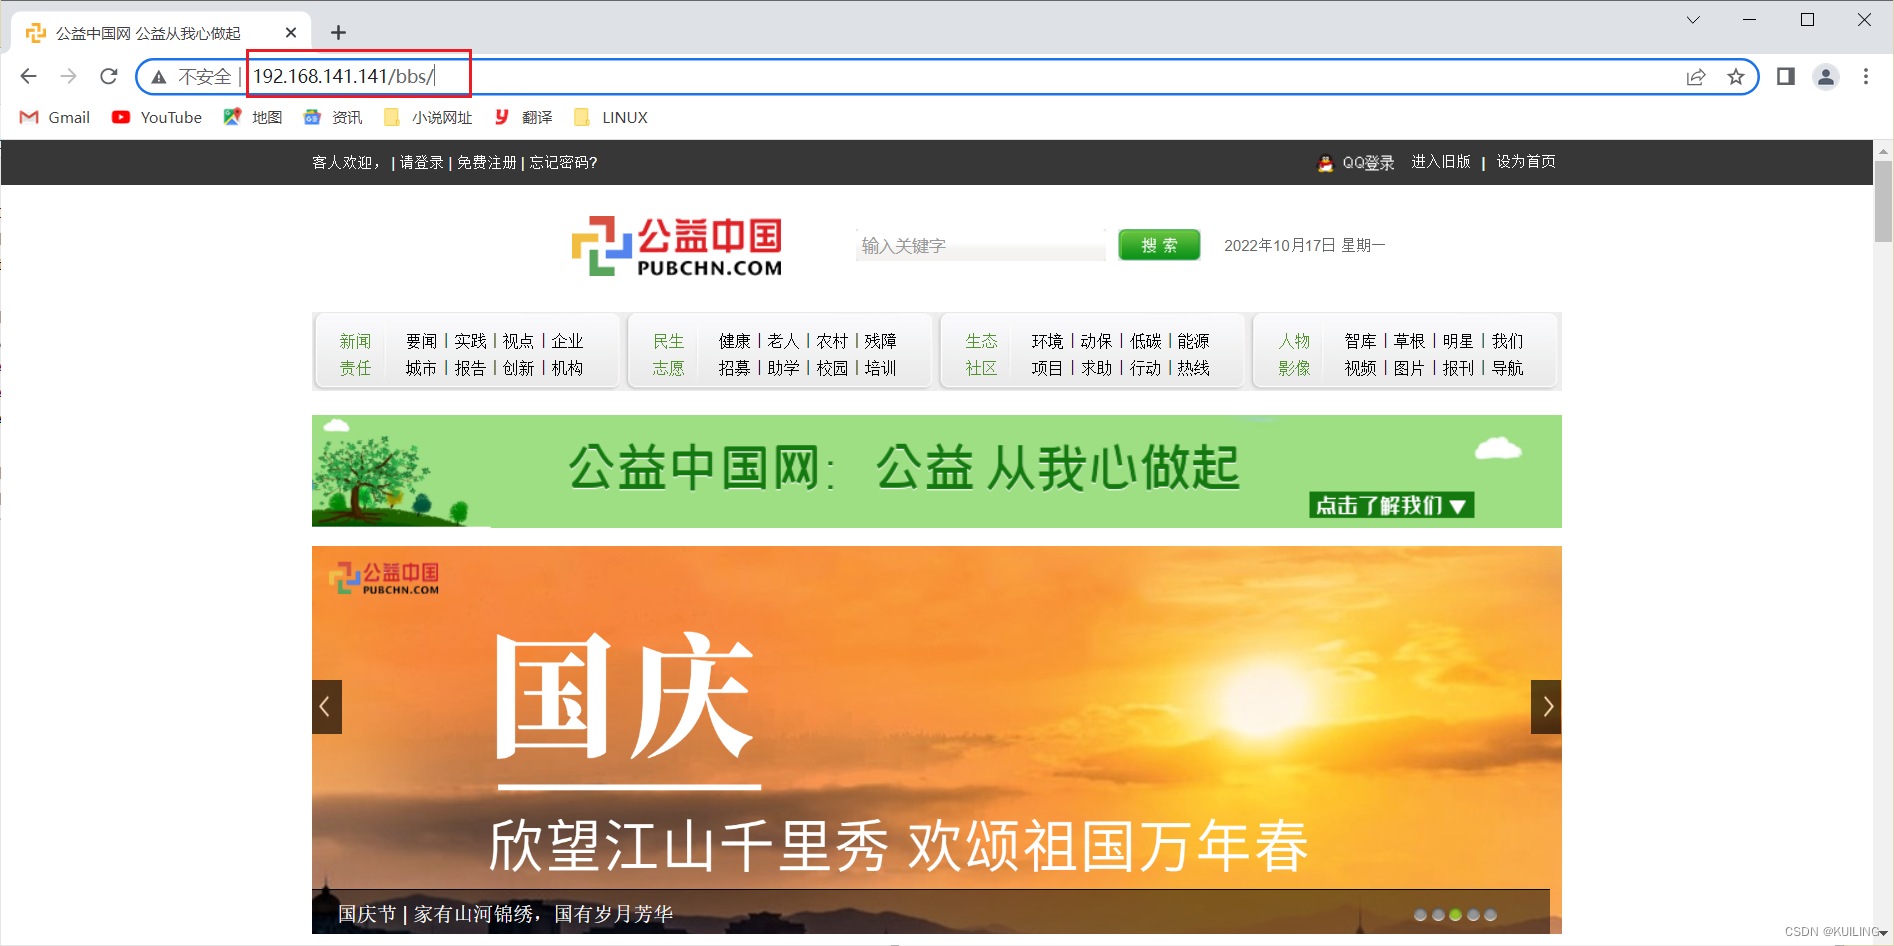
还可以引用其他网站上的地址,进行访问
[root@nginx ~]# cd /usr/local/nginx/html/
[root@nginx html]# mkdir bbs
[root@nginx html]# cd bbs/
[root@nginx bbs]# curl -o index.html http://www.pubchn.com/
  % Total    % Received % Xferd  Average Speed   Time    Time     Time  Current
                                 Dload  Upload   Total   Spent    Left  Speed
100  105k    0  105k    0     0   150k      0 --:--:-- --:--:-- --:--:--  150k
[root@nginx bbs]# ls
index.html

[root@nginx ~]# vim /usr/local/nginx/conf/nginx.conf
//注销过程设置的然后访问
#        location  /bbc {
#             rewrite ^/bbc/(.*)$ http://bbc.yuli.com break;
# }

[root@nginx ~]# systemctl restart nginx.service
[root@nginx ~]#
还可以用域名访问自己设置的网站
[root@nginx ~]# vim /usr/local/nginx/conf/nginx.conf
        #access_log  logs/host.access.log  main;

         location = /status {
             stub_status;
         }

        location / {
                root html;
                index index.html;
        }

        location /bbs {
                rewrite ^/bbs/(.*)$ http://bbs.long.com break;
        }

[root@nginx ~]# systemctl restart nginx.service
常见的flag
| flag | 作用 |
|---|---|
| last | 基本上都用这个flag,表示当前的匹配结束,继续下一个匹配,最多匹配10个到20个一旦此rewrite规则重写完成后,就不再被后面其它的rewrite规则进行处理(也就是下个location里面的rewrite)而是由UserAgent重新对重写后的URL再一次发起请求,并从头开始执行类似的过程 |
| break | 中止Rewrite,不再继续匹配一旦此rewrite规则重写完成后,由UserAgent对新的URL重新发起请求,且不再会被当前location内的任何rewrite规则所检查 |
| redirect | 以临时重定向的HTTP状态302返回新的URL |
| permanent | 以永久重定向的HTTP状态301返回新的URL |
| rewrite | 模块的作用是用来执行URL重定向。这个机制有利于去掉恶意访问的url,也有利于搜索引擎优化(SEO) |
[root@nginx html]# ls
50x.html  bbs  imag  index.html  index.html-bak
[root@nginx html]# cd imag/
[root@nginx imag]# ls
1.jpg
[root@nginx imag]#

[root@nginx ~]# vim /usr/local/nginx/conf/nginx.conf
 56         location /images {
 57             rewrite ^/images/(.*\.jpg)$ rewrite ^/images/(.*\.jpg)$ /imgs/$1 last;
 58         }
 59
 60         location /imgs {
 61                 rewrite ^/imgs/(.*\.jpg)$ http://www.baidu.com break;
 62         }


[root@nginx ~]# systemctl restart nginx.service
访问网站然后回车就访问百度了


nginx使用的语法源于Perl兼容正则表达式(PCRE)库,基本语法如下:
| 标识符 | 意义 |
|---|---|
| ^ | 必须以^后的实体开头 |
| $ | 必须以$前的实体结尾 |
| . 这是个点 | 匹配任意字符 |
| [] | 匹配指定字符集内的任意字符 |
| [^] | 匹配任何不包括在指定字符集内的任意字符串 |

捕获子表达式,可以捕获放在()之间的任何文本,比如:
^(hello|sir)$ //字符串为“hi sir”捕获的结果:$1=hi$2=sir
//这些被捕获的数据,在后面就可以当变量一样使用了
6.15 if
Module ngx_http_rewrite_module
语法:if (condition) {…}
应用场景:
- server段
- location段
常见的condition
- 变量名(变量值为空串,或者以“0”开始,则为false,其它的均为true)
- 以变量为操作数构成的比较表达式(可使用=,!=类似的比较操作符进行测试)
- 正则表达式的模式匹配操作
~ :区分大小写的模式匹配检查
~ * :不区分大小写的模式匹配检查
!~ 和 !~ * :对上面两种测试取反 - 测试指定路径为文件的可能性(-f,!-f)
- 测试指定路径为目录的可能性(-d,!-d)
- 测试文件的存在性(-e,!-e)
- 检查文件是否有执行权限(-x,!-x)
6.15.1 基于浏览器实现分离案例
if ($http_user_agent ~ Firefox) {
  rewrite ^(.*)$ /firefox/$1 break;
}

if ($http_user_agent ~ MSIE) {
  rewrite ^(.*)$ /msie/$1 break;
}

if ($http_user_agent ~ Chrome) {
  rewrite ^(.*)$ /chrome/$1 break;
}
6.15.2 防盗链案例
location ~* \.(jpg|gif|jpeg|png)$ {
  valid_referers none blocked www.idfsoft.com;
  if ($invalid_referer) {
    rewrite ^/ http://www.idfsoft.com/403.html;
  }
}


 1273
1273

 被折叠的 条评论
为什么被折叠?
被折叠的 条评论
为什么被折叠?
 到【灌水乐园】发言


