


 本文介绍了如何在Ubuntu16.04上安装Rust1.76.0和Go语言,包括设置环境变量和安装相关依赖。同时详细讲述了使用Healer构建过程中遇到的Syzkaller和qemu版本问题及解决方法。
vmware pro17,ubuntu 16.04
安装rust
stable-x86_64-unknown-linux-gnu installed - rustc 1.76.0 (07dca489a 2024-02-04)

Rust is installed now. Great!

To get started you may need to restart your current shell.
This would reload your PATH environment variable to include
Cargo's bin directory ($HOME/.cargo/bin).

To configure your current shell, run:
source "$HOME/.cargo/env"
:~$ source "$HOME/.cargo/env"
:~$ rustc --version
rustc 1.76.0 (07dca489a 2024-02-04)安装go语言
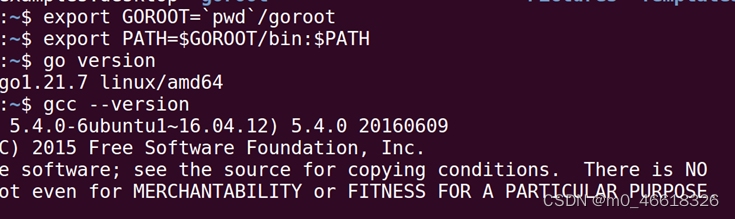
wget https://golang.google.cn/dl/go1.21.7.linux-amd64.tar.gz
为了使用 Syzlang 描述,Healer 的构建脚本会自动下载 Syzkaller 并在源代码中添加补丁并构建 Syzkaller,这可能会增加构建时间。 因此,需要安装Syzkaller 所需的构建工具,例如:GO111MODULE开启的golang 编译器,GCC 6.1.0 或更高版本。
需要安装高版本gcc-切换gcc版本
下载syzkaller需要的工具
sudo apt install make flex bison libncurses-dev libelf-dev libssl-dev debootstrap
sudo apt install subversion git qemu openssh-server build-essential
下载healer源码,进行构建
git clone https://gitcode.com/SunHao-0/healer.git在healer文件夹中有Cargo.toml文件
运行指令
cargo build --release正在构建healer。。。
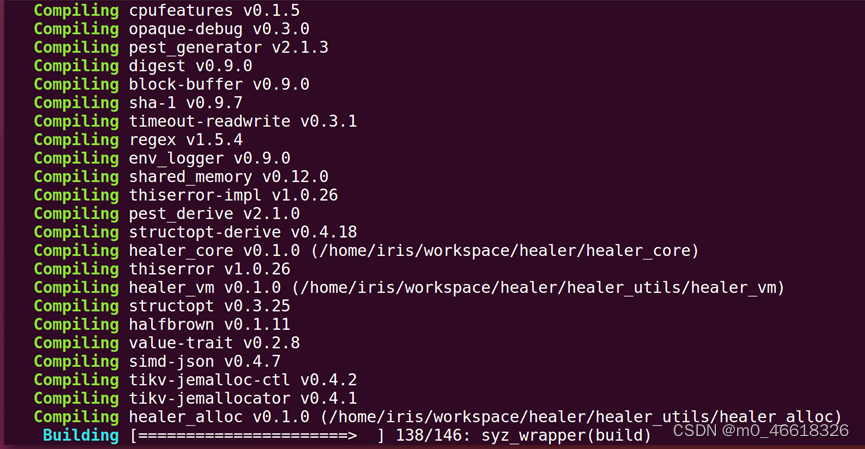
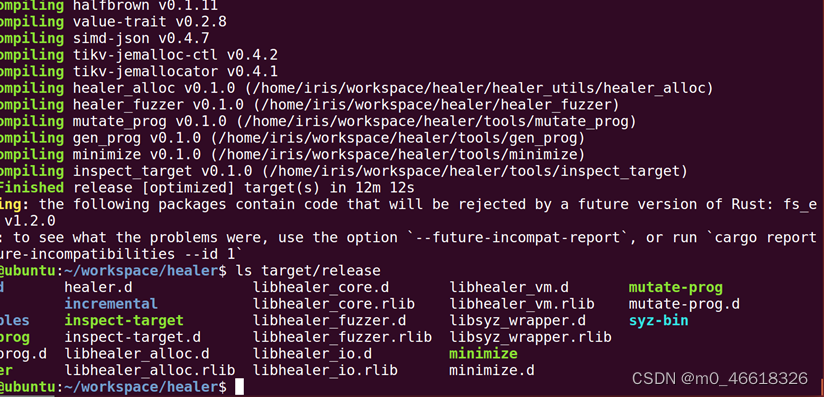
构建完成有cargo的未来的不兼容报告,先忽略吧
最后,可以在 target/release目录中找到 Healer 本身和打补丁的 Syzkaller 二进制文件 (syz-bin)。
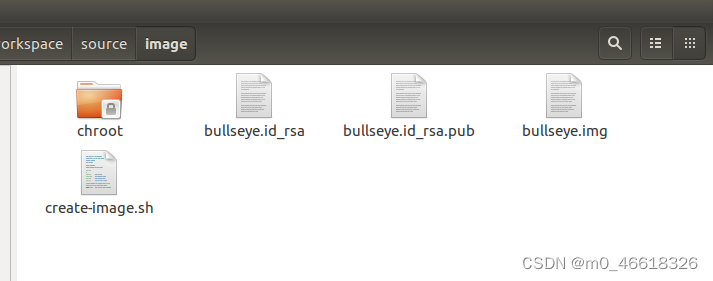
创建 bulleseye Linux 映像
mkdir $IMAGE
cd $IMAGE/ wget https://raw.githubusercontent.com/google/syzkaller/master/tools/create-image.sh -O create-image.sh
chmod +x create-image.sh
./create-image.sh
报错
sudo --preserve-env=http_proxy,https_proxy,ftp_proxy,no_proxy debootstrap --arch=amd64 --include=openssh-server,curl,tar,gcc,libc6-dev,time,strace,sudo,less,psmisc,selinux-utils,policycoreutils,checkpolicy,selinux-policy-default,firmware-atheros,debian-ports-archive-keyring --components=main,contrib,non-free,non-free-firmware bullseye chroot sudo: option '--preserve-env' doesn't allow an argument usage: sudo -h | -K | -k | -Vai方法:
sudo 命令的 --preserve-env 选项确实不允许跟随参数。因此,在您的命令中移除了 --preserve-env 后,命令应如下所示:
sudo debootstrap --arch=amd64 --include=openssh-server,curl,tar,gcc,libc6-dev,time,strace,sudo,less,psmisc,selinux-utils,policycoreutils,checkpolicy,selinux-policy-default,firmware-atheros,debian-ports-archive-keyring --components=main,contrib,non-free,non-free-firmware bullseye chroot修改create-image.sh文件(和syzkaller的安装修改一样)
qemu-system-x86_64 -m 2G -smp 2 -kernel 路径bzImage -append "console=ttyS0 root=/dev/sda earlyprintk=serial net.ifnames=0" -drive file=路径bullseye.img,format=raw -net user,hostfwd=tcp:127.0.0.1:10021-:22 -net nic,model=e1000 -enable-kvm -nographic -pidfile vm.pid 2>&1 | tee vm.logroot登录后ifconfig指令不能用
apt install net-tools
再开一个终端测试能否连接成功
healer的二进制文件
在 ./target/release/healer
cd path/to/workdir && ls
bin  bzImage  stretch.id_rsa  stretch.img
ls ./bin
healer linux_amd64  syz-repro  syz-symbolize  syz-sysg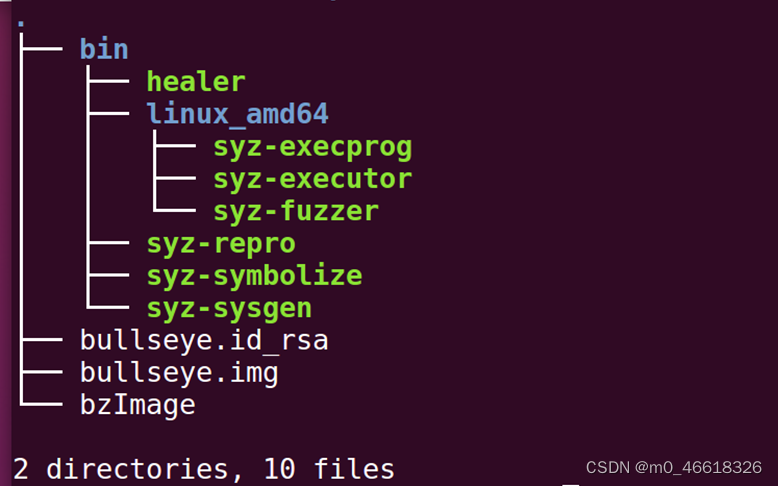
sudo ./bin/healer -d bullseye.img -s bullseye.id_rsa -k bzImage
Error: config error Caused by: 0: qemu config error 1: qemu check failed: version not match: your version '2', required '4'
版本不对,需要qemu 4以上的
检查系统中已安装的 qemu 版本
qemu-system-x86_64 --version
如果确认版本为 2.x,请继续执行以下步骤。
更新您的系统软件包以获取最新版本的 qemu:
sudo apt update
sudo apt upgrade qemu-system-x86
这将更新您系统中的 qemu 软件包至最新版本。
确认 qemu 已成功更新至 4.x 版本:
qemu-system-x86_64 --version
确保输出的版本号为 4.x
2.2 官网下载
# 解压Qemu源码

$ xz -d qemu-4.0.0.tar.xz

$ tar xvf qemu-4.0.0.tar
然后,再次运行 healer 工具并检查错误是否已解决:
qemu-img --version
qemu-img version 4.0.0
Copyright (c) 2003-2019 Fabrice Bellard and the QEMU Project developers
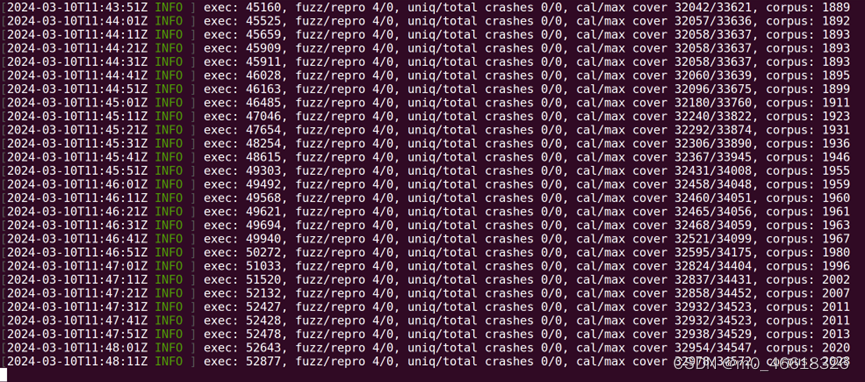
sudo ./bin/healer -d bullseye.img -s bullseye.id_rsa -k bzImage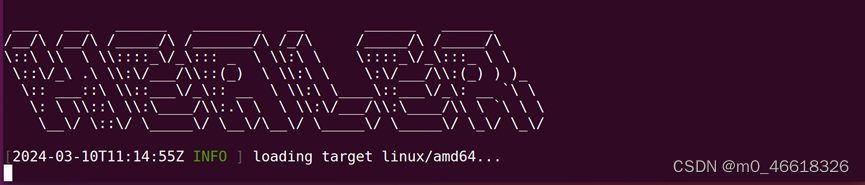
运行界面


 860
860

 被折叠的 条评论
为什么被折叠?
被折叠的 条评论
为什么被折叠?
 到【灌水乐园】发言


