


 本文档详细介绍了在Linux环境下下载、上传、安装及配置MySQL的过程,包括卸载 Mariadb、创建用户组和用户、设置密码、解压安装包、创建配置文件my.cnf、初始化数据库、设置开机启动以及修改密码等步骤。此外,还提供了远程连接MySQL的方法。
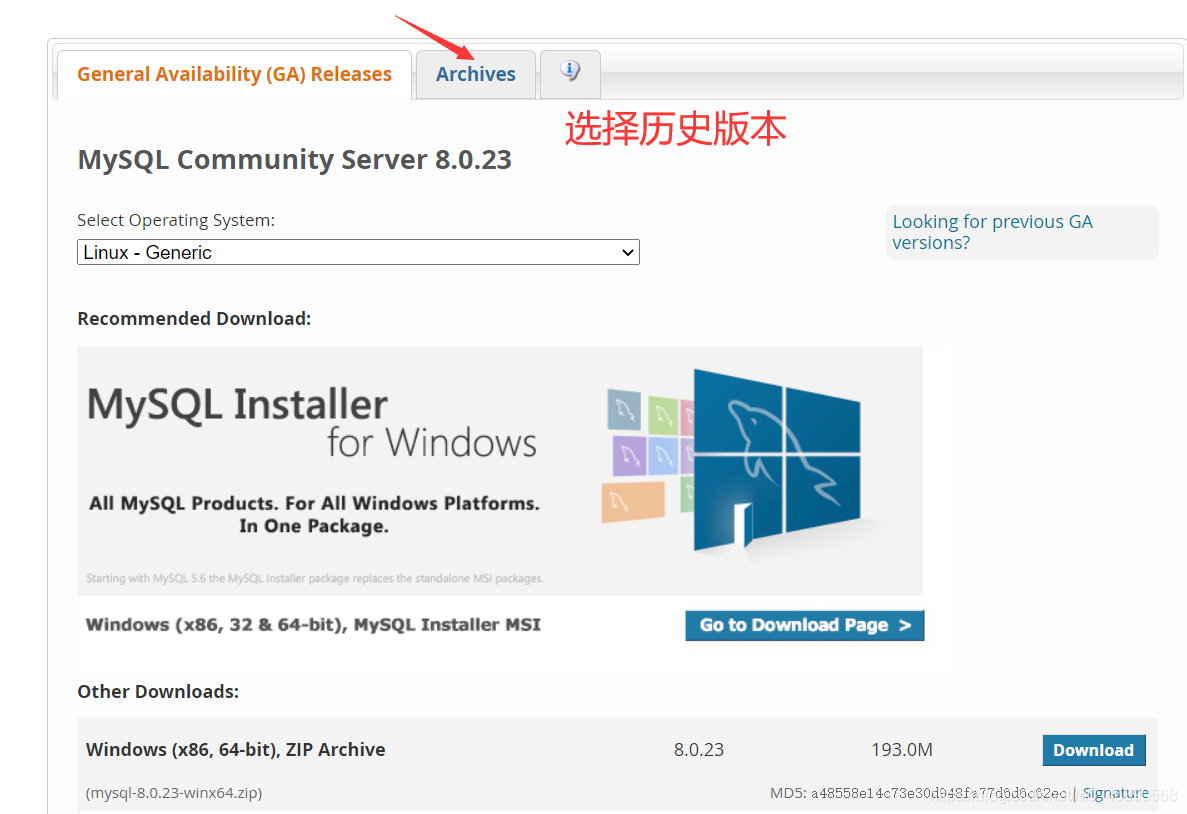
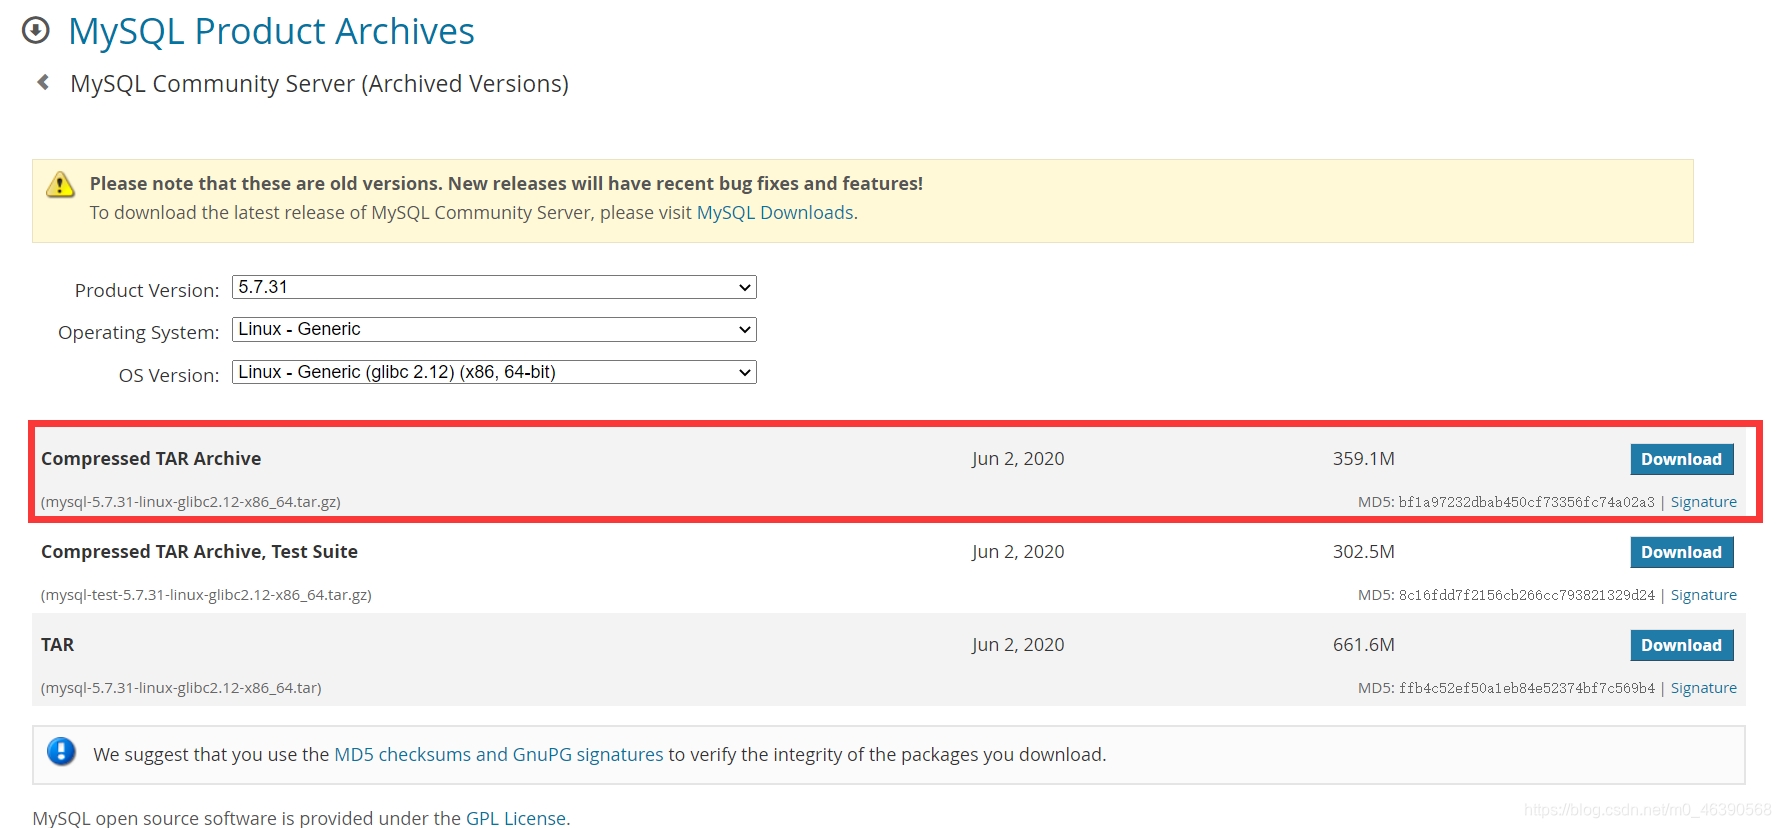
1.下载
https://dev.mysql.com/downloads/mysql/
2.上传
- alt+p打开sftp窗口
sftp> put C:\Users\BOBO\Downloads\jdk-8u281-linux-x64.tar.gz
Uploading jdk-8u281-linux-x64.tar.gz to /root/jdk-8u281-linux-x64.tar.gz
  100% 140354KB 140354KB/s 00:00:01
C:\Users\BOBO\Downloads\jdk-8u281-linux-x64.tar.gz: 143722924 bytes transferred in 1 seconds (140354 KB/s)
- 将jdk-8u281-linux-x64.tar.gz剪切到/usr/local/mysql
[root@BOBO ~]# mvjdk-8u281-linux-x64.tar.gz /usr/local/mysql
3. 安装
#卸载系统自带的Mariadb
[root@BOBO ~]# rpm -qa|grep mariadb
mariadb-libs-5.5.44-2.el7.centos.x86_64
[root@BOBO ~]# rpm -e --nodeps mariadb-libs-5.5.44-2.el7.centos.x86_64

#删除etc目录下的my.cnf文件
[root@BOBO ~]# rm /etc/my.cnfrm: cannot remove ?etc/my.cnf? No such file or directory

#检查mysql是否存在
[root@BOBO ~]# rpm -qa | grep mysql
[root@BOBO ~]#

#检查mysql组和用户是否存在,如无创建
[root@BOBO ~]# cat /etc/group | grep mysql
[root@BOBO ~]#  cat /etc/passwd | grep mysql

#创建mysql用户组
[root@hBOBO ~]# groupadd mysql

#创建一个用户名为mysql的用户并加入mysql用户组
[root@BOBO ~]# useradd -g mysql mysql

#制定password 为111111
[root@BOBO ~]# passwd mysql
Changing password for user mysql.
New password:
BAD PASSWORD: The password is a palindrome
Retype new password: passwd: all authentication tokens updated successfully.

#解压安装
[root@BOBO ~]# cd /usr/local/mysql
[root@BOBO mysql]# tar -xzvf mysql-5.7.31-linux-glibc2.12-x86_64.tar.gz
[root@BOBO mysql]# mv mysql-5.7.31-linux-glibc2.12-x86_64/ mysql57

#更改所属的组和用户
[root@BOBO mysql]# chown -R mysql mysql57/
[root@BOBO mysql]# chgrp -R mysql mysql57/
[root@BOBO mysql]# cd mysql57/
[root@BOBO mysql57]# mkdir data
[root@BOBO mysql57]# chown -R mysql:mysql data

#在etc下新建配置文件my.cnf
[root@BOBO ~]# cd /etc
[root@BOBO ~]# vim my.cnf

#在该文件内添加以下配置
[mysql]
# 设置mysql客户端默认字符集
default-character-set=utf8
[mysqld]
skip-name-resolve
# 设置3306端口
port =3306
# 设置mysql的安装目录
basedir=/usr/local/mysql/mysql57
# 设置mysql数据库的数据的存放目录
datadir=/usr/local/mysql/mysql57/data
# 允许最大连接数
max_connections=200
# 服务端使用的字符集默认为8比特编码的latin1字符集
character-set-server=utf8
# 创建新表时将使用的默认存储引擎
default-storage-engine=INNODB
lower_case_table_names=1
max_allowed_packet=16M

#安装和初始化
[root@BOBO mysql57]# bin/mysql_install_db --user=mysql --basedir=/usr/local/mysql/mysql57/ --datadir=/usr/local/mysql/mysql57/data/

#设置开机启动
[root@BOBO mysql57]# chkconfig --level 35 mysqld on
[root@BOBO mysql57]# chkconfig --list mysqld
[root@BOBO mysql57]# chmod +x /etc/rc.d/init.d/mysqld
[root@BOBO mysql57]# chkconfig --add mysqld
[root@BOBO mysql57]# chkconfig --list mysqld
[root@BOBO mysql57]# service mysqld status

#修改etc/profile
[root@BOBO mysql57]# vim /etc/profile

##添加以下内容
#mysql environment
export PATH=$PATH:/usr/local/mysql/mysql57/bin

#获得初始密码
[root@BOBO local]# cat /root/.mysql_secret
# Password set for user 'root@localhost' at 2021-03-22 11:33:03
PCGYkZEe>;j%

#修改密码
[root@BOBO mysql57]# mysql -uroot -p
Enter password:

#解决MySQL修改密码:ERROR 1290 (HY000): The MySQL server is running with the --skip-grant-tables option
1.找不到初始密码可以在my.cnf中[mysqld] 添加:
	skip-grant-tables
2.重启MySQL
	[root@BOBO etc]# /etc/init.d/mysqld restart
3.若报错1290
	ERROR 1290 (HY000): The MySQL server is running with the --skip-grant-tables option so it cannot execute this statement
4.先执行
	flush privileges;
5.修改密码
	alter user 'root'@'localhost' identified by '123456';
6. 编辑my.cnf文件删掉skip-grant-tables 这一行,然后重启MySQL,/etc/init.d/mysqld restart,否则MySQL仍能免密码登录
7. mysql -u root -p
	然后输入密码即可登录MySQL数据库
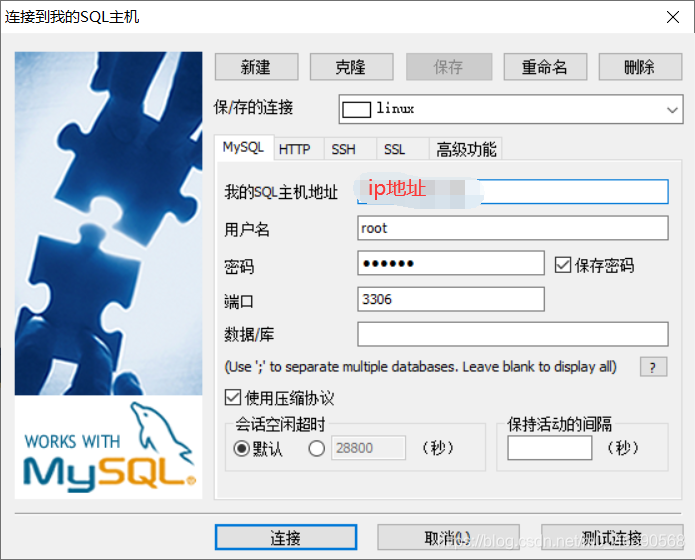
关于mysql远程连接
1.在云主机上连接mysql
mysql -uroot -p         #根据提示输入密码
2.依次执行以下sql命令
use mysql;              #打开 mysql 数据库
3.将host设置为%表示任何ip都能连接mysql,当然也可指定为某个特定ip
update user set host='%' where user='root' and host='localhost';
4.flush privileges;        #刷新权限表,使配置生效


 669
669

 被折叠的 条评论
为什么被折叠?
被折叠的 条评论
为什么被折叠?
 到【灌水乐园】发言


