


前言
最近做软挑需要用到linux下的c++环境,之前做项目用的一直是cmake+vs code混合的方式,这样的好处是cmake 可以设置debug 和release,但每次都要make命令有点麻烦.
后来了解到完全可以把vs code 配置成跟vs一样的环境,甚至在丰富插件的支持下使用更加方便,而且能结合终端使用.
看了一些教程,发现讲的不仅杂乱,麻烦,而且最后还一堆错误导致无法运行.前些天研究了一堆,才发现:现在都2020年了,最新版本的vs code完全可以自动给你配置好c++所需要的环境.毕竟你linux系统下g++编译器都给你配置好了本来就有.配置是lauch.json 和tasks.json这俩文件,就按照默认配置就行,别听别的博客说那么一大堆还有bug.先在详细记录一下配置过程.
配置过程
1.安装工具
1.安装好vs code
2.安装好各种插件
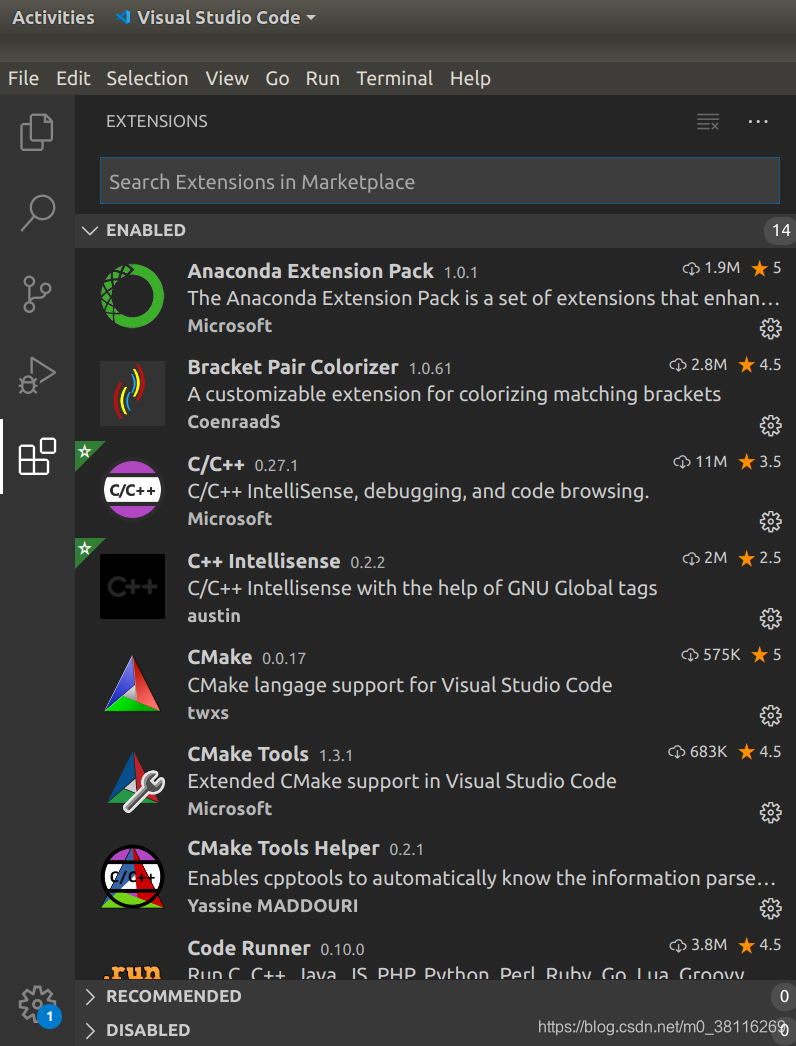 在搜索栏里面搜索即可.
c++, c++ intelligence, 用c++的得安上
code runner, 安装完后右上角会有个运行的小按钮,后面运行很方便.
bracket pair colorizer, 美化的看代码会比较舒适
cmake, 用cmake 的话可以安上
python
shell
drupal syntax highlighting, 忘了干啥的了
include autocomplete 自动加载头文件的
anaconda extension pack用python的话就安上
上面这些插件按需安装.vs code里面有很多宝藏插件,安了会极大便利开发过程.
2.言归正传
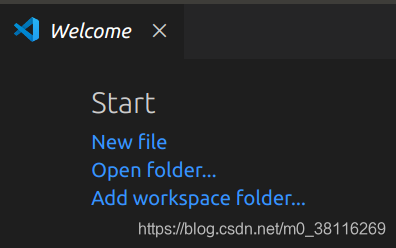
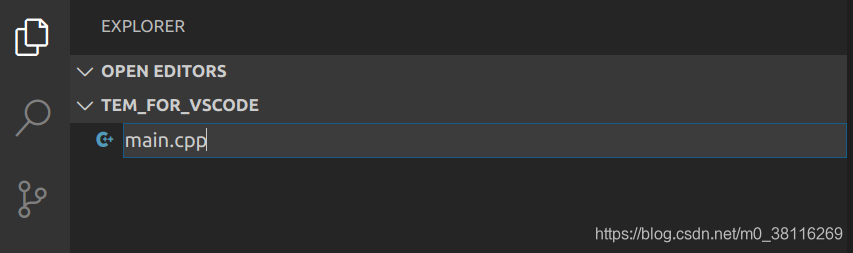
打开个空文件夹.建立个main.cpp
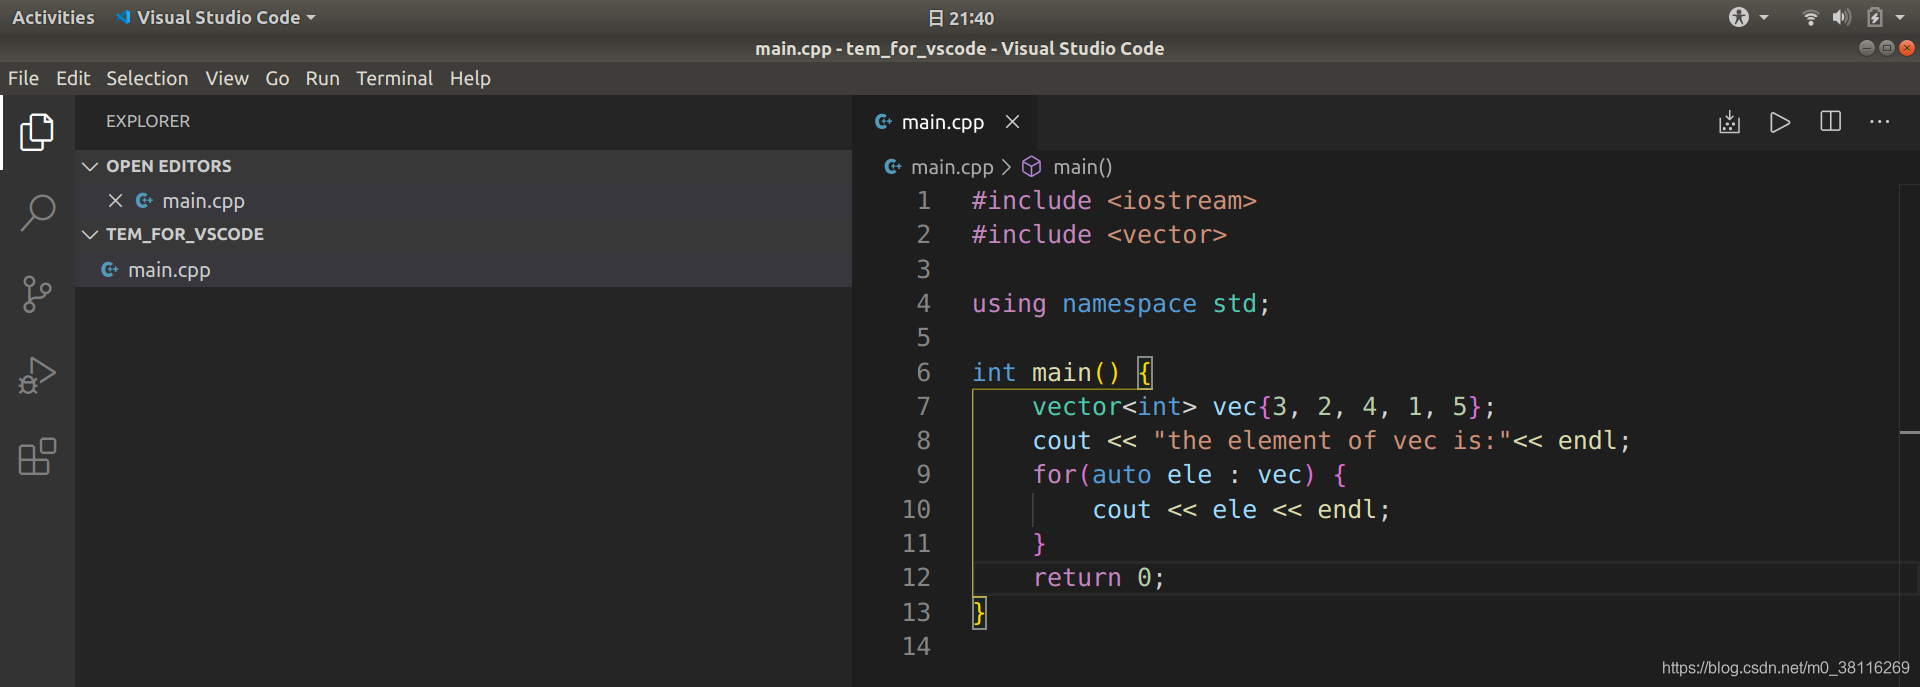
 现在写了段代码:
 现在还不能运行,需要配置好俩文件:lauch.json和tasks.json
要配置lauch.json:
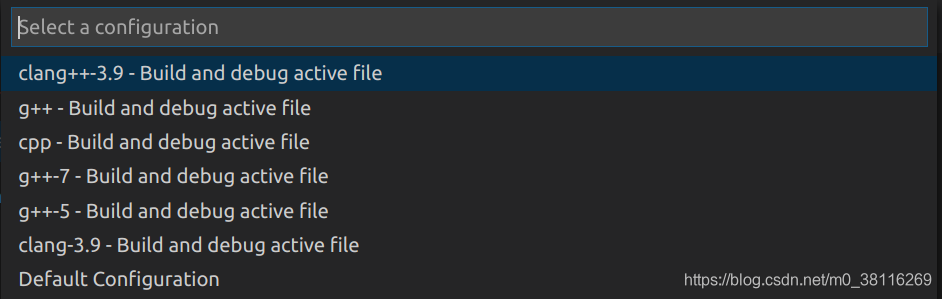
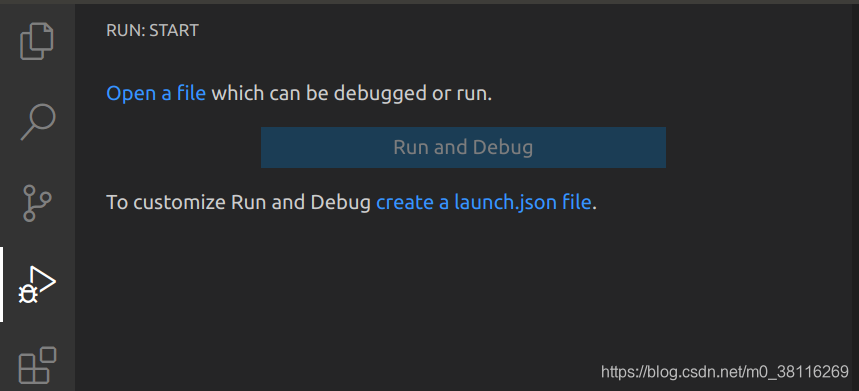 点击create a lauch.json->选择C++(GDB/LLDB) -> 选择下面的g+±Build and debug active file,它会自动生成所需要的lauch.json和tasks.json,非常方便.并顺便运行出了结果.
 点开.vscode文件夹,会发现多了两个文件:
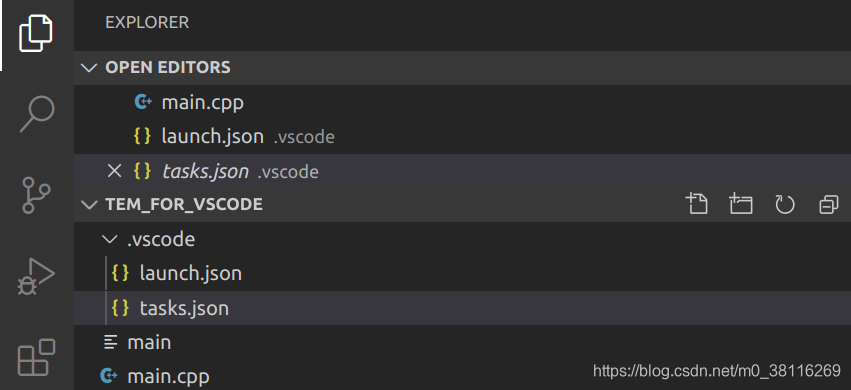 lauch.json和tasks.json都给自动创建好了,是不是very very convenient?
其中,lauch.json内容如下:
{
    // Use IntelliSense to learn about possible attributes.
    // Hover to view descriptions of existing attributes.
    // For more information, visit: https://go.microsoft.com/fwlink/?linkid=830387
    "version": "0.2.0",
    "configurations": [
        {
            "name": "g++ - Build and debug active file",
            "type": "cppdbg",
            "request": "launch",
            "program": "${fileDirname}/${fileBasenameNoExtension}",
            "args": [],
            "stopAtEntry": false,
            "cwd": "${workspaceFolder}",
            "environment": [],
            "externalConsole": false,
            "MIMode": "gdb",
            "setupCommands": [
                {
                    "description": "Enable pretty-printing for gdb",
                    "text": "-enable-pretty-printing",
                    "ignoreFailures": true
                }
            ],
            "preLaunchTask": "g++ build active file",
            "miDebuggerPath": "/usr/bin/gdb"
        }
    ]
}
tasks.json内容如下:
{
    "tasks": [
        {
            "type": "shell",
            "label": "g++ build active file",
            "command": "/usr/bin/g++",
            "args": [
                "-g",
                "${file}",
                "-o",
                "${fileDirname}/${fileBasenameNoExtension}"
            ],
            "options": {
                "cwd": "/usr/bin"
            }
        }
    ],
    "version": "2.0.0"
}
到现在就可以使用了,比如可以进行debug了.加个断点,开始调试:
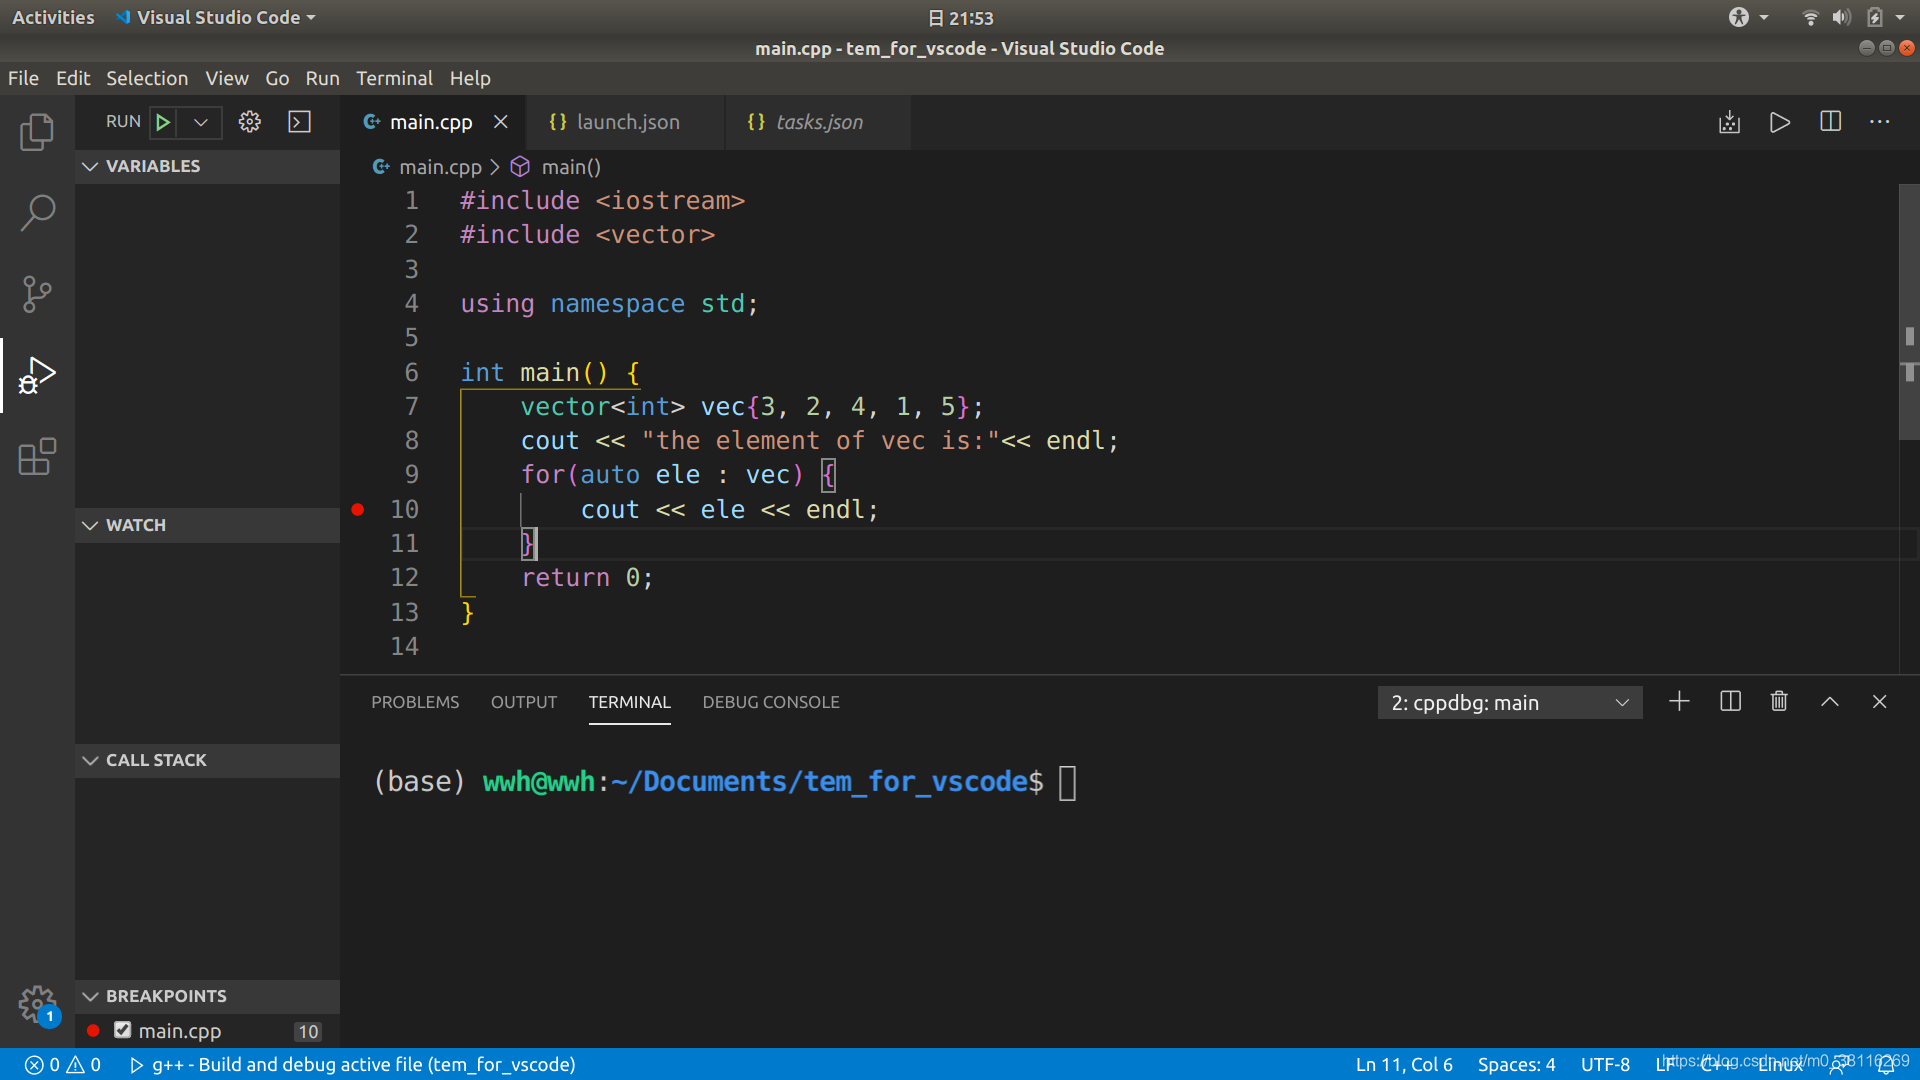
 左边好几栏,有的可以看实时的变量.右上有一小栏,step over, step into啥的跟vs里面一样使用.右上角的运行按钮是直接运行用的(code runner 插件安装了才有),而左上角那run 是调试用的.
ok, 到这里,基础的c++运行就没问题了,可以看出里面使用了一下c++11,也是默认支持的.
一点小扩展
对于code runner, 如果是需要非标准库的话,需要在编译的命令加上,如并行编程,需要使用lpthread.
找到code runner,点那个设置符号
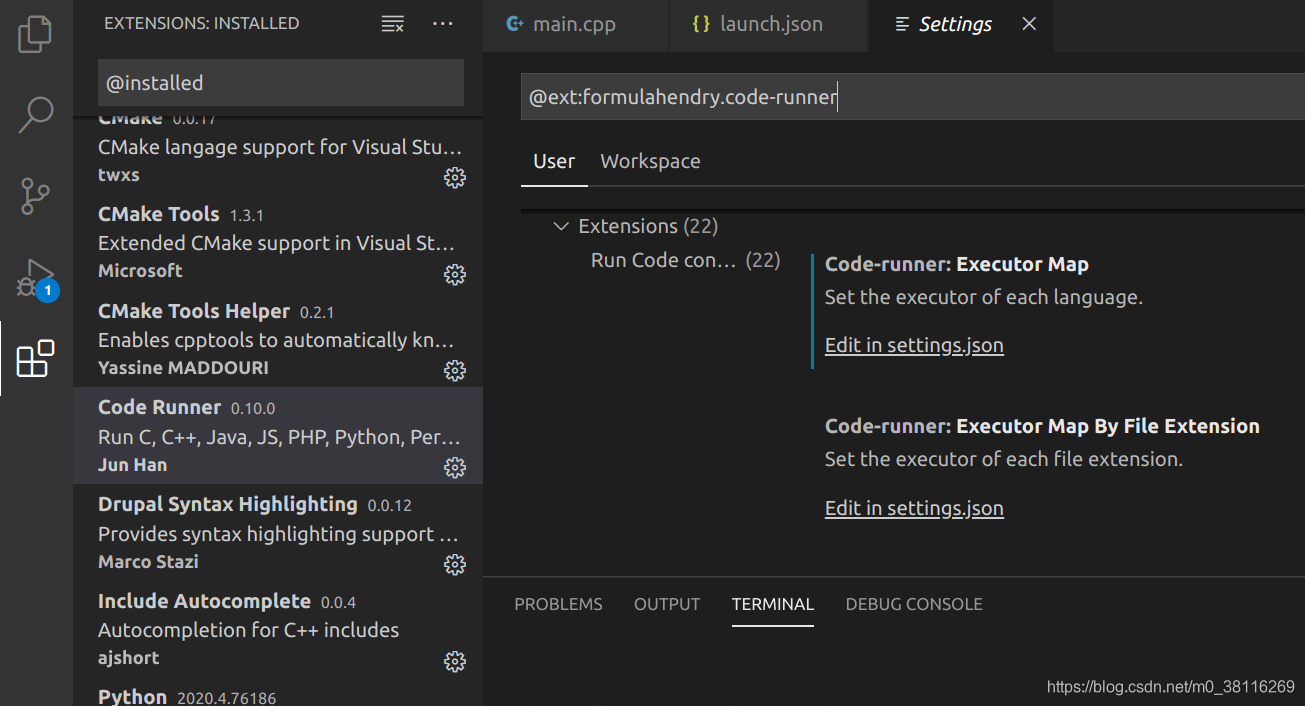 点击edit in setting.json
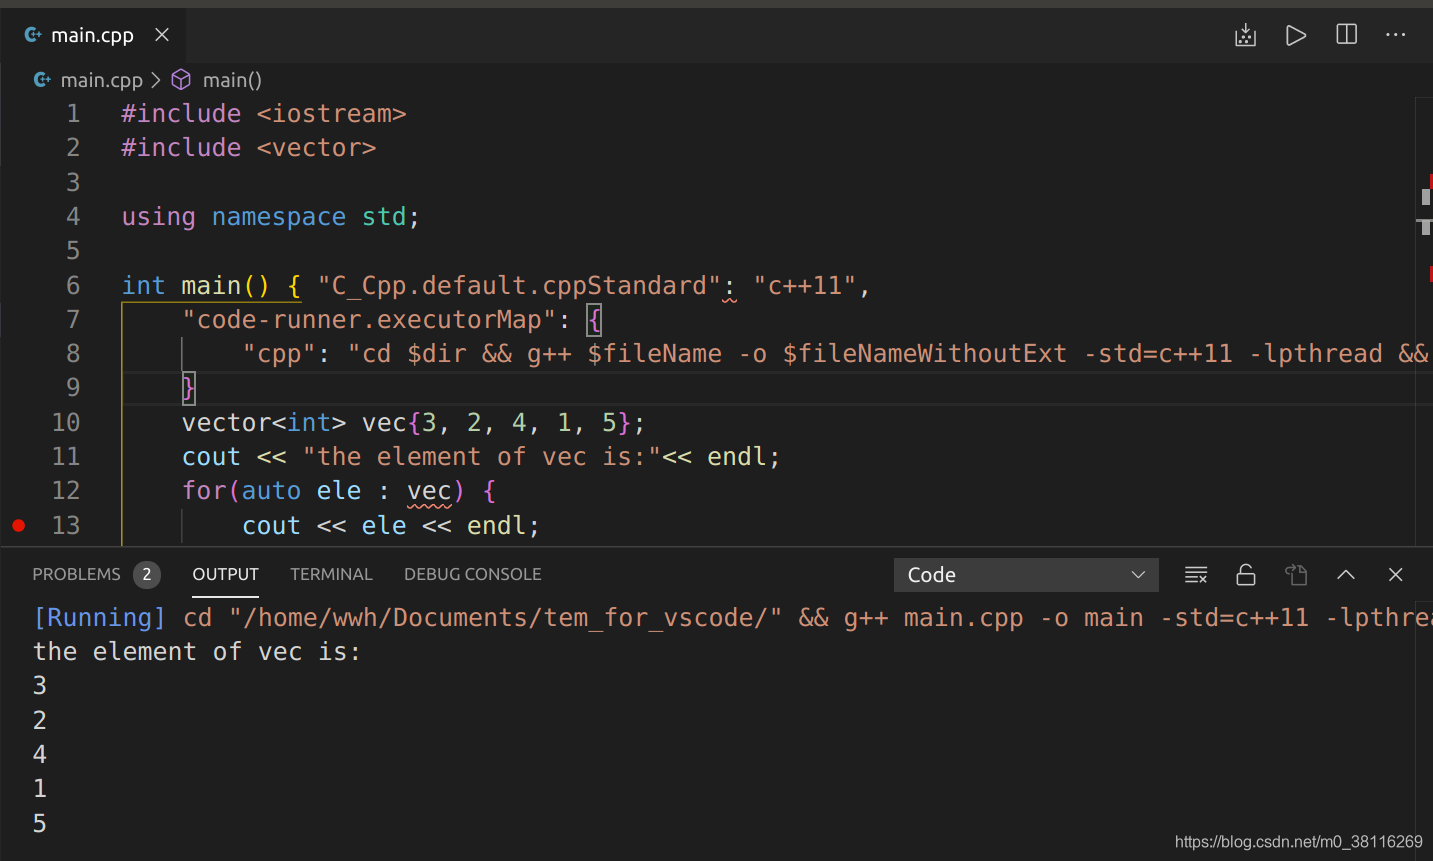
加上:
 "C_Cpp.default.cppStandard": "c++11",
    "code-runner.executorMap": {
        "cpp": "cd $dir && g++ $fileName -o $fileNameWithoutExt -std=c++11 -lpthread && $dir$fileNameWithoutExt"
    }
直接点击右上角的运行按钮也可以了
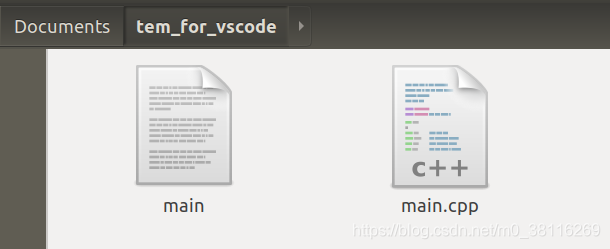
 文件夹里面也生成了名字跟cpp一样的可执行文件.
补充
如果需要其他的编译命令,可以在tasks.json里面设置.
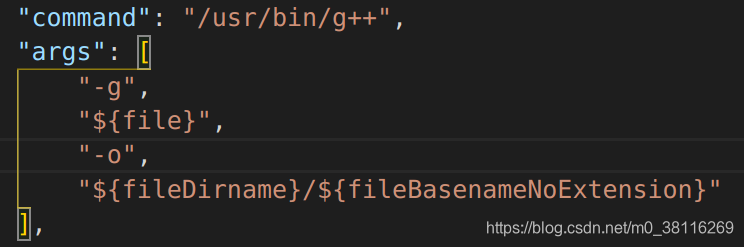 其实图中的command和args运行的就是g++的编译命令,和在终端运行是一样的.


 592
592

 被折叠的 条评论
为什么被折叠?
被折叠的 条评论
为什么被折叠?
 到【灌水乐园】发言


