


- Java搭建 winpcap开发环境。
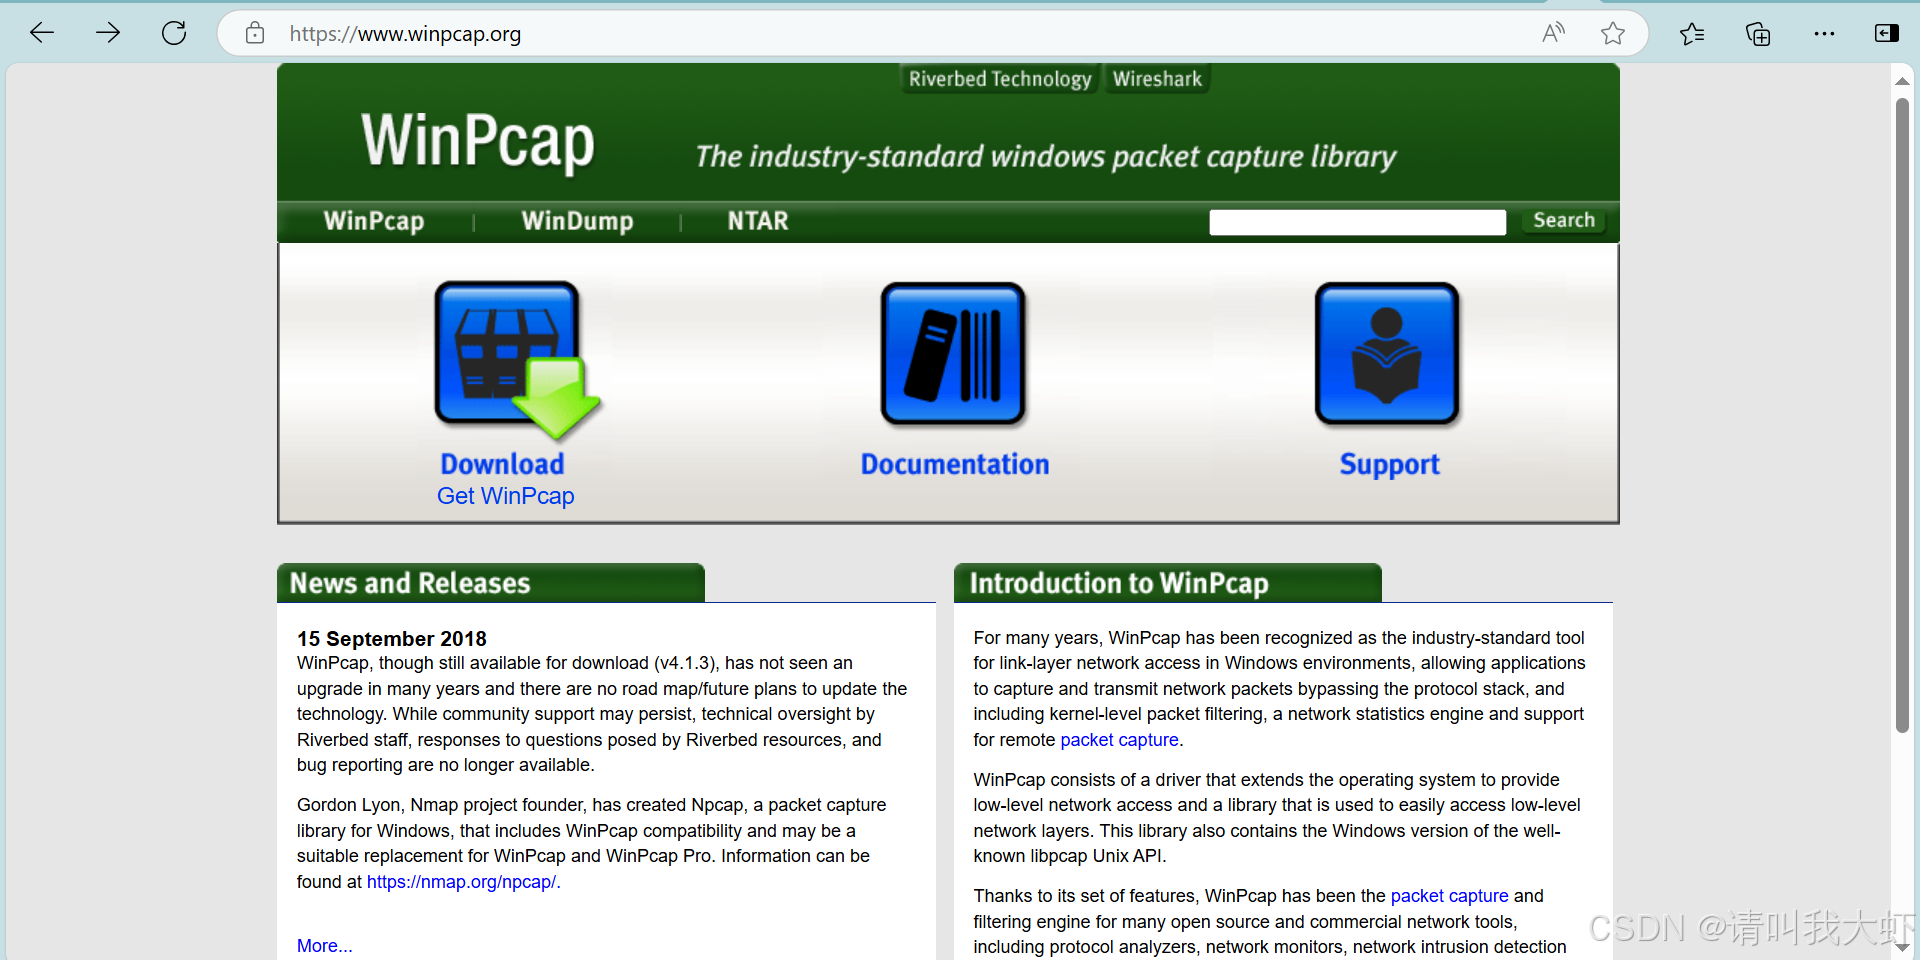
安装winpcap。
winpcap官网
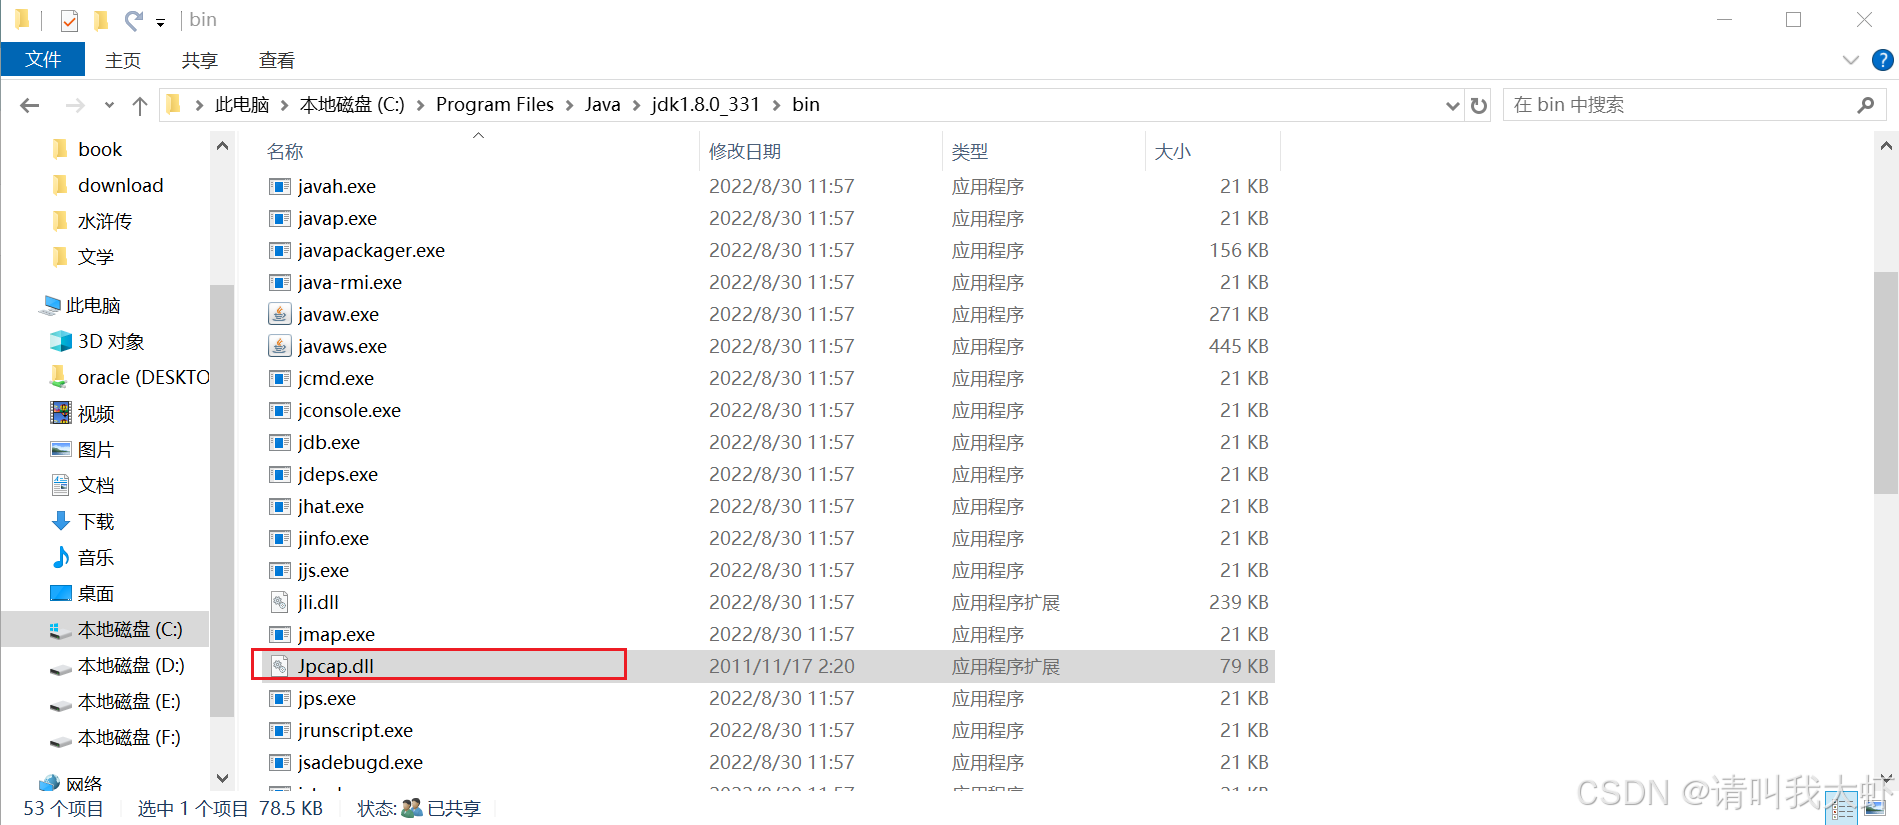
2.设置Jpcap.dll
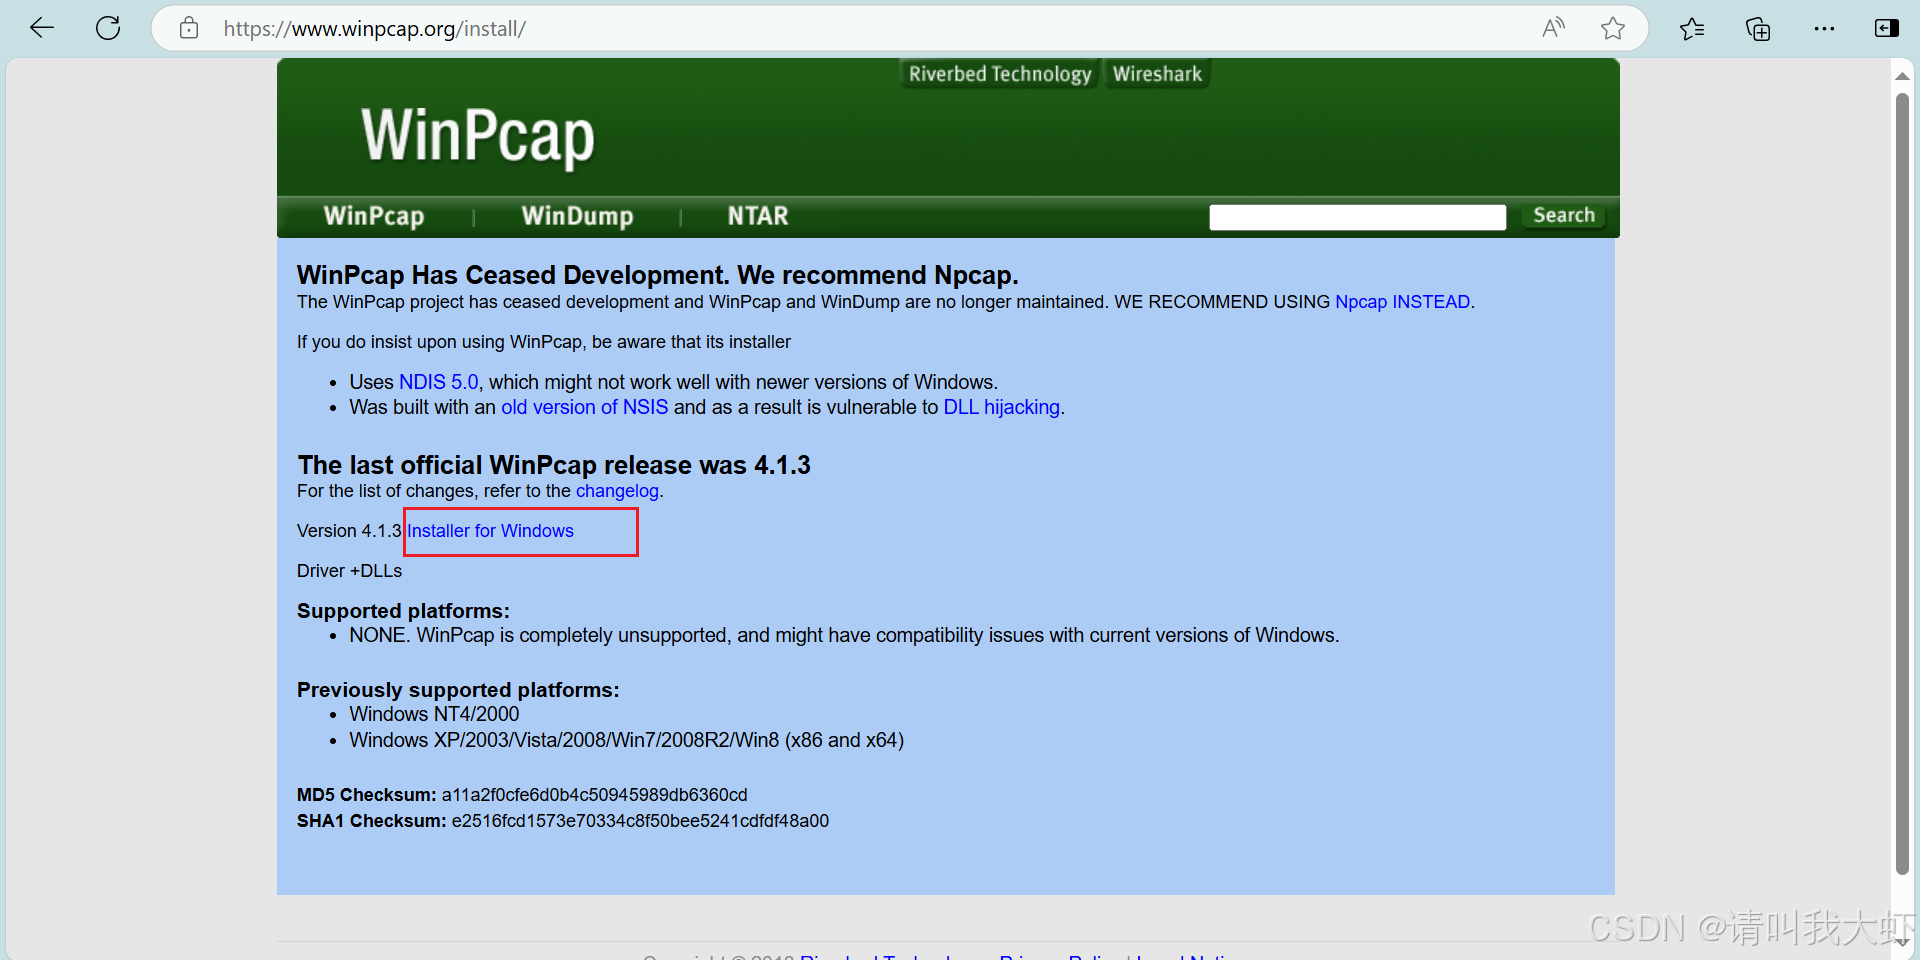
特别注意:64位的系统要下载64位的对应的DLL; (资源已上传到附件,下载即可)
但是官网上提供的下载是32位系统的!!
下载到本地之后,将Jpcap.dll复制到JDK安装路径下的bin 目录下
- 导入jar包
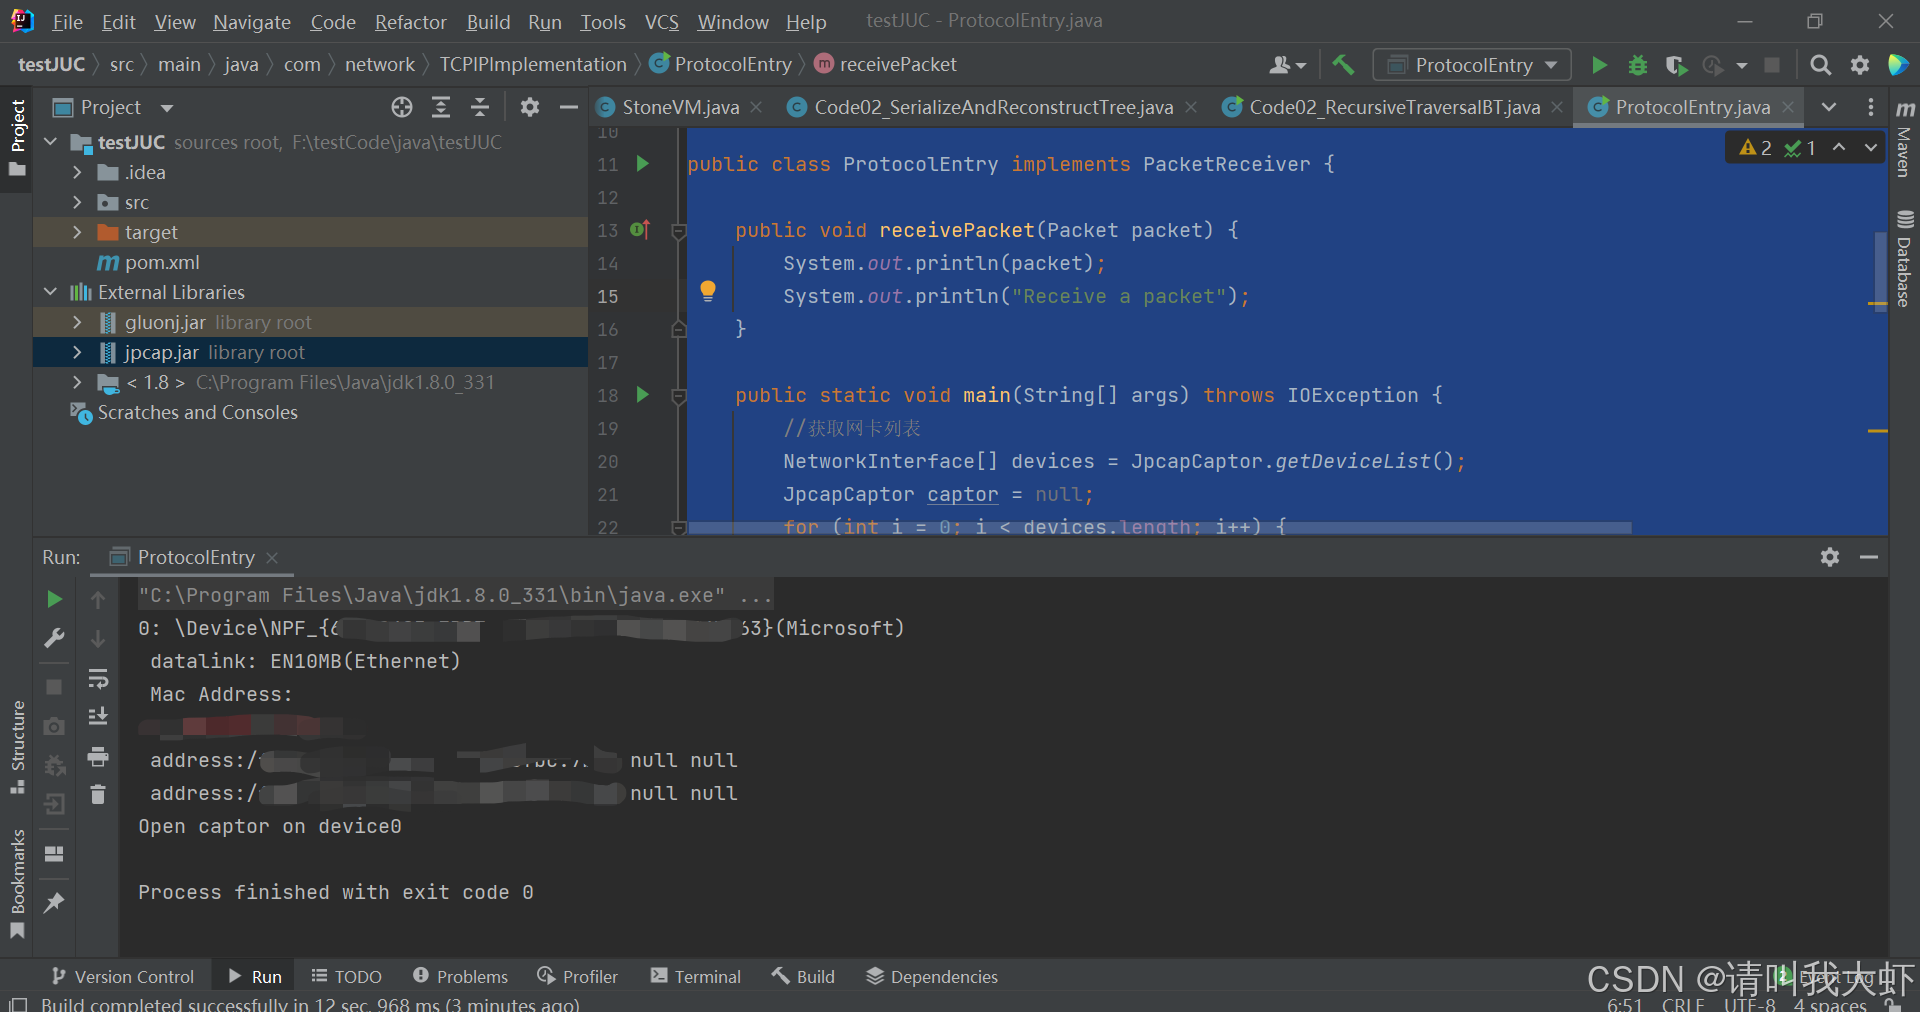
使用IDEA新建一个普通的Java项目,导入Jar包
打开项目的项目结构,将刚才下载Jar包添加到项目结构的库中,如下图:
import jpcap.JpcapCaptor;
import jpcap.NetworkInterface;
import jpcap.NetworkInterfaceAddress;
import jpcap.PacketReceiver;
import jpcap.packet.Packet;
import java.io.IOException;

public class ProtocolEntry implements PacketReceiver {

    public void receivePacket(Packet packet) {
        System.out.println(packet);
        System.out.println("Receive a packet");
    }

    public static void main(String[] args) throws IOException {
        //获取网卡列表
        NetworkInterface[] devices = JpcapCaptor.getDeviceList();
        JpcapCaptor captor = null;
        for (int i = 0; i < devices.length; i++) {
            //显示网卡名字
            System.out.println(i+": "+devices[i].name + "(" + devices[i].description + ")");

            System.out.println(" datalink: " + devices[i].datalink_name + "(" + devices[i].datalink_description + ")");

            System.out.println(" Mac Address: ");
            for (byte b : devices[i].mac_address) {
                System.out.print(Integer.toHexString(b & 0xff) + ":");
            }

            System.out.println();

            for (NetworkInterfaceAddress a : devices[i].addresses) {
                System.out.println(" address:" + a.address + " " + a.subnet + " " + a.broadcast);
            }

            captor = JpcapCaptor.openDevice(devices[i], 65536, false, 20);
            if (captor != null) {
                System.out.println("Open captor on device" + i);
                break;
            }
        }


    }
}


 被折叠的 条评论
为什么被折叠?
被折叠的 条评论
为什么被折叠?
 到【灌水乐园】发言


