


 本文介绍了使用IDEA创建Spring Boot工程的步骤,包括选择Spring Initializr、配置JDK和依赖项等。创建完成后,将Maven镜像地址指向阿里云以加快包下载速度。最后通过Maven的clean和install验证工程正确性,并运行非Web项目程序。
现在java的开发基本都用IntelliJ IDEA,这里我用的一个版本是2020.2.3 x64,可以去下载一个试用版来做开发使用。首先我们先构建一个SpringBoot的应用。
1.新建一个工程
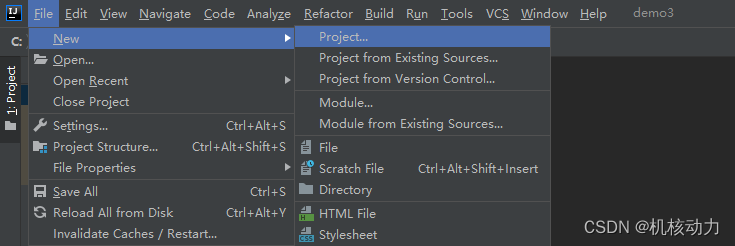
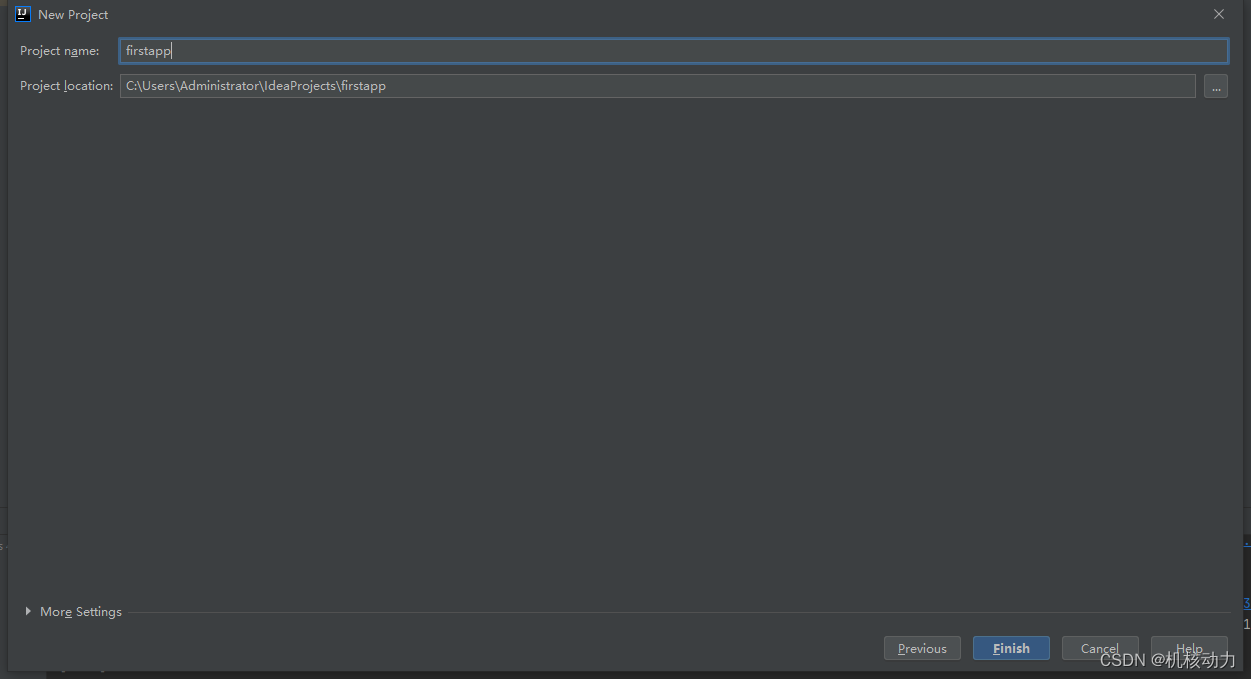
打开IDEA的File->New->Project菜单
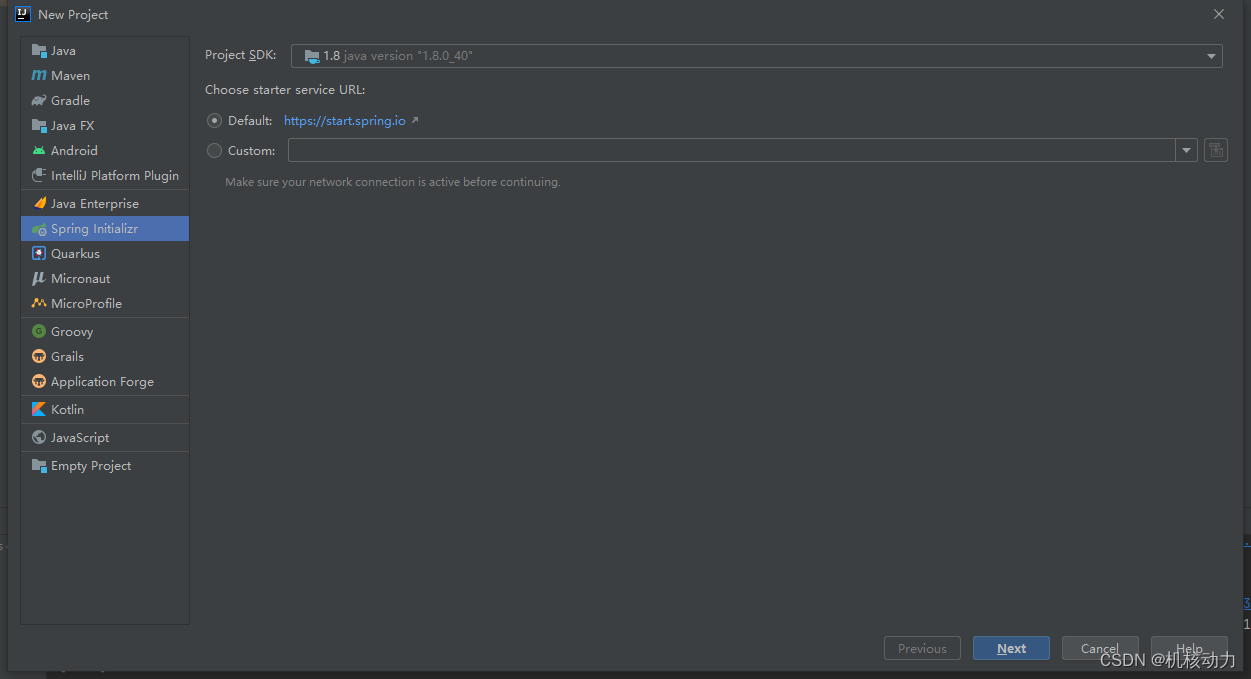
选择Spring Iinitializr,选择好JDK1.8.单击Next
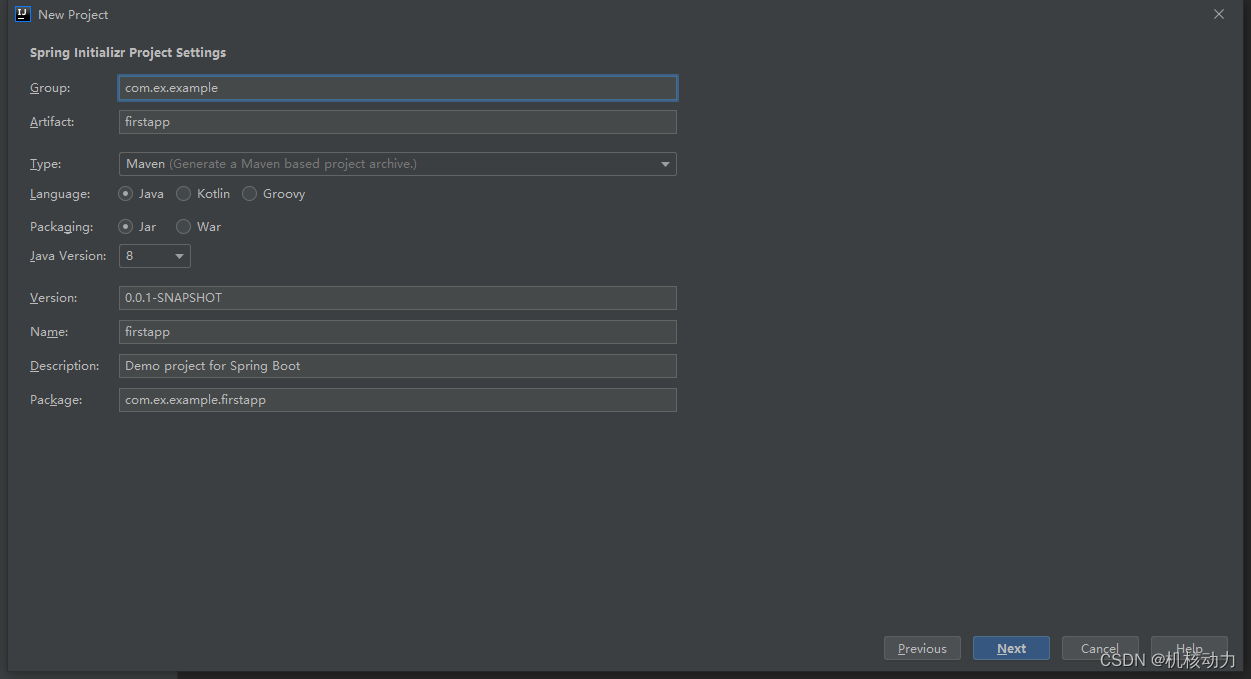
按照如下选择,点击Next
选择“Spring Boot DevTools”,版本选择2.7.14。
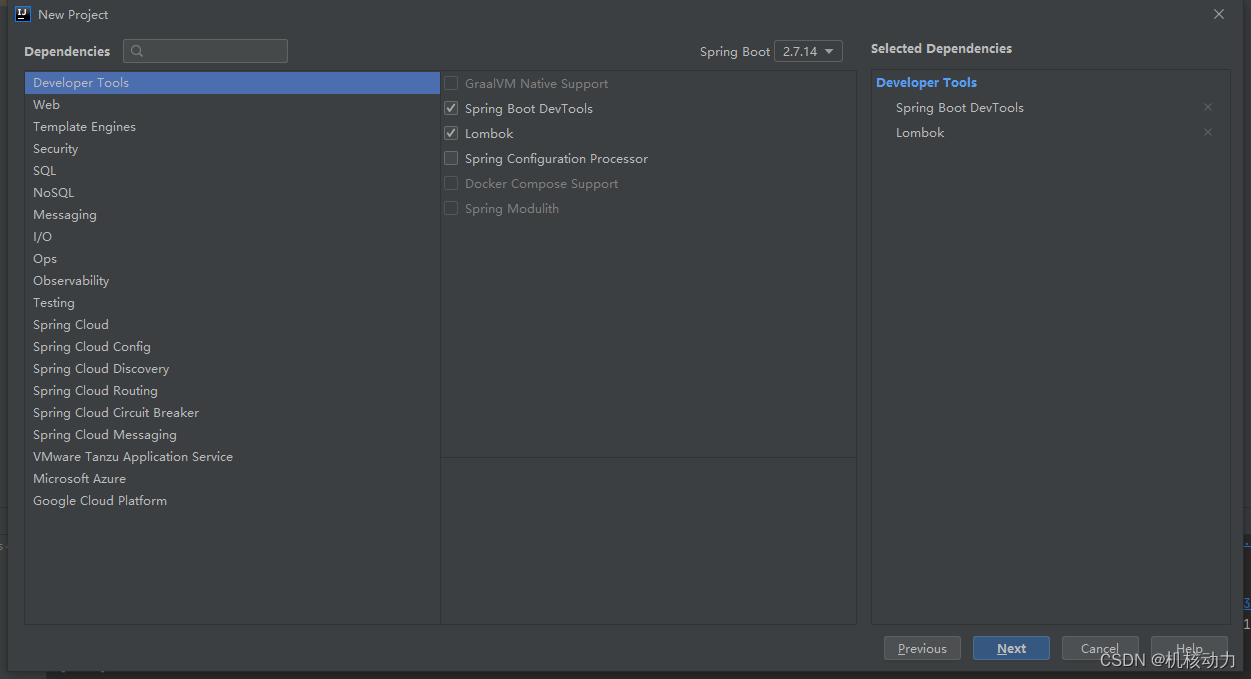
最后选择Finish
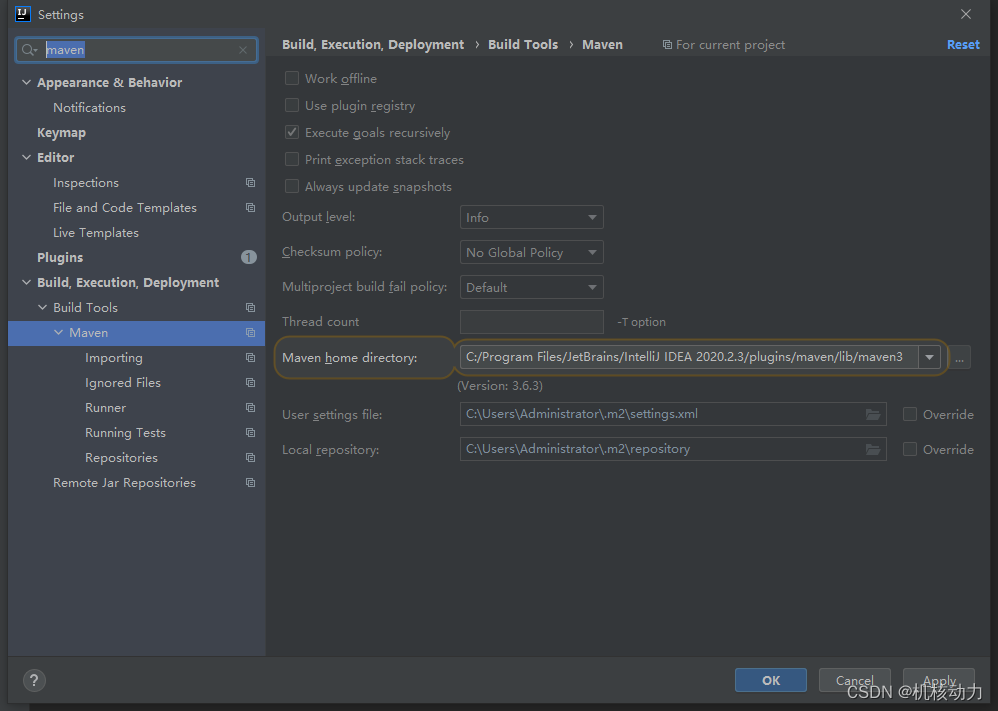
创建完成后,我们可以把Maven的镜像地址指向国内的阿里云。在默认目录C:\Users\Administrator.m2\增加settings.xml文件,这样所有的包下载都从国内下载
settings.xml文件内容如下
<?xml version="1.0" encoding="UTF-8"?>


<settings xmlns="http://maven.apache.org/SETTINGS/1.0.0"
		  xmlns:xsi="http://www.w3.org/2001/XMLSchema-instance"
		  xsi:schemaLocation="http://maven.apache.org/SETTINGS/1.0.0 http://maven.apache.org/xsd/settings-1.0.0.xsd">
	<!-- localRepository
     | The path to the local repository maven will use to store artifacts.
     |
     | Default: ${user.home}/.m2/repository
    <localRepository>/path/to/local/repo</localRepository>
    -->
	<!-- 配置本地仓库位置-->
	<localRepository>C:/Users/Administrator/.m2/repository</localRepository>


	<pluginGroups>
		<!-- pluginGroup
         | Specifies a further group identifier to use for plugin lookup.
        <pluginGroup>com.your.plugins</pluginGroup>
        -->
	</pluginGroups>

	<!-- proxies
     | This is a list of proxies which can be used on this machine to connect to the network.
     | Unless otherwise specified (by system property or command-line switch), the first proxy
     | specification in this list marked as active will be used.
     |-->
	<proxies>
		<!-- proxy
         | Specification for one proxy, to be used in connecting to the network.
         |
        <proxy>
          <id>optional</id>
          <active>true</active>
          <protocol>http</protocol>
          <username>proxyuser</username>
          <password>proxypass</password>
          <host>proxy.host.net</host>
          <port>80</port>
          <nonProxyHosts>local.net|some.host.com</nonProxyHosts>
        </proxy>
        -->
	</proxies>

	<!-- servers
     | This is a list of authentication profiles, keyed by the server-id used within the system.
     | Authentication profiles can be used whenever maven must make a connection to a remote server.
     |-->
	<servers>
		<!-- server
         | Specifies the authentication information to use when connecting to a particular server, identified by
         | a unique name within the system (referred to by the 'id' attribute below).
         |
         | NOTE: You should either specify username/password OR privateKey/passphrase, since these pairings are
         |       used together.
         |
        <server>
          <id>deploymentRepo</id>
          <username>repouser</username>
          <password>repopwd</password>
        </server>
        -->

		<!-- Another sample, using keys to authenticate.
        <server>
          <id>siteServer</id>
          <privateKey>/path/to/private/key</privateKey>
          <passphrase>optional; leave empty if not used.</passphrase>
        </server>
        -->
	</servers>

	<!-- mirrors
     | This is a list of mirrors to be used in downloading artifacts from remote repositories.
     |
     | It works like this: a POM may declare a repository to use in resolving certain artifacts.
     | However, this repository may have problems with heavy traffic at times, so people have mirrored
     | it to several places.
     |
     | That repository definition will have a unique id, so we can create a mirror reference for that
     | repository, to be used as an alternate download site. The mirror site will be the preferred
     | server for that repository.
     |-->
	<mirrors>
		<!-- mirror
         | Specifies a repository mirror site to use instead of a given repository. The repository that
         | this mirror serves has an ID that matches the mirrorOf element of this mirror. IDs are used
         | for inheritance and direct lookup purposes, and must be unique across the set of mirrors.
         |
        <mirror>
          <id>mirrorId</id>
          <mirrorOf>repositoryId</mirrorOf>
          <name>Human Readable Name for this Mirror.</name>
          <url>http://my.repository.com/repo/path</url>
        </mirror>
         -->
		<!-- 配置阿里云仓库-->
		<mirror>
			<id>alimaven</id>
			<name>aliyun maven</name>
			<url>http://maven.aliyun.com/nexus/content/groups/public/</url>
			<mirrorOf>central</mirrorOf>
		</mirror>
	</mirrors>

	<!-- profiles
     | This is a list of profiles which can be activated in a variety of ways, and which can modify
     | the build process. Profiles provided in the settings.xml are intended to provide local machine-
     | specific paths and repository locations which allow the build to work in the local environment.
     |
     | For example, if you have an integration testing plugin - like cactus - that needs to know where
     | your Tomcat instance is installed, you can provide a variable here such that the variable is
     | dereferenced during the build process to configure the cactus plugin.
     |
     | As noted above, profiles can be activated in a variety of ways. One way - the activeProfiles
     | section of this document (settings.xml) - will be discussed later. Another way essentially
     | relies on the detection of a system property, either matching a particular value for the property,
     | or merely testing its existence. Profiles can also be activated by JDK version prefix, where a
     | value of '1.4' might activate a profile when the build is executed on a JDK version of '1.4.2_07'.
     | Finally, the list of active profiles can be specified directly from the command line.
     |
     | NOTE: For profiles defined in the settings.xml, you are restricted to specifying only artifact
     |       repositories, plugin repositories, and free-form properties to be used as configuration
     |       variables for plugins in the POM.
     |
     |-->
	<profiles></profiles>
</settings>
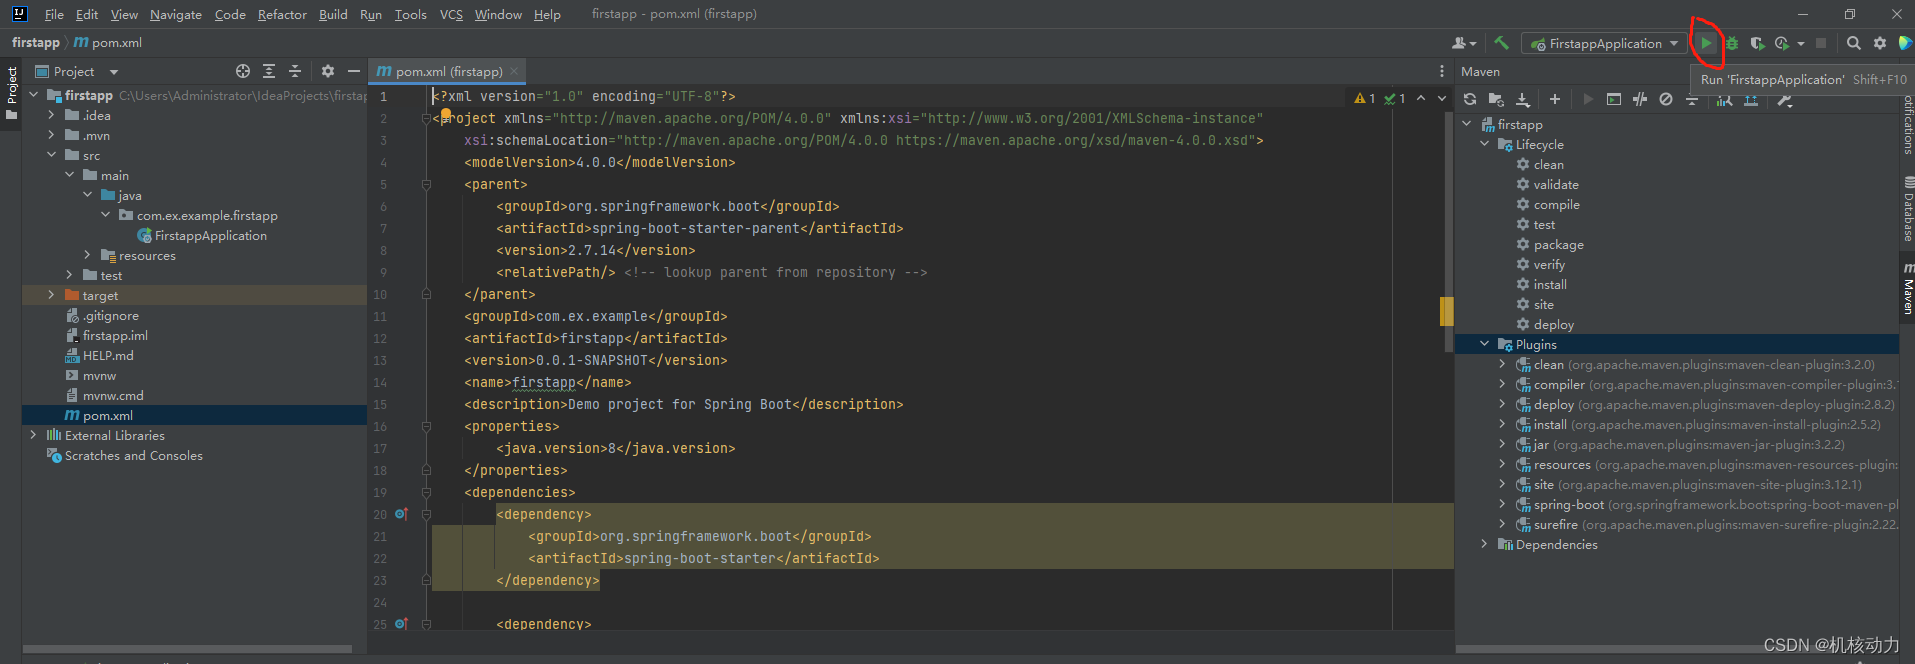
工程pom.xml文件内容如下:
<?xml version="1.0" encoding="UTF-8"?>
<project xmlns="http://maven.apache.org/POM/4.0.0" xmlns:xsi="http://www.w3.org/2001/XMLSchema-instance"
	xsi:schemaLocation="http://maven.apache.org/POM/4.0.0 https://maven.apache.org/xsd/maven-4.0.0.xsd">
	<modelVersion>4.0.0</modelVersion>
	<parent>
		<groupId>org.springframework.boot</groupId>
		<artifactId>spring-boot-starter-parent</artifactId>
		<version>2.7.14</version>
		<relativePath/> <!-- lookup parent from repository -->
	</parent>
	<groupId>com.ex.example</groupId>
	<artifactId>firstapp</artifactId>
	<version>0.0.1-SNAPSHOT</version>
	<name>firstapp</name>
	<description>Demo project for Spring Boot</description>
	<properties>
		<java.version>8</java.version>
	</properties>
	<dependencies>
		<dependency>
			<groupId>org.springframework.boot</groupId>
			<artifactId>spring-boot-starter</artifactId>
		</dependency>

		<dependency>
			<groupId>org.springframework.boot</groupId>
			<artifactId>spring-boot-devtools</artifactId>
			<scope>runtime</scope>
			<optional>true</optional>
		</dependency>
		<dependency>
			<groupId>org.springframework.boot</groupId>
			<artifactId>spring-boot-starter-test</artifactId>
			<scope>test</scope>
		</dependency>
	</dependencies>

	<build>
		<plugins>
			<plugin>
				<groupId>org.springframework.boot</groupId>
				<artifactId>spring-boot-maven-plugin</artifactId>
			</plugin>
		</plugins>
	</build>

</project>
工程建立完成后,我们用Maven的clean,install验证一下工程正确性,直接双击clean,然后install,如果工程没有报错,就证明工程OK

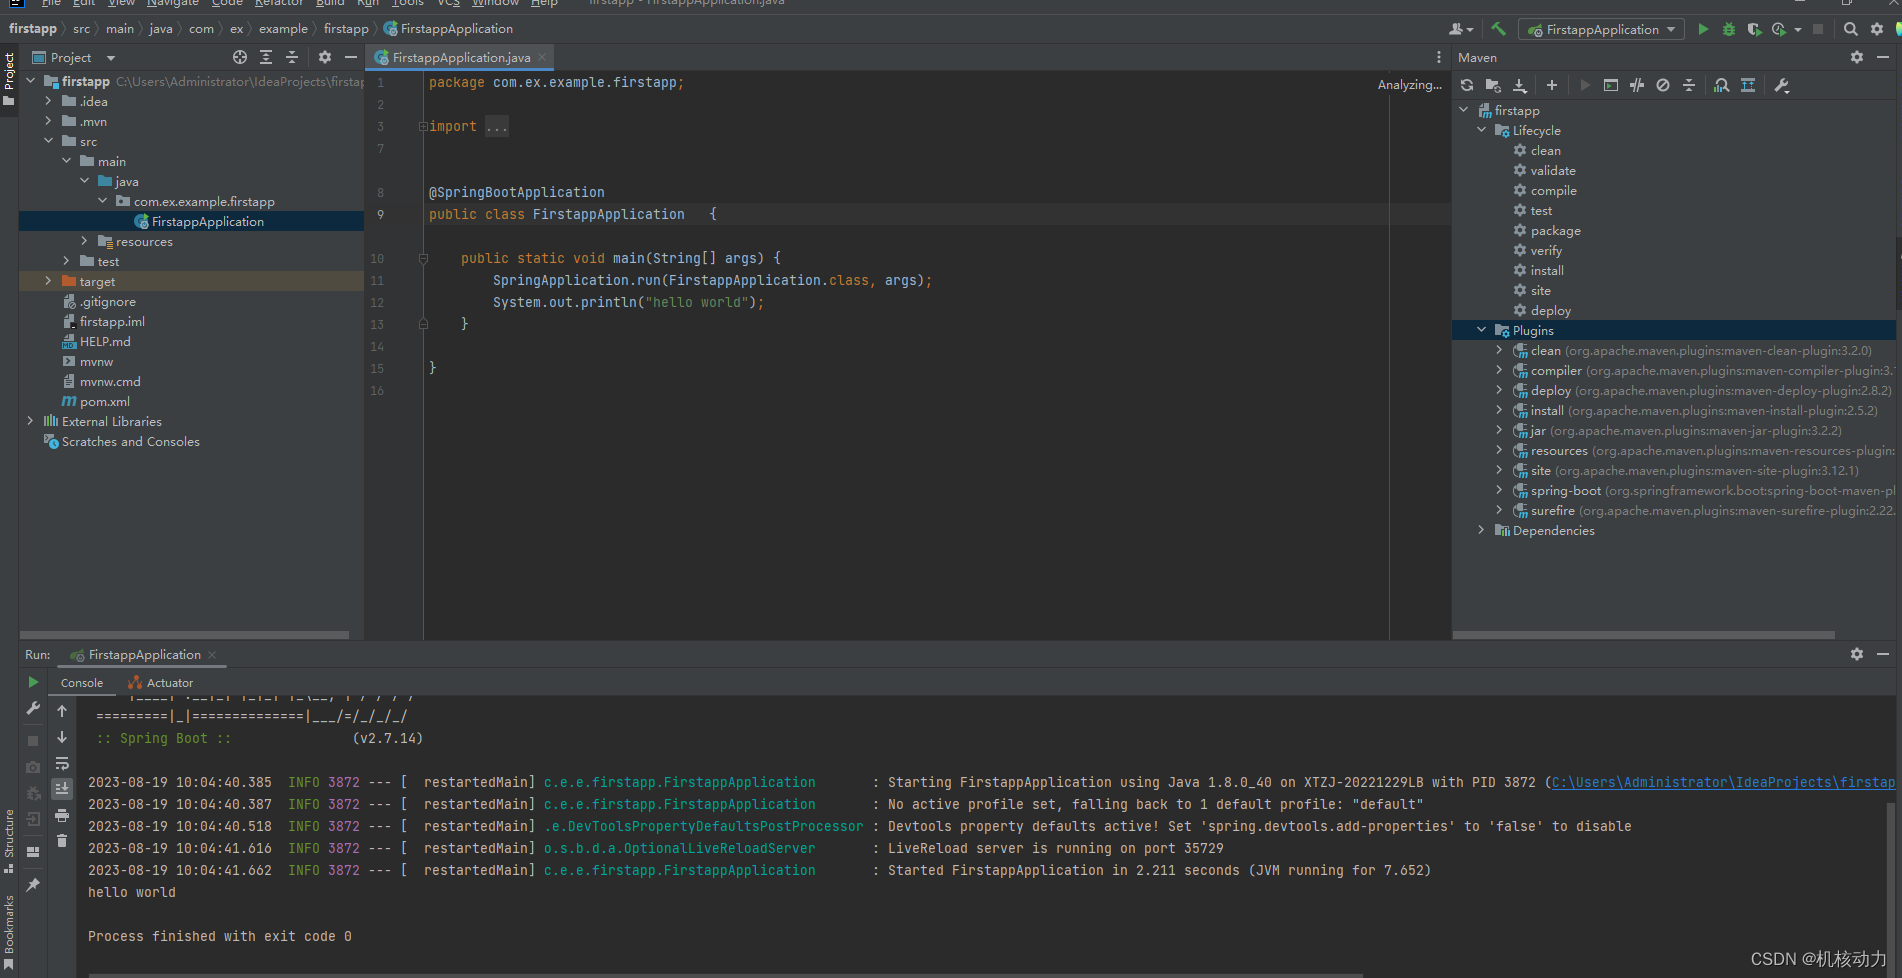
由于我们这是一个非Web项目的程序,我们通过上面的run菜单直接运行
点击run按钮。这样一个简单spring boot程序就完成。接下来我们会一步一步深入的用spring boot 构建复杂的程序


 被折叠的 条评论
为什么被折叠?
被折叠的 条评论
为什么被折叠?
 到【灌水乐园】发言


