


建议虚拟机至少4U4G以上,条件允许的话,最好8G以上。
①设置主机名:hostnamectl set-hostname controller && /bin/bash
hostnamectl set-hostname controller && /bin/bash
②关闭防火墙:systemctl disable --now firewalld && systemctl status firewalld
systemctl disable --now firewalld && systemctl status firewalld
③关闭selinux: 临时关闭 :setenforce 0&& sed -i 's/enforcing/disabled/' /etc/selinux/config && cat /etc/selinux/config
永久关闭 vim /etc/sysconfig/selinux
SELINUX=disabled
setenforce 0&& sed -i 's/enforcing/disabled/' /etc/selinux/config && cat etc/selinux/config
vim /etc/sysconfig/selinux
SELINUX=disabled
④安装基础软件:
yum install -y vim net-tools bash-completion chrony.x86_64 centos-release-openstack-victoria.noarch network-scripts
yum clean all && yum clean metadata && yum clean dbcache
⑤NTP同步:
yum install chrony.x86_64 -yvim /etc/chrony.conf
vim /etc/chrony.conf
server ntp.aliyun.com iburst
allow 10.10.10.0/24     #自己的网段,不要照搬
重启chronyd服务:systemctl enable chronyd --now && systemctl status chronyd
systemctl enable chronyd --now && systemctl status chronyd
⑥关闭networkmanager :systemctl disable NetworkManager --now
systemctl disable NetworkManager --now
开启network: systemctl enable network --now && systemctl status network
systemctl enable network --now && systemctl status network
#如果没有network,安装network-scripts: yum install -y network-scripts
复制网卡配置文件并重启主机:
cd /etc/sysconfig/network-scripts/ && cp ifcfg-ens160 ifcfg-eth0 && reboot
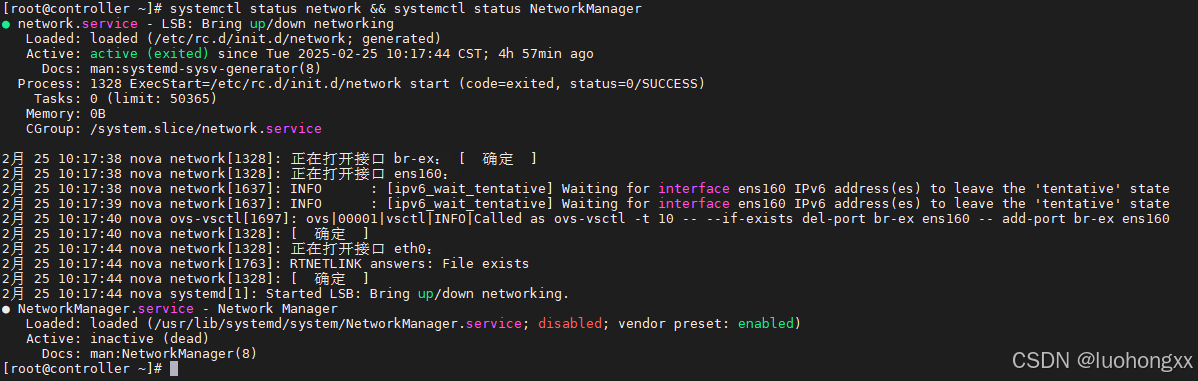
查看服务状态:systemctl status network && systemctl status NetworkManager
⑦安装 PackStack 工具 : yum install -y openstack-packstack #安装前配置yum源-->参考openstack.repo
yum install -y openstack-packstack 生成应答文件:packstack --gen-answer-file=111.txt
packstack --gen-answer-file=111.txt
修改应答文件:vim 111.txt
97 CONFIG_COMPUTE_HOSTS=10.10.10.81,10.10.10.82  #单机填本机IP(默认就是本机IP),多机才填其他IP。
323 CONFIG_KEYSTONE_ADMIN_PW=Aa12345678.
1169 CONFIG_PROVISION_DEMO=n
60 CONFIG_HEAT_INSTALL=y
909 CONFIG_NEUTRON_OVN_BRIDGE_IFACES=br-ex:ens160
⑧安装openstack:packstack --answer-file=111.txt #-----此步骤等待时间较长,不要慌,快的话半个小时,慢的话一个小时。
#或者使用packstack --allinone安装
packstack --answer-file=111.txt
⑨卸载
停止服务:for service in $(systemctl list-units --type=service | grep openstack | awk '{print $1}'); do systemctl stop $service; done
for service in $(systemctl list-units --type=service | grep openstack | awk '{print $1}'); do systemctl stop $service; done卸载OpenStack:
sudo yum remove -y 'openstack-*' 'python-openstack*' 'neutron*'删除OpenStack: rm -rf /etc/nova/* && rm -rf /etc/neutron/* && rm -rf /etc/glance/*
rm -rf /etc/nova/* && rm -rf /etc/neutron/* && rm -rf /etc/glance/*
将以下内容保存为openstack.repo 放在/etc/yum.repos.d/目录下
[highavailability]
name=CentOS Stream 8 - HighAvailability
baseurl=https://mirrors.aliyun.com/centos/8-stream/HighAvailability/x86_64/os/
gpgkey=file:///etc/pki/rpm-gpg/RPM-GPG-KEY-centosofficial
gpgcheck=1
repo_gpgcheck=0
metadata_expire=6h
countme=1
enabled=1

[nfv]
name=CentOS Stream 8 - NFV
baseurl=https://mirrors.aliyun.com/centos/8-stream/NFV/x86_64/os/
gpgkey=file:///etc/pki/rpm-gpg/RPM-GPG-KEY-centosofficial
gpgcheck=1
repo_gpgcheck=0
metadata_expire=6h
countme=1
enabled=1

[rt]
name=CentOS Stream 8 - RT
baseurl=https://mirrors.aliyun.com/centos/8-stream/RT/x86_64/os/
gpgkey=file:///etc/pki/rpm-gpg/RPM-GPG-KEY-centosofficial
gpgcheck=1
repo_gpgcheck=0
metadata_expire=6h
countme=1
enabled=1

[resilientstorage]
name=CentOS Stream 8 - ResilientStorage
baseurl=https://mirrors.aliyun.com/centos/8-stream/ResilientStorage/x86_64/os/
gpgkey=file:///etc/pki/rpm-gpg/RPM-GPG-KEY-centosofficial
gpgcheck=1
repo_gpgcheck=0
metadata_expire=6h
countme=1
enabled=1

[extras-common]
name=CentOS Stream 8 - Extras packages
baseurl=https://mirrors.aliyun.com/centos/8-stream/extras/x86_64/extras-common/
gpgkey=file:///etc/pki/rpm-gpg/RPM-GPG-KEY-CentOS-SIG-Extras-SHA512
gpgcheck=1
repo_gpgcheck=0
metadata_expire=6h
countme=1
enabled=1

[extras]
name=CentOS Stream 8 - Extras
mirrorlist=http://mirrorlist.centos.org/?release=&arch=&repo=extras&infra=
#baseurl=http://mirror.centos.org///extras//os/
baseurl=https://mirrors.aliyun.com/centos/8-stream/extras/x86_64/os/
gpgcheck=1
enabled=1
gpgkey=file:///etc/pki/rpm-gpg/RPM-GPG-KEY-centosofficial

[centos-ceph-pacific]
name=CentOS Stream 8 - Ceph Pacific
baseurl=https://mirrors.aliyun.com/centos-vault/8-stream/storage/x86_64/ceph-pacific/
gpgcheck=0
enabled=1
gpgkey=file:///etc/pki/rpm-gpg/RPM-GPG-KEY-CentOS-SIG-Storage

[centos-rabbitmq-38]
name=CentOS Stream 8 - RabbitMQ 38
baseurl=https://mirrors.aliyun.com/centos-vault/8-stream/messaging/x86_64/rabbitmq-38/
gpgcheck=1
enabled=1
gpgkey=file:///etc/pki/rpm-gpg/RPM-GPG-KEY-CentOS-SIG-Messaging

[centos-nfv-openvswitch]
name=CentOS Stream 8 - NFV OpenvSwitch
baseurl=https://mirrors.aliyun.com/centos-vault/8-stream/nfv/x86_64/openvswitch-2/
gpgcheck=1
enabled=1
gpgkey=file:///etc/pki/rpm-gpg/RPM-GPG-KEY-CentOS-SIG-NFV
module_hotfixes=1

[baseos]
name=CentOS Stream 8 - BaseOS
baseurl=https://mirrors.aliyun.com/centos/8-stream/BaseOS/x86_64/os/
gpgkey=file:///etc/pki/rpm-gpg/RPM-GPG-KEY-centosofficial
gpgcheck=1
repo_gpgcheck=0
metadata_expire=6h
countme=1
enabled=1

[appstream]
name=CentOS Stream 8 - AppStream
baseurl=https://mirrors.aliyun.com/centos/8-stream/AppStream/x86_64/os/
gpgkey=file:///etc/pki/rpm-gpg/RPM-GPG-KEY-centosofficial
gpgcheck=1
repo_gpgcheck=0
metadata_expire=6h
countme=1
enabled=1

[centos-openstack-victoria]
name=CentOS Stream 8 - OpenStack victoria
#baseurl=https://mirrors.aliyun.com/centos/8-stream/cloud/x86_64/openstack-victoria/
baseurl=https://repo.huaweicloud.com/centos/8-stream/cloud/x86_64/openstack-yoga/
gpgcheck=1
enabled=1
gpgkey=file:///etc/pki/rpm-gpg/RPM-GPG-KEY-CentOS-SIG-Cloud
module_hotfixes=1

[powertools]
name=CentOS Stream 8 - PowerTools
#mirrorlist=http://mirrorlist.centos.org/?release=&arch=&repo=PowerTools&infra=
baseurl=https://mirrors.aliyun.com/centos/8-stream/PowerTools/x86_64/os/
gpgcheck=1
enabled=1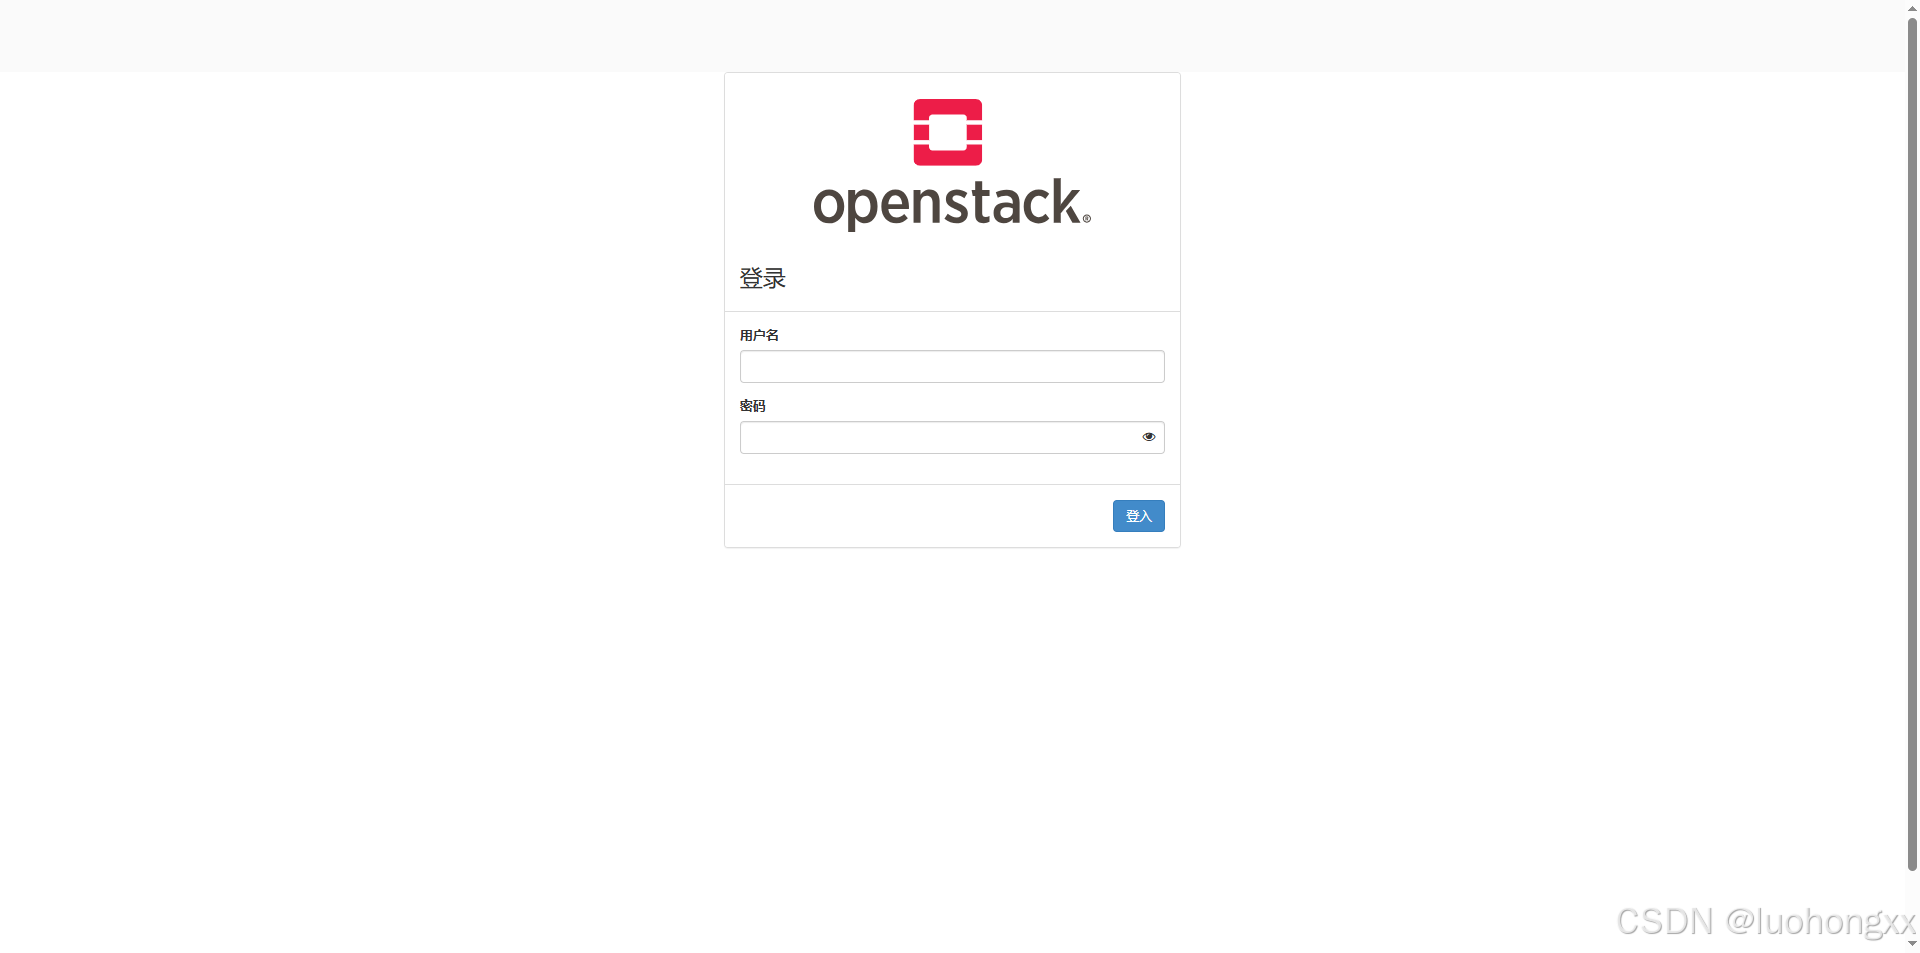
gpgkey=file:///etc/pki/rpm-gpg/RPM-GPG-KEY-centosofficial安装成功后,界面访问http://10.10.10.80/dashboard
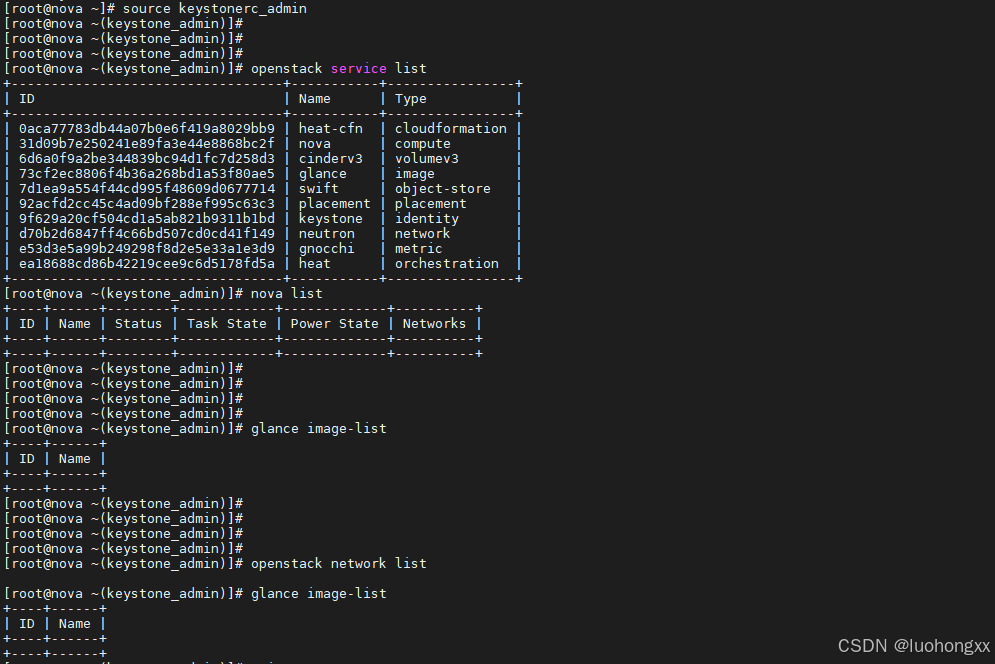
后台使用OpenStack命令:


 2756
2756

 被折叠的 条评论
为什么被折叠?
被折叠的 条评论
为什么被折叠?
 到【灌水乐园】发言


