


 本文详细介绍了如何在Spring Boot项目中配置和使用Thymeleaf模板引擎,包括依赖引入、WebMvcConfig类编写、开发属性设置、创建模板文件、Controller编写以及IDEA热加载设置,为开发者提供了全面的指导。
1. 模板引擎介绍
模板引擎(这里特指用于Web开发的模板引擎)是为了使用户界面与业务数据(内容)分离而产生的,它可以生成特定格式的文档,用于网站的模板引擎就会生成一个标准的HTML文档。
https://baike.baidu.com/item/模板引擎/907667
2. thymeleaf依赖引入
    <dependency>
        <groupId>org.springframework.boot</groupId>
        <artifactId>spring-boot-starter-thymeleaf</artifactId>
    </dependency>

    <!-- https://mvnrepository.com/artifact/org.thymeleaf/thymeleaf -->
    <dependency>
        <groupId>org.thymeleaf</groupId>
        <artifactId>thymeleaf</artifactId>
        <version>${thymeleaf.version}</version>
    </dependency>

    <dependency>
        <groupId>org.thymeleaf</groupId>
        <artifactId>thymeleaf-spring4</artifactId>
        <version>3.0.2.RELEASE</version>
    </dependency>
- WebMvcConfig类的编写
在Config类下实现WebMvcConfig类
@Configuration
public class WebMvcConfig extends WebMvcConfigurerAdapter implements ApplicationContextAware {
    @Value("${spring.thymeleaf.cache}")
    private boolean thymeleafCacheEnable = true;

    private ApplicationContext applicationContext;

    @Override
    public void setApplicationContext(ApplicationContext applicationContext) throws BeansException {
        this.applicationContext = applicationContext;
    }

    /**
     * 静态资源加载配置
     */
    @Override
    public void addResourceHandlers(ResourceHandlerRegistry registry) {
        registry.addResourceHandler("/static/**").addResourceLocations("classpath:/static/");
    }

    /**
     * 模板资源解析器
     * @return
     */
    @Bean
    @ConfigurationProperties(prefix = "spring.thymeleaf")
    public SpringResourceTemplateResolver templateResolver() {
        SpringResourceTemplateResolver templateResolver = new SpringResourceTemplateResolver();
        templateResolver.setApplicationContext(this.applicationContext);
        templateResolver.setCharacterEncoding("UTF-8");
        templateResolver.setCacheable(thymeleafCacheEnable);
        return templateResolver;
    }

    /**
     * Thymeleaf标准方言解释器
     */
    @Bean
    public SpringTemplateEngine templateEngine() {
        SpringTemplateEngine templateEngine = new SpringTemplateEngine();
        templateEngine.setTemplateResolver(templateResolver());
        // 支持Spring EL表达式
        templateEngine.setEnableSpringELCompiler(true);

        // 支持SpringSecurity方言
        SpringSecurityDialect securityDialect = new SpringSecurityDialect();
        templateEngine.addDialect(securityDialect);
        return templateEngine;
    }

    /**
     * 视图解析器
     */
    @Bean
    public ThymeleafViewResolver viewResolver() {
        ThymeleafViewResolver viewResolver = new ThymeleafViewResolver();
        viewResolver.setTemplateEngine(templateEngine());
        return viewResolver;
    }

    /**
     * Bean Util
     * @return
     */
    @Bean
    public ModelMapper modelMapper() {
        return new ModelMapper();
    }
}
SpringBoot中配置SpringSecurityDialect无效
https://blog.youkuaiyun.com/qq_32967665/article/details/84749783
3. Thymeleaf中的设置
application-dev.properties中设置开发属性
# thymeleaf
spring.thymeleaf.cache=false
application.properties设置通用属性
# thymeleaf
spring.thymeleaf.mode=HTML
spring.thymeleaf.suffix=.html
spring.thymeleaf.prefix=classpath://templates/
thymeleaf是一个模板引擎,缓存的意思是加载一次模板之后便不会在加载了,对于生产环境应该加上缓存,但是在开发过程中如果打开缓存,不方便开发人员调试。试想一下,改一行html,就需要重启服务器,肯定是不方便的。
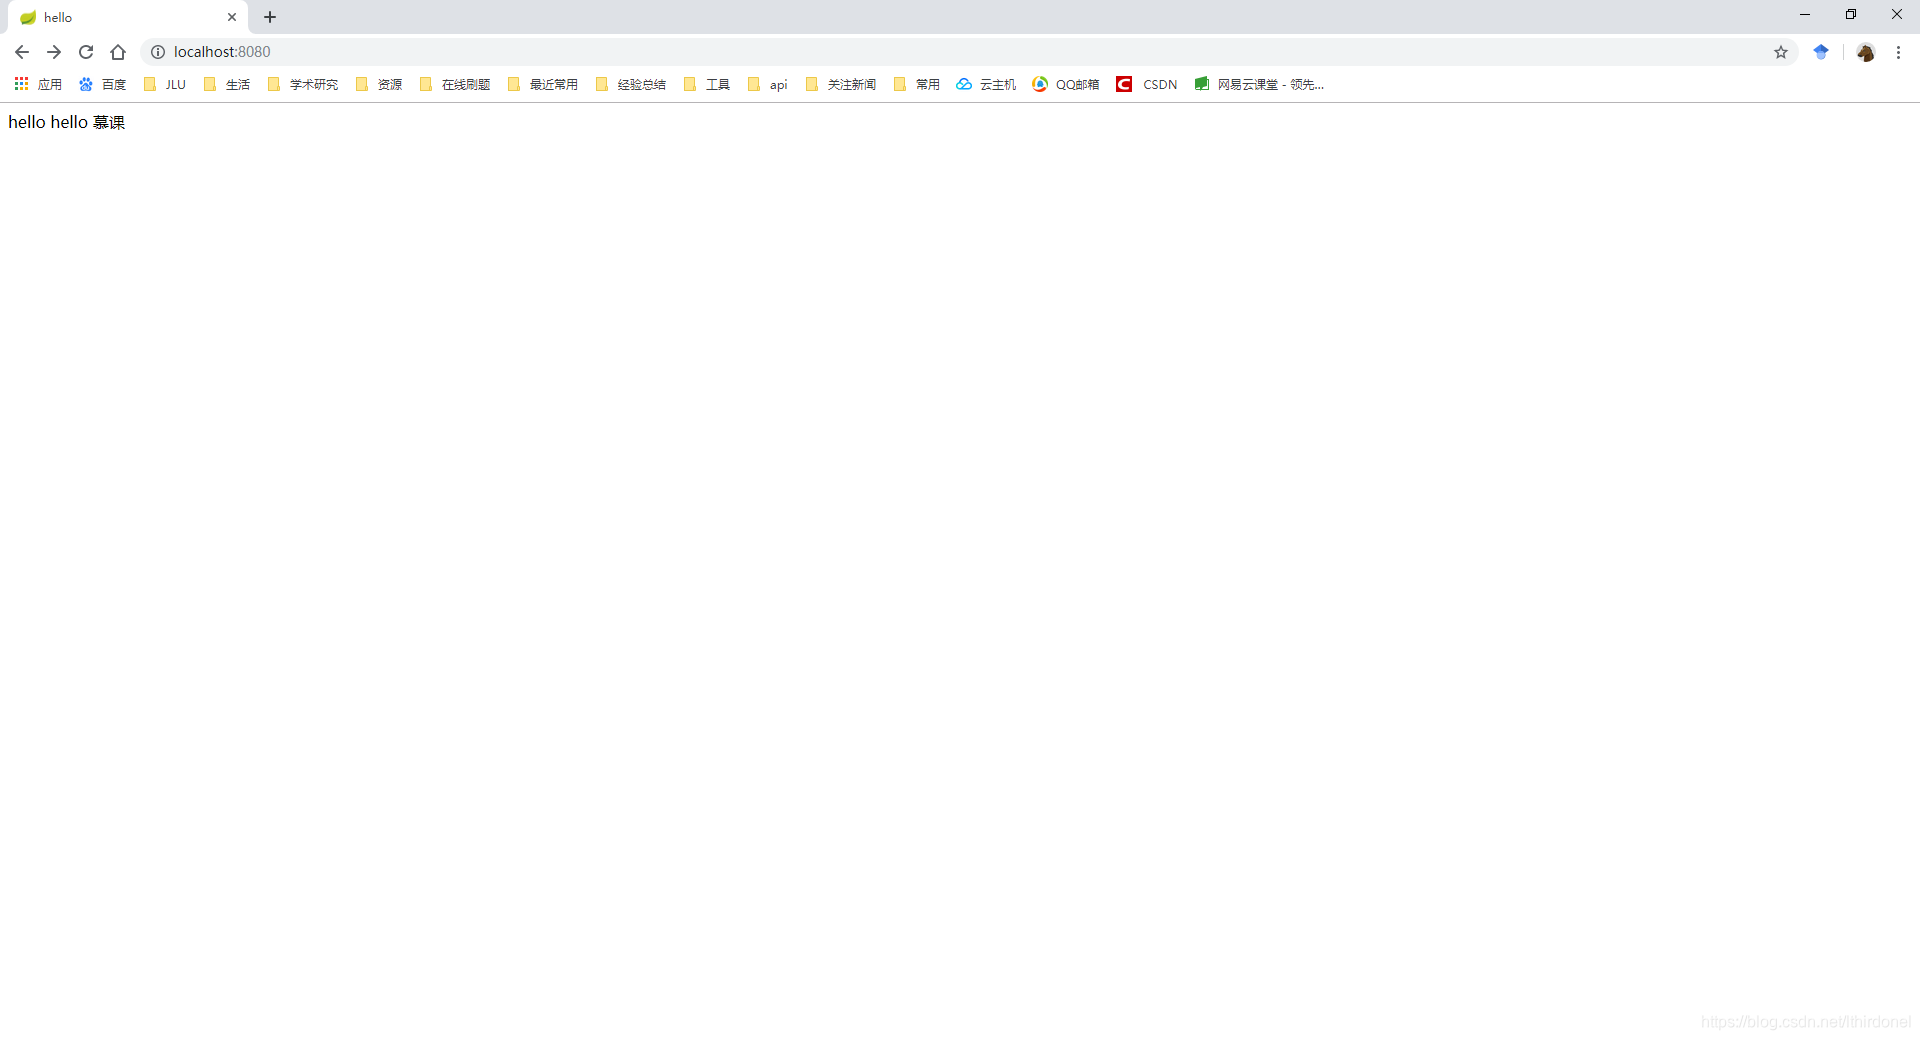
4. 在resources-》 templates文件夹中创建一个index.html

5. Controller编写
package com.xunwu.controller;

import org.springframework.stereotype.Controller;
import org.springframework.web.bind.annotation.GetMapping;

@Controller
public class HomeController {
    @GetMapping("/")
    public String index(){
        return "index";
    }
}
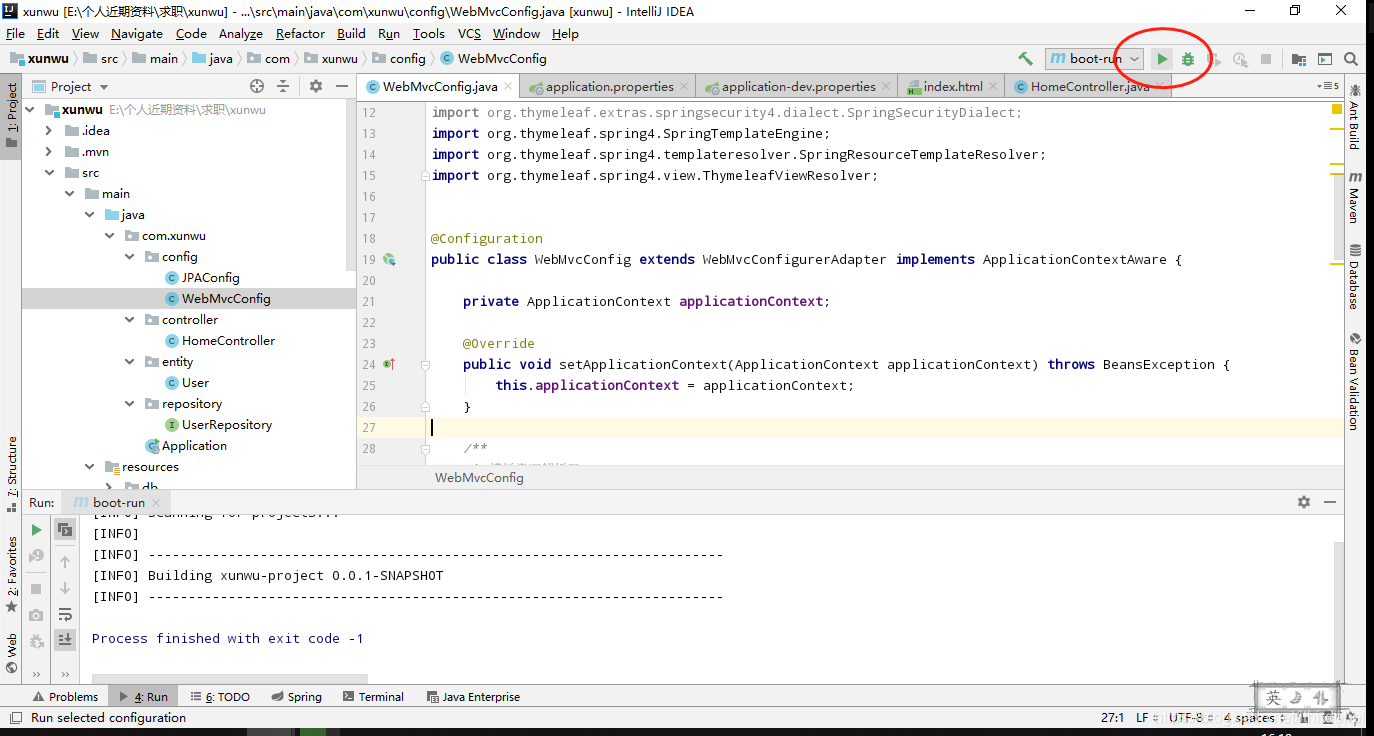
6. Maven快捷运行设置
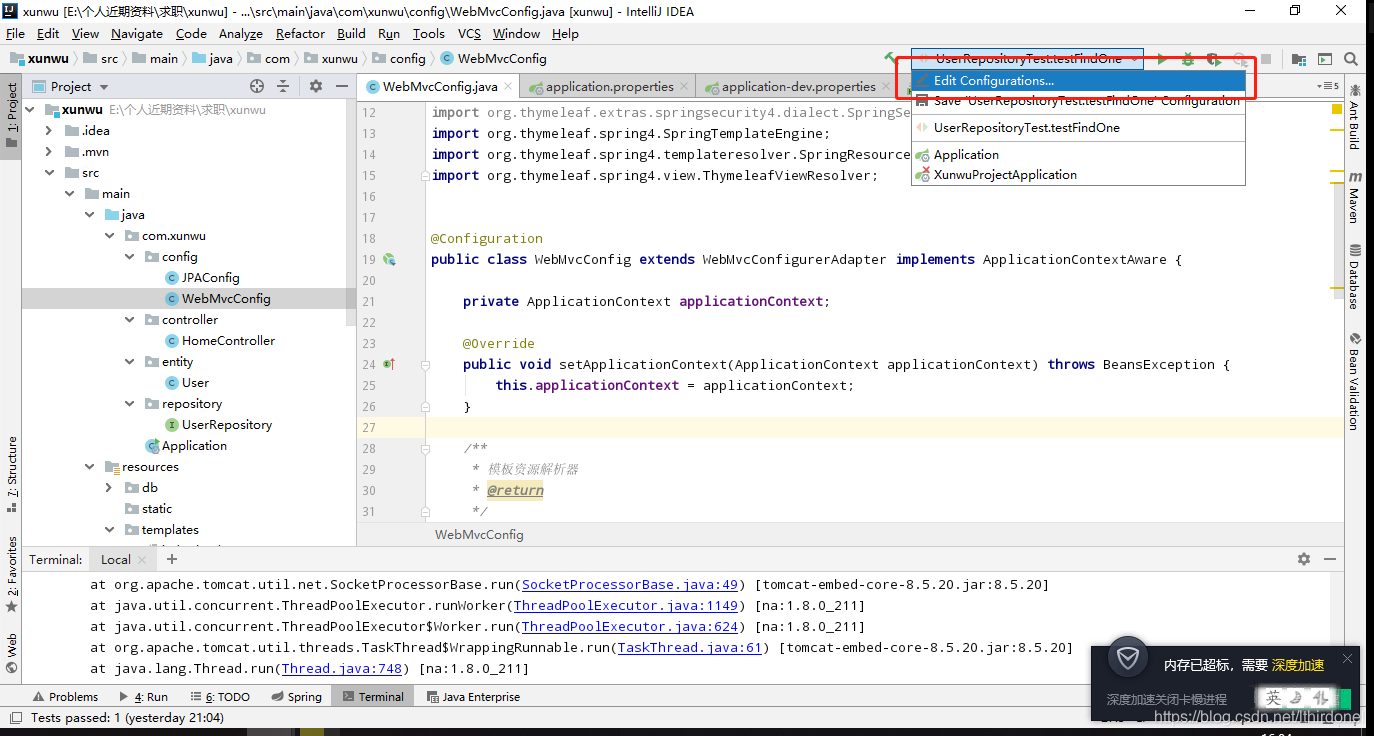
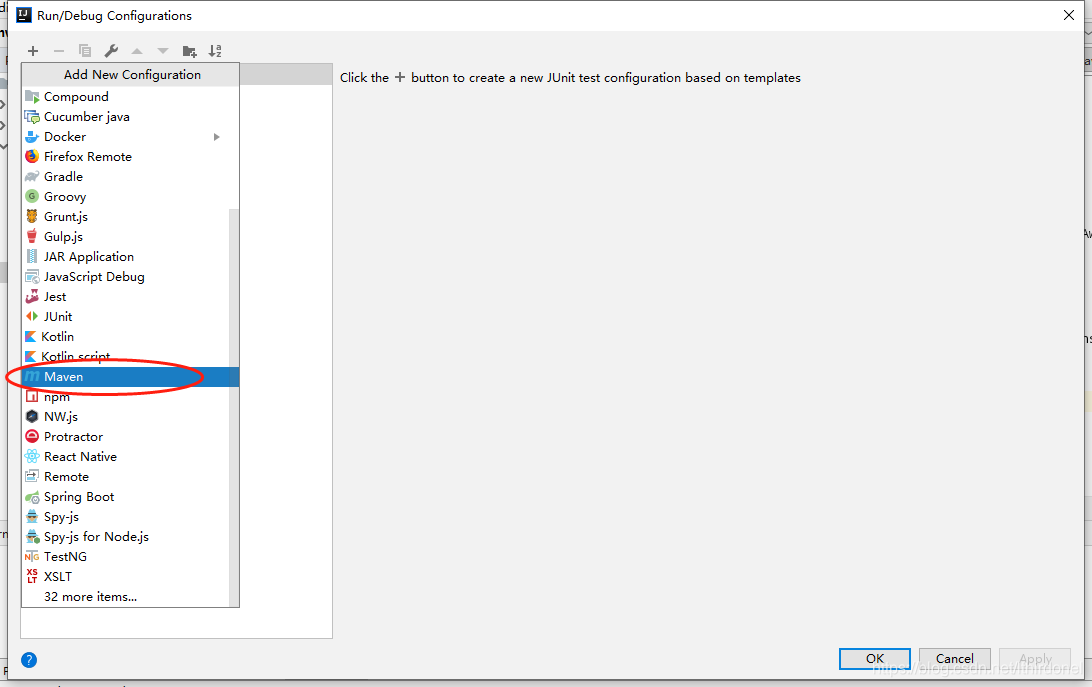
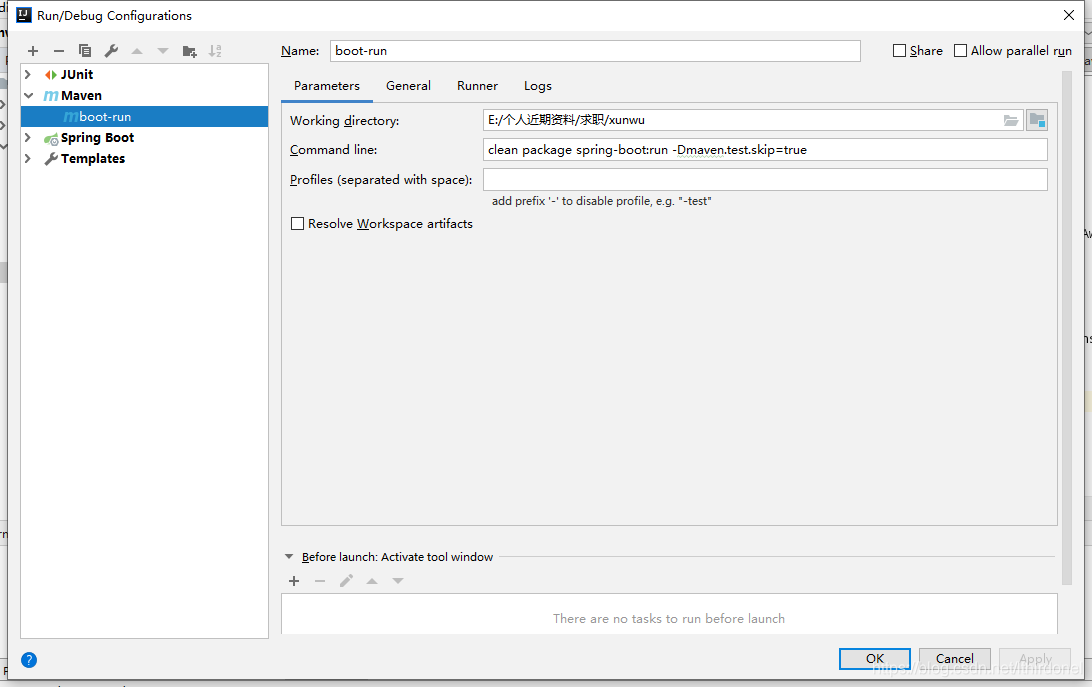
直接点击三角就可以运行了
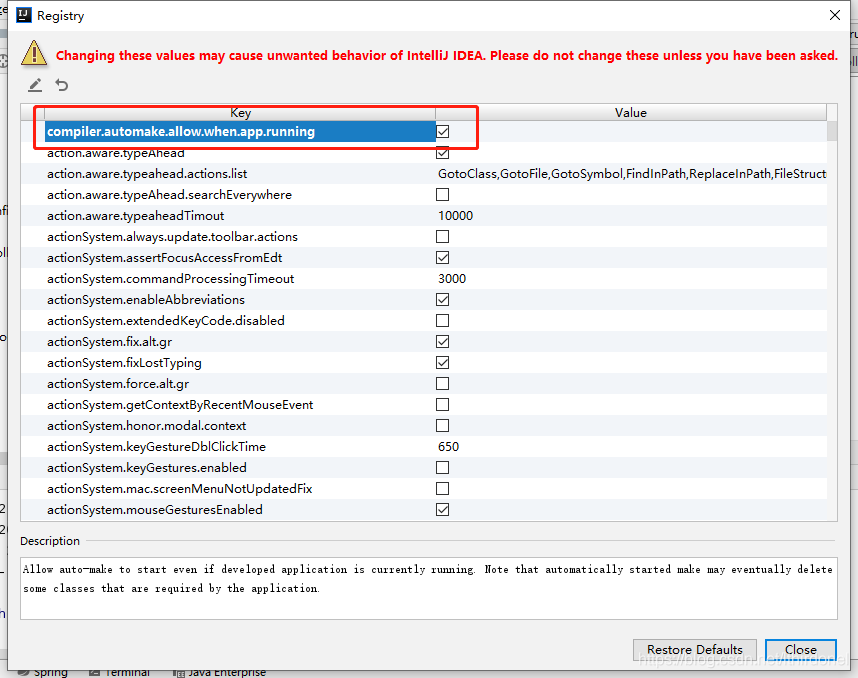
7. IDEA设置热加载
设置dev-tools依赖,再按如下图片设置后就可以边修改边编译加载了
		 <!-- SpringBoot自带热加载开发工具 -->
        <dependency>
            <groupId>org.springframework.boot</groupId>
            <artifactId>spring-boot-devtools</artifactId>
            <optional>true</optional>
        </dependency>

		 <build>
        <plugins>
            <plugin>
            <groupId>org.springframework.boot</groupId>
            <artifactId>spring-boot-maven-plugin</artifactId>
            <configuration>
                <mainClass>com.xunwu.Application</mainClass>
                <executable>true</executable>
            </configuration>
            </plugin>
        </plugins>
    </build>

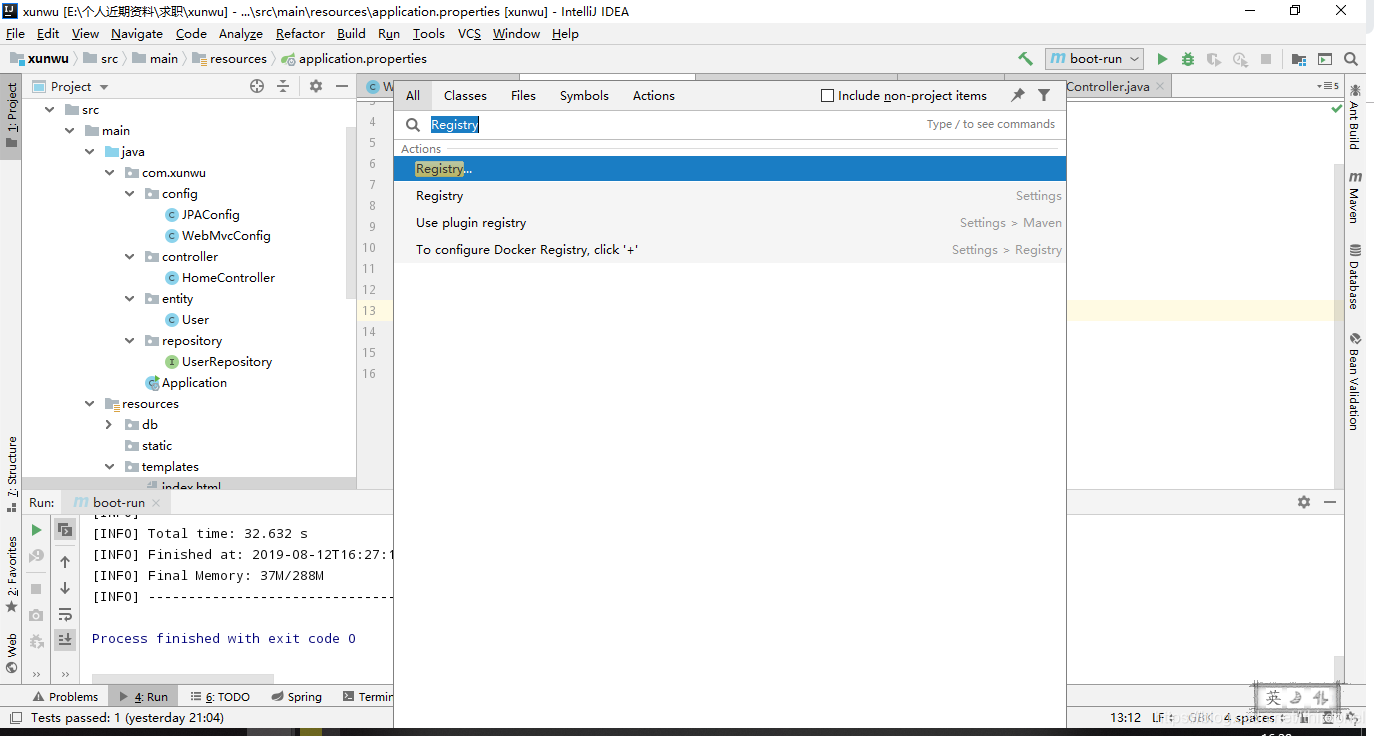
也可以按住Ctrl+shift+alt+/ 选择Registry
参考 :
https://www.cnblogs.com/lovefaner/p/8875470.html
效果


 被折叠的 条评论
为什么被折叠?
被折叠的 条评论
为什么被折叠?
 到【灌水乐园】发言


