


1.安装MinGW
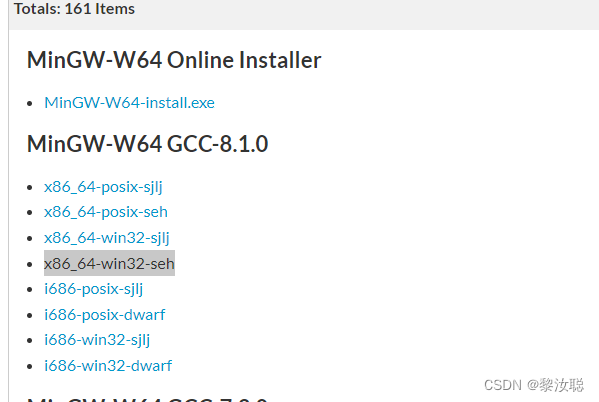
下载地址:https://sourceforge.net/projects/mingw-w64/files/mingw-w64/mingw-w64-release/
选择x86_64-win32-seh点击下载
解压文件夹,将mingw64/bin添加进环境变量
配置好后可在命令行中用gcc --version命令进行测试,如下图:

2.准备配置文件
vscode配置文件为json格式,这里有一份项目模板其结构如下所示:
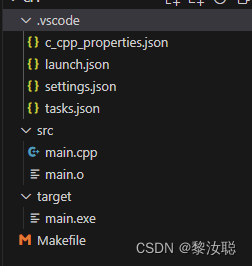
其中.vscode文件夹下为配置信息文件,src下为源代码文件,target下为编译输出的可执行文件,以及一个Makefile文件。
我们需要做的是修改.vscode下的配置信息
2.1文件c_cpp_properties.json
{
    "configurations": [
        {
            "name": "Win32",
            "includePath": [
                "${workspaceRoot}",
                "D:/mingw64/include/**",
                "D:/mingw64/bin/../lib/gcc/x86_64-w64-mingw32/8.1.0/include/c++",
                "D:/mingw64/bin/../lib/gcc/x86_64-w64-mingw32/8.1.0/include/c++/x86_64-w64-mingw32",
                "D:/mingw64/bin/../lib/gcc/x86_64-w64-mingw32/8.1.0/include/c++/backward",
                "D:/mingw64/bin/../lib/gcc/x86_64-w64-mingw32/8.1.0/include",
                "D:/mingw64/bin/../lib/gcc/x86_64-w64-mingw32/8.1.0/include-fixed",
                "D:/mingw64/bin/../lib/gcc/x86_64-w64-mingw32/8.1.0/../../../../x86_64-w64-mingw32/include"
            ],
            "defines": [
                "_DEBUG",
                "UNICODE",
                "__GNUC__=6",
                "__cdecl=__attribute__((__cdecl__))"
            ],
            "browse": {
                "limitSymbolsToIncludedHeaders": true,
                "databaseFilename": "",
                "path": [
                    "${workspaceRoot}",
                    "D:/mingw64/include/**",
                    "D:/mingw64/bin/../lib/gcc/x86_64-w64-mingw32/8.1.0/include/c++",
                    "D:/mingw64/bin/../lib/gcc/x86_64-w64-mingw32/8.1.0/include/c++/x86_64-w64-mingw32",
                    "D:/mingw64/bin/../lib/gcc/x86_64-w64-mingw32/8.1.0/include/c++/backward",
                    "D:/mingw64/bin/../lib/gcc/x86_64-w64-mingw32/8.1.0/include",
                    "D:/mingw64/bin/../lib/gcc/x86_64-w64-mingw32/8.1.0/include-fixed",
                    "D:/mingw64/bin/../lib/gcc/x86_64-w64-mingw32/8.1.0/../../../../x86_64-w64-mingw32/include"
                ]
            }
        }
    ],
    "version": 4
}
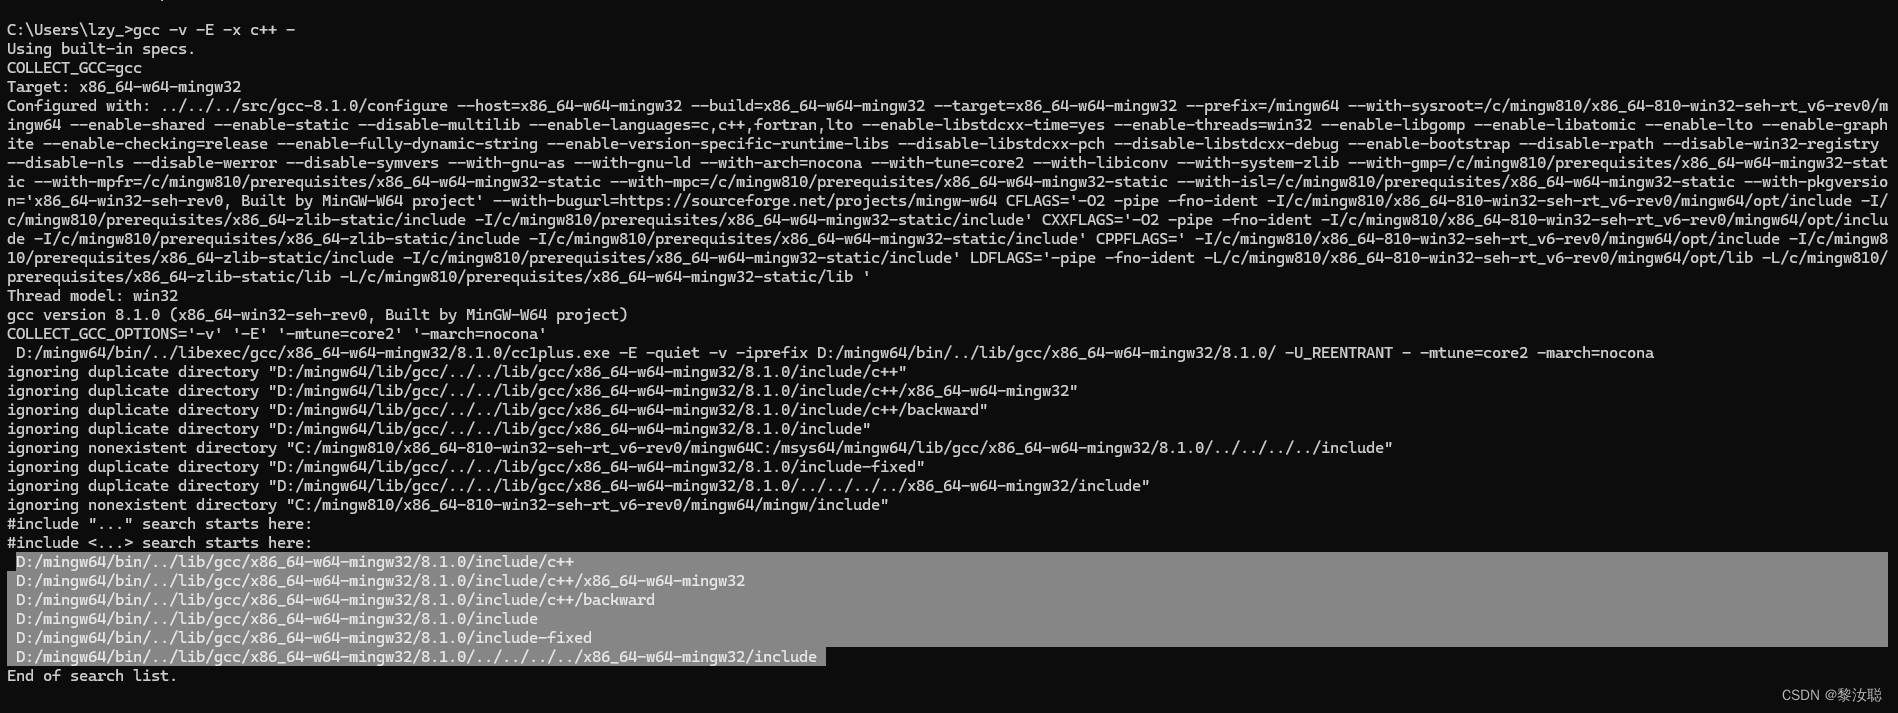
这个文件中包含编译器各自标准库及其头文件的路径,还要当前工作路径${workspaceRoot}
这里是我电脑上的示例,请修改为自己本地的路径,如果不知道可用命令gcc -v -E -x c++ -查看,如下图:
2.2文件launch.json
这个文件记录了调试程序的配置信息,MinGW中使用gdb.exe实现调试功能
{
    "version": "0.2.0",
    "configurations": [
        {
            "name": "(gdb) Launch", // 配置名称,将会在启动配置的下拉菜单中显示
            "type": "cppdbg",       // 配置类型,这里只能为cppdbg
            "request": "launch",    // 请求配置类型,可以为launch(启动)或attach(附加)
            "program": "${workspaceFolder}/target/${fileBasenameNoExtension}.exe",// 将要进行调试的程序的路径
            "args": [],             // 程序调试时传递给程序的命令行参数,一般设为空即可
            "stopAtEntry": false,   // 设为true时程序将暂停在程序入口处,一般设置为false
            "cwd": "${workspaceFolder}", // 调试程序时的工作目录,一般为${workspaceFolder}即代码所在目录
            "environment": [],
            "externalConsole": true, // 调试时是否显示控制台窗口,一般设置为true显示控制台
            "MIMode": "gdb",
            "miDebuggerPath": "D:/mingw64/bin/gdb.exe", // miDebugger的路径
            "preLaunchTask": "mingw32-make", // 调试会话开始前执行的任务,一般为编译程序,c++为g++, c为gcc
            "setupCommands": [
                {
		    "description": "Enable pretty-printing for gdb",
                    "text": "-enable-pretty-printing",
                    "ignoreFailures": true
                }
            ]
        }
    ]
}
将gdb所在路径改为自己本地的路径
2.3文件settings.json
文件settings.json内容如下:
{
    "files.associations": {
    }
}
2.4文件tasks.json
这个文件指示在VSCode下按F5时执行的指令,这里为mingw32-make,即调用MinGW中的mingw32-make.exe,用于解析执行Makefile
{
    "version": "2.0.0",
    "command": "mingw32-make",
    "args": [
    ],
    "problemMatcher": {
        "owner": "cpp",
        "fileLocation": [
            "relative",
            "\\"
        ],
        "pattern": {
            "regexp": "^(.*):(\\d+):(\\d+):\\s+(warning|error):\\s+(.*)$",
            "file": 1,
            "line": 2,
            "column": 3,
            "severity": 4,
            "message": 5
        }
    }
}
3.Makefile
Makefile是一个特定的文本文件,里面记录了编译时执行的操作,通过MinGW中的mingw32-make.exe解析执行
name = main
order = gcc -g
target/$(name).exe: src/$(name).o
	$(order) src/$(name).o -o target/$(name).exe
src/$(name).o: src/$(name).c
	$(order) -c src/$(name).c -o src/$(name).o
clean:
	del src\*.o
如上所示,其结构为:
我需要的文件:我需要文件的来源文件
	如何通过来源文件获得我需要的文件
以上面的代码为例,我需要一个exe,这个exe是通过.o文件得来的
我需要一个.o文件,.o文件是通过.c文件得来的
因此我们有了一个编译.c文件的方法描述:.c文件->.o文件->.exe文件
下面我们运行一下来验证这个说法
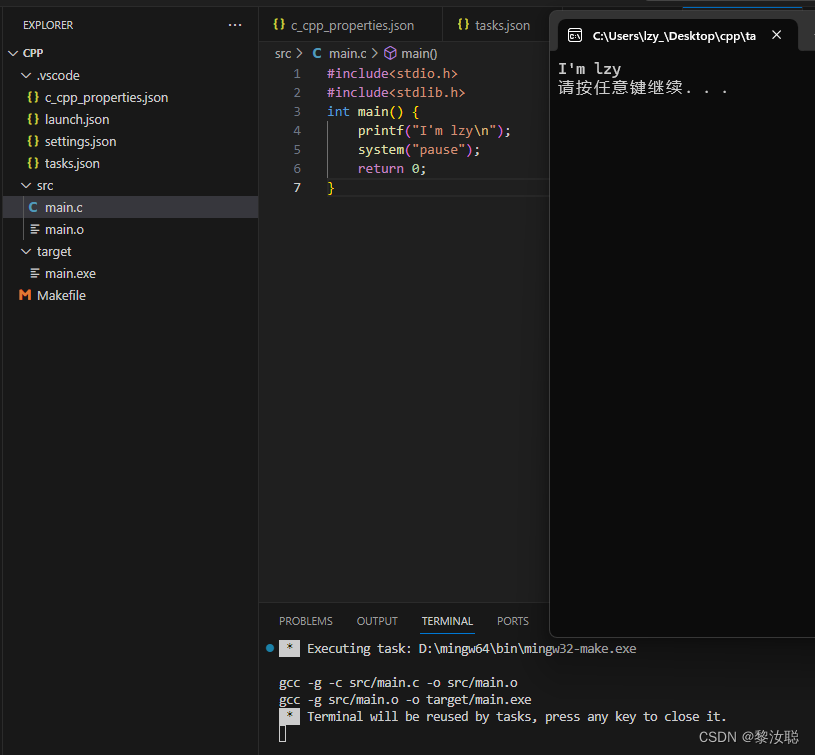
如图所示
 *  Executing task: D:\mingw64\bin\mingw32-make.exe

gcc -g -c src/main.c -o src/main.o
gcc -g src/main.o -o target/main.exe
 *  Terminal will be reused by tasks, press any key to close it.
在按下F5后调用,D:\mingw64\bin\mingw32-make.exe 解析执行Makefile,
依次执行指令gcc -g -c src/main.c -o src/main.o,gcc -g src/main.o -o target/main.exe将.c文件编译为.exe文件
在右侧的文件夹中也可见输出的.o文件和.exe文件
以上便是使用VSCode搭建C语言项目的过程示例
4.常见问题
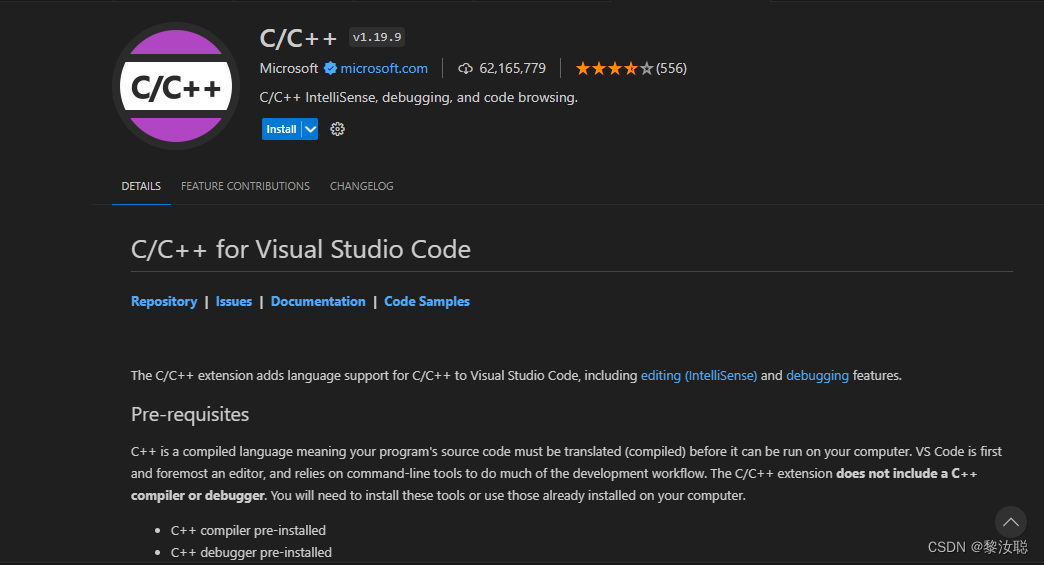
有时会出现报错:
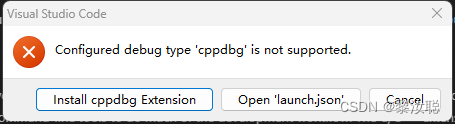
此时安装C/C++插件即可解决


 1360
1360


 到【灌水乐园】发言


