


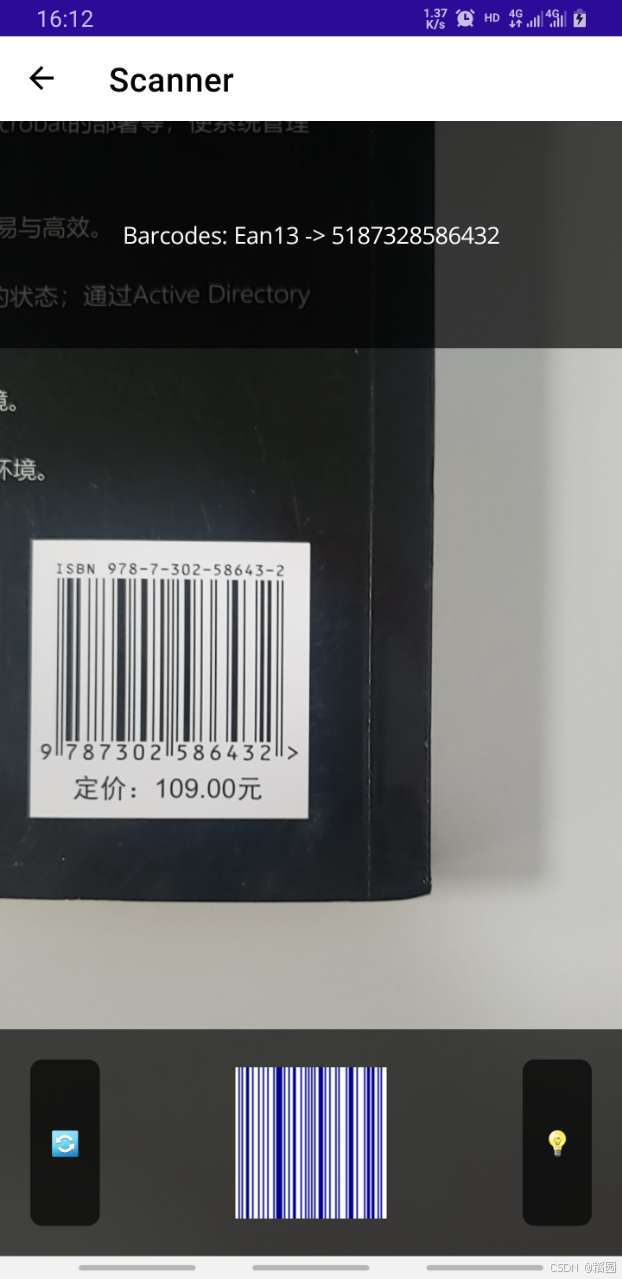
效果如上:
最上方显示扫描结果,左下切换摄像头,中间是实时生成的码,右下是闪光灯
源码:ZXing.Net.Maui:Barcode Scanning for MAUI? - GitCode
环境:
.netcore=8.0
IDE:visual studio 2022
ZXing.Net.Maui.Controls:0.4.0
注:Android模拟器配置较麻烦,本方案使用Windows machine调试通过后,直接使用Android Emulator发布,即跳过Android模拟器配置步骤
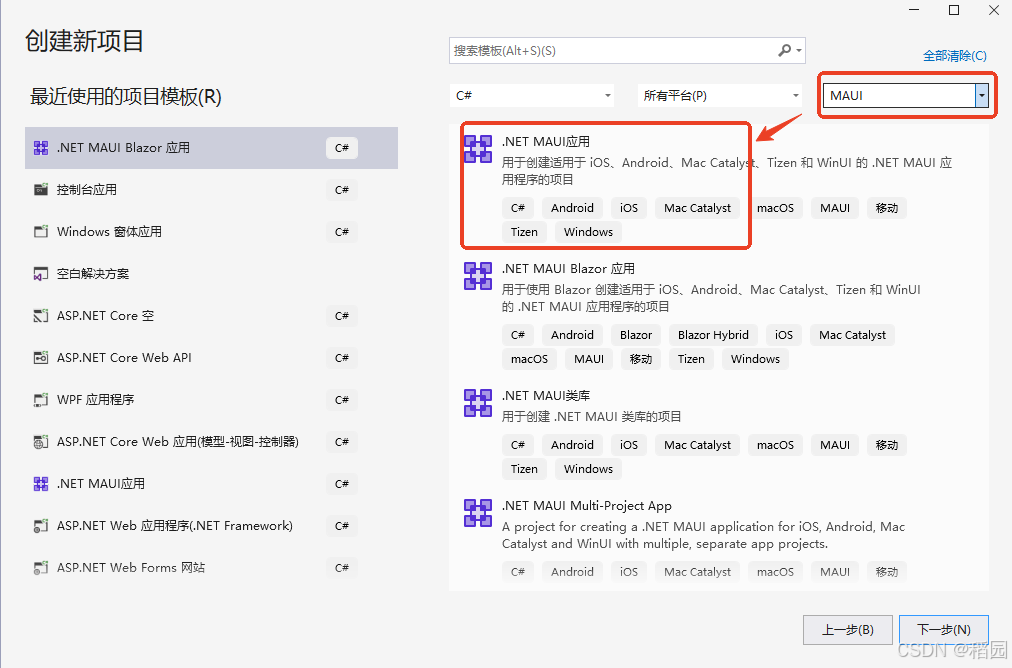
一、创建MAUI项目
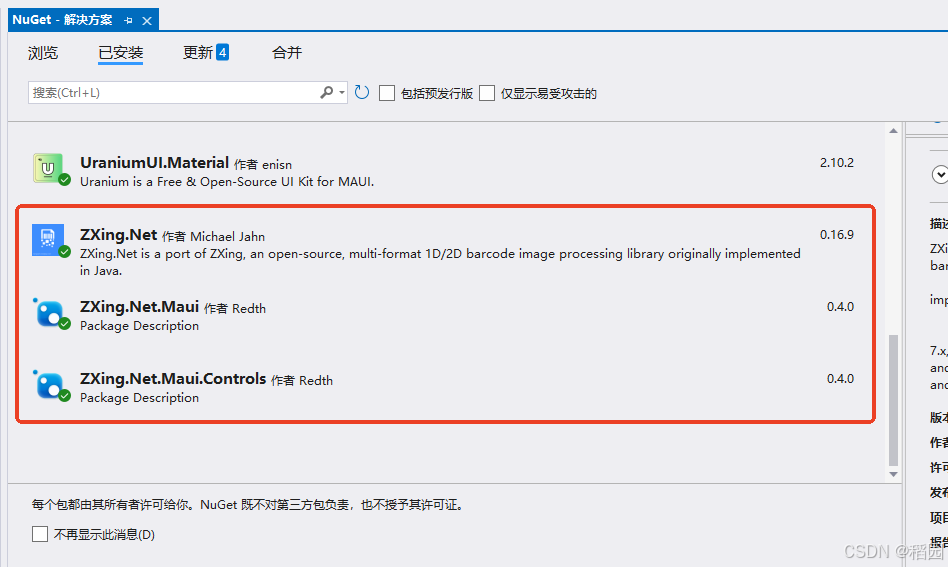
二、通过Nuget包管理器添加Zxing.Net.Maui.Controls包(如果有问题,把另外两个包也装上)
三、新建一个ContentPage,名称改为“Scanner1.xaml”。记得自己做一个连接,从MainPage链接过来,或者把Scanner1设置成默认登录项。这里就不做了

四、修改Scanner1.xaml的代码,完整代码如下:
<?xml version="1.0" encoding="utf-8" ?>
<ContentPage xmlns="http://schemas.microsoft.com/dotnet/2021/maui"
             xmlns:x="http://schemas.microsoft.com/winfx/2009/xaml"
             xmlns:zxing="clr-namespace:ZXing.Net.Maui.Controls;assembly=ZXing.Net.Maui.Controls"
             x:Class="MauiXamlTest1.Scanner1"
             Title="Scanner">
    <Grid RowDefinitions="1*,3*,1*">

        <zxing:CameraBarcodeReaderView
			Grid.Row="0" Grid.RowSpan="3"
			x:Name="barcodeView"
			BarcodesDetected="BarcodesDetected" />

        <Grid Grid.Row="0" BackgroundColor="#aa000000">
            <Label x:Name="ResultLabel" Grid.Row="2" Text="Top text..." HorizontalOptions="Center" VerticalOptions="Center" TextColor="White" />
        </Grid>

        <Grid Grid.Row="3" BackgroundColor="#aa000000" Padding="20" ColumnDefinitions="Auto,*,Auto">

            <Button Text="🔄️" Grid.Column="0" BackgroundColor="#aa000000" CornerRadius="8" BorderColor="Black" Clicked="SwitchCameraButton_Clicked" />

            <zxing:BarcodeGeneratorView
			    x:Name="barcodeGenerator"
			    Grid.Column="1"
			    HorizontalOptions="Center"
			    VerticalOptions="Center"
			    HeightRequest="100"
			    WidthRequest="100"
			    ForegroundColor="DarkBlue"
			    Format="QrCode"
			    Value="Bla"
			    BarcodeMargin="1" />

            <Button Text="💡" Grid.Column="2" BackgroundColor="#aa000000" CornerRadius="8" BorderColor="Black" Clicked="TorchButton_Clicked" />
        </Grid>

    </Grid>
</ContentPage>
五、修改Scanner1.xaml.cs的代码,完整代码如下:
using ZXing.Net.Maui;
using Microsoft.Maui;
using Microsoft.Maui.Controls;
using Microsoft.Maui.Controls.Xaml;
using ZXing.Net.Maui.Controls;
namespace MauiXamlTest1;
public partial class Scanner1 : ContentPage
{
public Scanner1()
{
InitializeComponent();
barcodeView.Options = new BarcodeReaderOptions //读取器选项
{
//Formats=BarcodeFormats.OneDimensional, //只扫条形码
Formats=BarcodeFormats.All, //条形码、二维码,都能扫
AutoRotate=true,
Multiple=true
};
//barcodeView.CameraLocation = barcodeView.CameraLocation == CameraLocation.Rear ? CameraLocation.Front : CameraLocation.Front;
}
//自动识别到码后,处理的方法
protected void BarcodesDetected(object sender, BarcodeDetectionEventArgs e)
{
foreach (var barcode in e.Results)
Console.WriteLine($"Barcodes: {barcode.Format} -> {barcode.Value}");
var first = e.Results?.FirstOrDefault();
if (first is not null)
{
Dispatcher.Dispatch(() =>
{
// 用扫码结果,更新屏幕下方中间,生成新的二维码
barcodeGenerator.ClearValue(BarcodeGeneratorView.ValueProperty);
barcodeGenerator.Format = first.Format;
barcodeGenerator.Value = first.Value;
// 更新屏幕上方,显示扫码结果
ResultLabel.Text = $"Barcodes: {first.Format} -> {first.Value}";
});
}
}
//前摄像头、后摄像头转换
void SwitchCameraButton_Clicked(object sender, EventArgs e)
{
barcodeView.CameraLocation = barcodeView.CameraLocation == CameraLocation.Rear ? CameraLocation.Front : CameraLocation.Rear;
}
//闪光灯开关
void TorchButton_Clicked(object sender, EventArgs e)
{
barcodeView.IsTorchOn = !barcodeView.IsTorchOn;
}
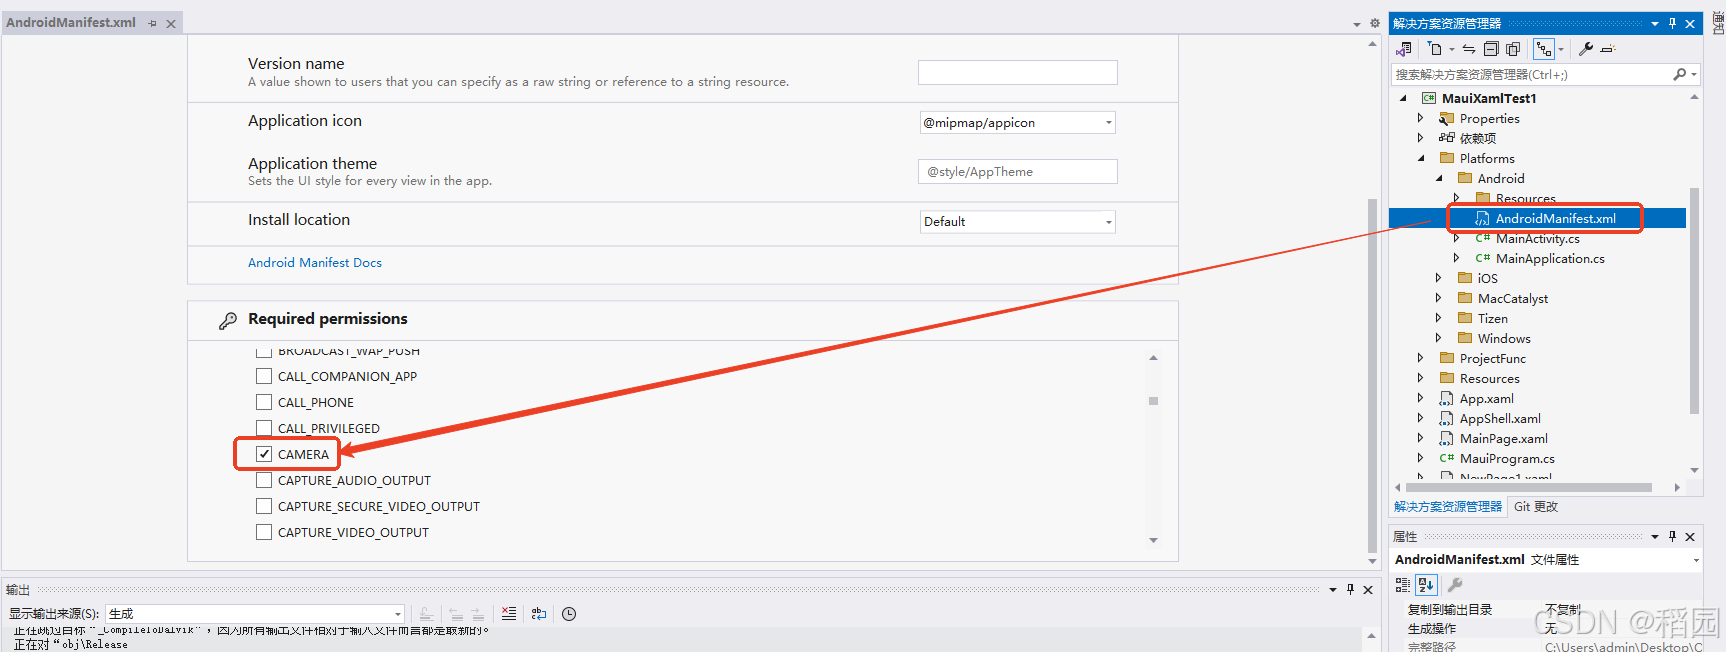
}六、添加摄像头权限
七、给App改名,即在Android上安装完成后,显示在图标下方的app名字。双击项目名称,打开项目的.csproj文件,修改其中的<!-- Display name -->

八,修改app图标,即在Android安装后,显示的图标。准备一个SVG,修改<!-- App Icon -->。其中color为矢量图颜色,ForegroundFile为前景图不是必须的(显示在背景图上面),用于与include搭配显示,include为背景图是必须的(显示在前景图下面)
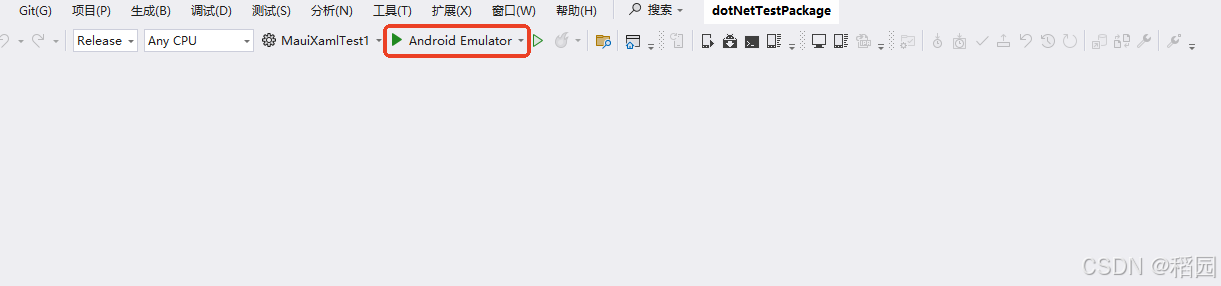
九、调试选项选Android Emulator
十、确认项目所在的路径里,没有中文字符,否则会报错:找不到文件
十一、在项目名称上右键,发布。需要等待几分钟 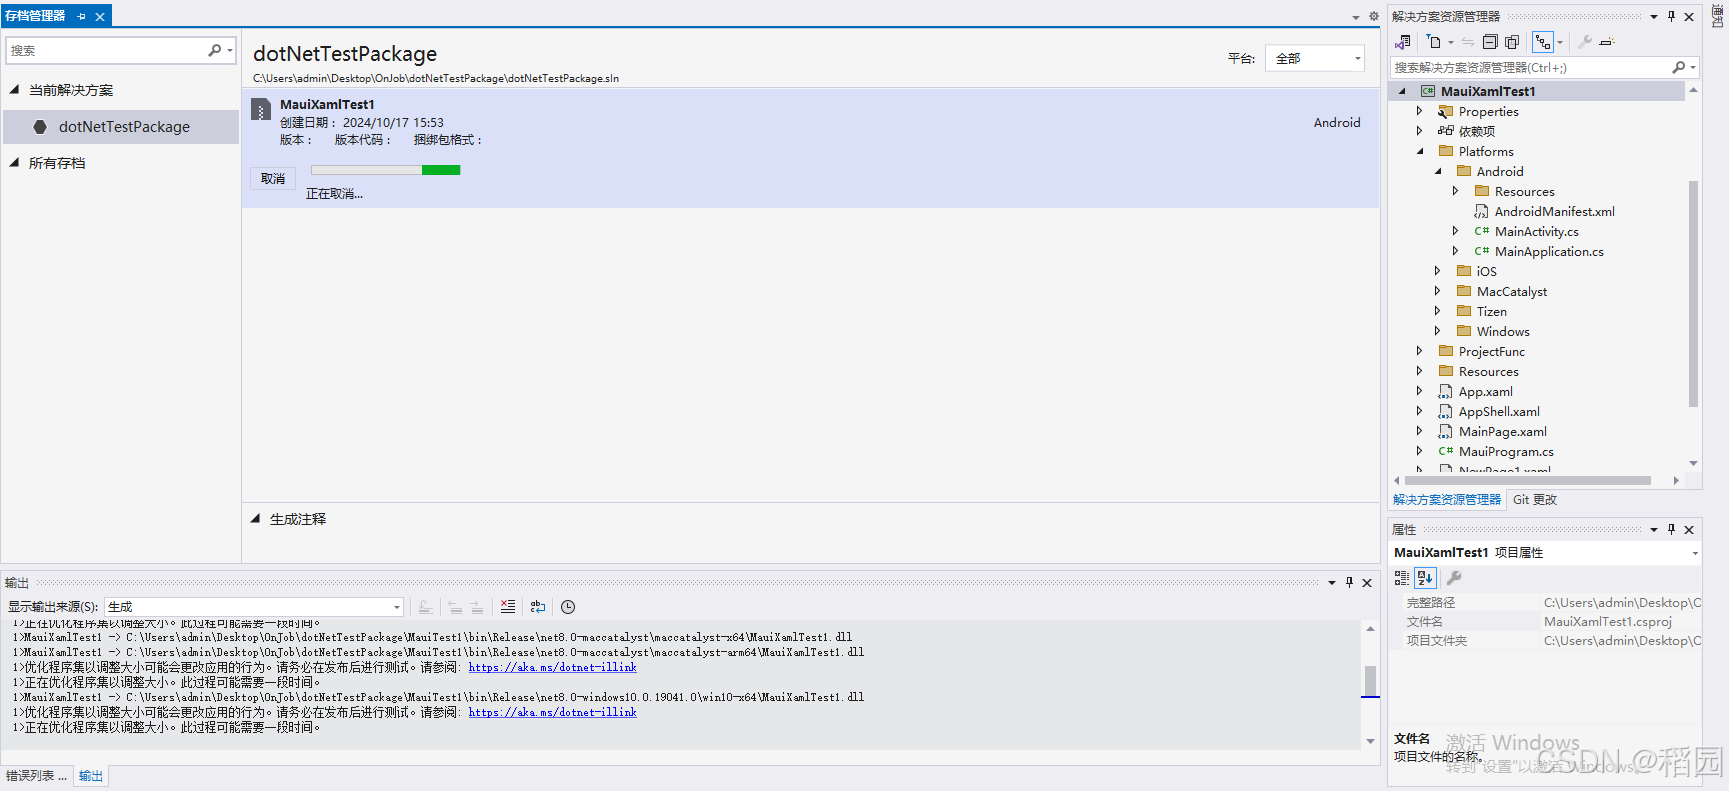
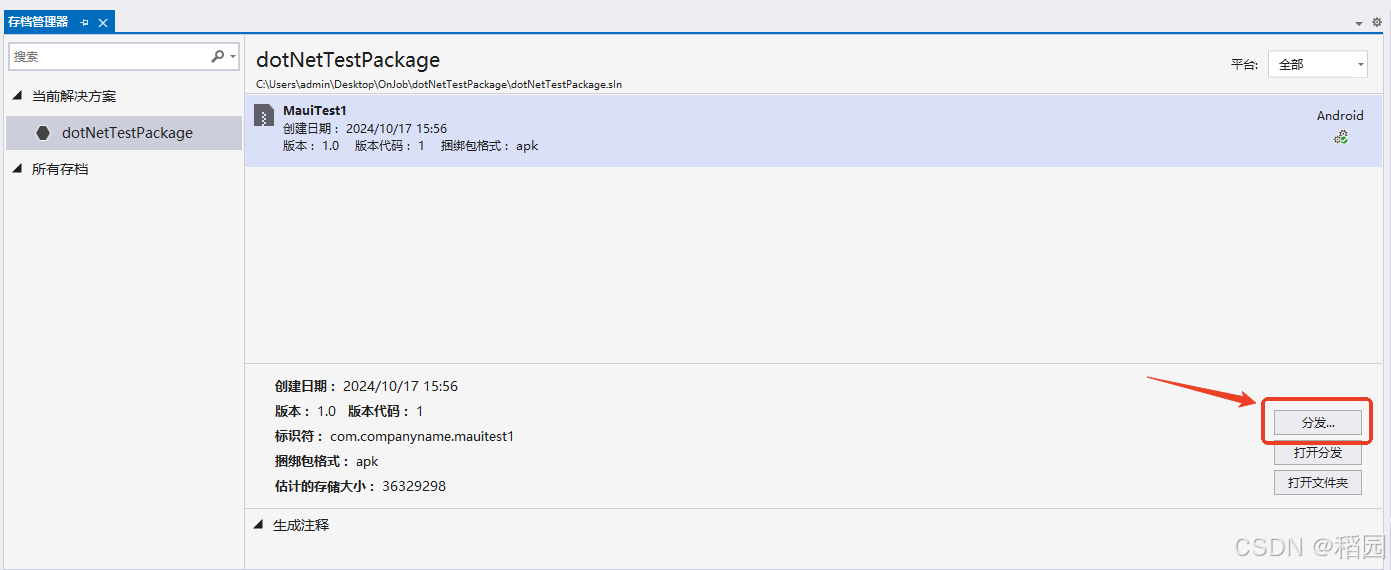
十二 、分发(打包成apk),其中”分发频道“选”临时“,按提示填写即可。然后就可以到指定位置找到apk了


 503
503


 到【灌水乐园】发言


