


 本文详细介绍如何使用Maven构建SpringBoot项目,包括项目初始化、目录结构解析、依赖引入、控制器创建及项目启动流程。
新建SpringBoot项目
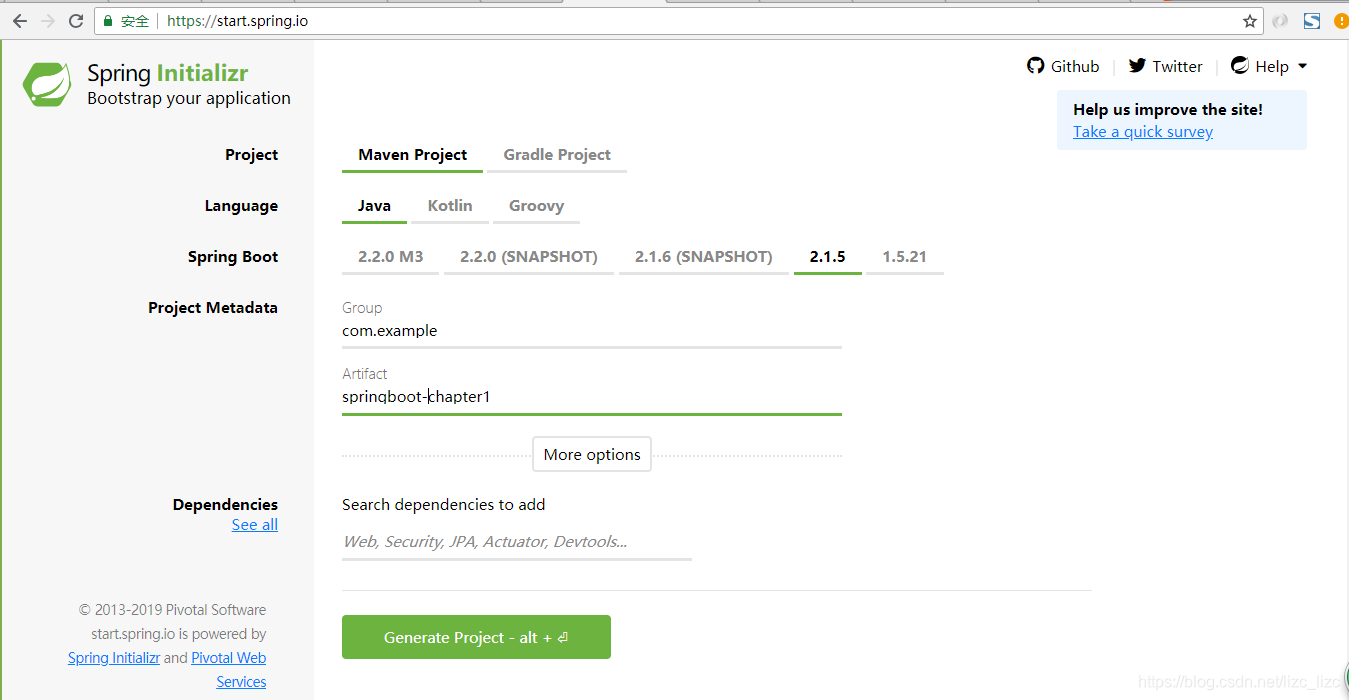
使用Maven构建一个SpringBoot项目
-
填写需要的信息,如下图所示
-
点击 Generate Project 下载项目
-
将下载下来的压缩包解压到自己存放代码的目录
-
使用 IntelliJ IDEA 打开解压文件。
5.1 打开 IntelliJ IDEA,选择File–>New–>Project from Existing Sources...
5.2 选择解压后的项目文件夹,然后点击OK
5.3 先选择上面的Import project from external model,然后选择Maven,点击Next。
5.4 后面的步骤直接点Next就行了,后面会有一个选择JDK的版本,如下图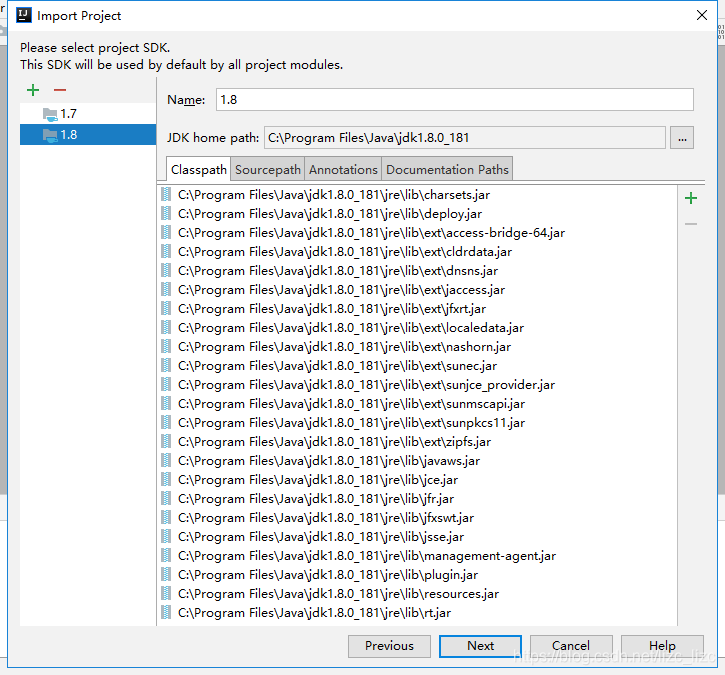
我使用的SpringBoot版本为Spring Boot 2.1.5.RELEASE,而Spring Boot 2.1.5.RELEASE需要Java 8,并且与Java 11兼容。所以我选择的JDK版本为Java 8。
项目目录结构
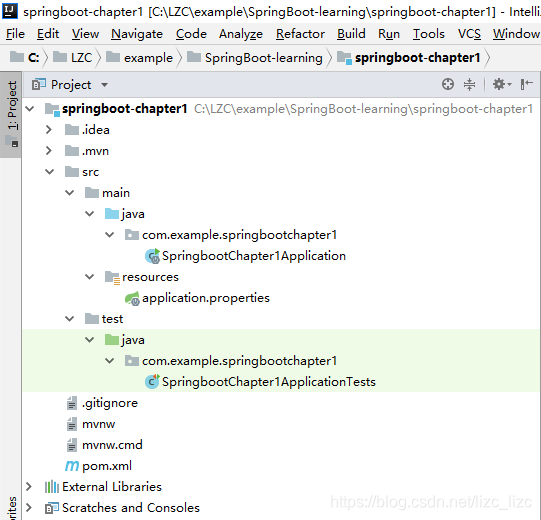
- src/main/java/com/example/springbootchapter1目录下的SpringbootChapter1Application.java是入口文件,通过该类来启动SpringBoot项目
- src/main/resources目录下的application.properties文件是SpringBoot项目的配置文件
- src目录下的pom.xml文件是配置项目所需要的依赖,从https://start.spring.io/ 下载下来的文件默认有两个依赖,如下所示
<dependencies>
    <dependency>
        <groupId>org.springframework.boot</groupId>
        <artifactId>spring-boot-starter</artifactId>
    </dependency>

    <dependency>
        <groupId>org.springframework.boot</groupId>
        <artifactId>spring-boot-starter-test</artifactId>
        <scope>test</scope>
    </dependency>
</dependencies>
编写Hello World
引入依赖
编写Hello World之前还需要引入Web依赖,进入pom.xml引入spring-boot-starter-web依赖,如下所示
<dependencies>
<dependency>
<groupId>org.springframework.boot</groupId>
<artifactId>spring-boot-starter</artifactId>
</dependency>
<dependency>
<groupId>org.springframework.boot</groupId>
<artifactId>spring-boot-starter-test</artifactId>
<scope>test</scope>
</dependency>
<dependency>
<groupId>org.springframework.boot</groupId>
<artifactId>spring-boot-starter-web</artifactId>
</dependency>
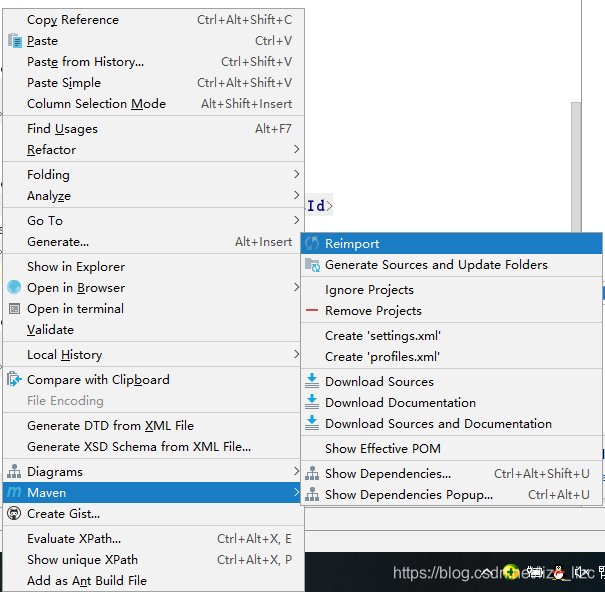
</dependencies>引入依赖后需要刷新pom.xml文件
鼠标右键-->Maven-->Reimport
新建一个Controller
在src/main/java/com/example/springbootchapter1目录下新建HelloController类。或者根据自己的需要新建一个包,然后在里面新建HelloController类。代码如下
package com.example.springbootchapter1;

import org.springframework.stereotype.Controller;
import org.springframework.web.bind.annotation.GetMapping;
import org.springframework.web.bind.annotation.ResponseBody;

/**
 * Created by lzc
 * 2019/6/1 9:30
 */
@Controller
public class HelloController {
    @GetMapping("/hello")
    @ResponseBody
    public String hello() {
        return "Hello World";
    }
}
启动项目
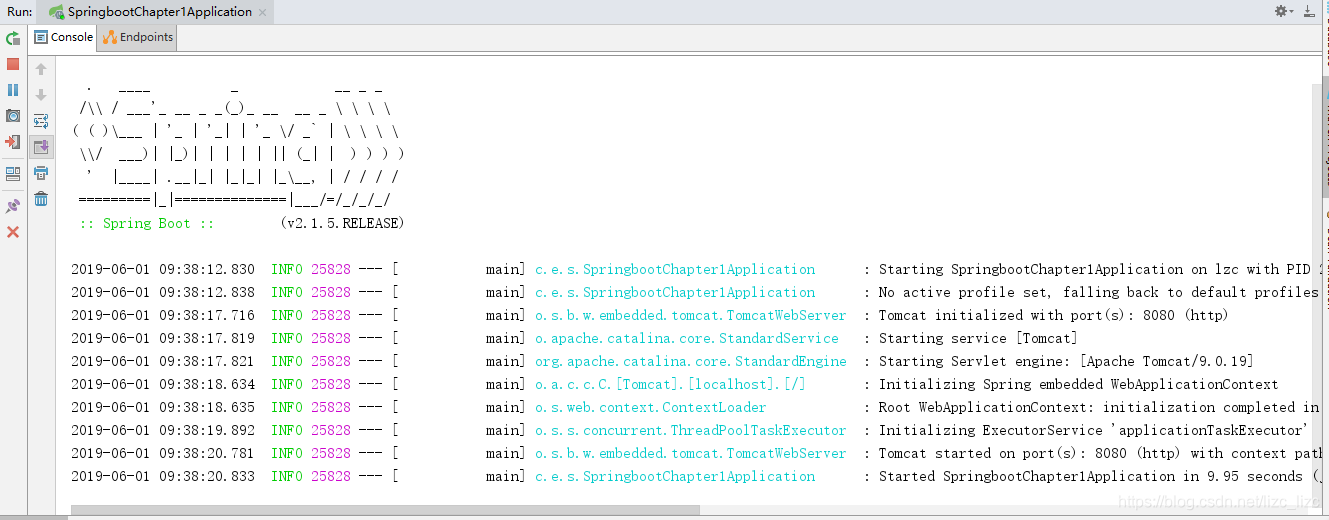
进入src/main/java/com/example/springbootchapter1目录下的SpringbootChapter1Application.java,
右键-->run'SpringbootChapter1Application',启动成功后,控制台信息如下所示
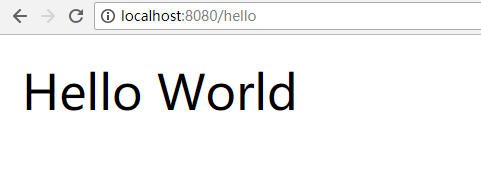
打开浏览器,输入 http://localhost:8080/hello ,可以看到输入Hello World的页面。
总结
这一章节主要是介绍如何构建一个SpringBoot项目,访问http://localhost:8080/hello 只是返回一个字符串,下一章节将会介绍如何访问HTML页面。
代码地址:https://github.com/923226145/SpringBoot-learning/tree/master/springboot-chapter1


 1万+
1万+

 被折叠的 条评论
为什么被折叠?
被折叠的 条评论
为什么被折叠?
 到【灌水乐园】发言


