


目录

1、蓝图是什么
接上篇:Python web框架sanic+tortoise服务框架搭建(MVP版本)实现了简单的web框架,代码中,路由的注册都写在了程序的入口文件中,但真正的项目开发,这种写法,当路由较多时,会让代码的逻辑性变差,而且代码会很臃肿,结构也不清晰,为了解决这些问题,sanic提供了蓝图的技术方案,实现了对路由的管理,这让代码更加模块化,可读性更强。
蓝图对大型的应用程序显得用处更大,它允许你将路由进行分组,分别放在不同的文件中进行管理。
那蓝图是如何实现对路由的管理呢?
2、创建、注册蓝图
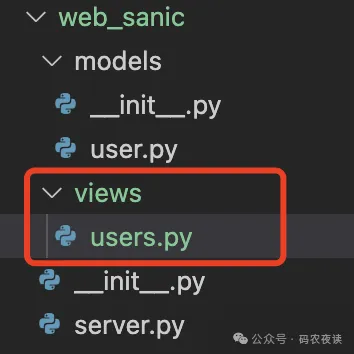
首先我们先创建一个views目录,这个目录用于存放所有的api文件,我们可以根据不同的业务模块创建多个文件,首先创建一个对用户进行管理的api组,创建users.py,用于实现对用户的增删改查:
创建蓝图:
from sanic import Blueprint
bp = Blueprint("users", url_prefix="/api/user")
使用蓝图创建路由:
from sanic import Blueprint
from models import user
from sanic import response
bp_user = Blueprint("users", url_prefix="/user")
@bp_user.route("/add",methods=["POST"])
async def add(request):
one = {
'name': request.json['name'],
'age': request.json['age'],
'sex': request.json['sex'],
'grade': request.json['grade'],
}
await user.User.create(**one)
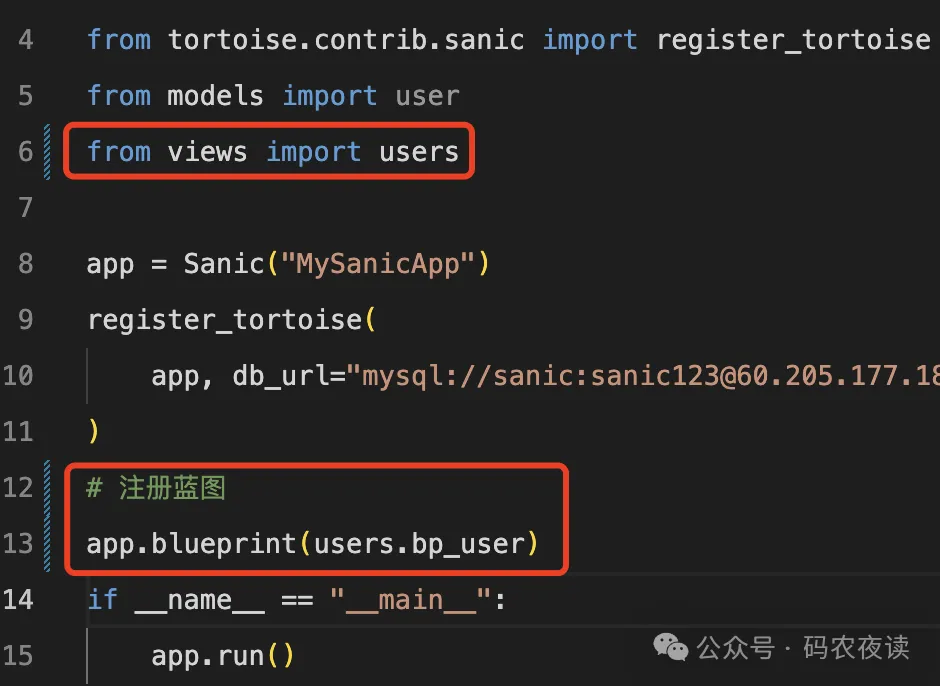
return response.json({'status': True})将蓝图注册到应用程序:
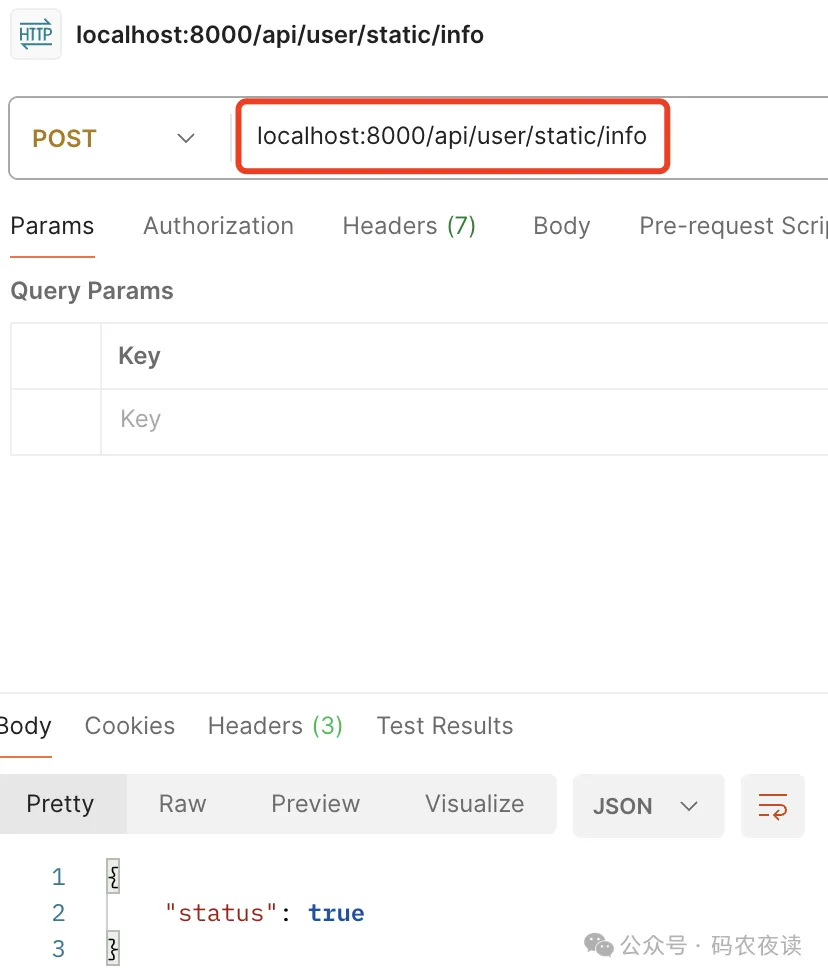
启动server,访问api:
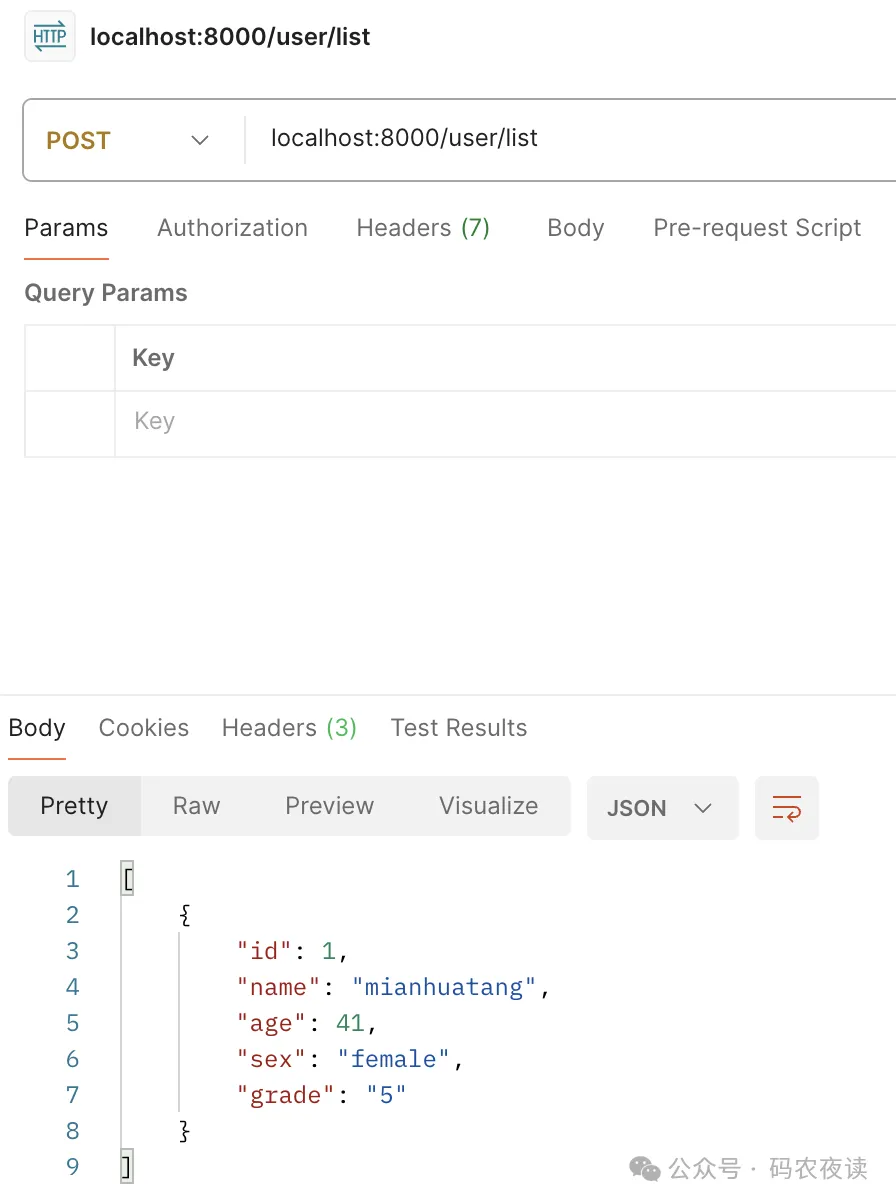
api运行成功。
2、蓝图组
蓝图组可以让你的代码更加模块化,假如我们开发一个商城系统,我们要设计user、product、orders三个业务模块,分别实现对用户、商品、订单的管理,同时各个模块实现一个统计api,我们创建如下目录结构:

各模块下的static用于存放统计api,以user模块为例,上面user的路由已经注册完毕,我们在static.py文件中注册统计api:
from sanic import Blueprint
bp_static = Blueprint('user_static', url_prefix='/static')
@bp_static.route('/info',methods=['POST'])
async def info(request):
    return request.json
在user目录下__init__.py文件中,创建蓝图组,并把user中创建的蓝图添加到蓝图组中:
from sanic import Blueprint
from .static import bp_static
from .user import bp_user
bp_user = Blueprint.group(bp_static, bp_user, url_prefix="/users")
product、order也以上面过程添加路由;
之后再views目录下的__init__.py文件中增加如下代码:
from sanic import Blueprint
from .order import order
from .product import product
from .user import user
views = Blueprint.group(order.bp_order, product.bp_product, user.bp_user,url_prefix="/api")
启动服务,并请求api:
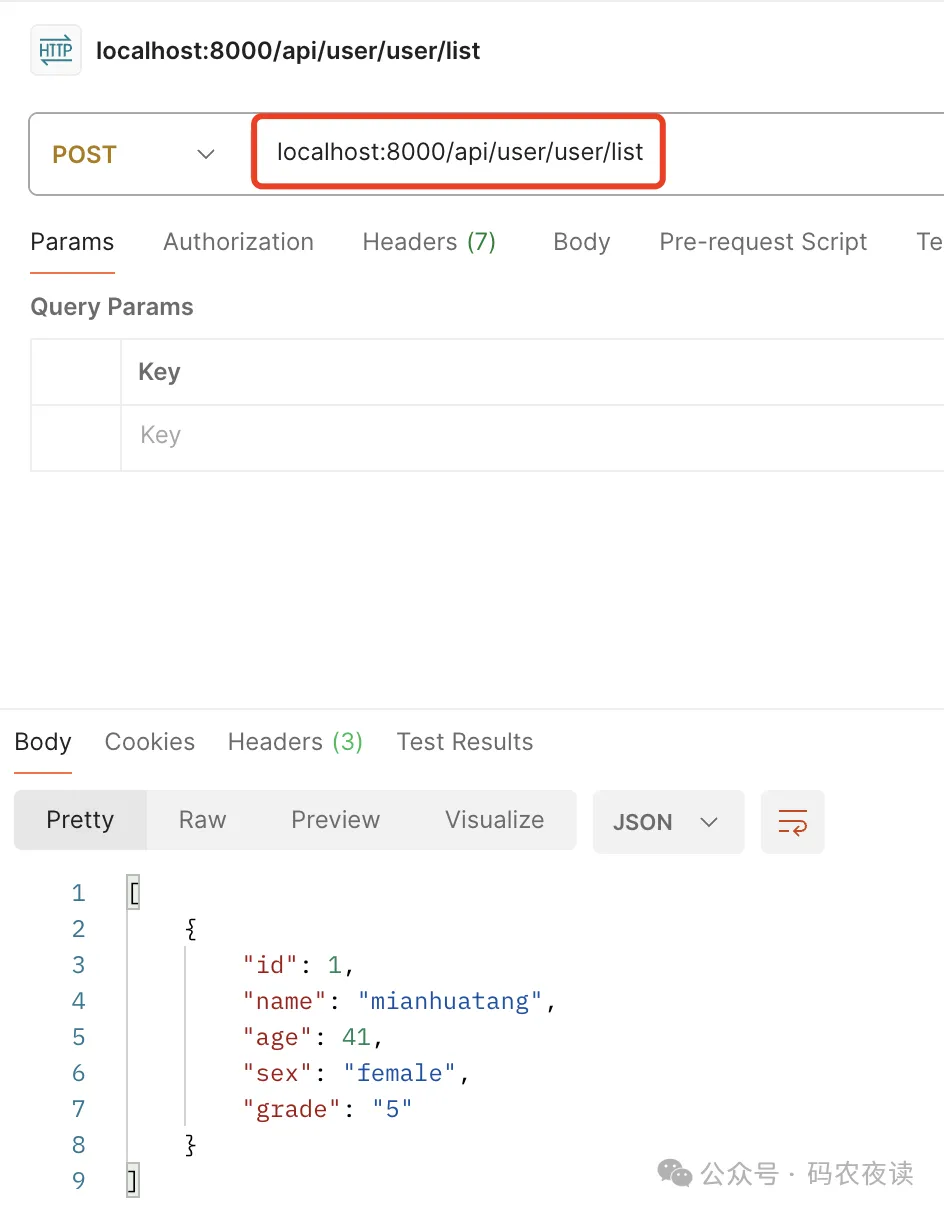
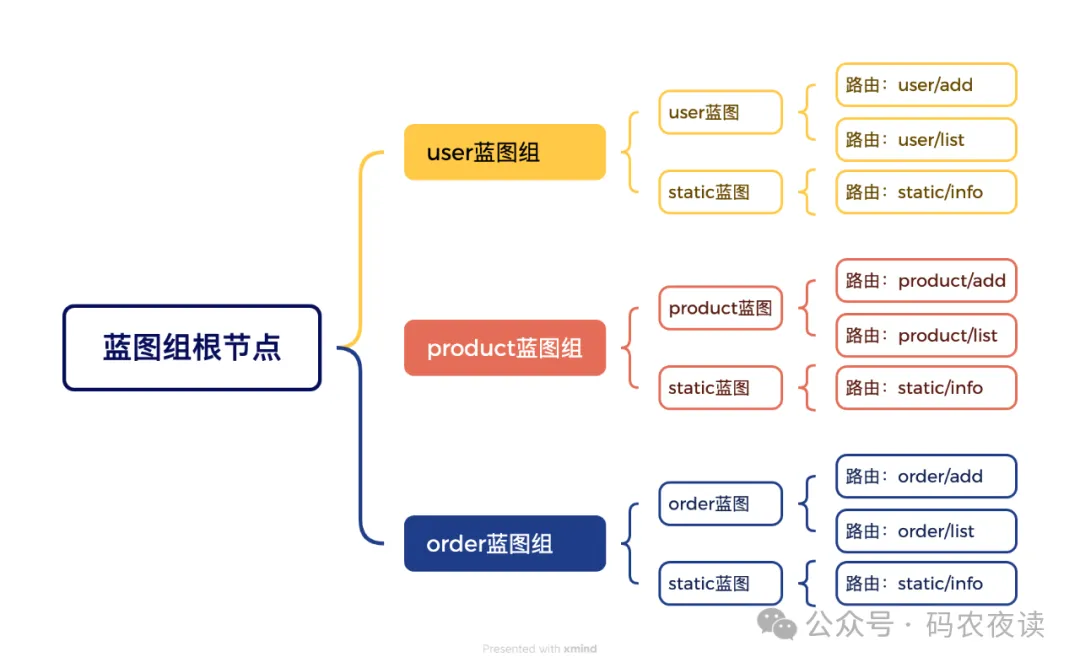
api全部运行成功,蓝图的原理其实很简单,就是蓝图组里放蓝图,一层一层进行嵌套,比如我们设计的例子,原理如下:
3、中间件的使用
在sanic中,中间件可以设置作用在蓝图上,也可以设置在蓝图组,假如你要统计某个蓝图下所有api的执行耗时,我们可以这样使用中间件,利用请求上下文记录请求到达的时间:
bp_static = Blueprint('user_static', url_prefix='/static')
@bp_static.middleware
async def print_on_request(request:Request):
    # print("I am a spy")
    request.ctx.start_time = time.time()
@bp_static.middleware("response")
async def halt_response(request:Request, response):
    # 计算总耗时(单位:秒)
    duration = time.time() - request.ctx.start_time

    # 获取API路径和HTTP方法
    api_path = request.url.split('?')[0]  # 去除查询参数
    method = request.method

    # 输出日志(可根据需求替换为监控上报)
    print(f"[{method}] {api_path} - 耗时: {duration:.4f}s")
请求api,有如下打印: 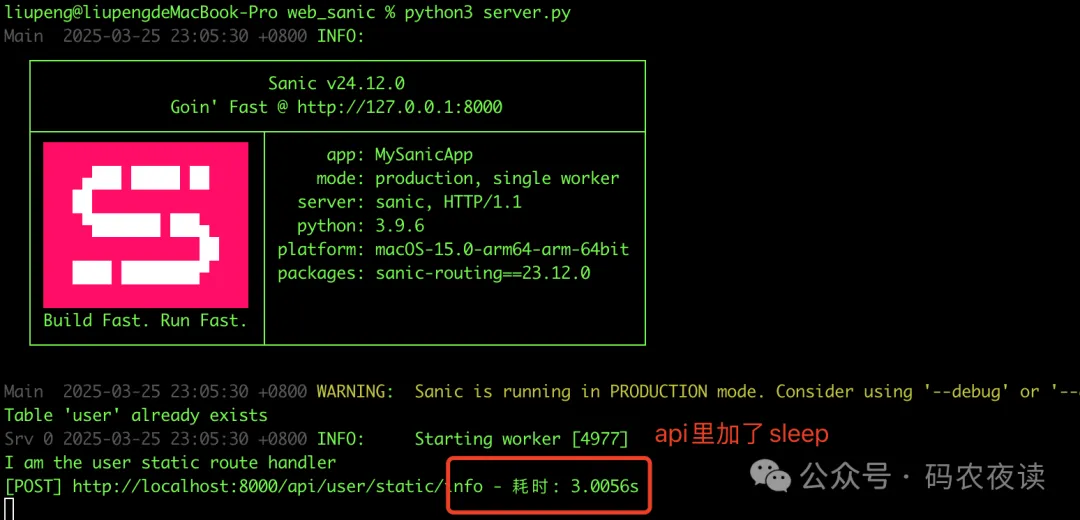
中间件也运行成功了。
以上就是今天要分享的全部内容啦,测试代码已全部上传到了github,需要的同学可以自取:
https://github.com/liupengh3c/career/tree/main/python/web_sanic
期待小伙伴们多多关注,多多交流~~~~。
如果有小伙伴有换工作的,我可以帮忙内推,有需要的可以关注公众号加微信联系。


 5万+
5万+

 被折叠的 条评论
为什么被折叠?
被折叠的 条评论
为什么被折叠?
 到【灌水乐园】发言


