


需求说明
使用redmine最新版,实现一个部署在内网的,可以通过代理访问的redmine。
第一步:创建docker-compose.yml
version: "3"

services:
  redmine:
    image: redmine:latest
    container_name: 1Panel-redmine
    ports:
      - 3001:3000
    networks:
      1panel-network:
        ipv4_address: 172.18.0.13
    volumes:
      - /mnt/redmine/plugins:/usr/src/redmine/plugins
      - /mnt/redmine/themes:/usr/src/redmine/public/themes
      - /mnt/redmine/files:/usr/src/redmine/files
      - /mnt/redmine/temp:/usr/src/redmine/temp
      - /mnt/redmine/temp/configuration.yml:/usr/src/redmine/config/configuration.yml
      - /mnt/redmine/temp/database.yml:/usr/src/redmine/config/database.yml
    environment:
      - REDMINE_PLUGINS_MIGRATE='true'
    restart: always

networks:
  1panel-network:
    external: true
networks: 1panel-network,在此我使用的是
1panel网络。如果使用bridge网络,看如下:
version: "3"

services:
  redmine:
    image: redmine:latest
    container_name: 1Panel-redmine
    ports:
      - 3001:3000
    networks:
      erixApp:
        ipv4_address: 172.18.0.13
    volumes:
      - /mnt/redmine/plugins:/usr/src/redmine/plugins
      - /mnt/redmine/themes:/usr/src/redmine/public/themes
      - /mnt/redmine/files:/usr/src/redmine/files
      - /mnt/redmine/temp:/usr/src/redmine/temp
      - /mnt/redmine/temp/configuration.yml:/usr/src/redmine/config/configuration.yml
      - /mnt/redmine/temp/database.yml:/usr/src/redmine/config/database.yml
    environment:
      - REDMINE_PLUGINS_MIGRATE='true'
    restart: always

networks:
  erixApp:
    external: true
docker-compose.yml执行命令:
docker-compose -f docker-compose.yml up -d
注意事项
mnt是我存放docker目录的地方。network我使用了自定义网络,不需要请去掉。
第二步:配置文件
外挂配置文件的步骤
- 先启动docker 然后进入容器中,把configuration.yml和database.yml给copy到temp目录里
- 如果没有这两个文件,就使用.example文件替代,copy时把后面的.example去掉。
数据库 database.yml
默认MySQL的配置
production:
  adapter: mysql2
  database: redmine
  host: localhost
  username: redmine
  password: "my_password"
  variables:
    transaction_isolation: "READ-COMMITTED"
指定端口
production:
  adapter: mysql2
  database: redmine
  host: localhost
  port: 3307
  username: redmine
  password: "my_password"
  variables:
    transaction_isolation: "READ-COMMITTED"
PostgreSQL
production:
  adapter: postgresql
  database: <your_database_name>
  host: <postgres_host>
  username: <postgres_user>
  password: "<postgres_user_password>"
  encoding: utf8
  schema_search_path: <database_schema> (default - public)
SQLite
production:
  adapter: sqlite3
  database: db/redmine.sqlite3
MSSQL
production:
  adapter: sqlserver
  host: xx.xx.xx.xx
  database: redmine
  username: redmine
  password: "redminepassword"
发送邮件 configuration.yml
官网文档:EmailConfiguration - Redmine
网易
production:
  email_delivery:
    delivery_method: :smtp
    smtp_settings:
      #enable_starttls_auto: true
      address: "smtp.ym.163.com"
      port: 994
      domain: "your.domain.com" # 'your.domain.com'
      authentication: :login
      tls: true
      user_name: "your mail address"
      password: "your password"
其他供参考
Gmail
production:
  email_delivery:
    delivery_method: :smtp
    smtp_settings:
      enable_starttls_auto: true
      address: "smtp.gmail.com"
      port: 587
      domain: "smtp.gmail.com"
      authentication: :plain
      user_name: "your_email@gmail.com"
      password: "your_password"
Office 365
production:
  email_delivery:
    delivery_method: :smtp
    smtp_settings:
      enable_starttls_auto: true
      address: "smtp.office365.com"
      port: 587
      domain: "your_domain.com"
      authentication: :login
      user_name: "email@your_domain.com"
      password: "password"
Ali
  email_delivery:
    delivery_method: :async_smtp
    async_smtp_settings:
      address: '替换'
      port: 465
      domain: '替换'
      authentication: :login
      user_name: '替换'
      password: '替换'
      tls: true
      openssl_verify_mode: 'none'
第三步 使用nginx代理
server {
    listen 80 ;
    server_name www.test.com;
    index index.php index.html index.htm default.php default.htm default.html;
    proxy_set_header Host $host;
    proxy_set_header X-Forwarded-For $proxy_add_x_forwarded_for;
    proxy_set_header X-Forwarded-Host $server_name;
    proxy_set_header X-Real-IP $remote_addr;
    proxy_http_version 1.1;
    proxy_set_header Upgrade $http_upgrade;
    proxy_set_header Connection $http_connection;
    access_log /www/sites/www.test.com/log/access.log main;
    error_log /www/sites/www.test.com/log/error.log;
    location ^~ /.well-known/acme-challenge {
        allow all;
        root /usr/share/nginx/html;
    }
}
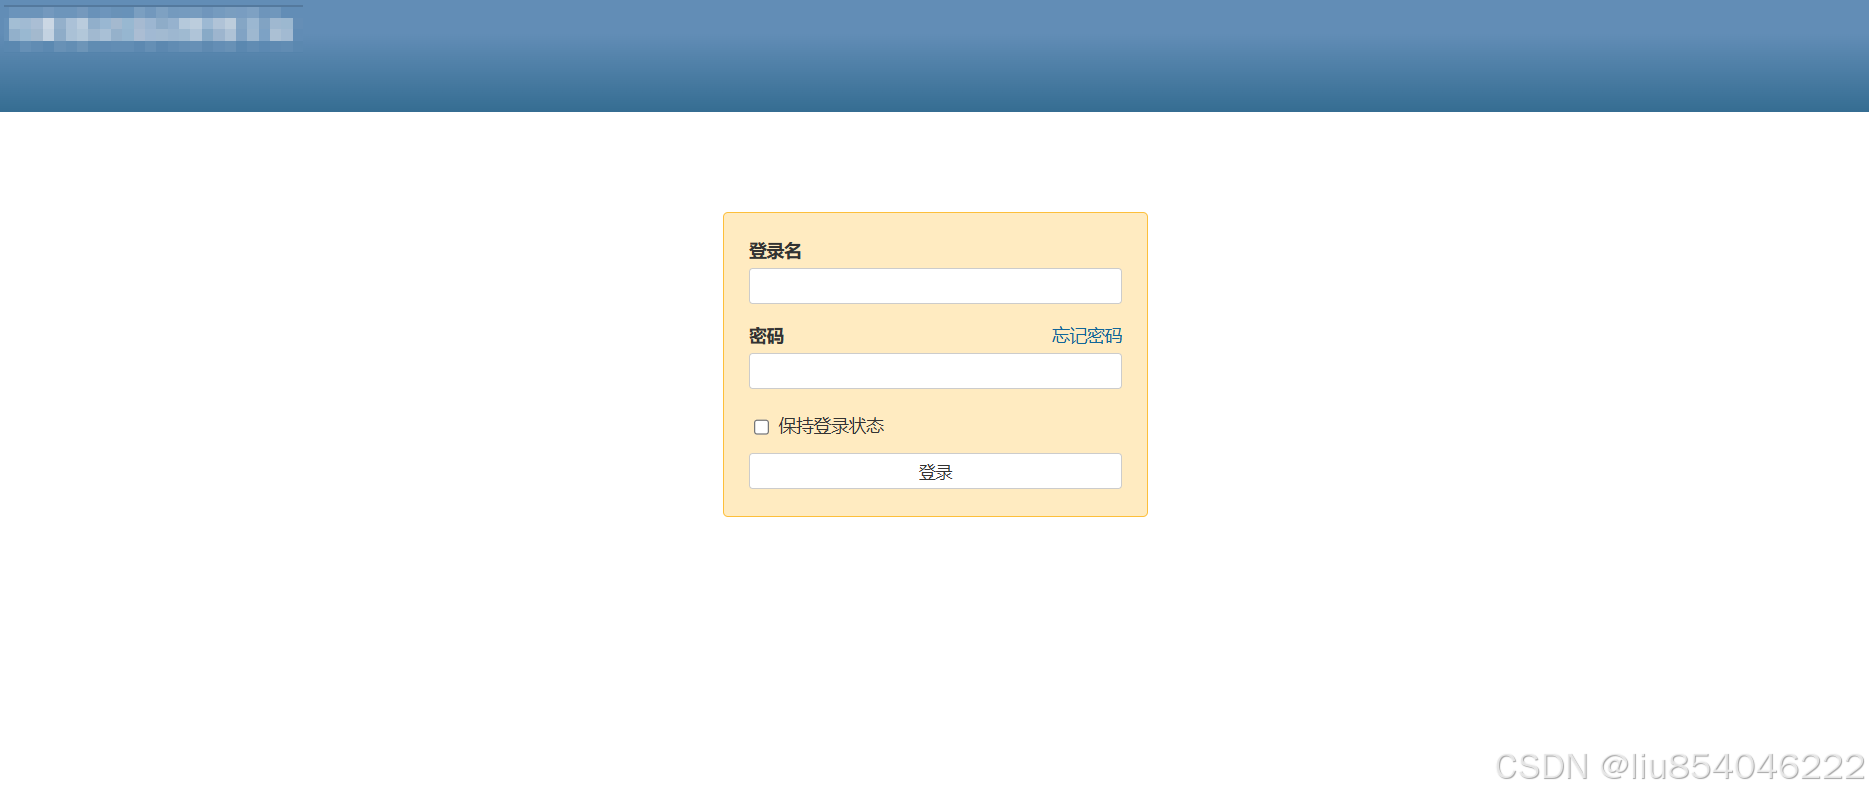
第四步 访问预览


 610
610

 被折叠的 条评论
为什么被折叠?
被折叠的 条评论
为什么被折叠?
 到【灌水乐园】发言


