


 本文介绍了如何在Springboot项目中集成Swagger,包括添加pom依赖、创建Swagger配置文件及详细配置过程。
1.导入相关pom依赖
<!--springboot集成swagger2-->

<dependency>

    <groupId>io.springfox</groupId>

    <artifactId>springfox-swagger2</artifactId>

    <version>2.7.0</version>

</dependency>


<dependency>

    <groupId>io.springfox</groupId>

    <artifactId>springfox-swagger-ui</artifactId>

    <version>2.7.0</version>

</dependency>


<!--springboot集成swagger2结束-->
2.创建Swagger的Config配置文件
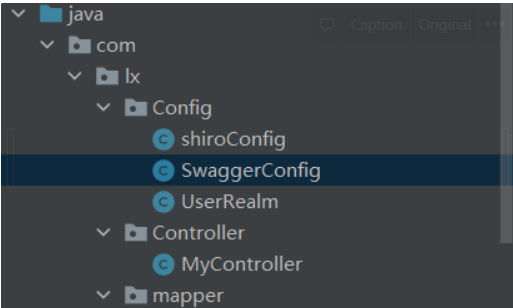
3.SwaggerConfig配置文件
package com.lx.Config;

import org.springframework.context.annotation.Bean;
import org.springframework.context.annotation.Configuration;
import springfox.documentation.builders.ApiInfoBuilder;
import springfox.documentation.builders.PathSelectors;
import springfox.documentation.builders.RequestHandlerSelectors;
import springfox.documentation.service.ApiInfo;
import springfox.documentation.service.Contact;
import springfox.documentation.spi.DocumentationType;
import springfox.documentation.spring.web.plugins.Docket;
import springfox.documentation.swagger2.annotations.EnableSwagger2;

import java.util.ArrayList;

@Configuration
@EnableSwagger2 // 开启swagger2
public class SwaggerConfig {

    // 配置swagger的docket 的Bean实例
    @Bean
    public Docket docket(){
            return new Docket(DocumentationType.SWAGGER_2)
                    //通过调用自定义方法apiInfo,获得文档的主要信息
                    .apiInfo(apiInfo())
                    //.groupName("小明") // 这里可以配置分组
                    .select()
                    .apis(RequestHandlerSelectors.basePackage("com.lx.Controller"))//扫描该controller包下面接口的API注解
                    .paths(PathSelectors.any())
                    .build();
    }

     // 配置Swagger信息
    /**
     *创建该API的基本信息(这些基本信息会展现在文档页面中)
     *访问地址:<http://项目实际地址/swagger-ui.html>
     *@return
     */
    //配置文档信息

    private ApiInfo apiInfo() {
        Contact contact = new Contact("联系人名字", "<http://xxx.xxx.com/联系人访问链接>", "联系人邮箱");
        return new ApiInfo(
                "Swagger学习", // 标题
                "学习演示如何配置Swagger", // 描述
                "v1.0", // 版本
                "<http://terms.service.url/组织链接>", // 组织链接
                contact, // 联系人信息
                "Apach 2.0 许可", // 许可
                "许可链接", // 许可连接
                new ArrayList<>()// 扩展
        );
    }

}


 640
640

 被折叠的 条评论
为什么被折叠?
被折叠的 条评论
为什么被折叠?
 到【灌水乐园】发言


