


 本文详细介绍了使用SpringBoot搭建应用程序的传统和快速创建方法,包括Maven项目创建、pom.xml配置、主程序类与Controller文件编写,以及测试运行与部署流程。
使用Spring官方网站搭建应用程序
一、传统创建方式
一、创建maven项目

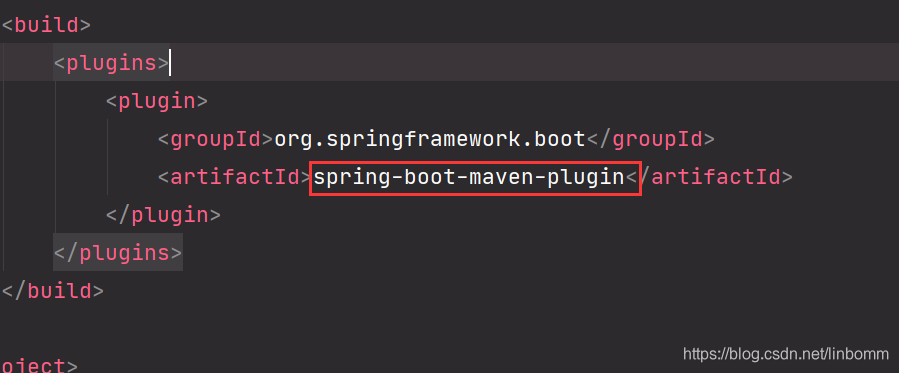
二、配置pom.xml文件
<?xml version="1.0" encoding="UTF-8"?>
<project xmlns="http://maven.apache.org/POM/4.0.0" xmlns:xsi="http://www.w3.org/2001/XMLSchema-instance"
         xsi:schemaLocation="http://maven.apache.org/POM/4.0.0 https://maven.apache.org/xsd/maven-4.0.0.xsd">
    <modelVersion>4.0.0</modelVersion>
    <parent>
        <groupId>org.springframework.boot</groupId>
        <artifactId>spring-boot-starter-parent</artifactId>
        <version>2.2.2.RELEASE</version>
        <relativePath/> <!-- lookup parent from repository -->
    </parent>
    <groupId>com.example</groupId>
    <artifactId>spring-boot</artifactId>
    <version>0.0.1-SNAPSHOT</version>
    <name>spring-boot</name>
    <description>Demo project for Spring Boot</description>

    <properties>
        <java.version>1.8</java.version>
    </properties>

    <dependencies>
        <dependency>
            <groupId>org.springframework.boot</groupId>
            <artifactId>spring-boot-starter-web</artifactId>
        </dependency>

        <dependency>
            <groupId>org.springframework.boot</groupId>
            <artifactId>spring-boot-starter-test</artifactId>
            <scope>test</scope>
            <exclusions>
                <exclusion>
                    <groupId>org.junit.vintage</groupId>
                    <artifactId>junit-vintage-engine</artifactId>
                </exclusion>
            </exclusions>
        </dependency>
    </dependencies>

    <build>
        <plugins>
            <plugin>
                <groupId>org.springframework.boot</groupId>
                <artifactId>spring-boot-maven-plugin</artifactId>
            </plugin>
        </plugins>
    </build>

</project>
如果红线报错插件找不到,提示Failed to execute goal
org.springframework.boot:spring-boot-maven-plugin
添加版本号即可解决<plugins> <plugin> <groupId>org.springframework.boot</groupId> <artifactId>spring-boot-maven-plugin</artifactId> <version>2.2.6.RELEASE</version> </plugin> </plugins> </build> ```
三、创建主程序类
package com.test;

import org.springframework.boot.SpringApplication;
import org.springframework.boot.autoconfigure.SpringBootApplication;
/**
 * 标识是一个Spring Boot应用
 */
@SpringBootApplication
public class HelloWord {
    public static void main(String[] args) {
        // 启动Spring Boot
        SpringApplication.run(HelloWord.class, args);
    }
}
四、创建Controller文件
package com.test.controller;

import org.springframework.stereotype.Controller;
import org.springframework.web.bind.annotation.RequestMapping;
import org.springframework.web.bind.annotation.ResponseBody;

@RestController
public class HelloController {
    @RequestMapping("/hello")
    public String Hello(){
        return "Hello World";
    }
}
@RequestController是@Controller和@RequestBody的组合使用
五、测试运行

执行成功
六、部署
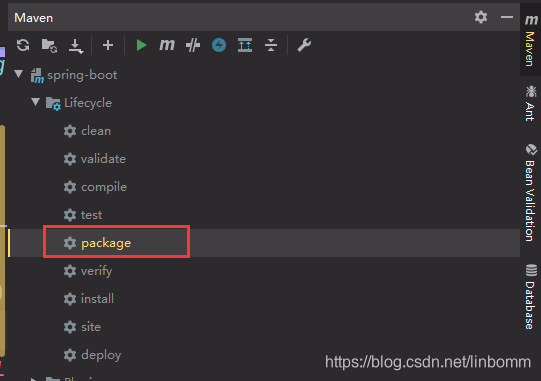
等待执行完毕

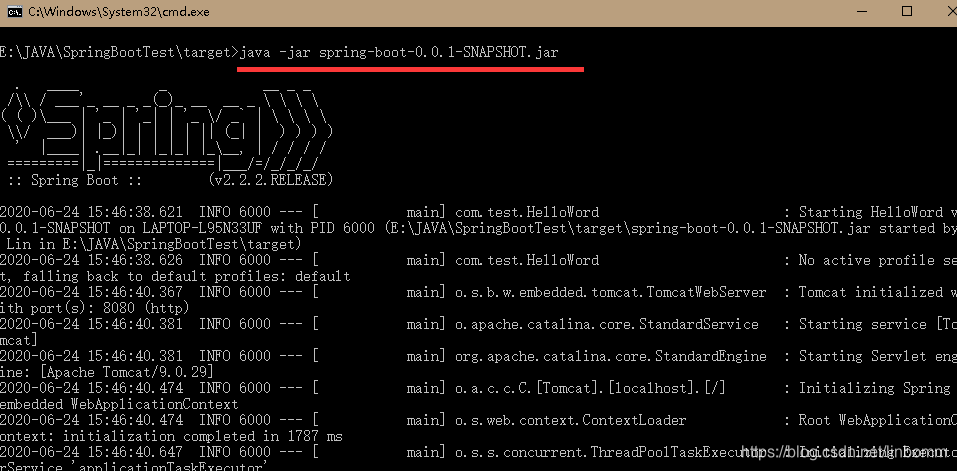
找到文件,进入cmd
XML文件
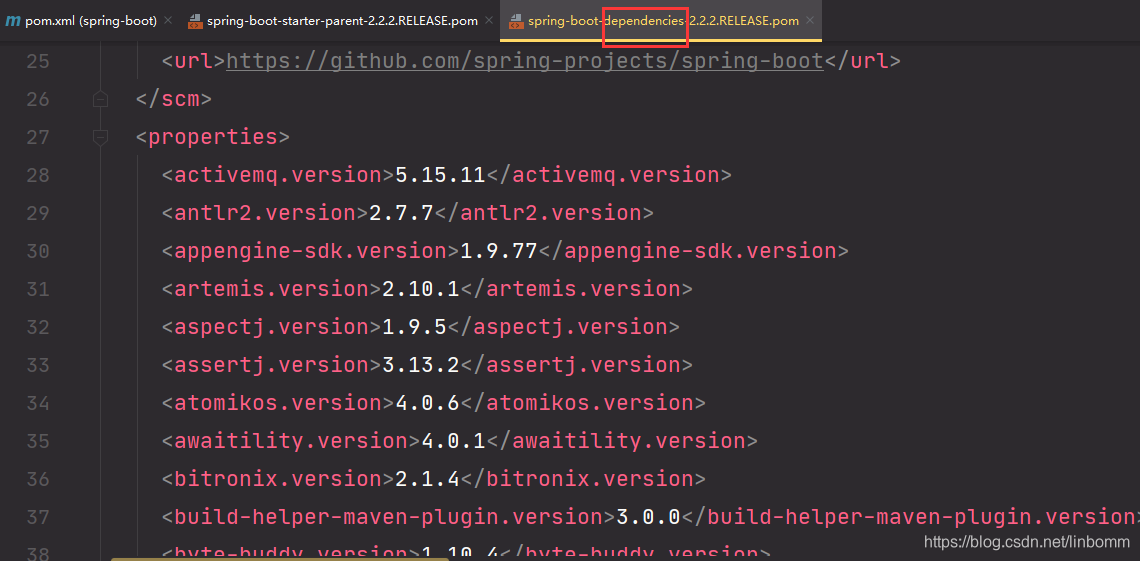
(1)<groupId>org.springframework.boot</groupId> <artifactId>spring-boot-starter-parent</artifactId> <version>2.2.2.RELEASE</version> <relativePath/> <!-- lookup parent from repository --> </parent>parent用来依赖管理,最终指向dependencise(版本仲裁中心),以后导入依赖默认不需要写版本(除非dependencies中没有规定)
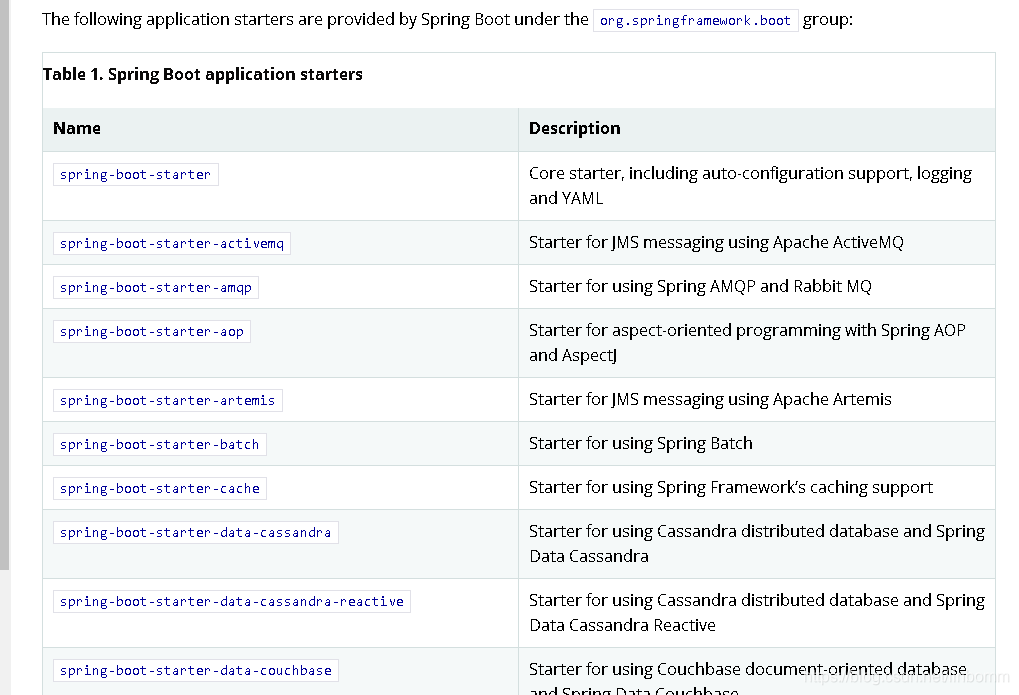
(2)<dependency> <groupId>org.springframework.boot</groupId> <artifactId>spring-boot-starter-web</artifactId> </dependency>spring-boot-starter为spring-boot场景启动器,将所有功能场景抽取出来,做成一个个starts
详情见Spring Boot参考文档
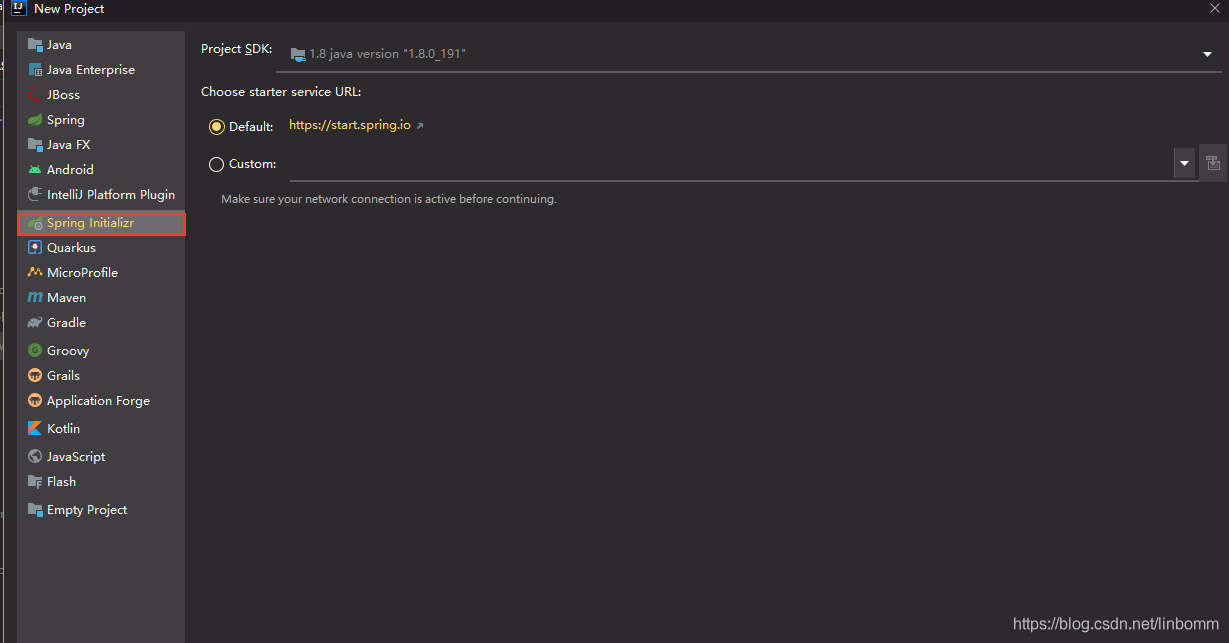
二、快速创建
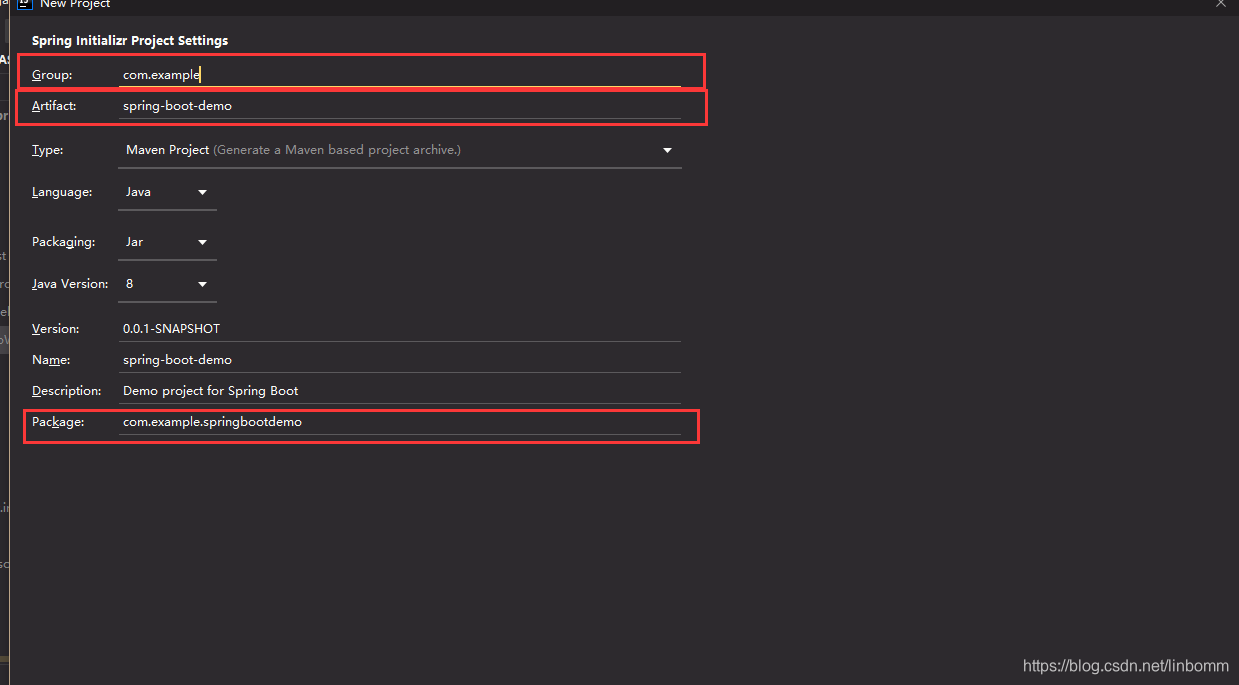
设置公司名,项目名,包名
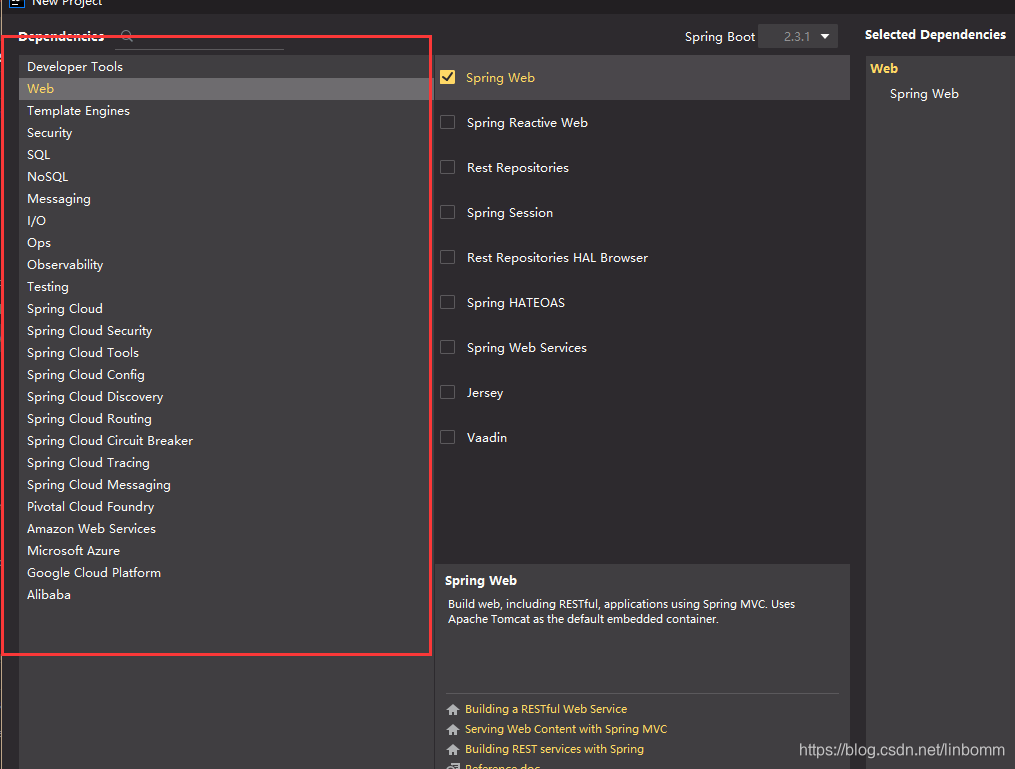
选择需要模块
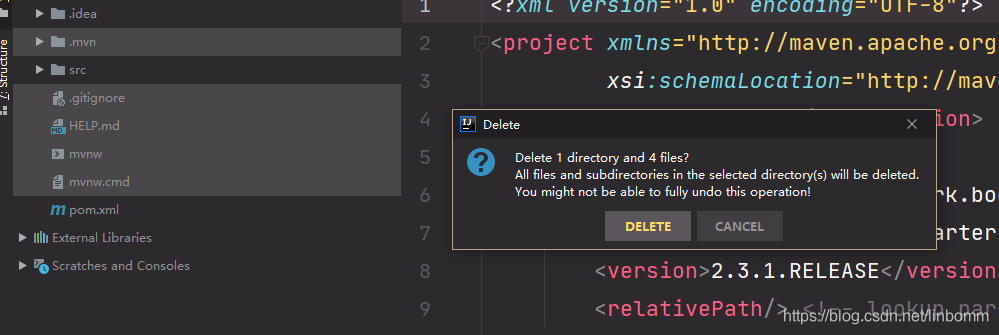
删除无用文件
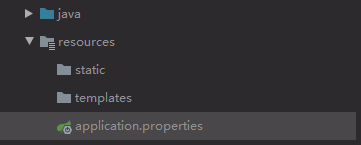
- static:存放静态资源 js,css,image
- templates:保存模板页面(使用嵌套Tomcat默认不支持jsp,使用需要模板引擎)
- properties:配置文件


 1244
1244

 被折叠的 条评论
为什么被折叠?
被折叠的 条评论
为什么被折叠?
 到【灌水乐园】发言


