


 本文介绍了如何通过自定义UITableViewCell来实现与系统默认样式不同的UI界面格式。首先,创建两个自定义cell类,FirstTableViewCell和SecondTableViewCell,分别设置各自的属性和布局。在UIViewController中,实现了UITableViewDataSource和UITableViewDelegate协议,根据需要在不同情况下使用不同类型的cell,并注册了这两个自定义cell。最终,通过重写方法设置cell的内容和布局,实现了定制化的表格视图效果。
关于cell
在用系统默认的UITableViewCell的几种样式时,所固定的排版模式可能会于与所想要的UI界面格式不同,因此需要自定义cell
自定义cell
自定义的cell一定是继承于UITableViewCell的
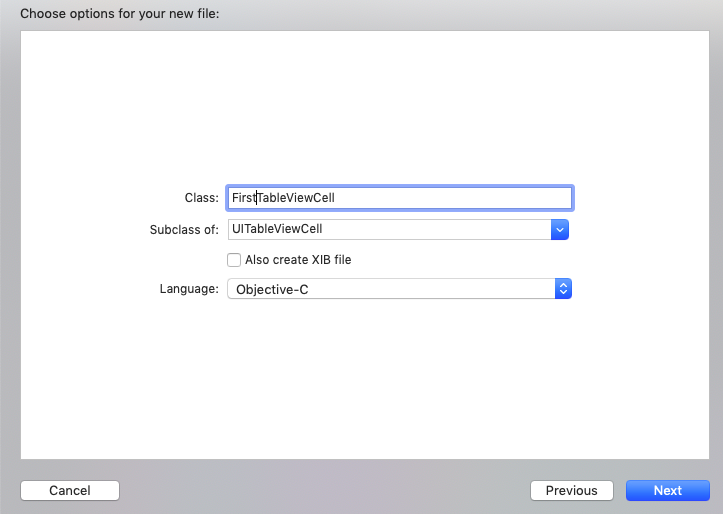
在继承于UITableViewCell的FirstTableViewCell.h文件中声明自己所需要的属性
@interface firstTableViewCell : UITableViewCell
@property (strong, nonatomic) UIImageView* imageViewOne;
@property (strong, nonatomic) UILabel* labelOne;

@end
在FirstTableViewCell.m文件中主要实现以下两种方法
-(instancetype)initWithStyle:(UITableViewCellStyle)style reuseIdentifier:(NSString *)reuseIdentifier {
    self = [super initWithStyle:style
         reuseIdentifier:reuseIdentifier];
    if ([self.reuseIdentifier isEqualToString:@"first"]) {
        _labelOne = [[UILabel alloc] init];
        _labelOne.text = @"张佳乔";
        [self.contentView addSubview:_labelOne];
        _imageViewOne = [[UIImageView alloc] initWithImage:[UIImage imageNamed:@"pic1.jpg"]];
        [self.contentView addSubview: _imageViewOne];
    }
    return self;
}

- (void)layoutSubviews {
    _labelOne.frame = CGRectMake(90, 10, 180, 30);
    _imageViewOne.frame = CGRectMake(0, 0, 70, 70);
}
第一个方法用于对标识符进行判定是否一致再对所声明属性进行赋值
第二个方法用于对视图的排版布局
同理,再创建一个继承于UITableViewCell的SecondTableViewCell
-(instancetype)initWithStyle:(UITableViewCellStyle)style reuseIdentifier:(NSString *)reuseIdentifier {
    self = [super initWithStyle:style
         reuseIdentifier:reuseIdentifier];
    if ([self.reuseIdentifier isEqualToString:@"second"]) {
        _labelOne = [[UILabel alloc] init];
        _labelOne.text = @"帅哥哥";
        [self.contentView addSubview:_labelOne];
        _imageViewOne = [[UIImageView alloc] initWithImage:[UIImage imageNamed:@"pic2.jpg"]];
        [self.contentView addSubview: _imageViewOne];
    }
    return self;
}
- (void)layoutSubviews {
    _labelOne.frame = CGRectMake(200, 10, 180, 30);
    _imageViewOne.frame = CGRectMake(300, 0, 70, 70);
}
另使用UITableView时要记得在.h文件遵守协议
@interface ViewController : UIViewController <UITableViewDataSource, UITableViewDelegate>

@property (strong, nonatomic) UITableView* tableView;
@end
在viewController.m
#import "ViewController.h"
#import "firstTableViewCell.h"
#import "SecondTableViewCell.h"
@interface ViewController ()

@end

@implementation ViewController

- (void)viewDidLoad {
    [super viewDidLoad];
    self.tableView = [[UITableView alloc] initWithFrame:self.view.frame style:UITableViewStyleGrouped];
    self.tableView.delegate = self;
    self.tableView.dataSource = self;
    [self.view addSubview:_tableView];
    [_tableView registerClass:[firstTableViewCell class] forCellReuseIdentifier:@"first"];
    [_tableView registerClass:[SecondTableViewCell class] forCellReuseIdentifier:@"second"];
}

- (NSInteger)numberOfSectionsInTableView:(UITableView *)tableView {
   return 2;
}


- (NSInteger)tableView:(UITableView *)tableView numberOfRowsInSection:(NSInteger)section {
    return 2;
}

- (CGFloat)tableView:(UITableView *)tableView heightForRowAtIndexPath:(NSIndexPath *)indexPath {
    return 70;
}

- (UITableViewCell *)tableView:(UITableView *)tableView cellForRowAtIndexPath:(NSIndexPath *)indexPath {

    if (indexPath.row % 2 == 0) {
        firstTableViewCell *cell = [self.tableView dequeueReusableCellWithIdentifier:@"first" forIndexPath:indexPath];
        return cell;
    } else {
        SecondTableViewCell *cell = [self.tableView dequeueReusableCellWithIdentifier:@"second" forIndexPath:indexPath];
        return cell;
    }
}

@end
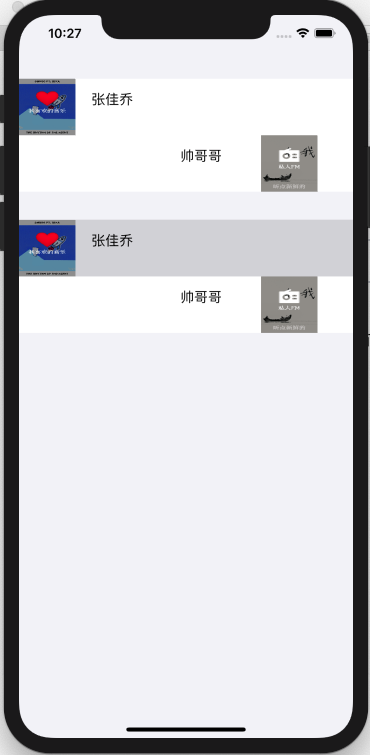
其中,在不同的情况下用不同的cell类对cell进行创建、赋值,所呈现的排版可以达到我们想要的


 273
273

 被折叠的 条评论
为什么被折叠?
被折叠的 条评论
为什么被折叠?
 到【灌水乐园】发言


