


 本文将指导您如何使用Django框架快速搭建Web应用,包括项目创建、应用开发、数据库配置、URL路由设置、视图函数实现及模板系统使用。
1.新建项目
命令:django-admin.py stratproject csct07
2.创建一个app
命令:python manage.py stratapp blog
3.修改setting.py
MIDDLEWARE_CLASSES = (
'django.middleware.common.CommonMiddleware',
'django.contrib.sessions.middleware.SessionMiddleware',
#'django.middleware.csrf.CsrfViewMiddleware',
'django.contrib.auth.middleware.AuthenticationMiddleware',
'django.contrib.messages.middleware.MessageMiddleware',
)
DATABASES = {
'default': {
'ENGINE': 'django.db.backends.sqlite3', # Add 'postgresql_psycopg2', 'postgresql', 'mysql', 'sqlite3' or 'oracle'.
'NAME': 'mydb', # Or path to database file if using sqlite3.
'USER': '', # Not used with sqlite3.
'PASSWORD': '', # Not used with sqlite3.
'HOST': '', # Set to empty string for localhost. Not used with sqlite3.
'PORT': '', # Set to empty string for default. Not used with sqlite3.
}
}
INSTALLED_APPS = (
'django.contrib.auth',
'django.contrib.contenttypes',
'django.contrib.sessions',
'django.contrib.sites',
'django.contrib.messages',
'django.contrib.staticfiles',
'blog',
# Uncomment the next line to enable the admin:
# 'django.contrib.admin',
# Uncomment the next line to enable admin documentation:
# 'django.contrib.admindocs',
)
4,修改urls.py
from django.conf.urls.defaults import patterns, include, url
# Uncomment the next two lines to enable the admin:
# from django.contrib import admin
# admin.autodiscover()
urlpatterns = patterns('',
# Examples:
# url(r'^$', 'csvt07.views.home', name='home'),
# url(r'^csvt07/', include('csvt07.foo.urls')),
# Uncomment the admin/doc line below to enable admin documentation:
# url(r'^admin/doc/', include('django.contrib.admindocs.urls')),
# Uncomment the next line to enable the admin:
# url(r'^admin/', include(admin.site.urls)),
url(r'^blog/register/$','blog.views.register'),
)
5.修改views.py
# Create your views here.
from django import forms
from django.http import HttpResponse
from django.shortcuts import render_to_response
class UserForm(forms.Form):
name = forms.CharField()
def register(req):
if req.method =='POST':
form = UserForm(req.POST)
if form.is_valid():
print form.cleaned_data
return HttpResponse('ok')
else: #默认请求get
form = UserForm()
return render_to_response('register.html',{'form':form})
6. 创建一个templates ,建register.html
<!DOCTYPE HTML PUBLIC "-//W3C//DTD HTML 4.01 Transitional//EN" "http://www.w3.org/TR/html4/loose.dtd">
<html>
<head>
<title> New Document </title>
<meta name="Generator" content="EditPlus">
<meta name="Author" content="">
<meta name="Keywords" content="">
<meta name="Description" content="">
</head>
<body>
<form method ="post">
{{form}}
<input type = "submit" value ="ok">
</form>
</body>
</html>
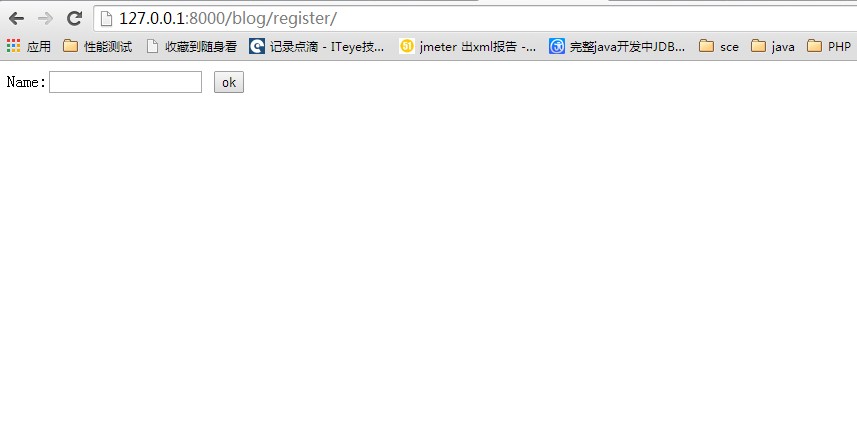
最后访问:http://127.0.0.1:8000/blog/register/


 1万+
1万+

 被折叠的 条评论
为什么被折叠?
被折叠的 条评论
为什么被折叠?
 到【灌水乐园】发言


