


文章目录
Install Git On your Lattop
Try running the git from the Terminal using:
git --version
If you do not already have git installed, it should prompt you to install it. You can also download a MacOS git installer from here.
or more information on installing git on MacOS, Windows, and Linux you can visit the Wiki page or this blog post
Set Up a Git
Git comes with a tool called git configthat lets you get and set configuration variables that control all aspects of how Git looks and operates. [Reference]
The first thing you should do when you install Git is to set your user name and email address. This is important because every Git commit uses this information, and it’s immutably baked into the commits you start creating:
git config --global user.name "Your name here"
git config --global user.email "Your email address here"
Again, you need to do this only once if you pass the --global option, because then Git will always use that information for anything you do on that system. If you want to override this with a different name or email address for specific projects, you can run the command without the --global option when you’re in that project.
~/.gitconfig or ~/.config/git/configfile: Values specific personally to you, the user. You can make Git read and write to this file specifically by passing the --global option, and this affects all of the repositories you work with on your system.

If you want to check your configuration settings, you can use the git config --list command to list all the settings Git can find at that point:
git config --list:
Set Up GitLab
1. Set up SSH key(Git)
In order to use the git software previously installed on your laptop with the GitLab, you will need to setup [SSH key pair].
To generate a new SSH key, open a terminal (or run Git bash on Windows) and enter the following:
ssh-keygen -t rsa -C "your email"
When prompted Enter file in which to save the keyand Enter passphrase, press return to accept the default in both cases (this creates a SSH key without a password).
In your home directory (C: drive on Windows), there is a .ssh directory, and in there and you will find two new files that have been created called id_rsa and id_rsa.pub
- id_rsa: the private part of the SSH key and you should keep this secret.
- id_rsa.pub: he public part of the key, and this is the bit you need to hand over to GitLab for it to be able to identify you.
Copy your public SSH key to the clipboard. You can use cat .ssh/id_rsa.pub,to look through it and then copy it.
2. Set up SSH key(GitLab)
- Login GitLab
- Go to settings by clicking on the icon as shown below.
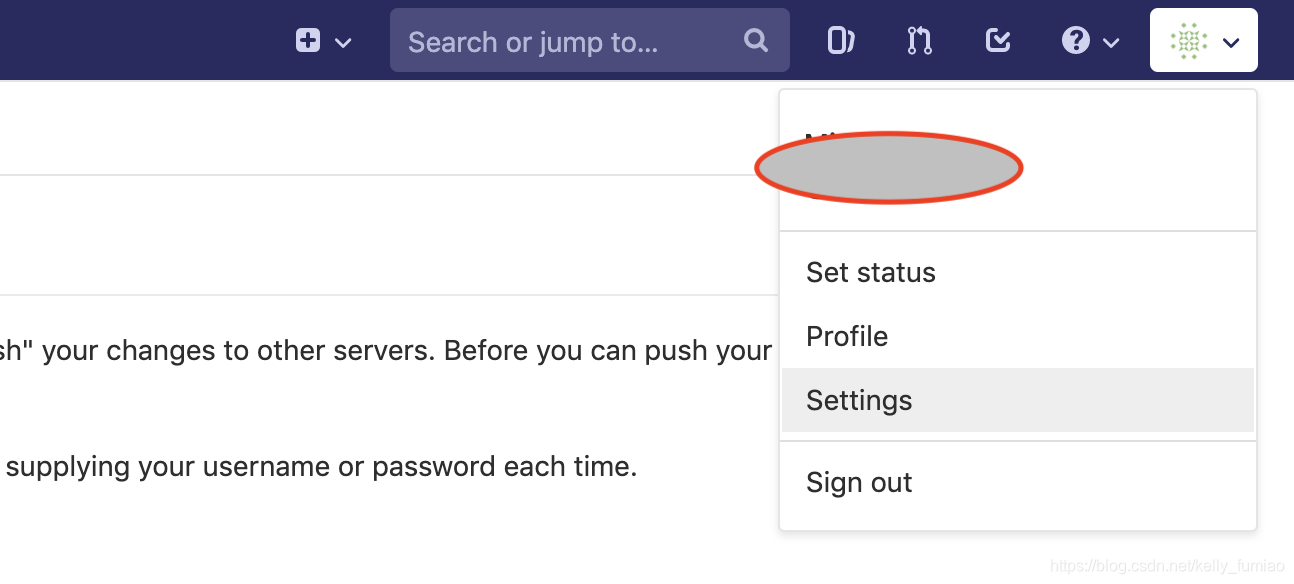
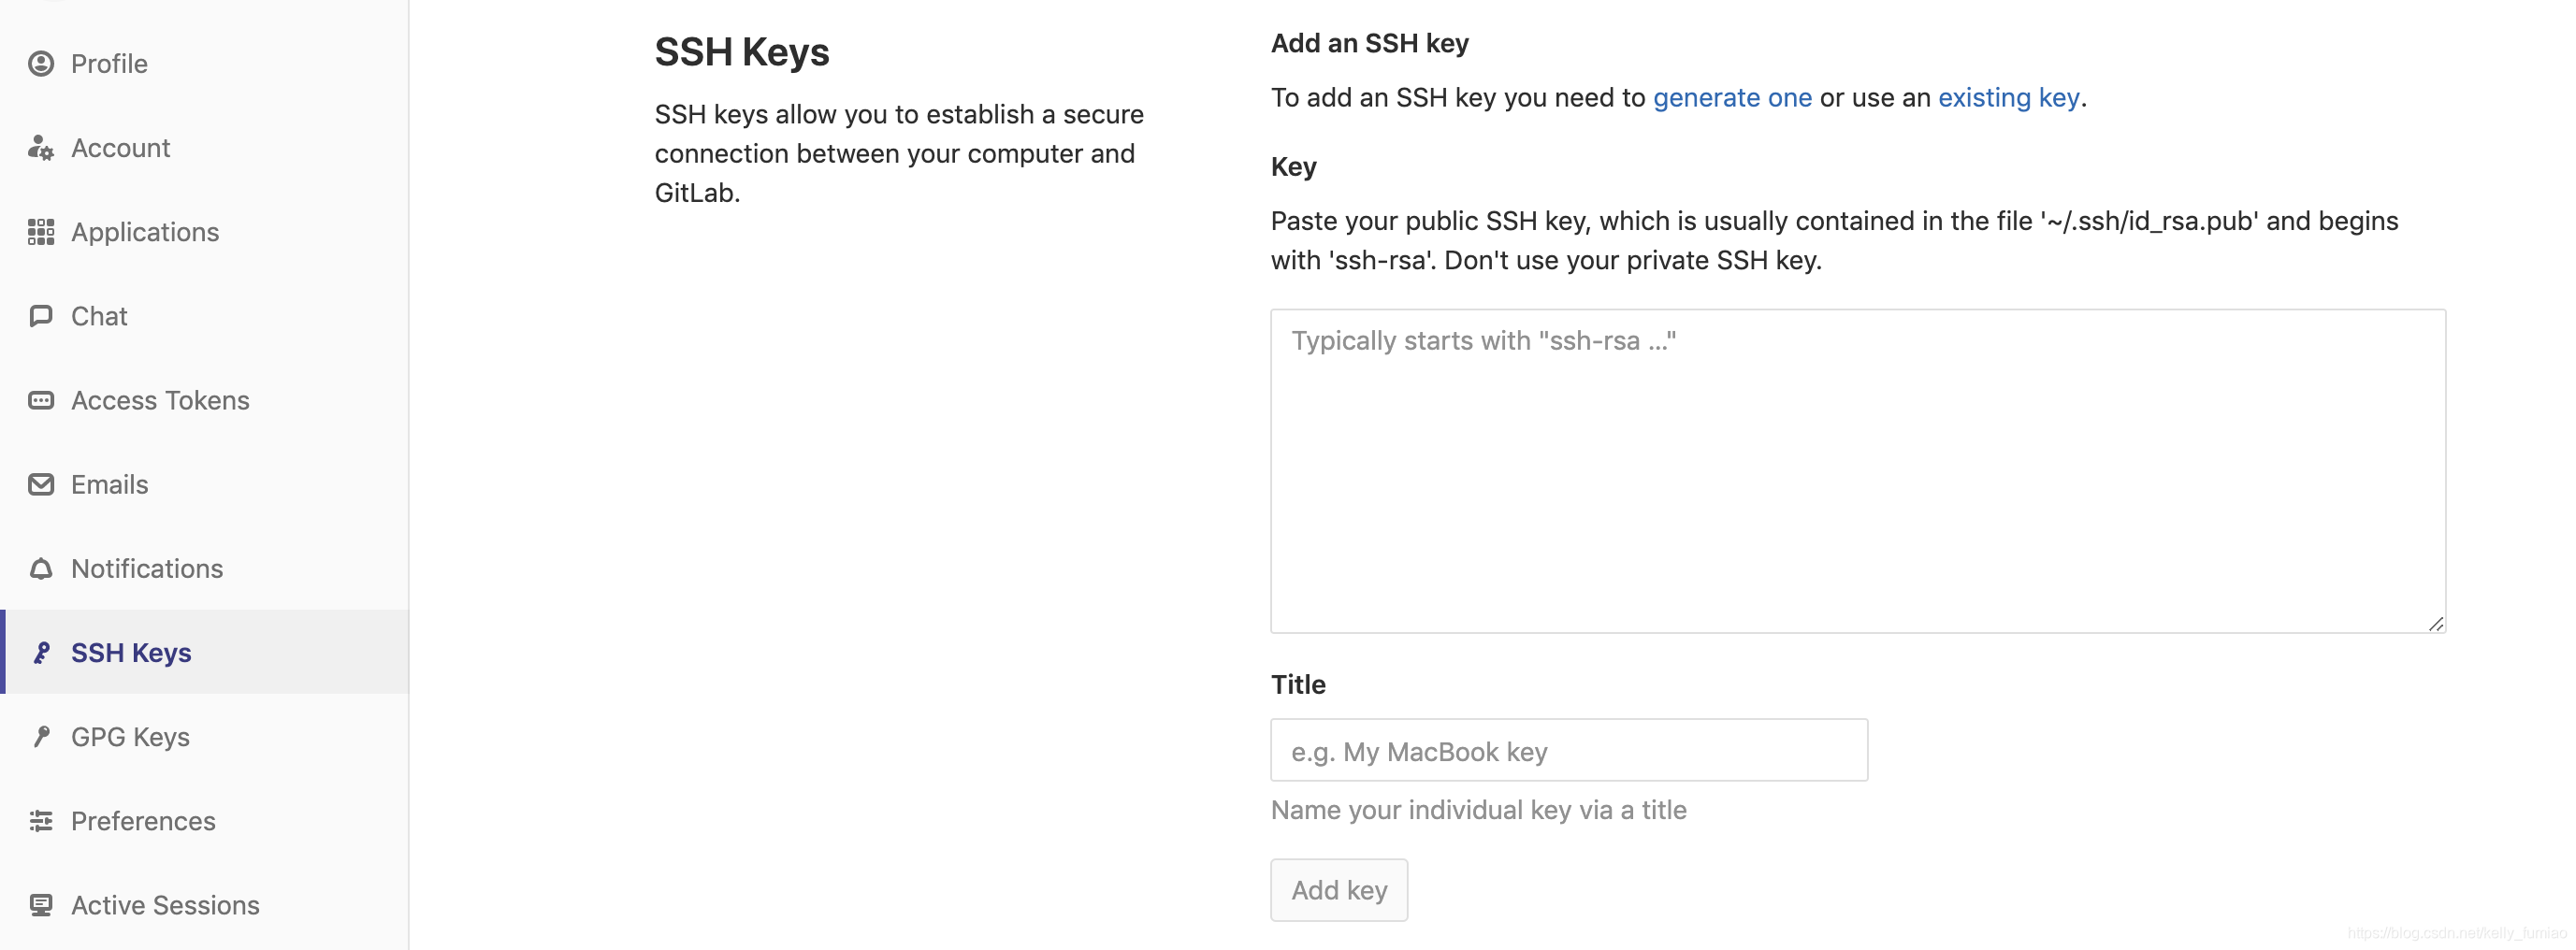
- Click on SSH Keys at the left hand panel.
- Copy and paste the SSH Key generated previously into the text box as shown below and click Add key.
Create a Project in GitLab.
-
Go back to the home page and click on “New Project”.

-
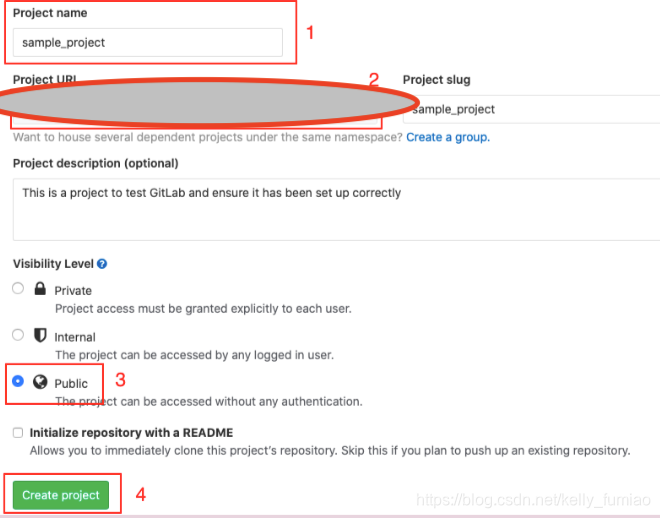
Enter project name (as sample_project), select visibility as public and click Create project as shown in 1, 2, 3, and 4 below.
-
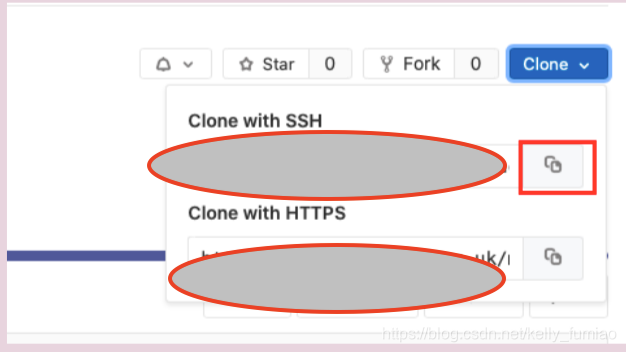
Click on Clone at the top right corner and click on the Copy icon to copy the ssh link.
-
Go to the home folder and create a directory (folder) called sample_project and a file called test.php.
> mkdir sample_project
> cd sample_project
> touch test.php
- Editor the test.php
- Push “test.php” into the project in GitLab.
> cd sample_project
> git init
> git remote add origin "what you copied before: ssh://......"
> git add .
> git commit -m "Initial commit"
> git push -u origin master
- You can see “test.php” and its content in GitLab.


 544
544

 被折叠的 条评论
为什么被折叠?
被折叠的 条评论
为什么被折叠?
 到【灌水乐园】发言


