


 本文档详细介绍了在系统中检查、安装、配置VNC服务器的过程,并演示了如何设置密码、启动服务、调整防火墙规则以允许远程访问,以及如何进行客户端连接。这包括使用yum安装tigervnc-server,编辑配置文件添加root用户和指定端口,初始化启动并设置密码,管理服务的状态,开启开机自启,以及编辑iptables规则放行5902端口。
1.查看系统是否安装vnc服务
rpm -q tigervnc tigervnc-server

执行结果:

package tigervnc is not installed
package tigervnc-server is not installed
2.推荐yum安装
yum install -y tigervnc-server

执行结果:

执行事务
  正在安装   : tigervnc-server-1.1.0-24.el6.x86_64                                1/1
  Verifying  : tigervnc-server-1.1.0-24.el6.x86_64                                1/1

已安装:
  tigervnc-server.x86_64 0:1.1.0-24.el6

完毕!
3.配置
vim /etc/sysconfig/vncservers

#添加,2:root,代表以root用户连接,端口为5902

VNCSERVERS="2:root"
VNCSERVERARGS[2]="-geometry 1366x768"
4.初始启动并设置密码
vncserver

执行结果:

You will require a password to access your desktops.

Password: 设置密码
Verify: 确认密码

New '192.168.154.133:1 (root)' desktop is 192.168.154.133:1

Creating default startup script /root/.vnc/xstartup
Starting applications specified in /root/.vnc/xstartup
Log file is /root/.vnc/192.168.154.133:1.log


#后期修改密码
vncpasswd
5.服务的启动关闭及设置开机自启
#查看服务状态
service vncserver status
#关闭服务
service vncserver stop
#启动服务
service vncserver start


#设置开机自启
#查看是否自启
chkconfig vncserver --list

结果:
vncserver      	0:关闭	1:关闭	2:关闭	3:关闭	4:关闭	5:关闭	6:关闭

#设置开机自启
chkconfig vncserver on

#再次查看状态
vncserver      	0:关闭	1:关闭	2:启用	3:启用	4:启用	5:启用	6:关闭
6.放行5902端口
vim /etc/sysconfig/iptables

#添加
-A INPUT -m state --state NEW -m tcp -p tcp --dport 5902 -j ACCEPT

#重启防火墙
service iptables restart
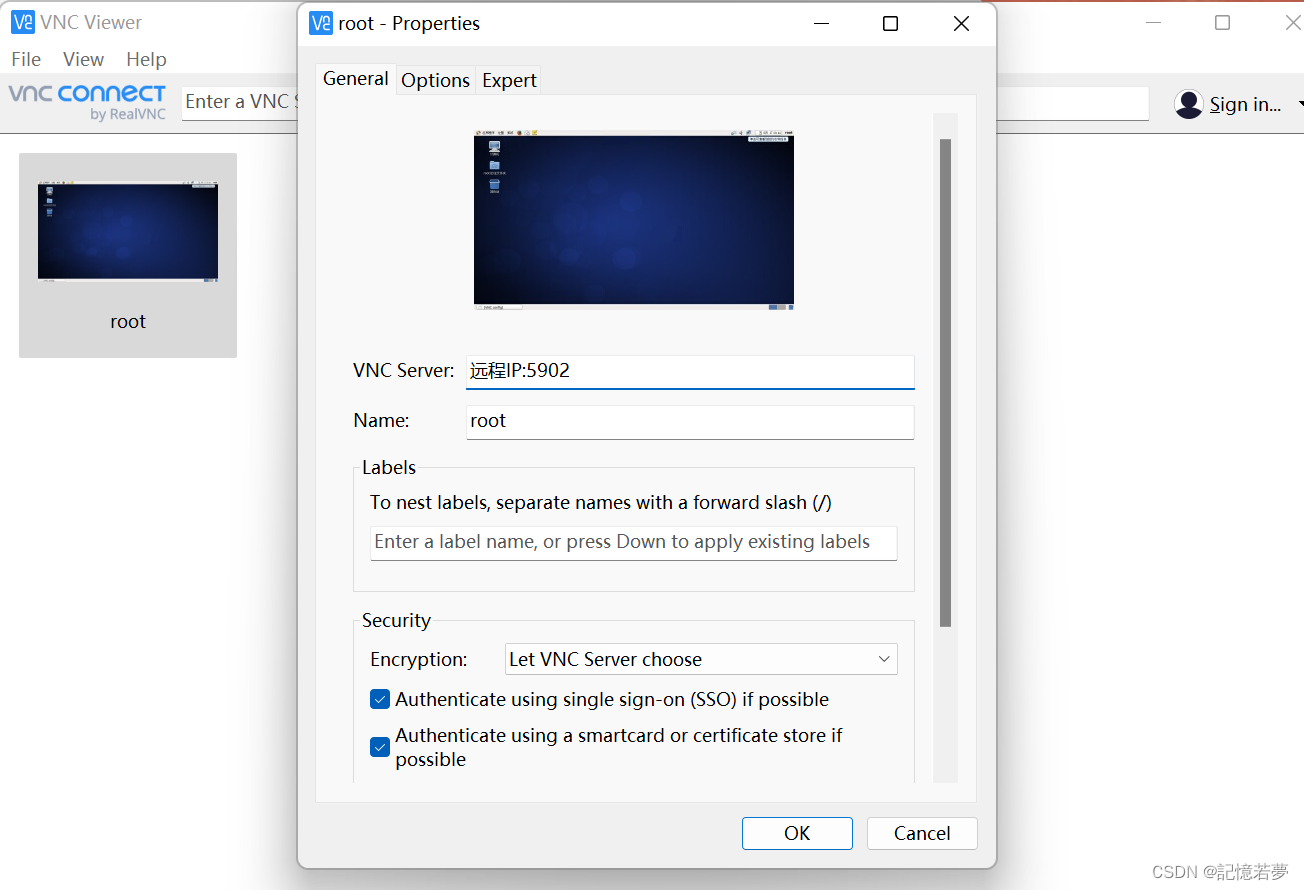
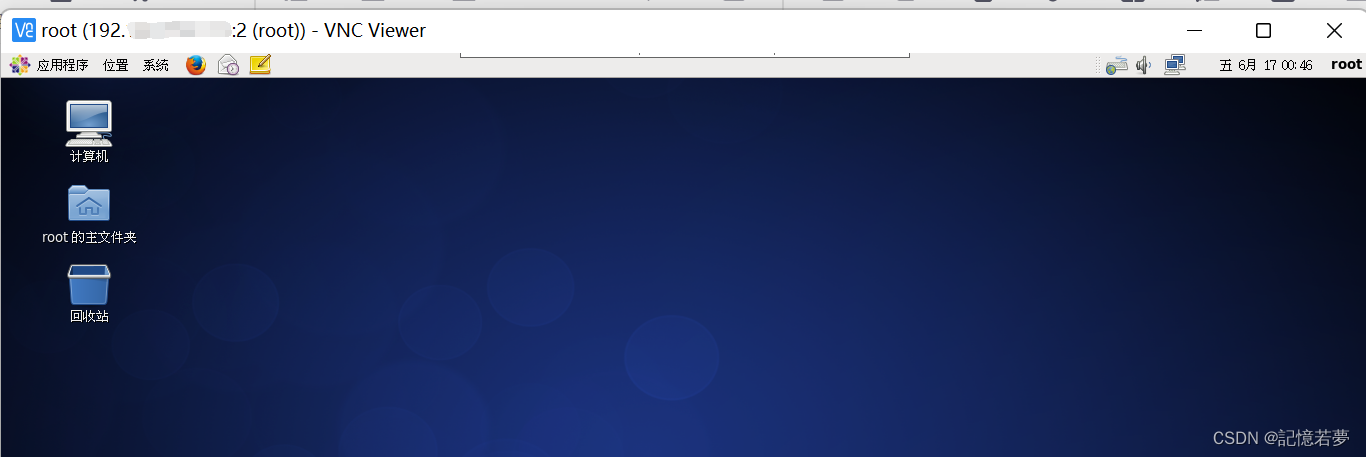
7.客户端连接


 1416
1416


 被折叠的 条评论
为什么被折叠?
被折叠的 条评论
为什么被折叠?
 到【灌水乐园】发言


