


 本文测试了DeblurGAN去模糊效果,使用预训练模型latest_net_G.pth处理图像,并调整了代码以适应CPU环境。测试结果表明,该模型可以去除图像模糊,但与官方示例存在差距。
由于《DeblurGAN 安装调试笔记》一文作者提供了《DeblurGAN-master》的两个模型
latest_net_G.pth 和 latest_net_D.pth
这里也来测试下效果。
先去掉有关gpu的代码,
并 data_loader 用下面的替代
#----------------------------------------------------
test_img_folder = 'im/*'
for path in glob.glob(test_img_folder):
    base = os.path.splitext(os.path.basename(path))[0]
img = Image.open(path)

# 'RGBA' 转换成 'BGR'
img = img.convert('RGB') #转换成'RGB'

#图像的宽高剪裁为8的倍数
xsize,ysize = img.size
box= (0,0,xsize-xsize%8,ysize-ysize%8)
img=img.crop(box)

r,g,b = img.split() #分离三通道BGR
img = Image.merge('RGB',(b,g,r)) #合并三通道
img = np.array(img)
print(img.shape) #

img = img * 1.0 / 255
# 正则化到 (-1,1)
img = (img-0.5)/0.5

# 只取前三维 并 h,w,c 转为 c,h,w
img = torch.from_numpy(np.transpose(img[:, :, [2, 1, 0]], (2, 0, 1))).float()
img = img.unsqueeze(0) #加维 1,c,h,w
img = img.to(torch.device('cpu'))

# 按后面要求成 字典形状(A图 和 路径)
data=OrderedDict([('A', img), ('A_paths', path)])
#----------------------------------------------------
webpage.save用
def isimsave(pathname, img):
	img = np.clip(img, 0, 255).astype(np.uint8)
	imsave(pathname, img)
	print('图像已经保存为 {:s}. \n'.format(pathname))
就可运行了。
效果:
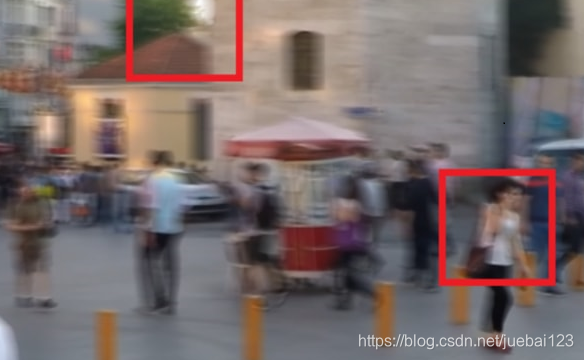 模糊图
模糊图
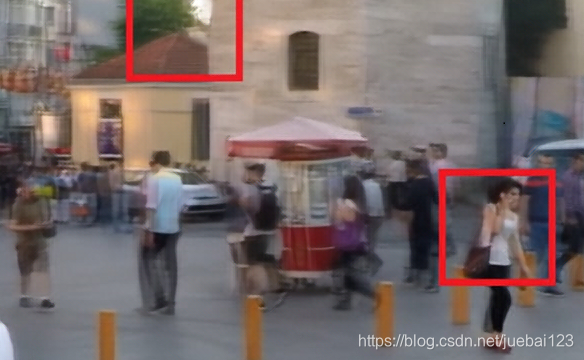 去模糊图
去模糊图
有点效果,和《DeblurGAN-master》上的test1_restored图相比还是有很大的差距:
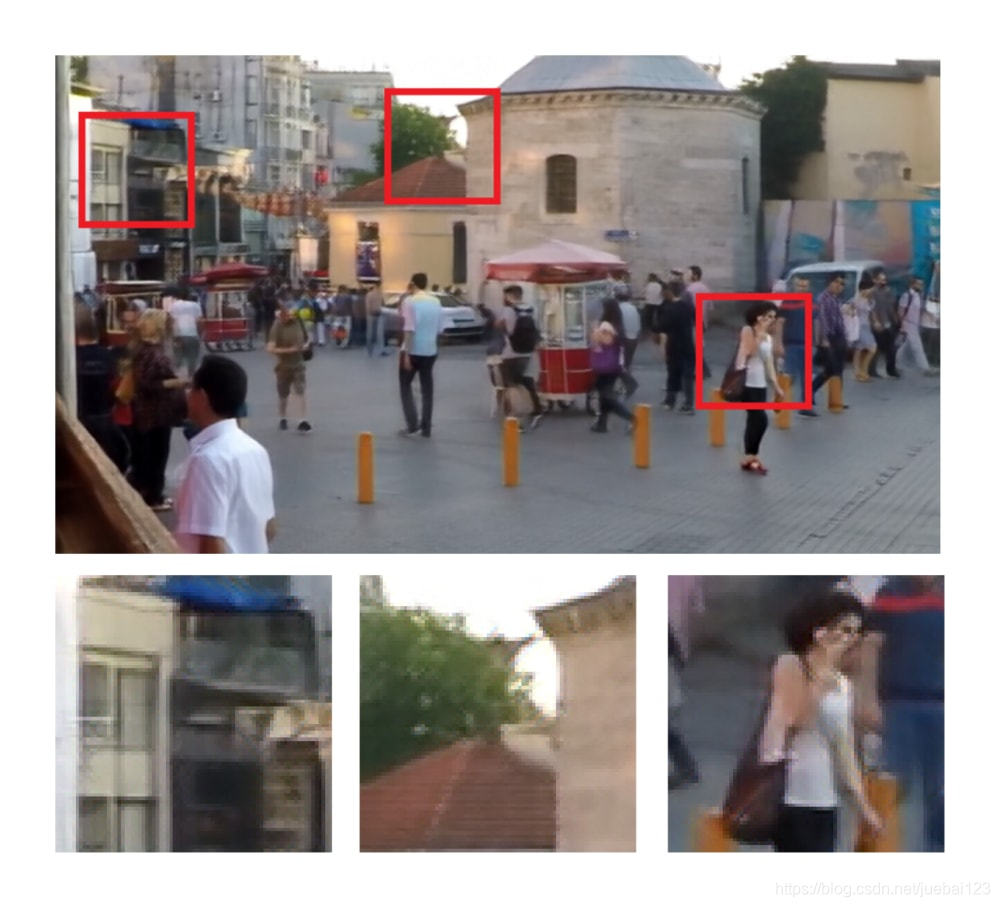
这是test1_restored图。
可能代码处理和原来有差别,或模型数据不同(是否《调试笔记》一文作者自己训练的)


 2409
2409

 被折叠的 条评论
为什么被折叠?
被折叠的 条评论
为什么被折叠?
 到【灌水乐园】发言


