


目录
一、背景
之前写了一篇spring boot 2版本以上基于xml实现mybatis查询的文章,这次实现一下基于注解的mybatis查询,同时实现一下启动项目时初始化数据库表,实现这两个功能以后,该demo就即可以支持xml查询,也可以基于注解实现查询。项目地址如下,需要切换到zhujie-mybatis分支。
 https://github.com/xujiankang6/spring-boot-research.git
二、实现启动项目时数据库表初始化
1、添加mysql依赖
        <dependency>
            <groupId>mysql</groupId>
            <artifactId>mysql-connector-java</artifactId>
            <version>5.1.35</version>
        </dependency>
2、yml配置mysql
(1)schema配置的是生成表结构的schema.sql的路径。
(2)data配置的是插入测试数据的data.sql的路径。
(3)initialization-mode配置参数always,意思是每次重启项目都执行sql语言,初始化数据库表和数据。
  datasource:
    name: test
    url: jdbc:mysql://127.0.0.1:3306/test
    driver-class-name: com.mysql.jdbc.Driver
    username: root
    password: 123456
    schema: classpath:schema.sql
    data: classpath:data.sql
    initialization-mode: always
#    separator: $$$
3、schema.sql文件如下,保存在resources路径下,如下。
DROP TABLE IF EXISTS `user`;
CREATE TABLE `user` (
  `uid` int(11) NOT NULL AUTO_INCREMENT,
  `uname` varchar(255) NOT NULL,
  `upwd` varchar(255) NOT NULL,
  PRIMARY KEY (`uid`)
) ENGINE=InnoDB  DEFAULT CHARSET=utf8;
4、data.sql插入测试数据,内容如下。
(1)多插入一批,后面会做基于mybatis做分页功能,会用到。
insert into `user`(uname,upwd) VALUES('test','password')
insert into `user`(uname,upwd) VALUES('test','password')
insert into `user`(uname,upwd) VALUES('test','password')
insert into `user`(uname,upwd) VALUES('test','password')
insert into `user`(uname,upwd) VALUES('test','password')
insert into `user`(uname,upwd) VALUES('test','password')
insert into `user`(uname,upwd) VALUES('test','password')
insert into `user`(uname,upwd) VALUES('test','password')
5、以上就配置完成了,启动项目后就会生成表和表数据。
6、问题
(1)出现这个bug错误,可以打开上面的 separator: $$$,在一个个sql语句之间加$$$断句。
Caused by: com.mysql.jdbc.exceptions.jdbc4.MySQLSyntaxErrorException: You have an error in your SQL syntax; check the manual that corresponds to your MySQL server version for the right syntax to use near 'create procedure p() begin declare row_num int' at line 1
三、基于注解实现mybatis查询
1、引入mybatis依赖
<dependency>
            <groupId>org.mybatis.spring.boot</groupId>
            <artifactId>mybatis-spring-boot-starter</artifactId>
            <version>2.0.1</version>
</dependency>
2、在spring boot启动类上配置mapper扫描路径。
@SpringBootApplication
@MapperScan("com.example.demo.mapper")
@ComponentScan({ "com.example.demo.*" })
public class DemoApplication {

    public static void main(String[] args) {
        SpringApplication.run(DemoApplication.class, args);
    }

}
3、在mapper扫描路径下新建mapper类
(1)使用@Select注解写sql查询。
(2)使用@Results注解写要查询的字段以及数据库表字段和User实体类的映射。
(3)mapper类上加@Mapper注解
@Mapper
public interface TestMapper {

    @Results({
            @Result(column = "uid",property = "uid"),
            @Result(column = "uname",property = "uname"),
            @Result(column = "upwd",property = "upwd")
    })
    @Select("select * from user ")
    List<User> selectUser();
}
(4)@Results注解配置的字段其他方法也需要的复用的话可以这样写。
@Results(id="getusers",value = {
            @Result(column = "uid",property = "uid"),
            @Result(column = "uname",property = "uname"),
            @Result(column = "upwd",property = "upwd")
    })
(5)其他方法引用的话使用@ResultMap注解,里面传id值。
@ResultMap("getusers")4、User实体类如下。
public class User {
    private Integer uid;

    private String uname;

    private String upwd;

    public Integer getUid() {
        return uid;
    }

    public void setUid(Integer uid) {
        this.uid = uid;
    }

    public String getUname() {
        return uname;
    }

    public void setUname(String uname) {
        this.uname = uname == null ? null : uname.trim();
    }

    public String getUpwd() {
        return upwd;
    }

    public void setUpwd(String upwd) {
        this.upwd = upwd == null ? null : upwd.trim();
    }
}
5、在service写该基于注解的接口方法。
    /**
     * 基于注解返回结果
     *
     * @return
     */
    List<User> selectUser();
6、serviceImpl实现如下。
/**
 * UserServiceImpl
 *
 * @author jiankang.xu
 * @date 2021/8/29
 */
@Service
public class UserServiceImpl implements UserService {

    @Autowired
    private TestMapper testMapper;


    @Override
    public List<User> selectUser() {
        return testMapper.selectUser();
    }
}
7、controller层写请求方法。
@Controller
@RequestMapping("/mapper")
public class UserMapperController {
@Autowired
private UserService userService;
@RequestMapping("all")
@ResponseBody
public List<User> getAllUser(){
return userService.selectUser();
}
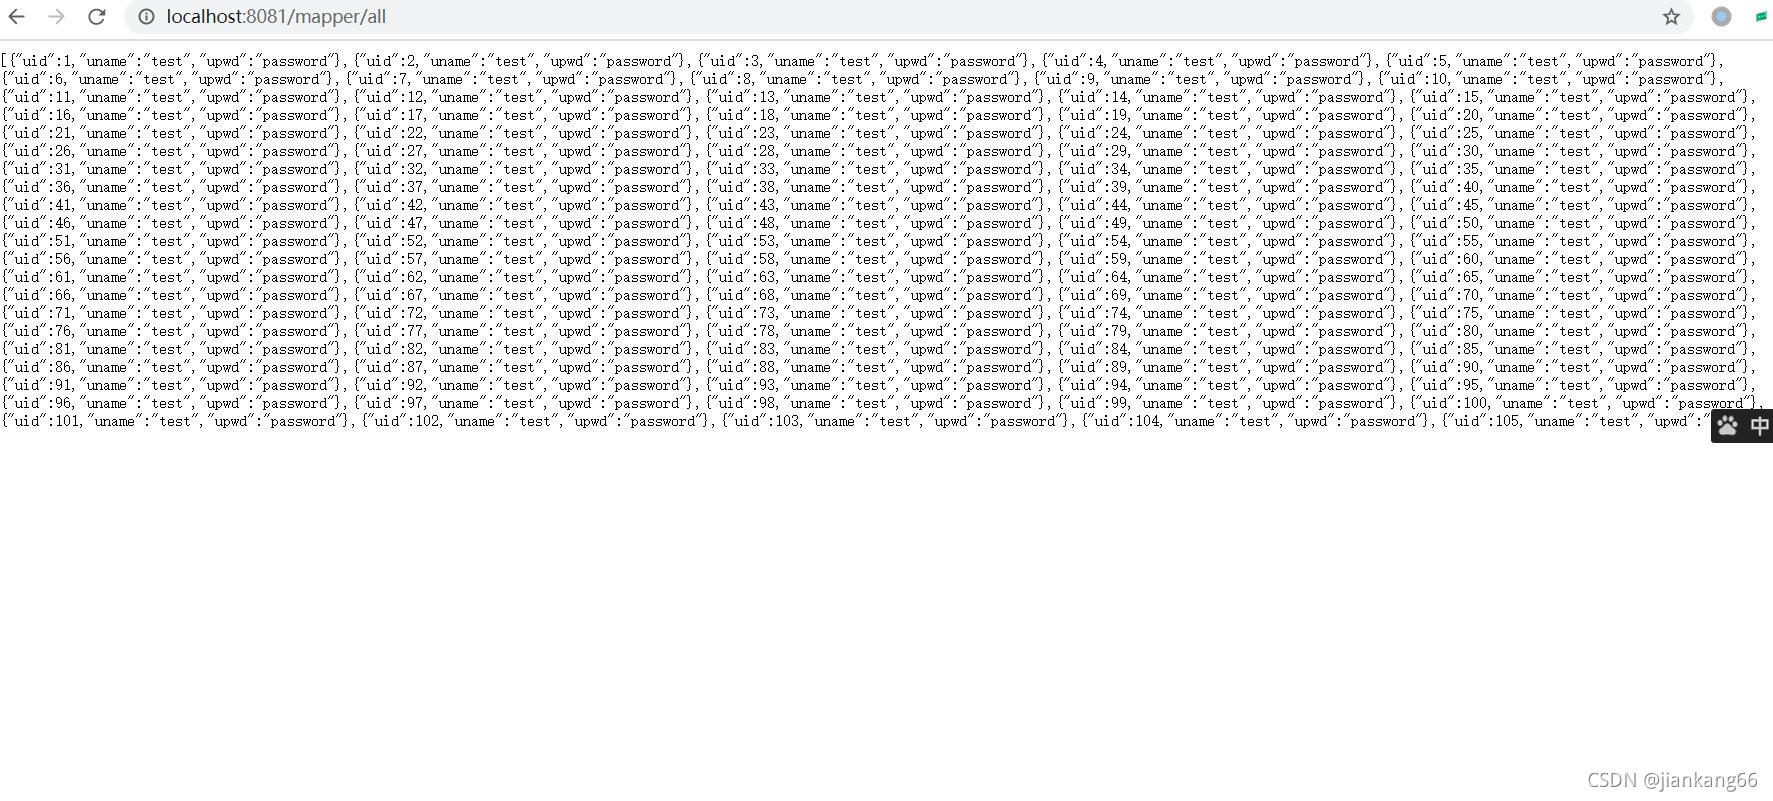
}8、请求该接口结果如下。
四、总结
以上就是实现启动项目时数据库表初始化,基于注解实现mybatis查询的所有内容,希望能够帮到大家,可以git下载下来,参考一下,觉得不错的话,欢迎微信搜索关注java基础笔记,后面会不断更新相关知识,大家一起进步。GitHub - xujiankang6/spring-boot-research https://github.com/xujiankang6/spring-boot-research.git


 3948
3948

 被折叠的 条评论
为什么被折叠?
被折叠的 条评论
为什么被折叠?
 到【灌水乐园】发言


