


 这篇博客详细介绍了如何在SpringMVC中通过ServletAPI、ModelAndView、Model、Map和ModelMap向request、session和application域对象共享数据。通过实例展示了不同方式的数据传递过程及其在实际操作中的应用。
SpringMVC学习笔记
5.1)向request域对象共享数据
5.1.1)使用ServletAPI向request域对象共享数据
使用ServletAPI向request域对象共享数据,代码如下:
@Controller
public class ScopeController {
//使用servletAPI向request域对象共享数据
@RequestMapping("/testRequestByServletAPI")
public String testRequestByServletAPI(HttpServletRequest request) {
request.setAttribute("testRequestScope", "hello,servletAPI");
return "success";
}
}首页 index.html,代码如下:
<!DOCTYPE html>
<html lang="en" xmlns:th="http://www.thymeleaf.org">
<head>
<meta charset="UTF-8">
<title>Title</title>
</head>
<body>
<h1>首页</h1>
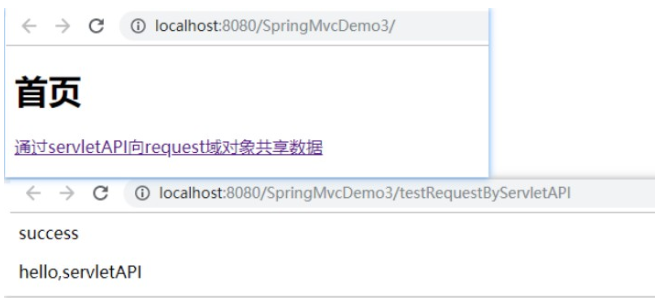
<a th:href="@{/testRequestByServletAPI}">通过servletAPI向request域对象共享数据</a><br>
</body>
</html>跳转页 success.html,代码如下:
<!DOCTYPE html>
<html lang="en" xmlns:th="http://www.thymeleaf.org">
<head>
    <meta charset="UTF-8">
    <title>Title</title>
</head>
<body>
success<br>
<p th:text="${testRequestScope}"></p>
</body>
</html>【配置Tomacat后启动工程,浏览器访问:http://localhost:8080/SpringMvcDemo3/】,点击超链接“通过servletAPI向request域对象共享数据”,页面跳转至:http://localhost:8080/SpringMvcDemo3/testRequestByServletAPI,页面如下:
5.1.2)使用ModelAndView向request域对象共享数据
使用ModelAndView向request域对象共享数据,代码如下:
    // 使用ModelAndView向request域对象共享数据
    @RequestMapping("/testModelAndView")
    public ModelAndView testModelAndView() {
        ModelAndView mav = new ModelAndView();
        //处理模型数据,即向请求域request共享数据
        mav.addObject("testRequestScope", "hello,ModelAndView");
        //设置视图名称
        mav.setViewName("success");
        return mav;
    }
修改首页 index.html,代码如下:
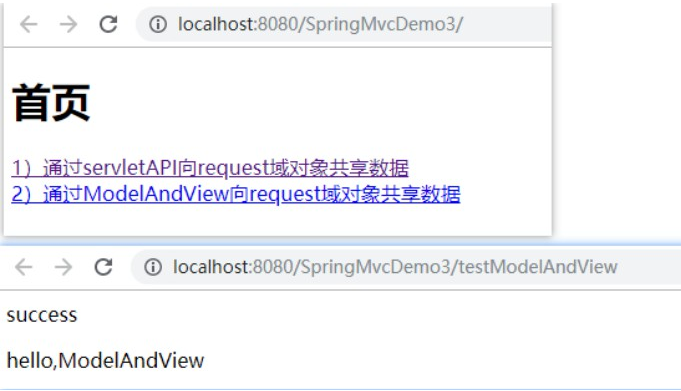
<a th:href="@{/testModelAndView}">通过ModelAndView向request域对象共享数据</a><br>【配置Tomacat后启动工程,浏览器访问:http://localhost:8080/SpringMvcDemo3/】,点击超链接2页面跳转至:http://localhost:8080/SpringMvcDemo3/testModelAndView,页面如下:
5.1.3)使用Model向request域对象共享数据
使用Model向request域对象共享数据,代码如下:
    // 3)使用Model向request域对象共享数据
    @RequestMapping("/testModel")
    public String testModel(Model model) {
        model.addAttribute("testRequestScope", "hello,model");
        System.out.println("testModel当前使用类 =" + model.getClass().getName());
        return "success";
    }
修改首页 index.html,代码如下:
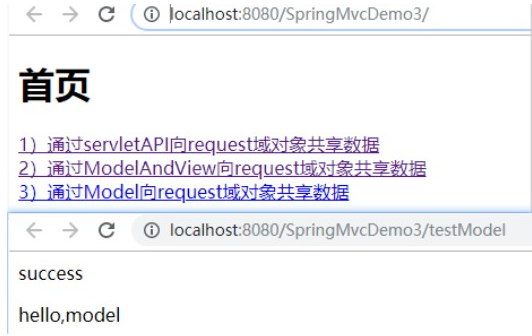
<a th:href="@{/testModel}">3)通过Model向request域对象共享数据</a><br>【配置Tomacat后启动工程,浏览器访问:http://localhost:8080/SpringMvcDemo3/】,点击超链接3页面跳转至:http://localhost:8080/SpringMvcDemo3/testModel,页面如下:
控制台输出:
18:23:05.692 [http-nio-8080-exec-10] DEBUG org.springframework.web.servlet.DispatcherServlet - GET "/SpringMvcDemo3/testModel", parameters={}
18:23:05.692 [http-nio-8080-exec-10] DEBUG org.springframework.web.servlet.mvc.method.annotation.RequestMappingHandlerMapping - Mapped to com.study.mvc.controller.ScopeController#testModel(Model)
testModel当前使用类 =org.springframework.validation.support.BindingAwareModelMap
18:23:05.694 [http-nio-8080-exec-10] DEBUG org.springframework.web.servlet.DispatcherServlet - Completed 200 OK
5.1.4)使用map向request域对象共享数据
使用map向request域对象共享数据,代码如下:
    // 4)使用map向request域对象共享数据
    @RequestMapping("/testMap")
    public String testMap(Map<String, Object> map) {
        map.put("testRequestScope", "hello,map");
        System.out.println("testMap当前使用类 =" + map.getClass().getName());
        return "success";
    }
修改首页 index.html,代码如下:
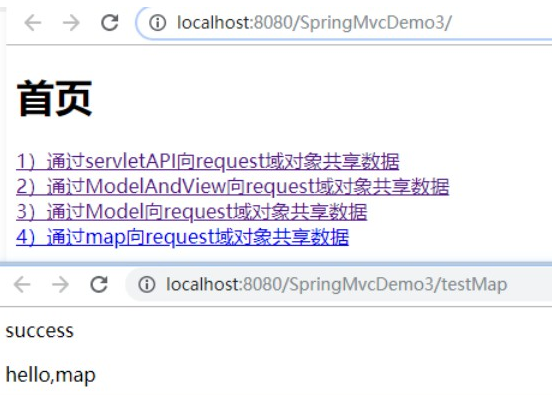
<a th:href="@{/testMap}">4)通过map向request域对象共享数据</a><br>【配置Tomacat后启动工程,浏览器访问:http://localhost:8080/SpringMvcDemo3/】,点击超链接4页面跳转至:http://localhost:8080/SpringMvcDemo3/testMap,页面如下:
控制台输出:
18:19:41.133 [http-nio-8080-exec-7] DEBUG org.springframework.web.servlet.DispatcherServlet - GET "/SpringMvcDemo3/testMap", parameters={}
18:19:41.133 [http-nio-8080-exec-7] DEBUG org.springframework.web.servlet.mvc.method.annotation.RequestMappingHandlerMapping - Mapped to com.study.mvc.controller.ScopeController#testMap(Map)
testMap当前使用类 =org.springframework.validation.support.BindingAwareModelMap
18:19:41.310 [http-nio-8080-exec-7] DEBUG org.springframework.web.servlet.DispatcherServlet - Completed 200 OK
5.1.5)使用ModelMap向request域对象共享数据
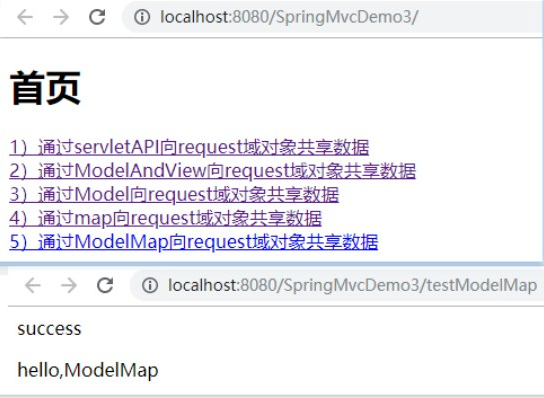
使用ModelMap向request域对象共享数据,代码如下:
    // 5)使用ModelMap向request域对象共享数据
    @RequestMapping("/testModelMap")
    public String testModelMap(ModelMap modelMap) {
        modelMap.addAttribute("testRequestScope", "hello,ModelMap");
        System.out.println("testModelMap当前使用类 =" + modelMap.getClass().getName());
        return "success";
    }
修改首页 index.html,代码如下:
<a th:href="@{/testModelMap}">5)通过ModelMap向request域对象共享数据</a><br>【配置Tomacat后启动工程,浏览器访问:http://localhost:8080/SpringMvcDemo3/】,点击超链接5页面跳转至:http://localhost:8080/SpringMvcDemo3/testModelMap,页面如下:
控制台输出:
18:29:20.910 [http-nio-8080-exec-7] DEBUG org.springframework.web.servlet.DispatcherServlet - GET "/SpringMvcDemo3/testModelMap", parameters={}
18:29:20.911 [http-nio-8080-exec-7] DEBUG org.springframework.web.servlet.mvc.method.annotation.RequestMappingHandlerMapping - Mapped to com.study.mvc.controller.ScopeController#testModelMap(ModelMap)
testModelMap当前使用类 =org.springframework.validation.support.BindingAwareModelMap
18:29:21.118 [http-nio-8080-exec-7] DEBUG org.springframework.web.servlet.DispatcherServlet - Completed 200 OK
5.1.6)Model、ModelMap、Map的关系
Model、ModelMap、Map类型的参数其实本质上都是 BindingAwareModelMap 类型的,上述控制台的日志如下:
testModel当前使用类 =org.springframework.validation.support.BindingAwareModelMap
testMap当前使用类 =org.springframework.validation.support.BindingAwareModelMap
testModelMap当前使用类 =org.springframework.validation.support.BindingAwareModelMap
通过查看代码可知三者关系如下:
public interface Model{}
public class ModelMap extends LinkedHashMap<String, Object> {}
public class ExtendedModelMap extends ModelMap implements Model {}
public class BindingAwareModelMap extends ExtendedModelMap {}5.2)向session域共享数据
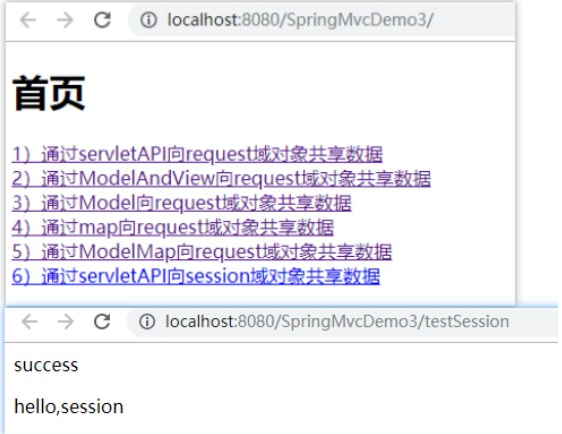
使用servletAPI向session域对象共享数据,代码如下:
    // 6)向session域共享数据
    @RequestMapping("/testSession")
    public String testSession(HttpSession session) {
        // 通常在用户登录后获取用户信息中使用,当30分钟无相关操作则自动失效
        session.setAttribute("testSessionScope", "hello,session");
        return "success";
    }
修改首页 index.html,代码如下:
<a th:href="@{/testSession}">6)通过servletAPI向session域对象共享数据</a><br>修改跳转页 success.html,代码如下:
<!DOCTYPE html>
<html lang="en" xmlns:th="http://www.thymeleaf.org">
<head>
    <meta charset="UTF-8">
    <title>Title</title>
</head>
<body>
success<br>
<p th:text="${testRequestScope}"></p>
<p th:text="${session.testSessionScope}"></p>
</body>
</html>【配置Tomacat后启动工程,浏览器访问:http://localhost:8080/SpringMvcDemo3/】,点击超链接6页面跳转至:http://localhost:8080/SpringMvcDemo3/testModelMap,页面如下:
5.3)向application域共享数据
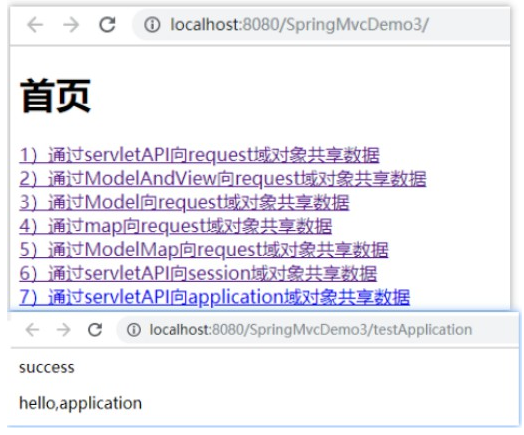
通过servletAPI向application域对象共享数据,代码如下:
    // 7)向application域共享数据
    @RequestMapping("/testApplication")
    public String testApplication(HttpSession session) {
        // 范围为整个工程,只有全工程共享才会用到application域共享
        ServletContext application = session.getServletContext();
        application.setAttribute("testApplicationScope", "hello,application");
        return "success";
    }
修改首页 index.html,代码如下:
<a th:href="@{/testApplication}">7)通过servletAPI向application域对象共享数据</a><br>修改跳转页 success.html,代码如下:
<!DOCTYPE html>
<html lang="en" xmlns:th="http://www.thymeleaf.org">
<head>
    <meta charset="UTF-8">
    <title>Title</title>
</head>
<body>
success<br>
<p th:text="${testRequestScope}"></p>
<p th:text="${session.testSessionScope}"></p>
<p th:text="${application.testApplicationScope}"></p>
</body>
</html>【配置Tomacat后启动工程,浏览器访问:http://localhost:8080/SpringMvcDemo3/】,点击超链接7页面跳转至:http://localhost:8080/SpringMvcDemo3/testApplication,页面如下:


 613
613

 被折叠的 条评论
为什么被折叠?
被折叠的 条评论
为什么被折叠?
 到【灌水乐园】发言


