


 本文详细介绍了如何使用Spring Boot Admin进行可视化服务监控,包括admin-service和admin-client的集成,以及实时日志查看和admin-server的通知扩展功能。通过启用@EnableAdminServer,配置安全框架,以及设置客户端的日志路径,可以实现对Spring Boot应用的全面监控。此外,文章还揭示了实时日志查看的实现原理,并提供了admin-server自定义通知功能的实现思路。
作用
监控spring boot应用的可视化组件。已经内置了漂亮的ui界面。
集成
admin分为两个组件:service和client;版本选择需要与spring boot版本对应,我选择的版本是2.3.0
admin-service 服务
1、创建一个项目作为监控服务端:service-monitor,maven依赖如下
<dependencies>
    <dependency>
        <groupId>org.springframework.boot</groupId>
        <artifactId>spring-boot-starter-web</artifactId>
    </dependency>

    <!-- spring boot admin:包含了ui依赖和server依赖 -->
    <dependency>
        <groupId>de.codecentric</groupId>
        <artifactId>spring-boot-admin-starter-server</artifactId>
        <version>2.3.0</version>
    </dependency>

    <dependency>
        <groupId>org.springframework.boot</groupId>
        <artifactId>spring-boot-starter-security</artifactId>
    </dependency>
</dependencies>
既然是监控服务,那么就需要保障安全,不能“裸奔”让所有人都能访问,所以需要引入security安全框架保障安全。
2、使用@EnableAdminServer注解激活服务
@SpringBootApplication
// 启动admin
@EnableAdminServer
public class ServiceMonitorApplication {

    public static void main(String[] args) {
        SpringApplication.run(ServiceMonitorApplication.class, args);
    }
}
3、security安全配置
官方文档有详细的讲解和代码(我的这个配置就是照搬的)
@Configuration(proxyBeanMethods = false)
@EnableWebSecurity
public class SecurityConfig extends WebSecurityConfigurerAdapter {

    @Autowired
    private AdminServerProperties adminServer;

    @Override
    protected void configure(HttpSecurity http) throws Exception {
        // 配置认证成功的处理类,绑定 adminServer 的目标地址
        SavedRequestAwareAuthenticationSuccessHandler successHandler = new SavedRequestAwareAuthenticationSuccessHandler();
        successHandler.setTargetUrlParameter("redirectTo");
        successHandler.setDefaultTargetUrl(this.adminServer.path("/"));

        http.authorizeRequests(authorizeRequests ->
                // admin 的静态资源不做校验
                authorizeRequests.antMatchers(adminServer.path("/assets/**")).permitAll()
                        .antMatchers(adminServer.path("/login")).permitAll()
                        // 其他资源都需要认证
                        .anyRequest().authenticated()
        ).formLogin(formLogin ->
                // 指向 admin 的登录页面,而不是 security 默认的登录页面
                formLogin.loginPage(adminServer.path("/login"))
                        .successHandler(successHandler)
        ).logout(logout ->
                // 指向 admin 的退出接口
                logout.logoutUrl(adminServer.path("/logout"))
        ).httpBasic(
                Customizer.withDefaults()
        ).csrf(csrf ->
                // csrf的防护对下面三个接口忽略
                csrf.csrfTokenRepository(CookieCsrfTokenRepository.withHttpOnlyFalse())
                        .ignoringRequestMatchers(
                                new AntPathRequestMatcher(this.adminServer.path("/instances"),
                                        HttpMethod.POST.toString()),
                                new AntPathRequestMatcher(this.adminServer.path("/instances/*"),
                                        HttpMethod.DELETE.toString()),
                                new AntPathRequestMatcher(this.adminServer.path("/actuator/**"))
                        )
        ).rememberMe(rememberMe ->
                rememberMe.key(UUID.randomUUID().toString()).tokenValiditySeconds(1209600)
        );
    }

}
4、这里为了简单,直接配置用户名密码,正式环境中可以通过security实现数据库用户的认证、或者sso的用户认证等复杂认证功能。
spring:
application:
name: service-monitor
security:
user:
name: user
password: f83e7a83-5a92-4221-8198-f0066557f0b5
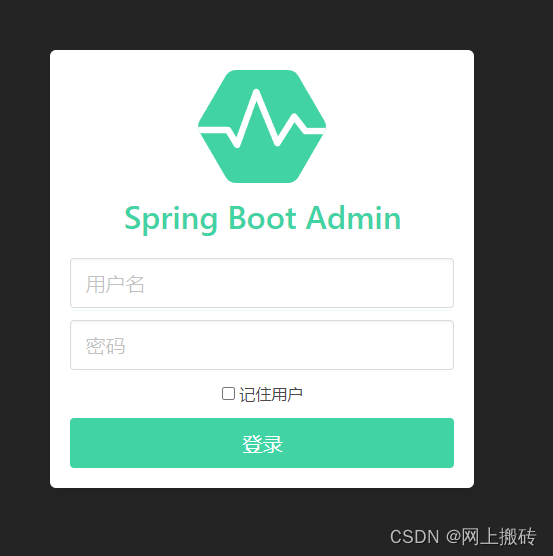
roles: USER5、启动项目并访问:有security的存在,访问http://localhost:8080会跳转到登录页面
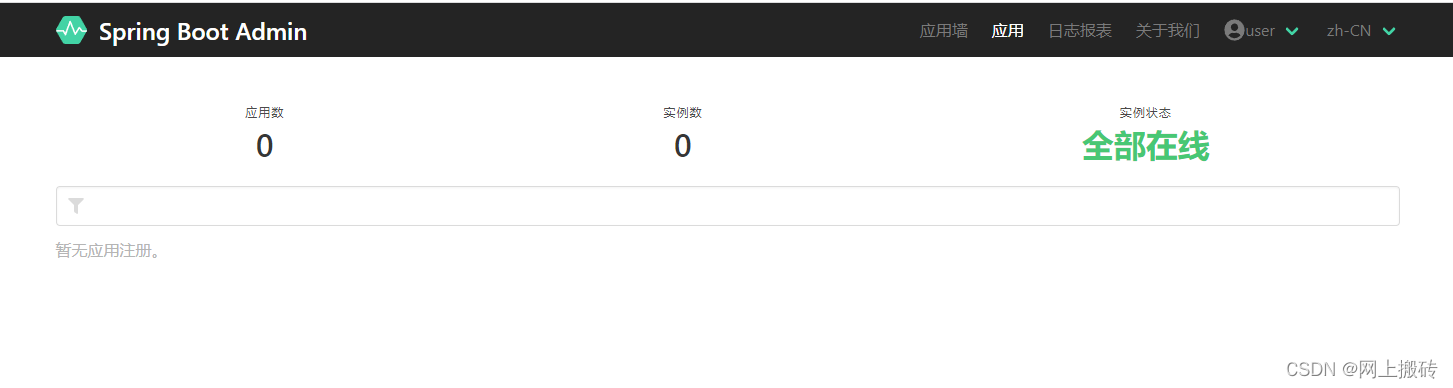
输入配置的用户名密码后,进入系统:
admin-Client 服务
1、创建一个普通的spring boot项目,例如:service-gateway,maven依赖如下:
<dependencies>
    <!-- 网关依赖 -->
    <dependency>
        <groupId>org.springframework.cloud</groupId>
        <artifactId>spring-cloud-starter-gateway</artifactId>
    </dependency>

    <!-- admin-client -->
    <dependency>
        <groupId>de.codecentric</groupId>
        <artifactId>spring-boot-admin-starter-client</artifactId>
        <version>2.3.0</version>
    </dependency>
</dependencies>
2、甚至都不需要其他代码,直接配置一下就可以了
server:
  port: 8081

spring:
  application:
    name: gateway
  boot.admin.client:
    # admin-service的地址
    url: "http://localhost:8080"
    # admin-service中开启了登录认证,所以需要配置用户名密码
    username: user
    password: f83e7a83-5a92-4221-8198-f0066557f0b5
# 开启节点信息
management:
  endpoints:
    # 默认情况下,只有info和health节点通过http协议公布出去,这里配置*,表示所有的节点都公布
    web:
      exposure:
        include: "*"
  server:
    # 节点使用单独的端口,区分业务端口
    port: 8181
# 日志文件配置:路径和名称,要与logback.xml中配置的一致,admin-service中才能成功获取应用日志
logging:
  file:
    name: logs/gateway/info.log
上面的配置中,配置了日志的路径和名称,一定要与logback.xml中配置的输出日志路径和名称一致;这样客户端就能通过actuator将env注册到admin-server中,admin-server拿到logging.file.name就能来实时获取日志,方便在admin-server中查看。
(注意:客户端开启了 jmx和actuator 等对外暴露信息的功能时,客户端服务不要直接对外暴露)
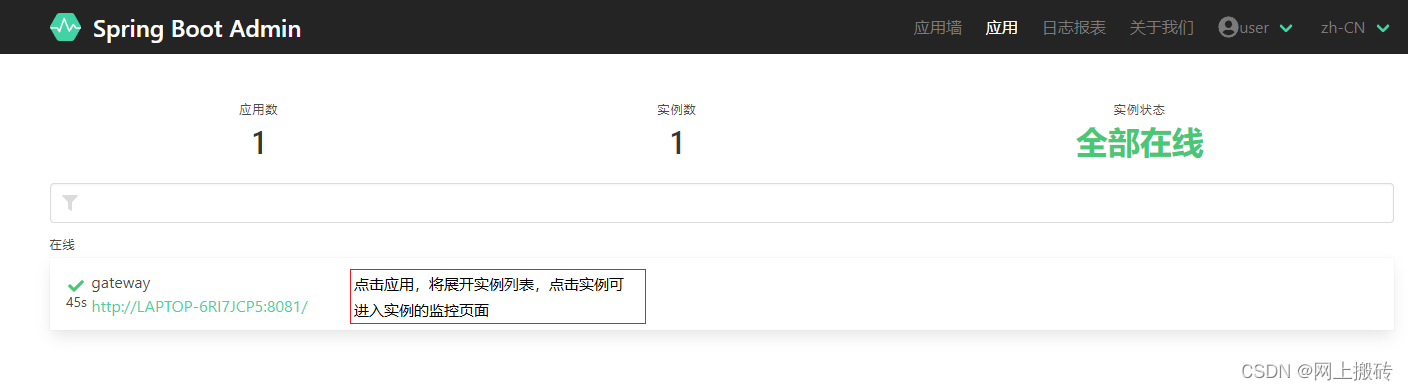
3、启动项目,就发现gateway客户端注册到admin中了。
再次查看admin的页面:
监控页面
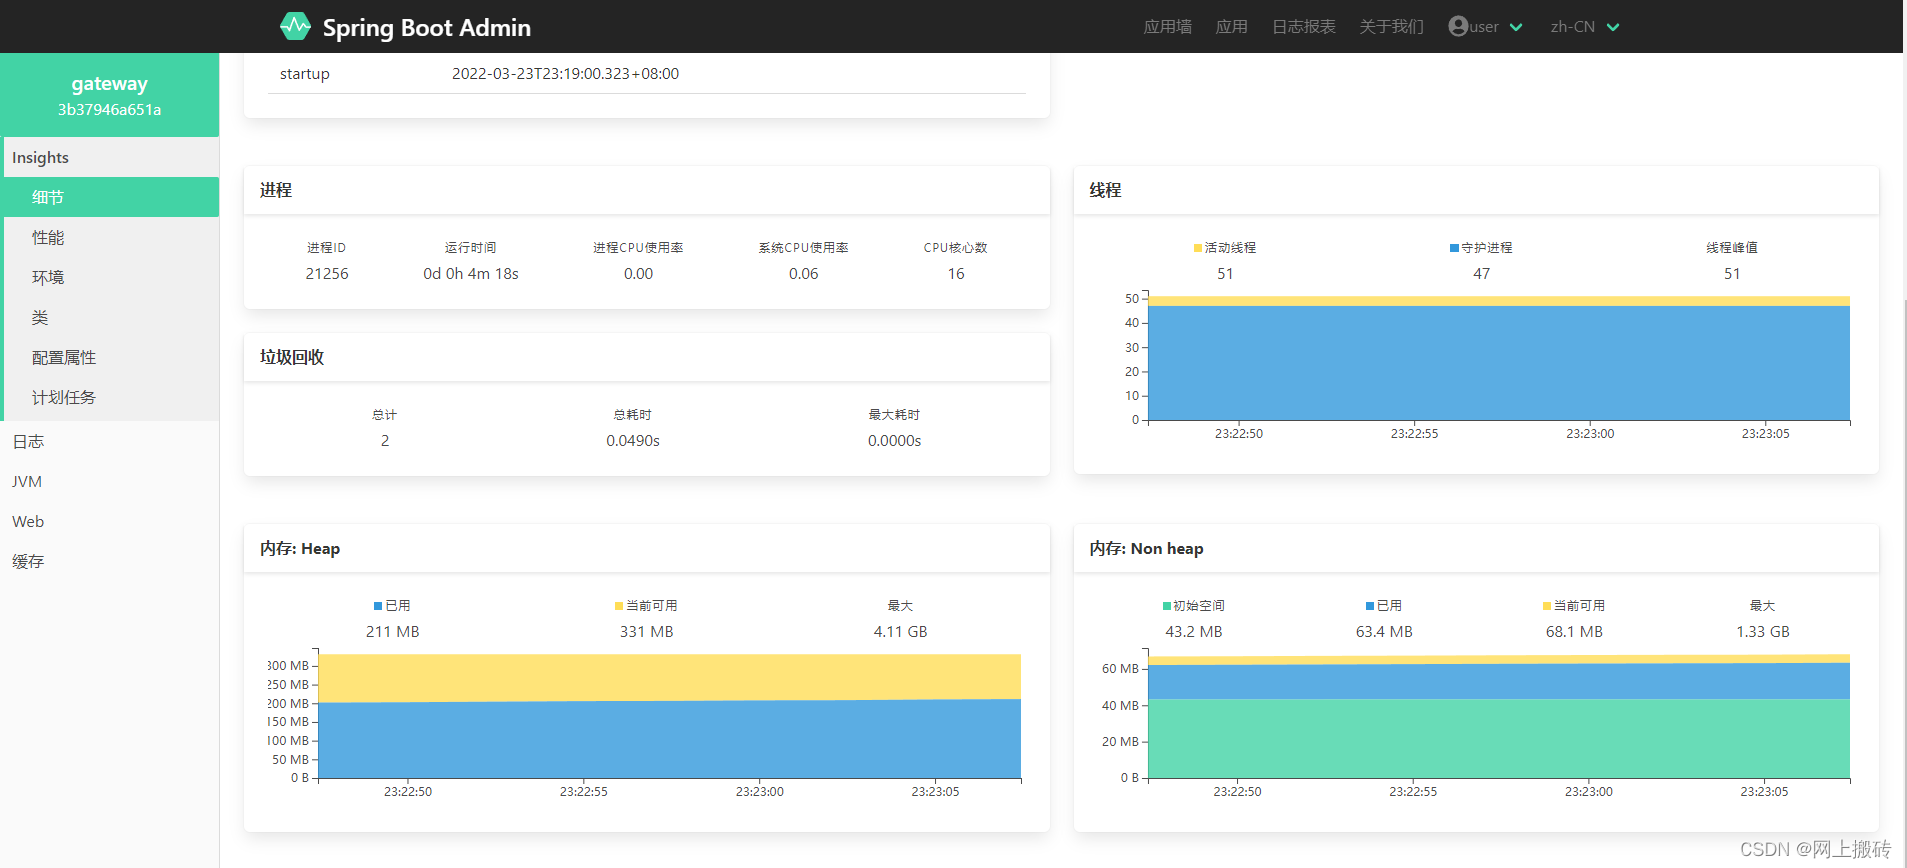
如上图,进入监控页面就能看到内存占用、线程数、cpu利用率、垃圾回收情况等基本监控信息。在性能页面,通过添加指标可以监控服务性能。
实时日志
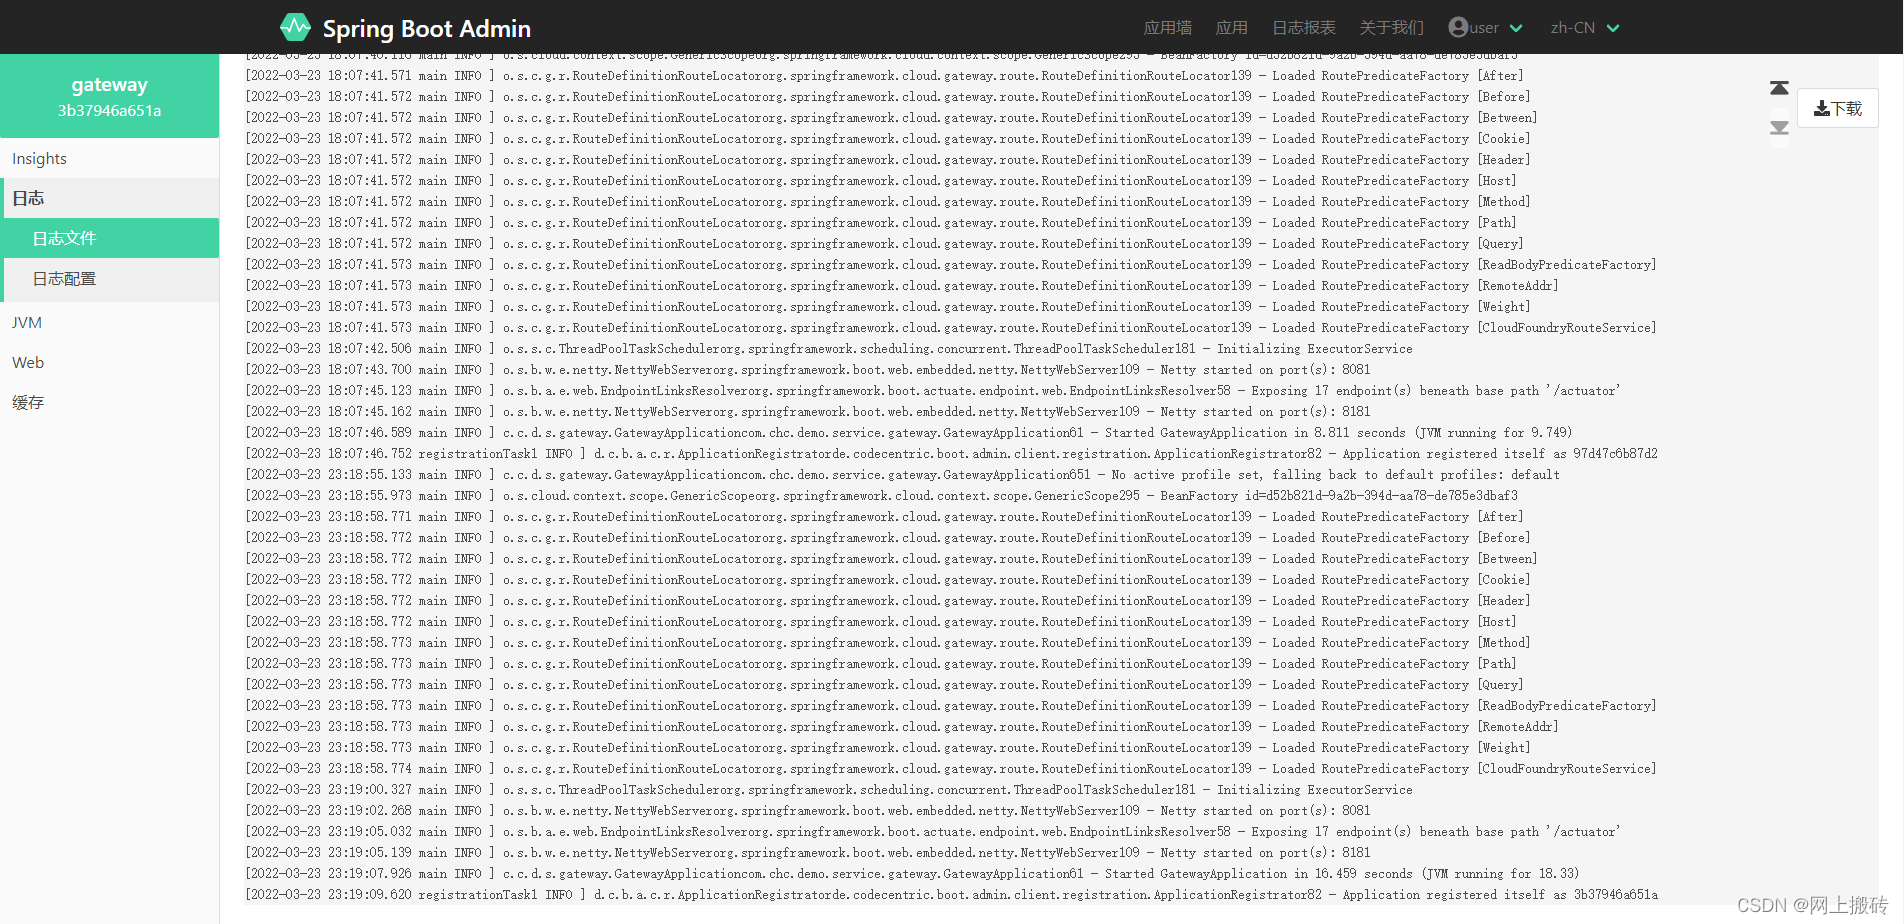
客户端配置了logging.file.name后,日志菜单下就会多一个“日志文件”的菜单,用于浏览实时日志;当时我就想,他是怎么实现的呢?难道是每次都全量拉取日志过来么?打开F12,发现是每秒钟发送一次请求拉取最新的日志,研究了请求,如果没有新的日志,响应体是空的,如果有新的日志,只会响应最新的日志,前面显示出来了的日志是没有在响应中的。
那是怎么实现的呢?通过仔细研究请求头和响应头:

发现每次请求都携带了Range属性,这个属性就是用于指定从目标文件的什么位置加载数据;而响应头中响应当前已经加载到的数据位置;Range属性多用于大文件的多请求批量下载。
看了之后恍然大悟。
admin-server的通知扩展
当监控的服务实例状态发送变化,admin-server中可以有通知功能,内置了例如email、消息等通知,可以查看官方文档的介绍,这里就不详细讲解。在某些场景下,是需要我们自定义通知功能的,自定义的通知可以实现 AbstractStatusChangeNotifier 抽象类,或者 Notifier 接口。
- 实现 AbstractStatusChangeNotifier 抽象类
@Component
public class StatusNotifier extends AbstractStatusChangeNotifier {

    private final Logger log = LoggerFactory.getLogger(getClass());

    public StatusNotifier(InstanceRepository repository) {
        super(repository);
    }

    /**
     * 执行通知
     * 通过查看源码发现,只有在 admin 中注册过了的实例,才会触发调用这个方法,所以新注册的服务进不了这里
     *
     * @param event    事件
     * @param instance 实例
     * @return
     */
    @Override
    protected Mono<Void> doNotify(InstanceEvent event, Instance instance) {
        return Mono.fromRunnable(() -> {
            // 查看 AbstractStatusChangeNotifier 源码,只有 InstanceStatusChangedEvent 事件才会调用到这里
            InstanceStatusChangedEvent sce = (InstanceStatusChangedEvent) event;
            // 实例状态变更事件
            StatusInfo statusInfo = sce.getStatusInfo();
            if (statusInfo.isDown()) {
                // 服务掉线,心跳丢失
                log.info(">>>>>>>>>> {} 服务的实例 {} 掉线(心跳丢失),服务地址:{}", instance.getRegistration().getName(),
                        instance.getId(), instance.getRegistration().getServiceUrl());
            } else if (statusInfo.isOffline()) {
                // 服务离线了
                log.info(">>>>>>>>>> {} 服务的实例 {} 离线(服务宕机或者停止),服务地址:{}", instance.getRegistration().getName(),
                        instance.getId(), instance.getRegistration().getServiceUrl());
            } else if (statusInfo.isUnknown()) {
                // 未知异常
                log.info(">>>>>>>>>> {} 服务的实例 {} 出现未知异常,服务地址:{}", instance.getRegistration().getName(),
                        instance.getId(), instance.getRegistration().getServiceUrl());
            } else if (statusInfo.isUp()) {
                // 服务重新上线
                log.info(">>>>>>>>>> {} 服务的实例 {} 重新上线了,服务地址:{}", instance.getRegistration().getName(),
                        instance.getId(), instance.getRegistration().getServiceUrl());
            } else {
                // 其他情况
                log.info(">>>>>>>>>> {} 服务的实例 {} 出现未知状况,服务地址:{}", instance.getRegistration().getName(),
                        instance.getId(), instance.getRegistration().getServiceUrl());
            }
        });
    }
}- 实现 Notifier 接口
@Component
public class AppRegistryNotifier implements Notifier {

    private final Logger log = LoggerFactory.getLogger(getClass());

    @Override
    public Mono<Void> notify(InstanceEvent event) {
        return Mono.fromRunnable(() -> {
            if (event instanceof InstanceRegisteredEvent) { // 新的 app 实例注册事件
                InstanceRegisteredEvent re = (InstanceRegisteredEvent) event;
                log.info(">>>>>>>>>> {} 服务启动了新的实例,实例id= {},服务地址:{}", re.getRegistration().getName(),
                        re.getInstance(), re.getRegistration().getServiceUrl());
            }
        });
    }
}
两种方式完成的功能不一样,依据需求自行选择即可。


 1428
1428

 被折叠的 条评论
为什么被折叠?
被折叠的 条评论
为什么被折叠?
 到【灌水乐园】发言


