


 本文为SpringCloud Hoxton.SR8版本的微服务搭建系列教程,适合初学者。内容包括Eureka服务注册与发现、Ribbon服务消费者、Feign、Hystrix断路器、Dashboard/Turbine监控、Zuul和Gateway服务网关、Sleuth服务链路跟踪等。通过IDEA和Maven进行项目管理,详细介绍了每个模块的配置和实现。
简单上手,直接照搬,就可搭建微服务(Hoxton.SR8) 2020.8.28发布,SpringCloud搭建的文章正在整理,干货不要错过哦
https://spring.io/blog/2020/08/28/spring-cloud-hoxton-sr8-has-been-released
-
SpringCloud微服务小白也能搭(Hoxton.SR8)(七)Gateway|服务网关
-
SpringCloud微服务小白也能搭(Hoxton.SR8)(八)Sleuth|服务链路跟踪
-
开发工具:ideaj社区版
-
jar管理:maven
- 聚合构建
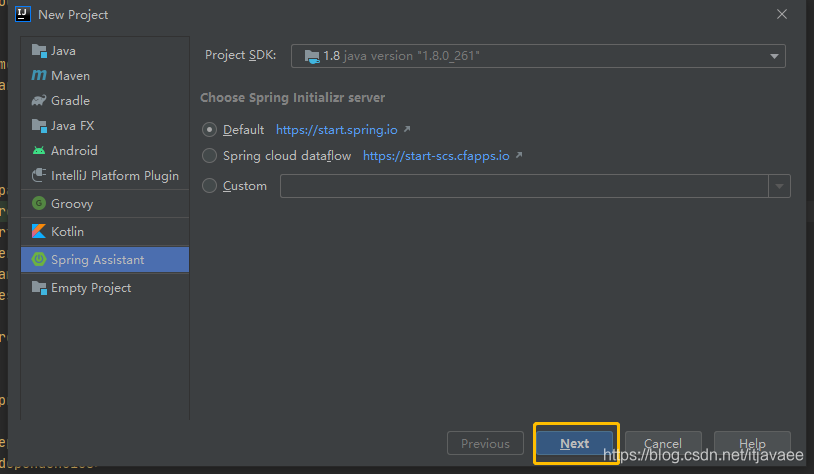
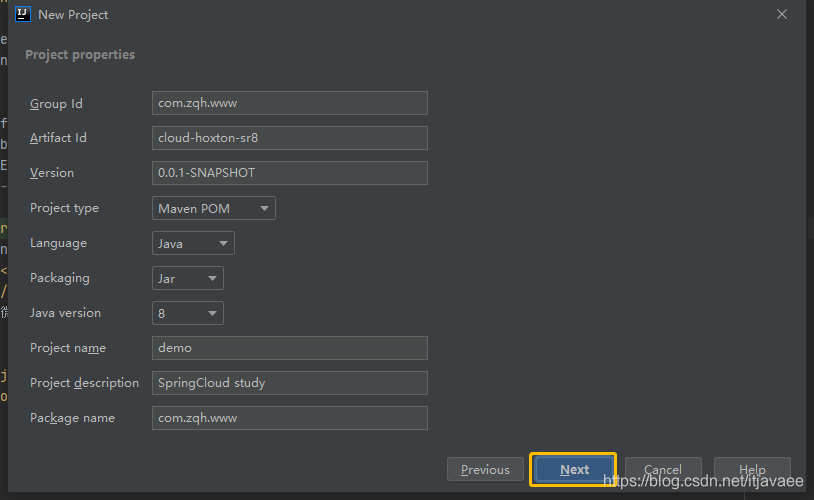
1.创建父pom项目
注意:
- Spring Assistant是一个插件,需要自己安装,安装教程参考
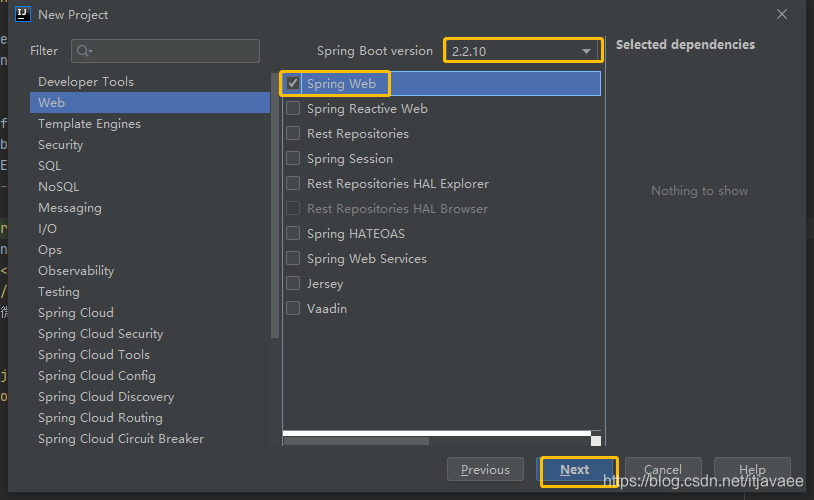
- 第三幅图,以前是不用强制选择的组件的,应该是ideaj的版本问题,没关系,我们先选一个,创建完后删除就好了
- 我们使用的springboot版本是2.2.10
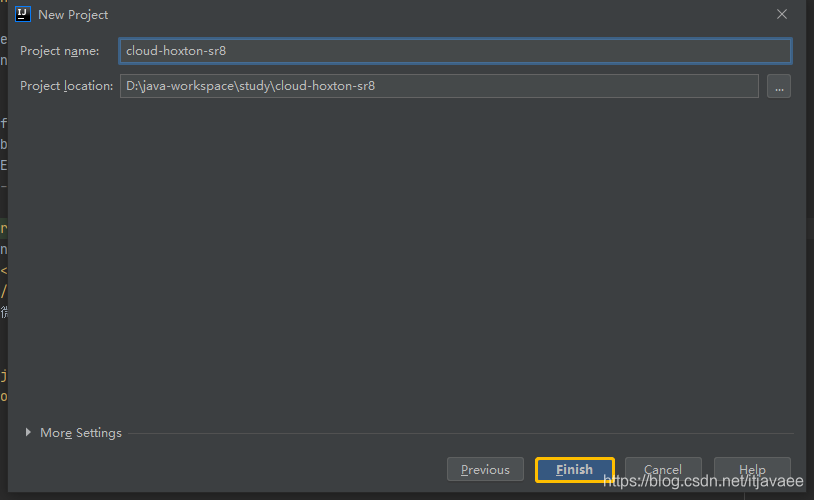
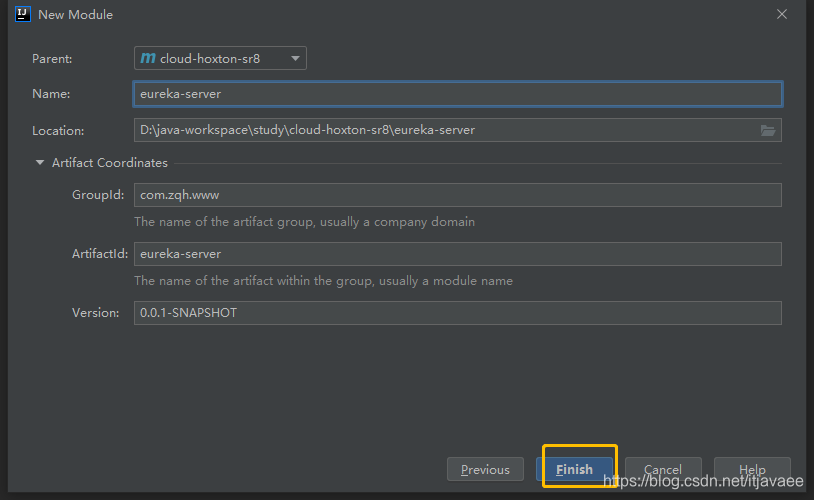
- 最后选择你的项目名以及项目位置
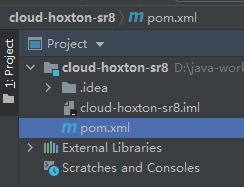
1.1 当前阶段父 pom.xml 内容
<?xml version="1.0" encoding="UTF-8"?>
<project xmlns="http://maven.apache.org/POM/4.0.0" xmlns:xsi="http://www.w3.org/2001/XMLSchema-instance"
         xsi:schemaLocation="http://maven.apache.org/POM/4.0.0 https://maven.apache.org/xsd/maven-4.0.0.xsd">
    <modelVersion>4.0.0</modelVersion>
    <packaging>pom</packaging>

    <parent>
        <groupId>org.springframework.boot</groupId>
        <artifactId>spring-boot-starter-parent</artifactId>
        <version>2.2.10.RELEASE</version>
        <relativePath/>
    </parent>
    <groupId>com.zqh.www</groupId>
    <artifactId>cloud-hoxton-sr8</artifactId>
    <version>0.0.1-SNAPSHOT</version>
    <name>cloud-hoxton-sr8</name>
    <description>Hoxton.SR8微服务</description>

    <properties>
        <java.version>1.8</java.version>
        <spring-cloud.version>Hoxton.SR8</spring-cloud.version>
    </properties>

    <dependencies>
    </dependencies>

    <!-- https://spring.io/blog/2020/08/28/spring-cloud-hoxton-sr8-has-been-released -->
    <dependencyManagement>
        <dependencies>
            <dependency>
                <groupId>org.springframework.cloud</groupId>
                <artifactId>spring-cloud-dependencies</artifactId>
                <version>${spring-cloud.version}</version>
                <type>pom</type>
                <scope>import</scope>
            </dependency>
        </dependencies>
    </dependencyManagement>
    <build>
        <plugins>
            <plugin>
                <groupId>org.springframework.boot</groupId>
                <artifactId>spring-boot-maven-plugin</artifactId>
            </plugin>
        </plugins>
    </build>
</project>
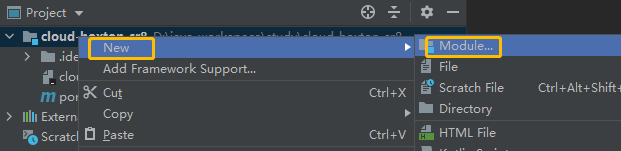
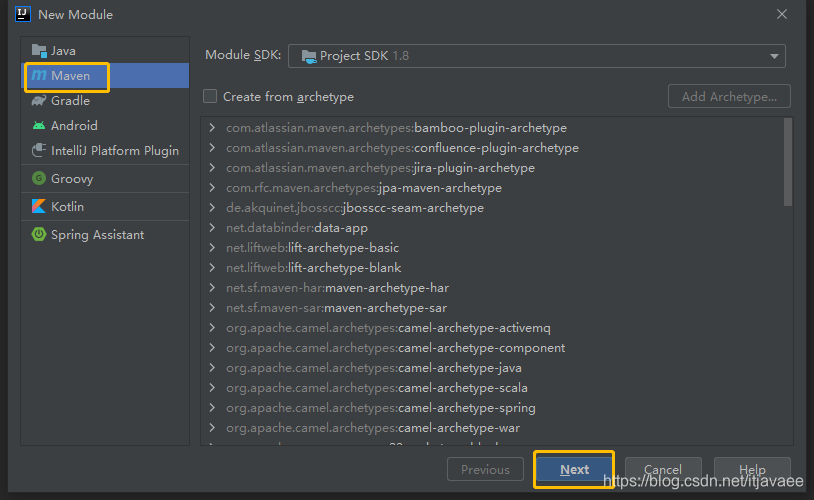
2.创建 Eureka 注册中心
注意:
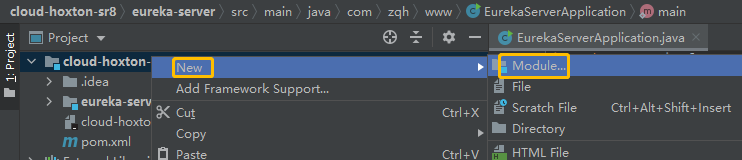
- 右击项目创建module,选择Maven,点击next,然后填写你的项目名称
2.1 当前阶段 eureka-server 项目 pom.xml 内容
<?xml version="1.0" encoding="UTF-8"?>
<project xmlns="http://maven.apache.org/POM/4.0.0"
         xmlns:xsi="http://www.w3.org/2001/XMLSchema-instance"
         xsi:schemaLocation="http://maven.apache.org/POM/4.0.0 http://maven.apache.org/xsd/maven-4.0.0.xsd">
    <parent>
        <artifactId>cloud-hoxton-sr8</artifactId>
        <groupId>com.zqh.www</groupId>
        <version>0.0.1-SNAPSHOT</version>
    </parent>
    <modelVersion>4.0.0</modelVersion>

    <artifactId>eureka-server</artifactId>

    <dependencies>
        <dependency>
            <groupId>org.springframework.cloud</groupId>
            <artifactId>spring-cloud-starter-netflix-eureka-server</artifactId>
        </dependency>
         <!-- 给Eureka注册中心添加认证 -->
        <dependency>
            <groupId>org.springframework.boot</groupId>
            <artifactId>spring-boot-starter-security</artifactId>
        </dependency>
    </dependencies>

    <build>
        <plugins>
            <plugin>
                <groupId>org.springframework.boot</groupId>
                <artifactId>spring-boot-maven-plugin</artifactId>
            </plugin>
        </plugins>
    </build>
</project>
2.2 配置 EurekaServerApplication 以及 application.yml
注意:
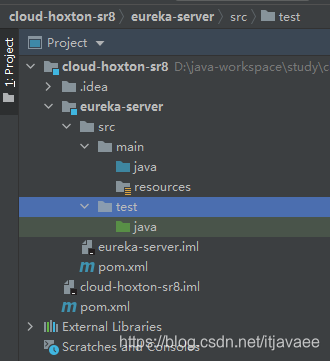
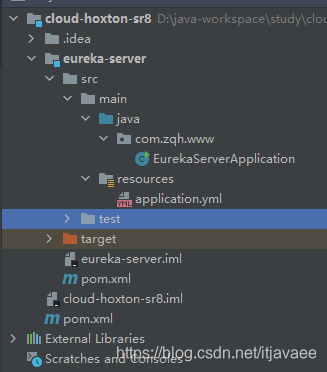
- ideaj没有帮我生成包路径,Application文件,以及application.yml,所以这里是我自己创建
package com.zqh.www;
import org.slf4j.Logger;
import org.slf4j.LoggerFactory;
import org.springframework.boot.SpringApplication;
import org.springframework.boot.autoconfigure.SpringBootApplication;
import org.springframework.cloud.netflix.eureka.server.EnableEurekaServer;
import org.springframework.core.env.Environment;
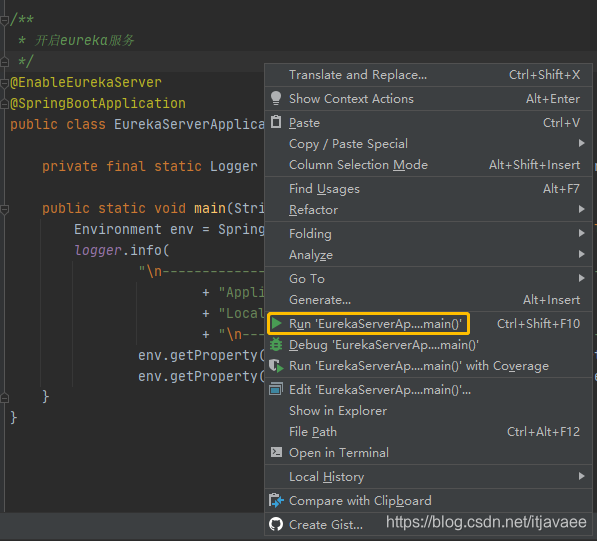
/**
* 开启eureka服务
*/
@EnableEurekaServer
@SpringBootApplication
public class EurekaServerApplication {
private final static Logger logger = LoggerFactory.getLogger(EurekaServerApplication.class);
public static void main(String[] args) {
Environment env = SpringApplication.run(EurekaServerApplication.class, args).getEnvironment();
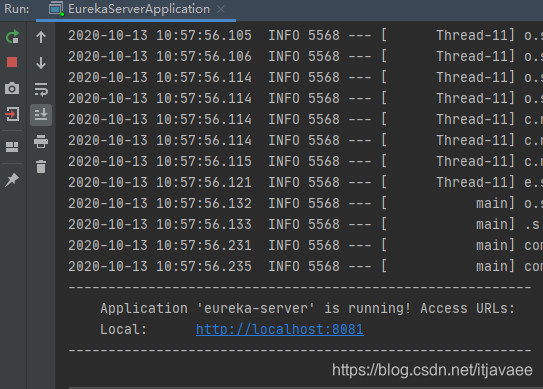
logger.info(
"\n----------------------------------------------------------\n\t"
+ "Application '{}' is running! Access URLs:\n\t"
+ "Local: \t\thttp://localhost:{}{}"
+ "\n----------------------------------------------------------",
env.getProperty("spring.application.name"), env.getProperty("server.port"),
env.getProperty("server.servlet.context-path") != null ? env.getProperty("server.servlet.context-path") : "");
}
}
server:
  port: 8081
spring:
  application:
    name: eureka-server
  security:
    user:
      # 配置spring security登录用户名和密码
      name: root
      password: root
eureka:
  client:
    # 让自己不需要注册在上面禁止客户端注册,表明自己是一个eureka server
    register-with-eureka: false
    fetch-registry: false
    service-url:
      defaultZone: http://${eureka.instance.hostname}:${server.port}/eureka/
  instance:
    hostname: localhost
package com.zqh.www.config;
import org.springframework.security.config.annotation.web.builders.HttpSecurity;
import org.springframework.security.config.annotation.web.configuration.EnableWebSecurity;
import org.springframework.security.config.annotation.web.configuration.WebSecurityConfigurerAdapter;
/**
* 默认情况下添加SpringSecurity依赖的应用每个请求都需要添加CSRF token才能访问,Eureka客户端注册时并不会添加,所以需要配置/eureka/**路径不需要CSRF token。
*/
@EnableWebSecurity
public class WebSecurityConfig extends WebSecurityConfigurerAdapter {
@Override
protected void configure(HttpSecurity http) throws Exception {
http.csrf().ignoringAntMatchers("/eureka/**");
super.configure(http);
}
}
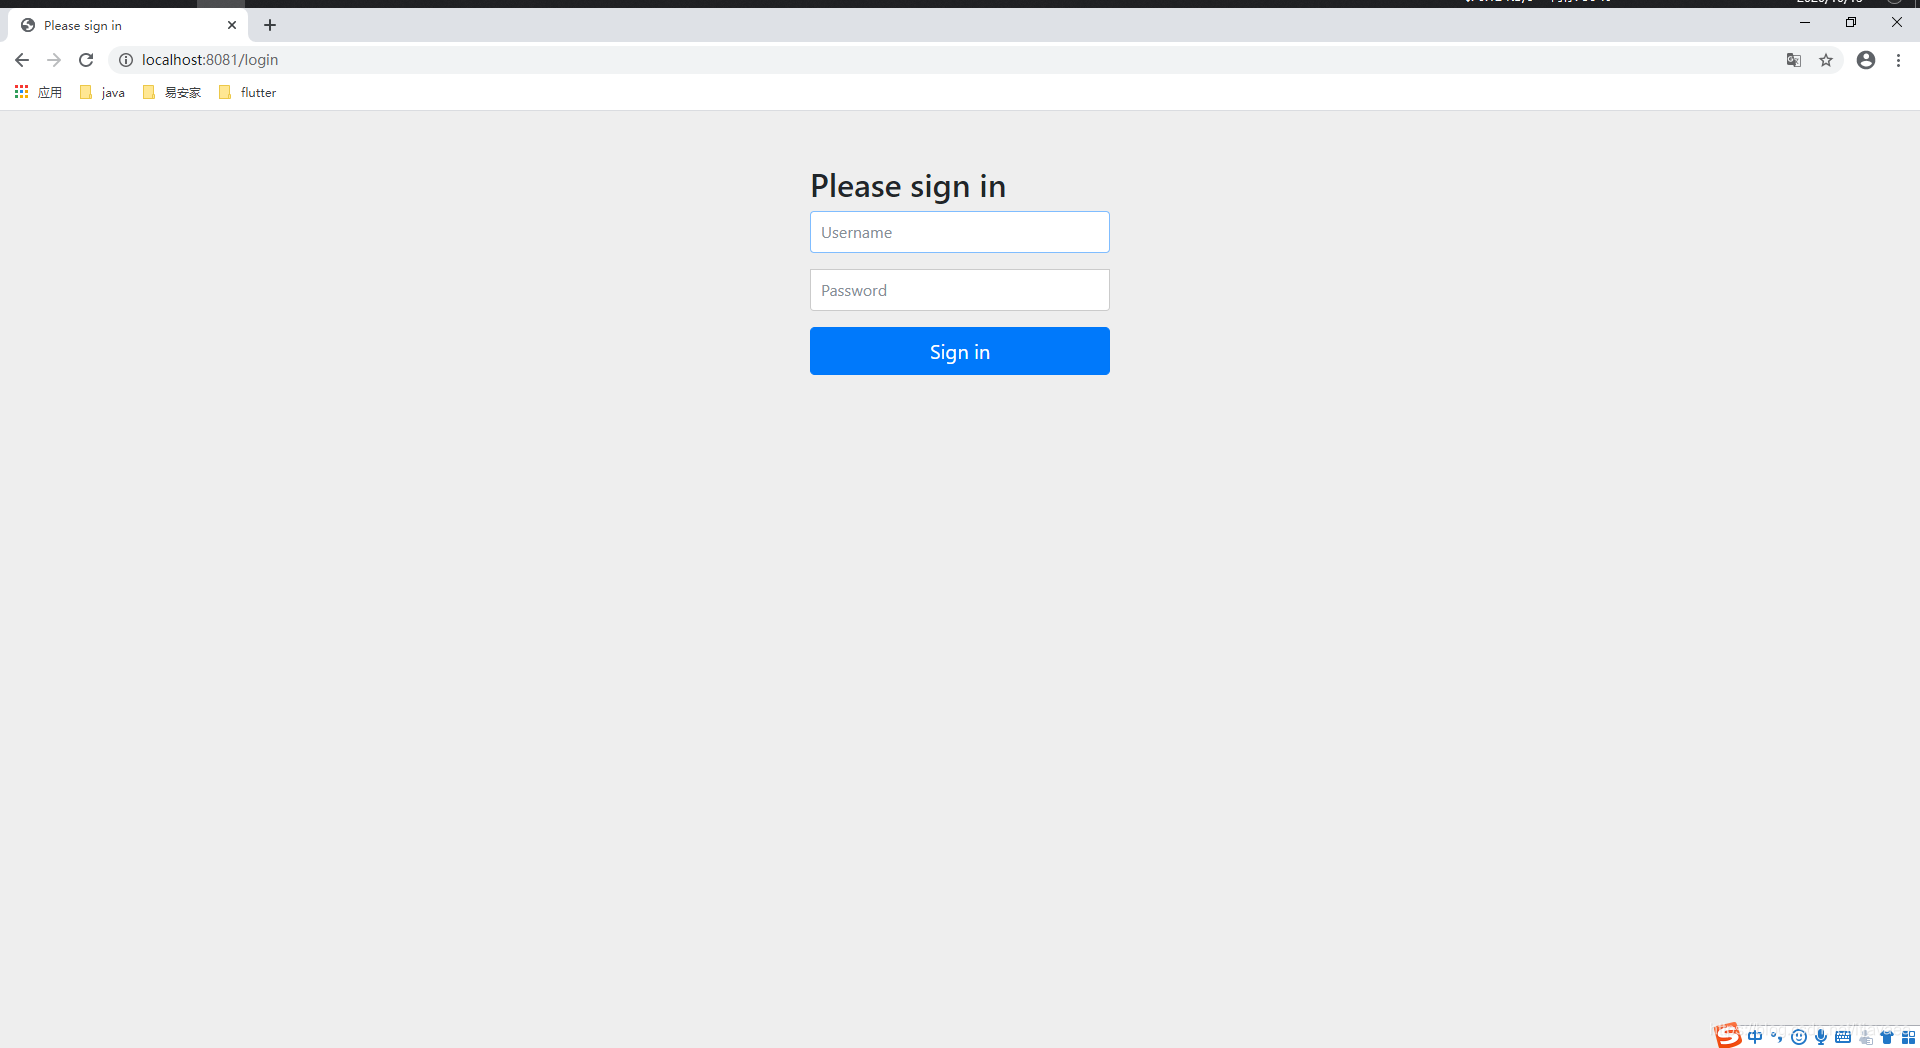
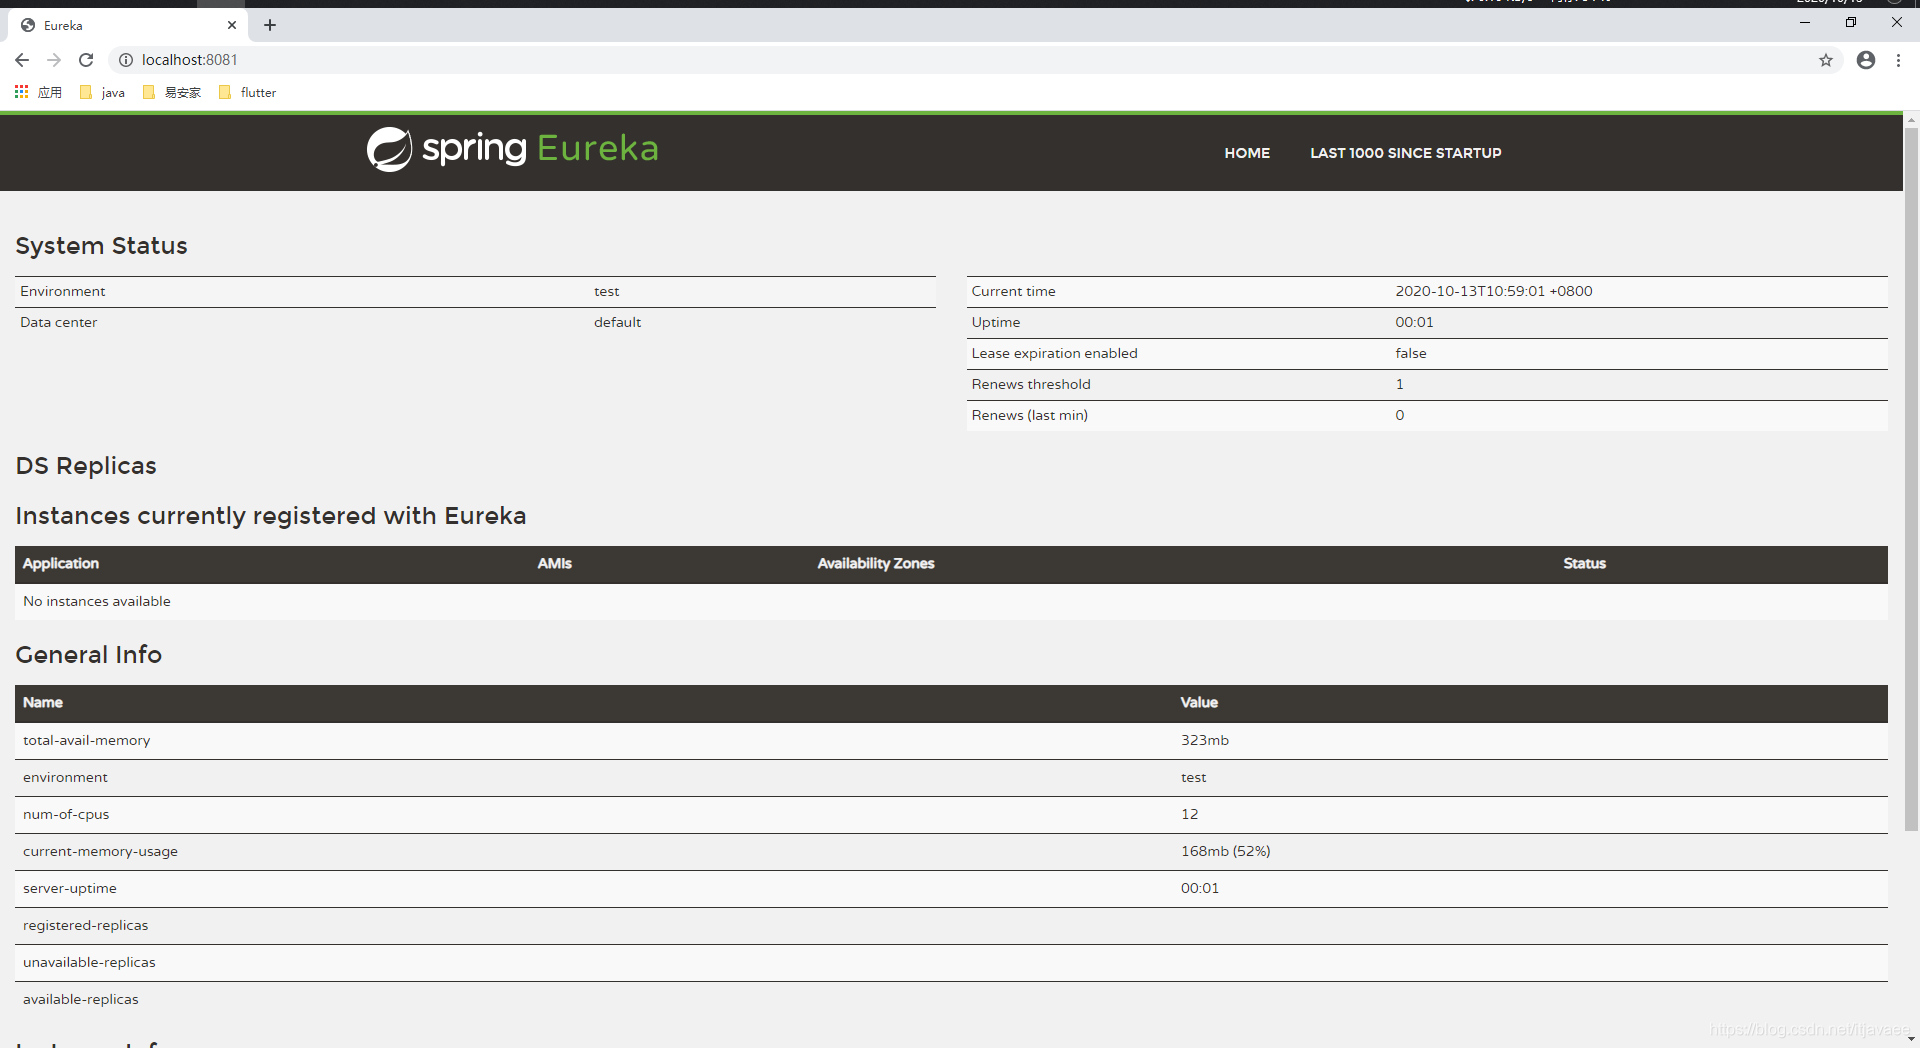
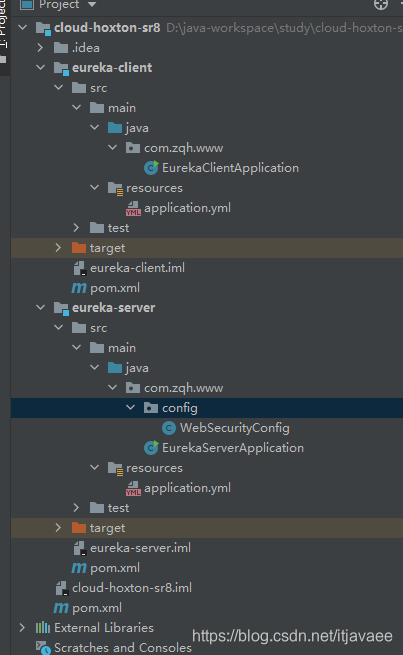
2.3 浏览器访问 eureka 服务页面
注意:点击访问 http://localhost:8081 账户:root 密码:root
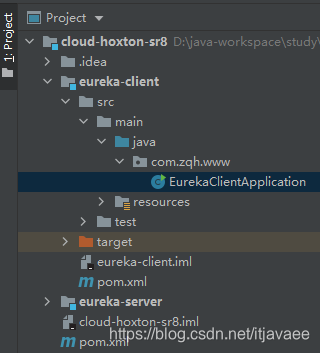
3.创建客户端并注册
注意:
- 右击项目创建module,选择Maven,点击next,然后填写你的项目名称
- 按照2.2的步骤创建包路径,EurekaClientApplication 和 application.yml
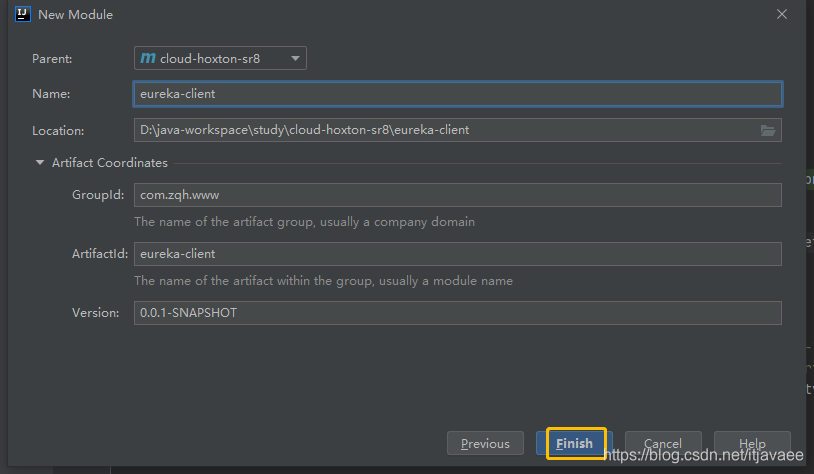
3.1 当前阶段 eureka-client 项目 pom.xml 内容
<?xml version="1.0" encoding="UTF-8"?>
<project xmlns="http://maven.apache.org/POM/4.0.0"
         xmlns:xsi="http://www.w3.org/2001/XMLSchema-instance"
         xsi:schemaLocation="http://maven.apache.org/POM/4.0.0 http://maven.apache.org/xsd/maven-4.0.0.xsd">
    <parent>
        <artifactId>cloud-hoxton-sr8</artifactId>
        <groupId>com.zqh.www</groupId>
        <version>0.0.1-SNAPSHOT</version>
    </parent>
    <modelVersion>4.0.0</modelVersion>

    <artifactId>eureka-client</artifactId>

    <dependencies>
        <dependency>
            <groupId>org.springframework.cloud</groupId>
            <artifactId>spring-cloud-starter-netflix-eureka-client</artifactId>
        </dependency>
        <dependency>
            <groupId>org.springframework.boot</groupId>
            <artifactId>spring-boot-starter-web</artifactId>
        </dependency>
    </dependencies>
    <build>
        <plugins>
            <plugin>
                <groupId>org.springframework.boot</groupId>
                <artifactId>spring-boot-maven-plugin</artifactId>
            </plugin>
        </plugins>
    </build>
</project>
3.2 EurekaClientApplication 和 application.yml
package com.zqh.www;
import org.slf4j.Logger;
import org.slf4j.LoggerFactory;
import org.springframework.boot.SpringApplication;
import org.springframework.boot.autoconfigure.SpringBootApplication;
import org.springframework.cloud.netflix.eureka.EnableEurekaClient;
import org.springframework.core.env.Environment;
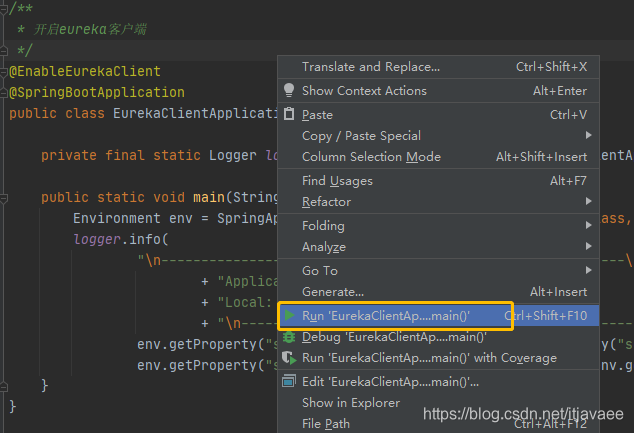
/**
* 开启eureka客户端
*/
@EnableEurekaClient
@SpringBootApplication
public class EurekaClientApplication {
private final static Logger logger = LoggerFactory.getLogger(EurekaClientApplication.class);
public static void main(String[] args) {
Environment env = SpringApplication.run(EurekaClientApplication.class, args).getEnvironment();
logger.info(
"\n----------------------------------------------------------\n\t"
+ "Application '{}' is running! Access URLs:\n\t"
+ "Local: \t\thttp://localhost:{}{}"
+ "\n----------------------------------------------------------",
env.getProperty("spring.application.name"), env.getProperty("server.port"),
env.getProperty("server.servlet.context-path") != null ? env.getProperty("server.servlet.context-path") : "");
}
}
server:
  port: 8083
spring:
  application:
    name: eureka-client
eureka:
  client:
    service-url:
      #注册地址
      defaultZone: http://root:root@localhost:8081/eureka/
  #显示服务器IP加端口
  instance:
    hostname: localhost
    prefer-ip-address: true
    instance-id: ${spring.cloud.client.ip-address}:${server.port}
4.刷新浏览器eureka服务页面,服务注册完成
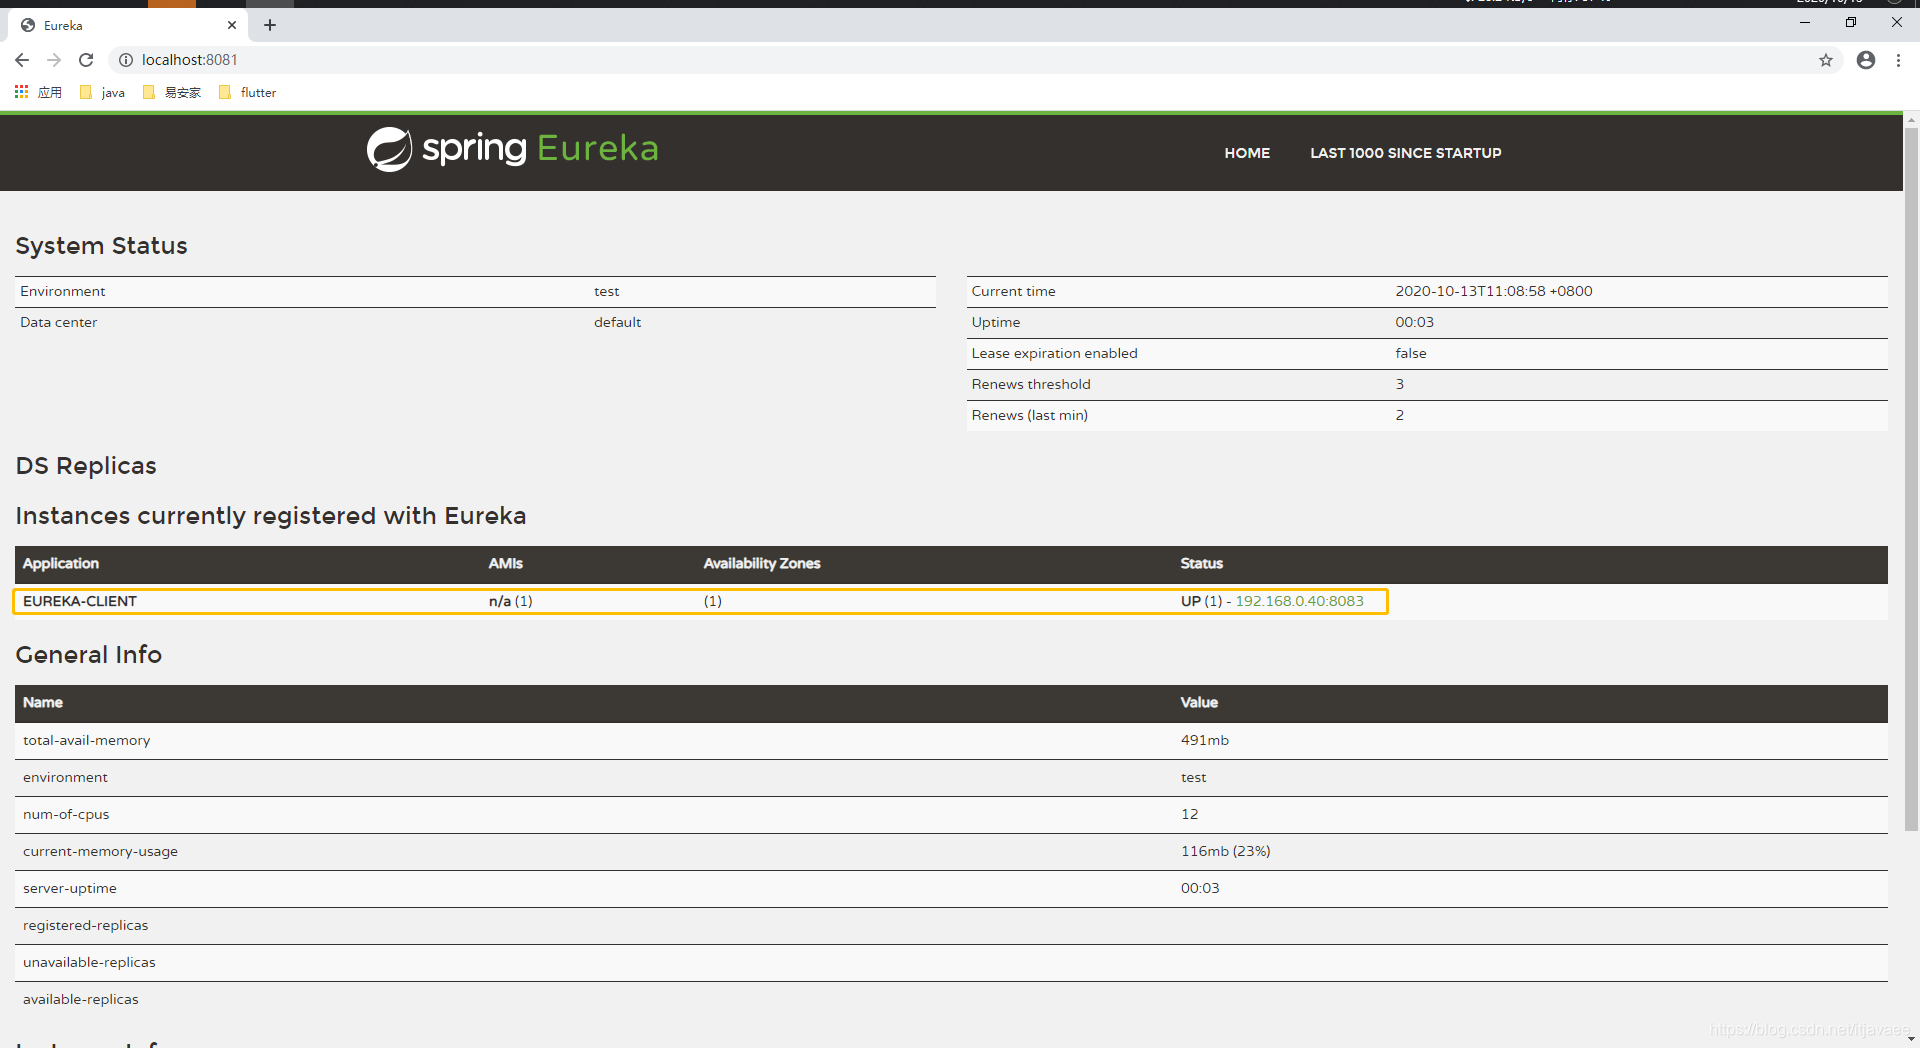
5. 总结
- 完成eureka 服务的启动,并添加security授权验证
- 完成 client 注册 eureka


 1594
1594

 被折叠的 条评论
为什么被折叠?
被折叠的 条评论
为什么被折叠?
 到【灌水乐园】发言


