


 本文详细介绍了如何在SpringBoot项目中配置HTTPS访问,包括生成PKCS12密钥、配置application.properties文件及Tomcat连接器,使项目能够通过HTTPS安全访问。
最近在做微服务接口项目,使用到spring boot,需要配置https安全访问,在网上找了很多浪费了几个小时,把成功案例写在,和大家共同成长
为实现两个一百年的奋斗目标、实现中华名族伟大复兴而努力
本文采用加密方式是PKCS12,废话不多说,上操作流程
首先进入JDK安装目录,找到bin文件夹,输入下面语句
keytool -genkey -alias tomcat -storetype PKCS12 -keyalg RSA -keysize 2048 -keystore keystore.p12 -validity 3650
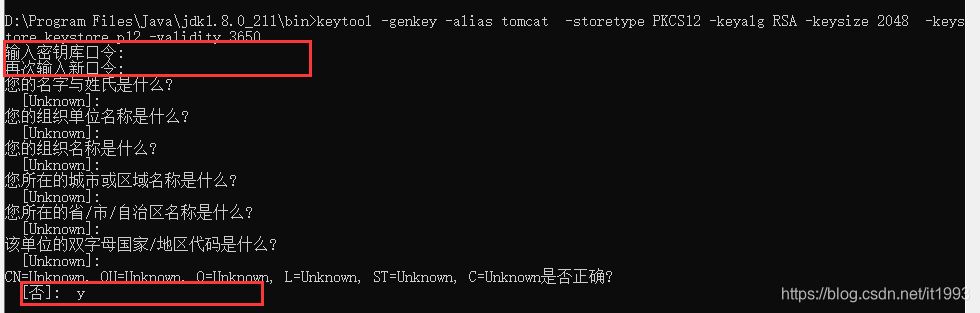
输入密钥,待会在程序中会用到,名称姓氏、组织代为等直接回车,最后是否正确,填写字母y就可以了,大功告成,此时去JDK安装目录bin下 ,可以看到咱们生产的密钥文件了

接下来,准备项目,在idea中新建spring boot项目,具体过程百度
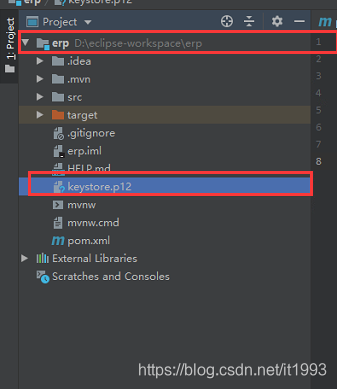
新建项目后,把密钥文件copy到项目根目录,如图
此时,在application.properties配置文件中增加如下配置,记住server.port是访问跳转的端口号
server.port=8443

server.ssl.key-store=keystore.p12
server.ssl.key-store-password=oms123!@#
server.ssl.key-store-type=PKCS12
server.ssl.key-alias=tomcat
找到spring boot启动类,增加如下内容,
注意:注销代码为spring boot 1.X的配置
下图中的8080端口为浏览器访问端口,8443对应server.port中的8443端口
package com.gs.demo;

import org.apache.catalina.Context;
import org.apache.tomcat.util.descriptor.web.SecurityCollection;
import org.apache.tomcat.util.descriptor.web.SecurityConstraint;
import org.springframework.boot.SpringApplication;
import org.springframework.boot.autoconfigure.SpringBootApplication;
import org.apache.catalina.connector.Connector;
import org.springframework.boot.web.embedded.tomcat.TomcatServletWebServerFactory;
import org.springframework.context.annotation.Bean;
@SpringBootApplication
public class DemoApplication {

        /**
         * spring boot 1.0
         */
   /* @Bean
    public EmbeddedServletContainerFactory servletContainer() {
        TomcatEmbeddedServletContainerFactory tomcat = new TomcatEmbeddedServletContainerFactory() {
            @Override
            protected void postProcessContext(Context  context) {
                SecurityConstraint constraint = new SecurityConstraint();
                constraint.setUserConstraint("CONFIDENTIAL");
                SecurityCollection collection = new SecurityCollection();
                collection.addPattern("/*");
                constraint.addCollection(collection);
                context.addConstraint(constraint);
            }
        };
        tomcat.addAdditionalTomcatConnectors(httpConnector());
        return tomcat;
    }*/

        /**
         * spring boot 2.0
         * @return
         */
        @Bean
        public TomcatServletWebServerFactory servletContainer() {
            TomcatServletWebServerFactory tomcat = new TomcatServletWebServerFactory() {
                protected void postProcessContext(Context context) {
                    SecurityConstraint constraint = new SecurityConstraint();
                    constraint.setUserConstraint("CONFIDENTIAL");
                    SecurityCollection collection = new SecurityCollection();
                    collection.addPattern("/*");
                    constraint.addCollection(collection);
                    context.addConstraint(constraint);
                }
            };
            tomcat.addAdditionalTomcatConnectors(httpConnector());
            return tomcat;
        }

        @Bean
        public Connector httpConnector() {
            Connector connector = new Connector("org.apache.coyote.http11.Http11NioProtocol");
            connector.setScheme("http");
            //Connector监听的http的端口号
            connector.setPort(8080);
            connector.setSecure(false);
            //监听到http的端口号后转向到的https的端口号
            connector.setRedirectPort(8443);
            return connector;
        }
    public static void main(String[] args) {
        SpringApplication.run(DemoApplication.class, args);
    }

}
新增一个测试类,如下
package com.gs.demo.ceshi;

import org.springframework.web.bind.annotation.GetMapping;
import org.springframework.web.bind.annotation.RestController;

@RestController
public class Ceshi {
    @GetMapping("/hello")
    public String helloWorld() {
        return "hello";
    }
}
大功告成,启动项目,现在让我们愉快的测试一下效果吧
项目启动成功

浏览器输入:http://locahost:8080/hello ,如下图,自动跳转到8443接口
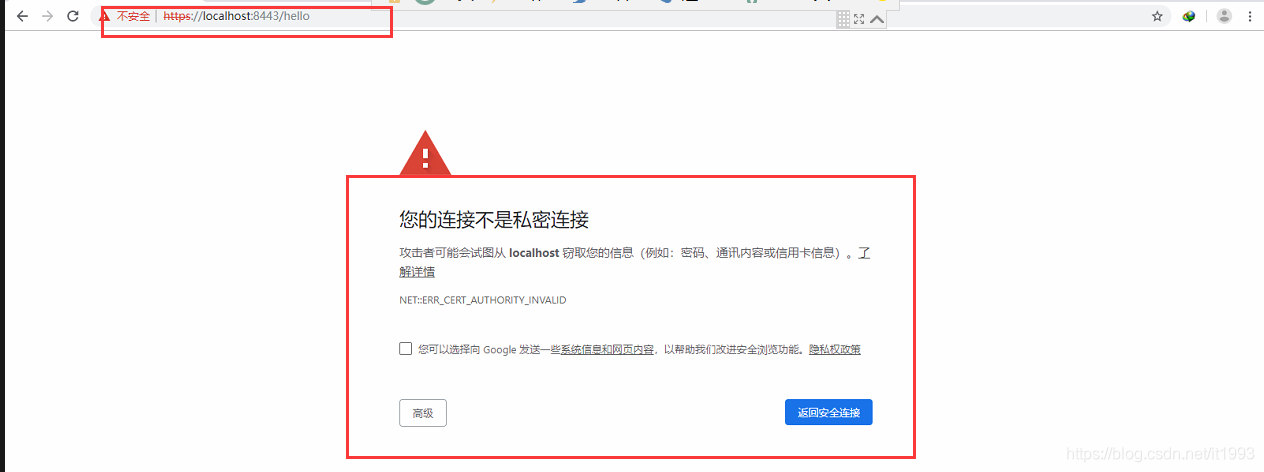
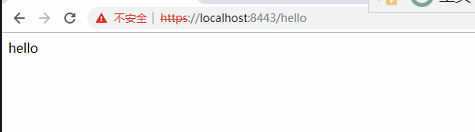
选择高级,继续前往,就可以看到我们定义的数据了,是不是很easy
一个相信坚持写好代码可以改变生活的程序员小哥哥
坚持、热爱、奋斗、幸福


 876
876

 被折叠的 条评论
为什么被折叠?
被折叠的 条评论
为什么被折叠?
 到【灌水乐园】发言


