


 本文通过一个具体案例介绍了如何在Web项目中使用Spring的IOC容器。包括配置applicationContext.xml文件、创建学生和教师类以及如何利用IOC容器自动实例化对象。
学习ioc容器之前,我首先需要按照教程操作练习,切勿死扣概念,概念过于抽象复杂
下面我结合自己的一个小例子给大家介绍下ioc容器的使用方法
第一步:创建web项目,导入spring所需要的jar包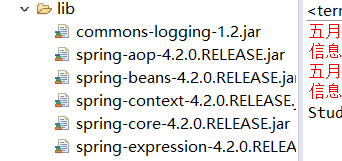
第二步:配置applicationContext.xml文件,并创建标签<bean>配置属性参数
<?xml version="1.0" encoding="UTF-8"?>
<beans xmlns="http://www.springframework.org/schema/beans"
    xmlns:xsi="http://www.w3.org/2001/XMLSchema-instance"
    xmlns:context="http://www.springframework.org/schema/context"
    xsi:schemaLocation="http://www.springframework.org/schema/beans
        http://www.springframework.org/schema/beans/spring-beans.xsd
        http://www.springframework.org/schema/context
       http://www.springframework.org/schema/context/spring-context.xsd ">

  <bean id="stu" class="com.Student">
     <property name="name" value="黄瑞馨"></property>
     <property name="age" value="20"></property>
     <property name="school" value="南阳理工"></property>
  </bean>

  <bean id="tea" class="com.Teacher">
     <property name="name" value="陈雷"></property>
     <property name="sex" value="男"></property>

     <property name="stu" ref="stu"></property>
  </bean>
</beans>
第三步:创建一个学生类 并且声明属性 name age school 然后set三个属性,创建一个方法打印属性
package com;

public class Student {
	@Override
	public String toString() {
		return "Student [name=" + name + ", age=" + age + ", school=" + school + "]";
	}
	String name;
	int age;
	String school;
	public void setName(String name) {
		this.name = name;
	}
	public void setAge(int age) {
		this.age = age;
	}
	public void setSchool(String school) {
		this.school = school;
	}
	public void method() {
		System.out.println("姓名:"+name+"  年龄:"+age+"  学校:"+school);
	}

}
第四步:再创建一个老师类 并且声明属性 name sex 然后set两个属性,在老师类中声明学生类的实例student,创建一个方法打印属性
package com;

public class Teacher {
	String name;
	String sex;

	Student student;
	public void setStu(Student student) {
		this.student = student;
	}

	public void setName(String name) {
		this.name = name;
	}
	public void setSex(String sex) {
		this.sex = sex;
	}

	public void methodinfo() {
		System.out.println(student.toString()+"  指导老师:"+name+"  老师性别:"+sex);
	}


}
第五步:创建main方法 调用方法老师类中的方法打印老师类和学生的属性
package com;

import org.springframework.context.ApplicationContext;
import org.springframework.context.support.ClassPathXmlApplicationContext;

public class Test {

	public static void main(String[] args) {
		ApplicationContext ac=new ClassPathXmlApplicationContext("applicationContext.xml");
		     /*Student s=(Student)ac.getBean("stu");
		     s.method();*/

		     Teacher t=(Teacher) ac.getBean("tea");
		     t.methodinfo();

	}

}
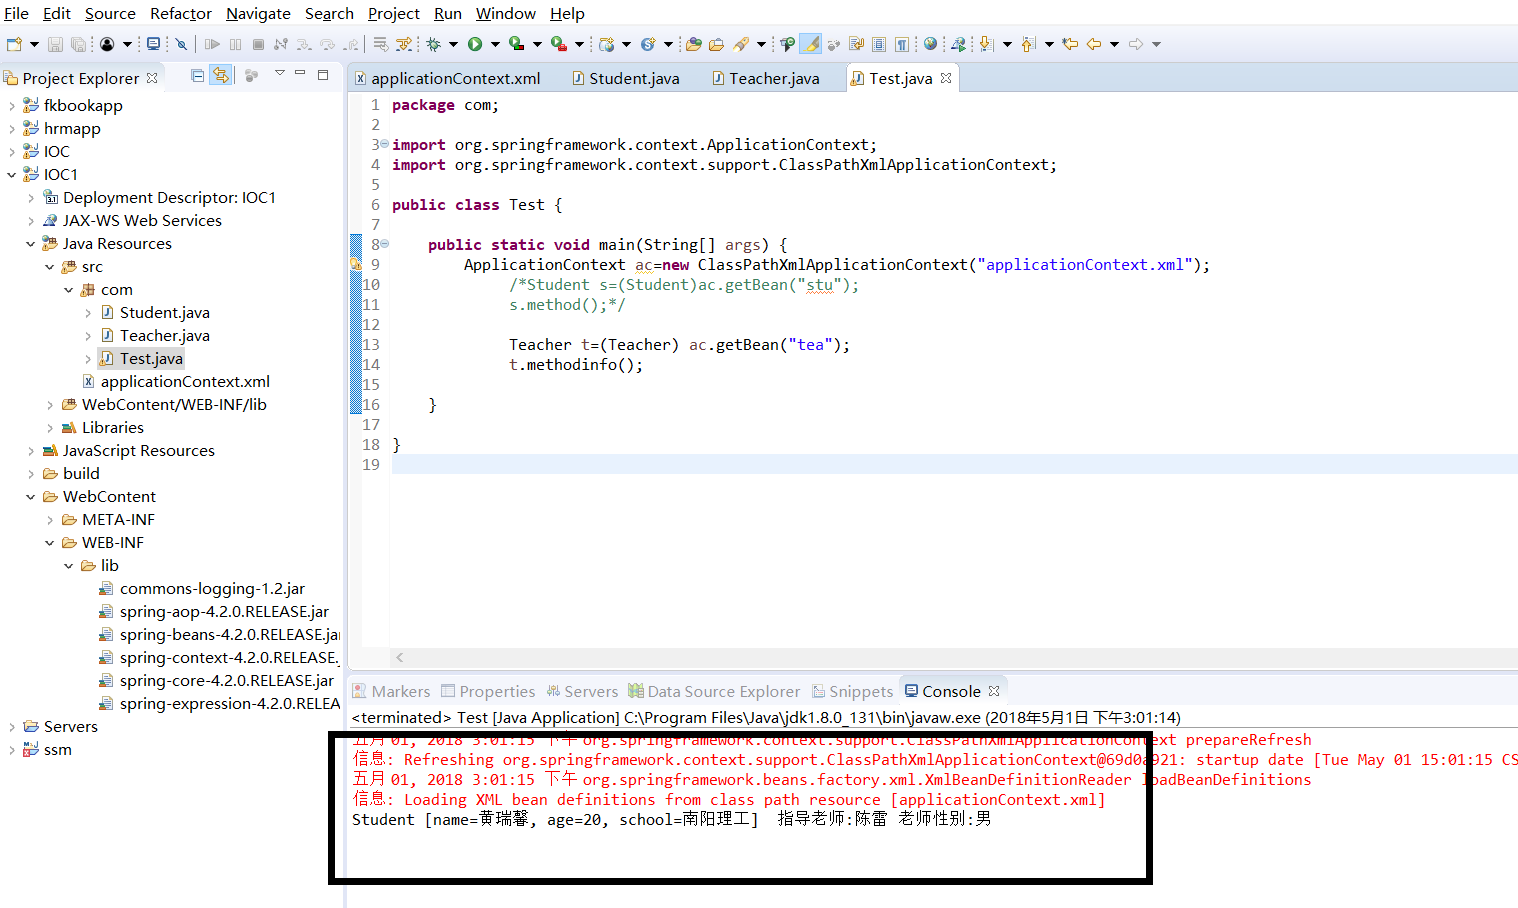
综上所述可以看出ioc的作用: 就是在一个类中可以不用new对象就可以获得另外一个类的实例,也就是说spring容器负责自动创建所需要类的实例了,以前我们都还是new一个所需要的类,依靠ioc效率大大提高,降低了代码的耦合度。


 206
206

 被折叠的 条评论
为什么被折叠?
被折叠的 条评论
为什么被折叠?
 到【灌水乐园】发言


