


 本文介绍了一种利用HTML、CSS和JavaScript实现图片放大镜效果的方法。通过创建大小不同的盒子,放置图片和放大镜,实现鼠标悬停时局部放大的功能。文章详细解释了布局设置、事件监听和坐标计算的过程。
思路
- 做什么
- 需要什么东西
- 实现什么功能
1.首先需要准备两个大小不一样的盒子,小盒子在左边,大盒子在右边,小盒子内有一个更小的盒子,以下称为小放(小放大镜),大盒子以下称为大放(大放大镜)
2.将需要放大的图片放入两个盒子中,图片的尺寸参考:大图/小图=大放/小放
3.用相对定位,将小放固定在小盒子的左上角
4.先将小放和大放隐藏,设置将鼠标移入小图时显示(添加鼠标移入事件),鼠标移除时隐藏(鼠标移出事件)
5.获取鼠标的横纵坐标,并赋值给小放,这时发现鼠标始终在小放的外面偏左上位置,需要减去小图的左偏移量,若要使鼠标在小放的中间位置,则还需减去一半的小放宽高
6.给大图加上相对定位,并将小放的偏移量*上述的比例赋值给大图的偏移量(需加上负号,因为大图的偏移方向和小放相反)
7.限制小放的位置,不能移出小图的边框
具体代码实现及注释如下:
 <!DOCTYPE html>
<html lang="en">
<head>
    <meta charset="UTF-8">
    <meta name="viewport" content="width=device-width, initial-scale=1.0">
    <title>Document</title>
    <style>
        * {
            padding: 0px;
            margin: 0px;
        }

        .screen {
            margin: 50px 0 0 30px;
        }

        .smallpic {
            width: 450px;
            height: 450px;
            border: 1px solid black;
            float: left;
            position: relative;
        }

        .smallpic img {
            width: 450px;
            height: 450px;
        }

        .xf {
            width: 20px;
            height: 20px;
            background-color: yellow;
            opacity: 0.3;
            position: absolute;
            left: 0;
            top: 0;
            cursor: move;
            visibility: hidden;
        }

        .df {
            width: 540px;
            height: 540px;
            float: left;
            border: 1px solid black;
            position: relative;
            visibility: hidden;
            overflow: hidden;
        }

        .bigpic {
            width: 800px;
            height: 800px;
            position: absolute;
            left: 0;
            top: 0;
        }
    </style>
</head>

<body>
    <div class="screen">
        <div class="smallpic">
            <img src="tel.jpg">
            <div class="xf"></div>
        </div>
        <div class="df">
            <img src="tel.jpg" class="bigpic">
        </div>
    </div>
    <script>
        class screen {
            constructor() {//这里放属性
                this.screen = document.querySelector('.screen')
                this.smallpic = document.querySelector('.smallpic')//小图
                this.xf = document.querySelector('.xf')//小放大镜(左)
                this.df = document.querySelector('.df')//大放大镜(右)
                this.bigpic = document.querySelector('.bigpic')//大图
            }
            init() {//这里放方法
                this.smallpic.onmouseover = () => {//给小图添加鼠标移入事件
                    this.xf.style.visibility = 'visible'//鼠标移入时,显示小放和大放
                    this.df.style.visibility = 'visible'
                    // 根据公式:大图/小图=大放/小放 可得出小放的宽高
                    this.xf.style.width = this.df.offsetWidth / this.bigpic.offsetWidth * this.smallpic.offsetWidth + 'px'
                    this.xf.style.height = this.df.offsetHeight / this.bigpic.offsetHeight * this.smallpic.offsetHeight + 'px'
                    // 算出大图/小图的比例 ,该比例大于1
                    this.bili = this.bigpic.offsetWidth / this.smallpic.offsetWidth
                    this.smallpic.onmousemove = (ev) => {//当鼠标移动,小放跟随鼠标
                        var ev = ev || window.event
                        this.move(ev)//这里直接调用以下的move
                    }
                }
                this.smallpic.onmouseout = () => {//鼠标移出时,隐藏小放和大放
                    this.xf.style.visibility = 'hidden'
                    this.df.style.visibility = 'hidden'
                }
            }
            move(ev) {
                // 小放的left=鼠标的横坐标-screen的左边距-1/2的小放宽度,top类似
                let leftposition = ev.clientX - this.screen.offsetLeft - this.xf.offsetWidth / 2
                let topposition = ev.clientY - this.screen.offsetTop - this.xf.offsetHeight / 2
                if (leftposition < 0) {//禁止小放移出小图的左、右边界
                    leftposition = 0
                } else if (leftposition > this.smallpic.offsetWidth - this.xf.offsetWidth) {
                    leftposition = this.smallpic.offsetWidth - this.xf.offsetWidth
                }
                if (topposition < 0) {//禁止小放移出小图的上、下边界
                    topposition = 0
                } else if (topposition > this.smallpic.offsetHeight - this.xf.offsetHeight) {
                    topposition = this.smallpic.offsetHeight - this.xf.offsetHeight
                }
                this.xf.style.left = leftposition + 'px'//将上面算出的小放的left加到样式中去
                this.xf.style.top = topposition + 'px'
                this.bigpic.style.left = -leftposition * this.bili + 'px'//小放移动时,大图也移动相反的方向
                this.bigpic.style.top = -topposition * this.bili + 'px'
            }
        }
        new screen().init()
    </script>
</body>

</html>
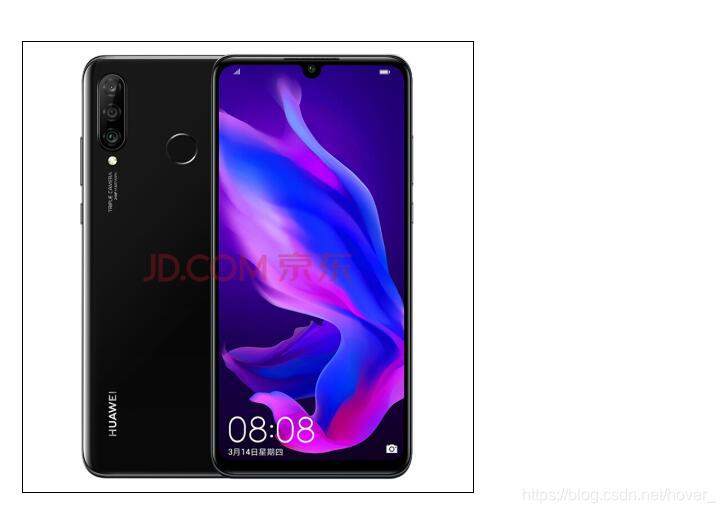
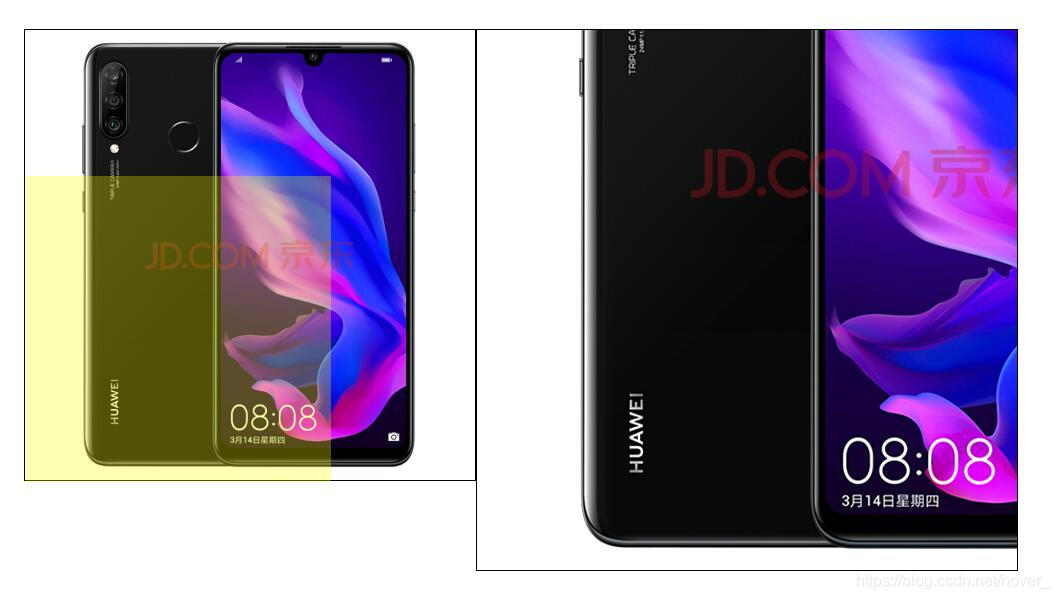
最终实现效果图
初始页面
放大效果


 1050
1050

 被折叠的 条评论
为什么被折叠?
被折叠的 条评论
为什么被折叠?
 到【灌水乐园】发言


