


第一个java项目博客系统需要elasticsearch搜索,今再次温习下elk使用
安装包去官网下载:https://www.elastic.co/cn/start 今安装 Elasticsearch、Kibana ,两者版本需要一致。
安装前提 jdk1.8以上,nodejs
已下载elasticsearch-7.12.1-linux-x86_64.tar.gz、kibana-7.12.1-linux-x86_64.tar.gz文件
1.安装elastic
[root@localhost ~] tar -zxvf elasticsearch-7.12.1-linux-x86_64.tar.gz
[root@localhost ~] mv elasticsearch-7.12.1-linux-x86_64 /usr/local/elastic
## elastic不能用root启动
[root@localhost ~] adduser elk
[root@localhost ~] chown -R elk.elk elastic
[root@localhost ~] su elk
[elk@localhost ~] cd /usr/local
[elk@localhost ~] elastic/bin/elasticsearch
安装中可能遇到的问题
[1]: max file descriptors [4096] for elasticsearch process is too low, increase to at least [65536]
解决方案
vi /etc/security/limits.conf
elk soft nofile 819200
elk hard nofile 819200
vi /etc/sysctl.conf
vm.max_map_count=655360
sysctl -p
[2]: max virtual memory areas vm.max_map_count [65530] is too low, increase to at least
![[262144]](https://i-blog.csdnimg.cn/blog_migrate/ebb91dc86b00dbbfc288b04822263672.png)
[4] the default discovery settings are unsuitable for production use; at least one of [discovery.seed_hosts, discovery.seed_providers, cluster.initial_master_nodes] must be configured
#修改config/elasticsearch.yml下约第23行,放开node.name注释,可更改名称
node.name: node-1
#打开第68行注释,ip替换host1等,多节点请添加多个ip地址,单节点可写按默认来
#配置以下三者,最少其一
#[discovery.seed_hosts, discovery.seed_providers, cluster.initial_master_nodes]
cluster.initial_master_nodes: [“node-1”] #这里的node-1为node-name配置的值
查看安装情况
curl 'http://172.16.178.139:9200/?pretty'
{
  "name" : "node_guo",
  "cluster_name" : "elasticsearch",
  "cluster_uuid" : "EWVdRKeBTrCBf4mv75es0Q",
  "version" : {
    "number" : "7.12.1",
    "build_flavor" : "default",
    "build_type" : "tar",
    "build_hash" : "3186837139b9c6b6d23c3200870651f10d3343b7",
    "build_date" : "2021-04-20T20:56:39.040728659Z",
    "build_snapshot" : false,
    "lucene_version" : "8.8.0",
    "minimum_wire_compatibility_version" : "6.8.0",
    "minimum_index_compatibility_version" : "6.0.0-beta1"
  },
  "tagline" : "You Know, for Search"
}
设置开启启动.内存分配设置
修改./bin/elasticsearch添加export ES_HEAP_SIZE=10g(一般是服务器内存一半)
用root账号在/etc/rc.d/init.d/
cd /etc/init.d/
vi es
#!/bin/sh
#chkconfig: 2345 80 05
#description: es

case $1 in
start)
#下面的“<<!”是切换用户后,待执行的命令,执行完后使用“!”来进行结束
    su elk<<!
    cd /usr/local/elasticsearch
    ./bin/elasticsearch -d
exit
!
	#上面的“!”是以上面的对应起来,并且顶格放置,这是语法
    echo "elasticsearch startup"
    ;;
stop)
	#注意这个号“`”
    es_pid=`ps aux|grep elasticsearch | grep -v 'grep elasticsearch' | awk '{print $2}'`
    kill -9 $es_pid
    echo "es stopup"
	#将该行替换成你自己的服务启动命令
    ;;
restart)
	#“grep -v”过滤掉本身的执行命令,获取准确的pid
    es_pid=`ps aux|grep elasticsearch | grep -v 'grep elasticsearch' | awk '{print $2}'`
    kill -9 $es_pid
    echo "es stopup"
	#将该行替换成你自己的服务启动命令
    su elk<<!
    cd /usr/local/elasticsearch
    ./bin/elasticsearch -d
!
	#将该行替换成你自己的服务启动命令
    echo "es startup"
    ;;
*)
	#将该行替换成你自己的服务启动命令
    echo "start|stop|restart"
    ;;
esac
kibana安装
[root@localhost ~] tar -zxvf kibana-7.12.1-linux-x86_64.tar.gz
[root@localhost ~] mv kibana-7.12.1-linux-x86_64/usr/local/kibana
## elastic不能用root启动
[root@localhost ~] chown -R elk.elk /usr/local/kibana
[root@localhost ~] cd /usr/local/kibana
#启动前记得配置config/kibana.yml
[root@localhost ~] bin/kibana
配置
vi config/kibana.yml
添加:
server.host: "172.16.6.95" ##kibana安装服务器
elasticsearch.hosts: ["http://172.16.6.95:9200"]elastic访问服务器
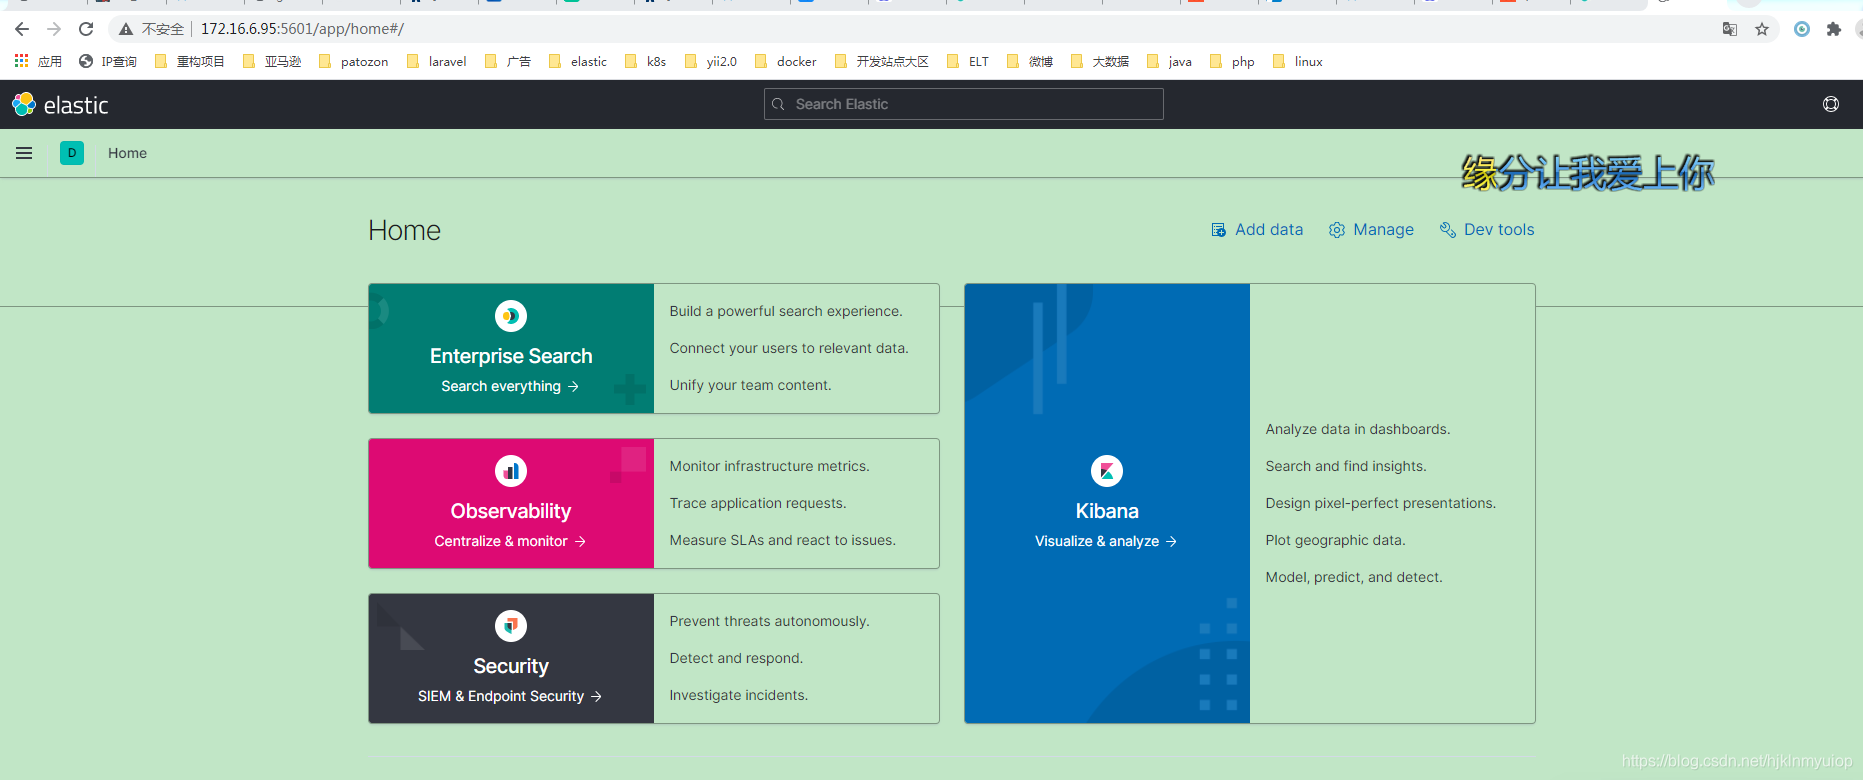
看到上图表示安装成功


 被折叠的 条评论
为什么被折叠?
被折叠的 条评论
为什么被折叠?
 到【灌水乐园】发言


