


 本文介绍了如何使用SpringBoot创建项目,包括选择依赖如lombok、spring web和spring data jpa等。接着,详细讲解了配置application.yml文件,更改服务器端口以避免与Vue.js端口冲突。然后,通过建立entity包和实体类Payment,展示了CRUD操作的实现,包括JpaRepository接口的使用和跨域问题的解决。最后,演示了在DemoApplication中运行main方法启动项目。
SpringBoot项目开发初步
1、新建SpringBoot项目
file - new - project -spring initiallizr

选择下一步,在group中填写我们的项目标识,类似于根目录
java version 选择17
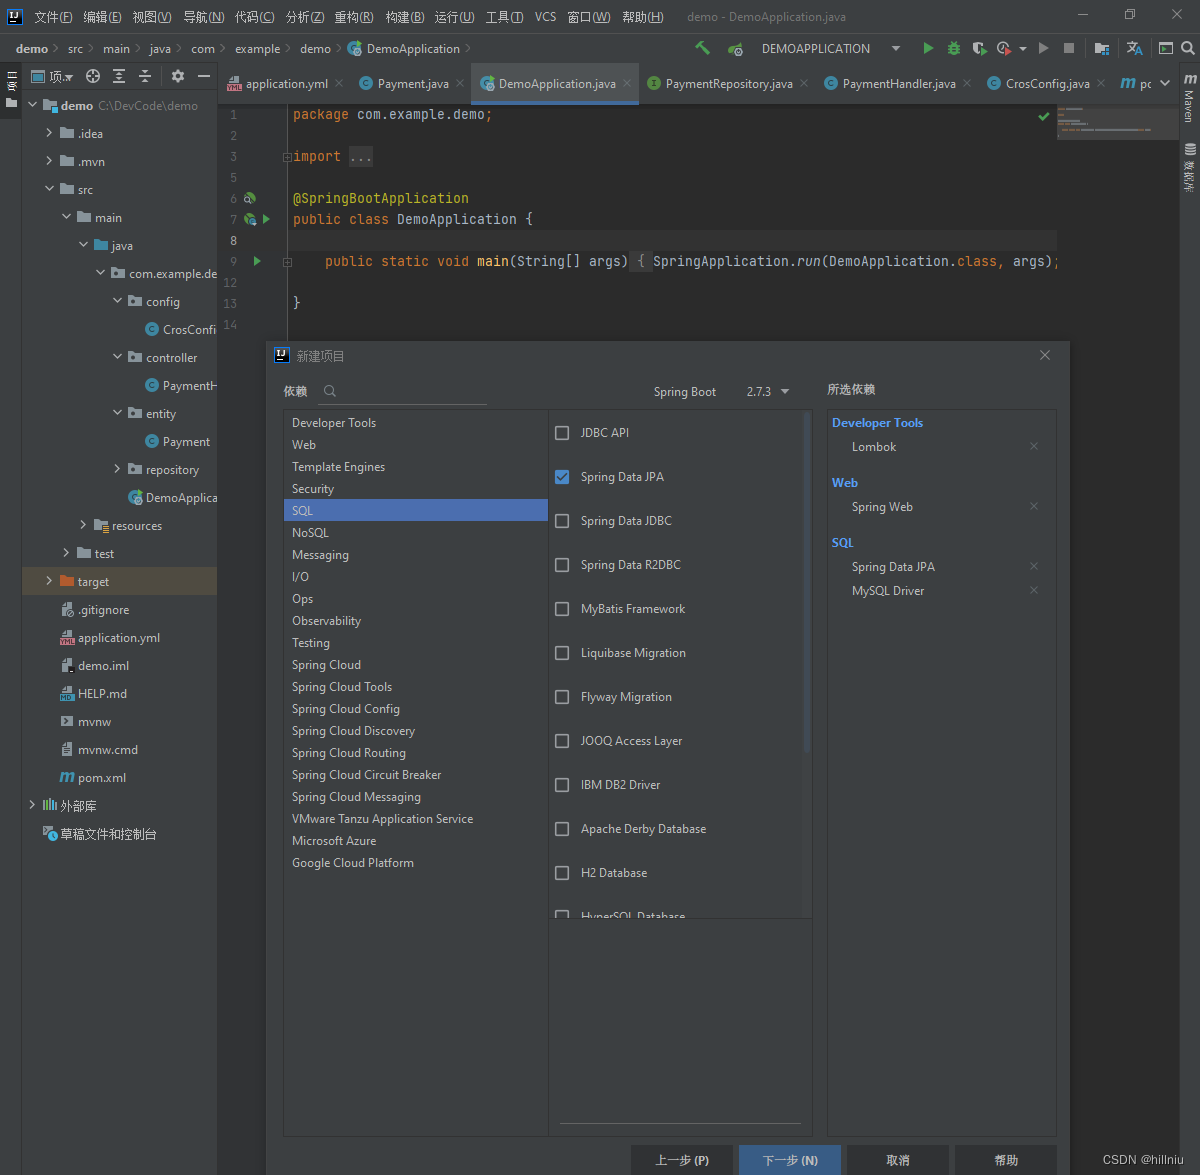
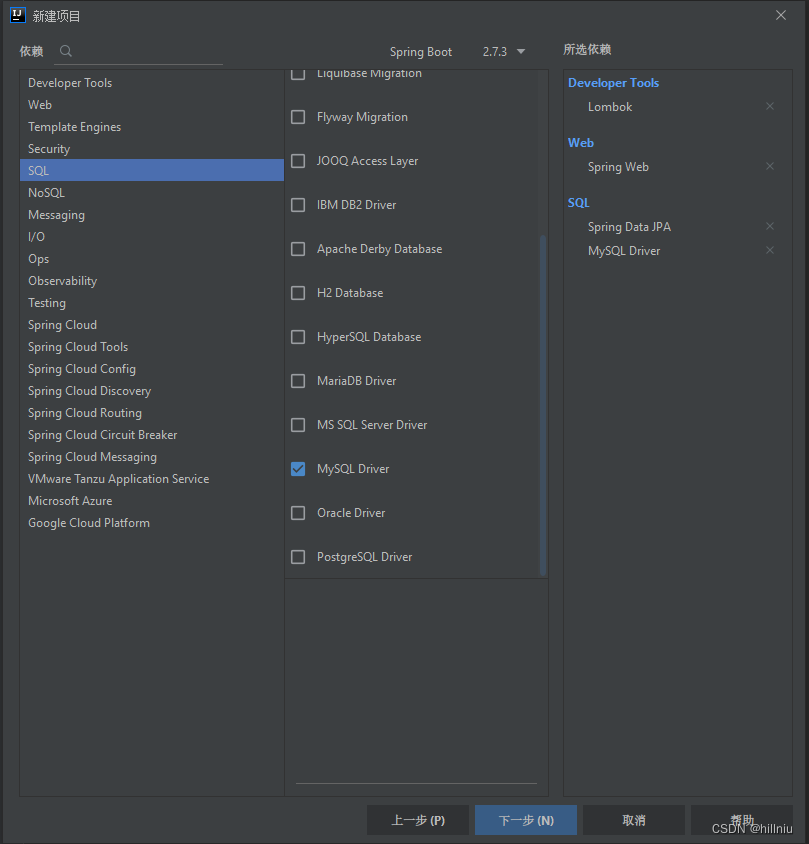
直接下一步next,这一步我们需要选择需要那些插件,用的是mysql,选择
lombok 提供了实体类用的get,set方法
spring web,
spring data jpa (封装的用crud方法),
mysql driver.


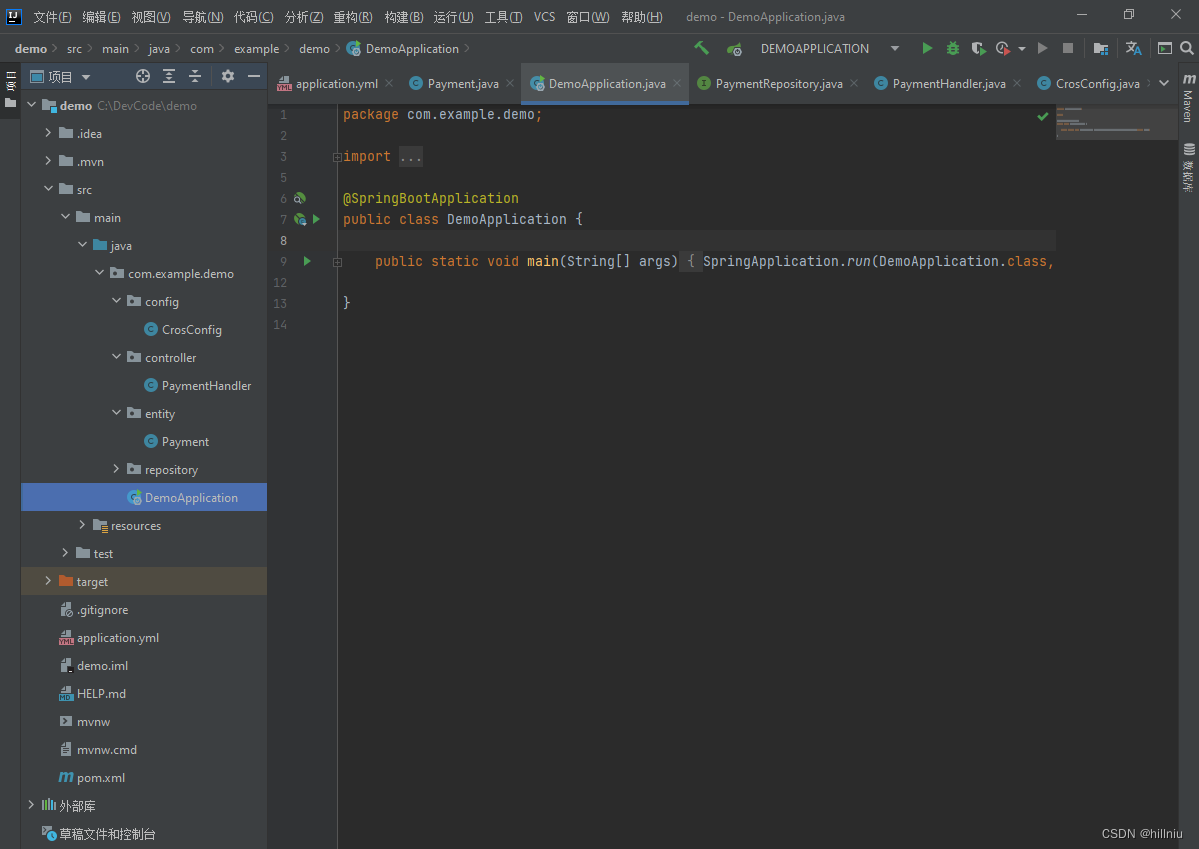
输入项目名称: demo
项目位置选择适当的本地硬盘路径。DemoApplication类是我们程序入口
将application.properties删掉,我们用的是application.yml文件,这个更清晰,内容很简单,只配置了一些数据库链接,以及执行脚本的输出控制
application.yml源代码:
server:
  port: 8181
spring:
  datasource:
    driver-class-name: com.mysql.cj.jdbc.Driver
    url: jdbc:mysql://localhost:3306/demo2022?useUnicode=true&characterEncoding=utf-8
    username: root
    password: 123456
  jpa:
    show-sql: true
    properties:
      hibernate:
        format_sql: true
因为vue项目中端口用的是8080,所以我们这里需要改动下,这里就手动设置为8181,以便能和vue方便交互
datasource下配置的为数据库连接相关信息
show-sql用来控制,控制台是否打印sql语句,format_sql用于打印的脚本日志格式化操作,默认是打印一行
以上我们项目就建立完成了,下面开始去和数据库做交互
2:springboot的crud
1.在demo包下新建一个entity包,用来存放实体类
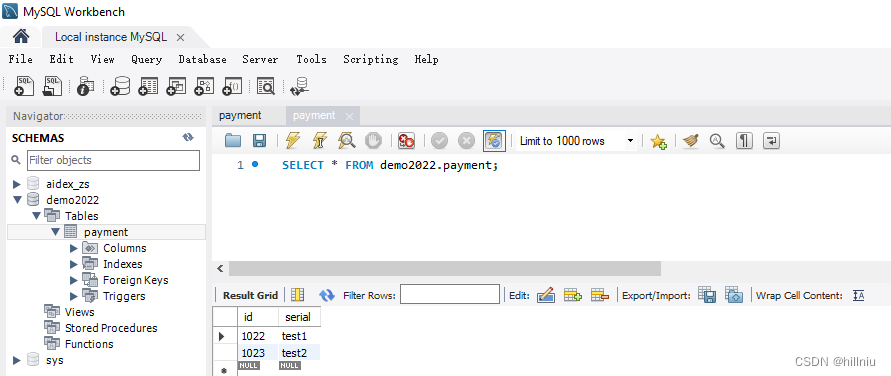
2.在entity包下新建一个实体类,因为我在数据库中建立的表名为payment,所以实体类名我以Payment新建一个实体类,
下面是表结构
下面是实体类:
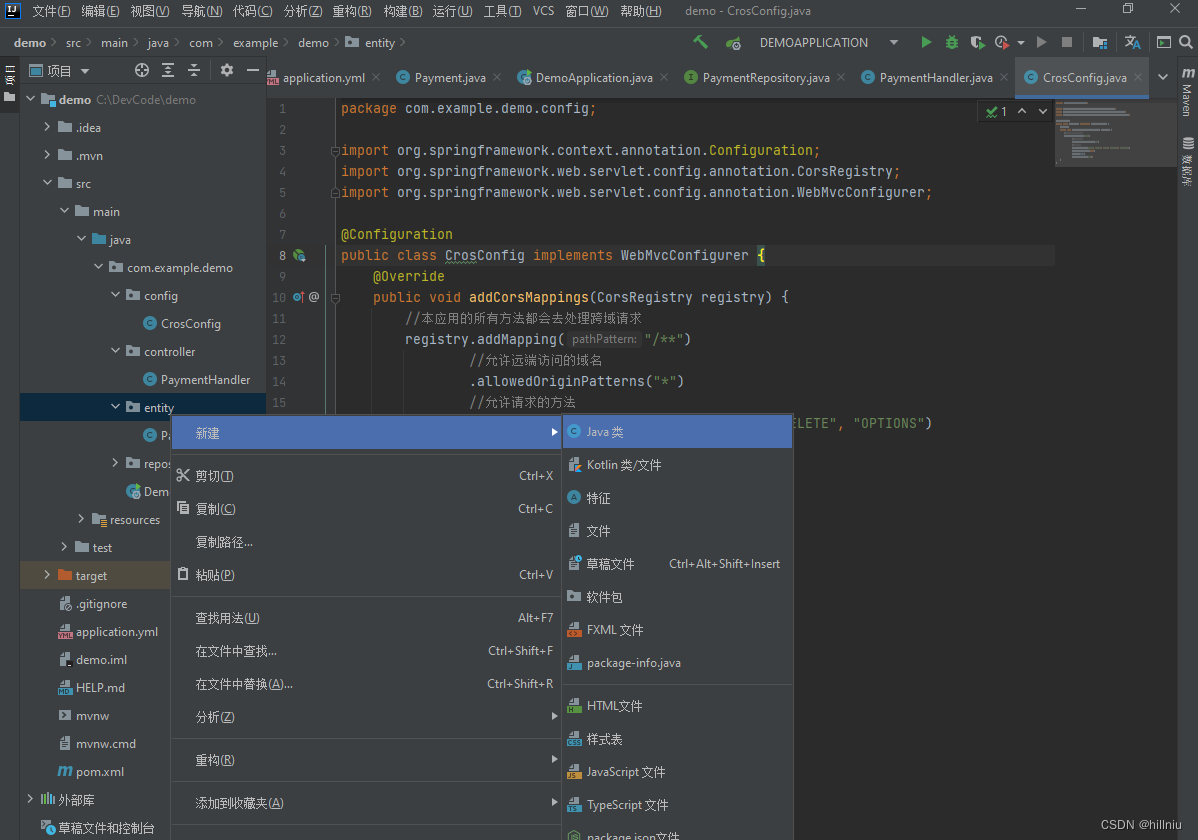
在src-main-java-com.example.demo下创建四个package包
entity
controller
config
repository

entity 包下面新建payment类
payment类
package com.example.demo.entity;

import lombok.Data;

import javax.persistence.Entity;
import javax.persistence.Id;

@Entity
@Data
public class Payment {
    @Id
    private Integer id;
    private String serial;
}
Entity注解用于和表映射
Data注解用于给id,serial添加get,set方法
Id注解用于表主键
package com.example.demo.config;

import org.springframework.context.annotation.Configuration;
import org.springframework.web.servlet.config.annotation.CorsRegistry;
import org.springframework.web.servlet.config.annotation.WebMvcConfigurer;

@Configuration
public class CrosConfig implements WebMvcConfigurer {
    @Override
    public void addCorsMappings(CorsRegistry registry) {
        //本应用的所有方法都会去处理跨域请求
        registry.addMapping("/**")
                //允许远端访问的域名
                .allowedOriginPatterns("*")
                //允许请求的方法
                .allowedMethods("GET", "POST", "PUT", "DELETE", "OPTIONS")
                .allowCredentials(true)
                .maxAge(3600)
                .allowedHeaders("*");
    }
}
新建一个config包,并在config包下新建一个CrosConfig类,并实现WebMvcConfigurer接口,该类主要用于处理跨域问题,如果不处理的话,当前端在调用后端的接口时,若不在同一个域,就会无法访问。
package com.example.demo.repository;

import com.example.demo.entity.Payment;
import org.springframework.data.jpa.repository.JpaRepository;

public interface PaymentRepository extends JpaRepository<Payment,Integer> {
}
新建一个repository包
在该包下新建一个接口interface PaymentRepository,继承JpaRepository
package com.example.demo.controller;

import com.example.demo.entity.Payment;
import com.example.demo.repository.PaymentRepository;
import org.springframework.beans.factory.annotation.Autowired;
import org.springframework.web.bind.annotation.GetMapping;
import org.springframework.web.bind.annotation.RequestMapping;
import org.springframework.web.bind.annotation.RestController;

import java.util.List;

@RestController
@RequestMapping("/payment")
public class PaymentHandler {
    @Autowired
    private PaymentRepository paymentRepository;
    @GetMapping("/findAll")
    public List<Payment> findAll(){
        return paymentRepository.findAll();
    }
}
新建一个controller包,并在controller包下新建一个PaymentHandler类
findAll方法就是jpa插件封装的查询方法,该方法会将对应表的所有内容查出来。
3. 在DemoApplication类中,执行main方法编译并执行
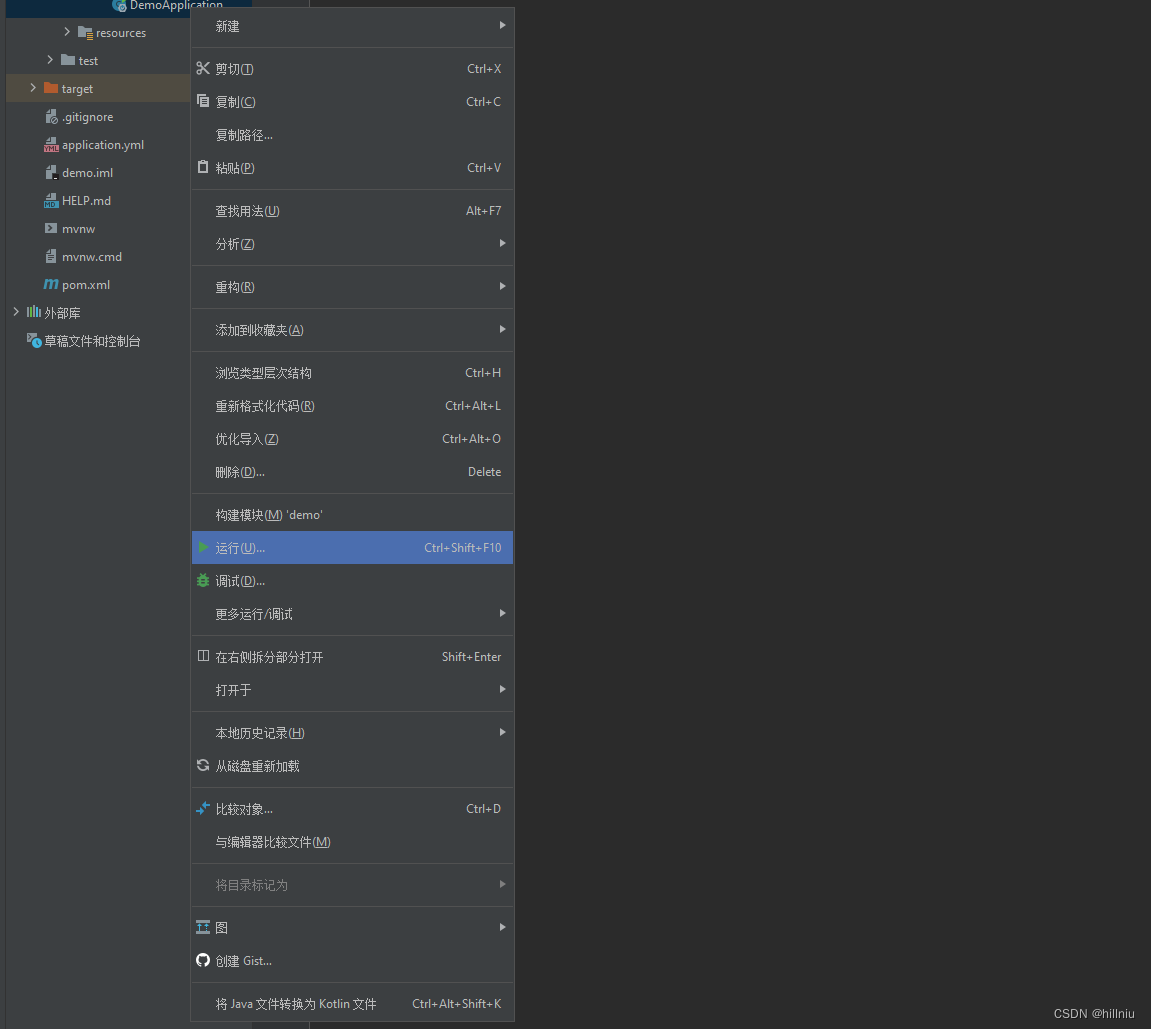
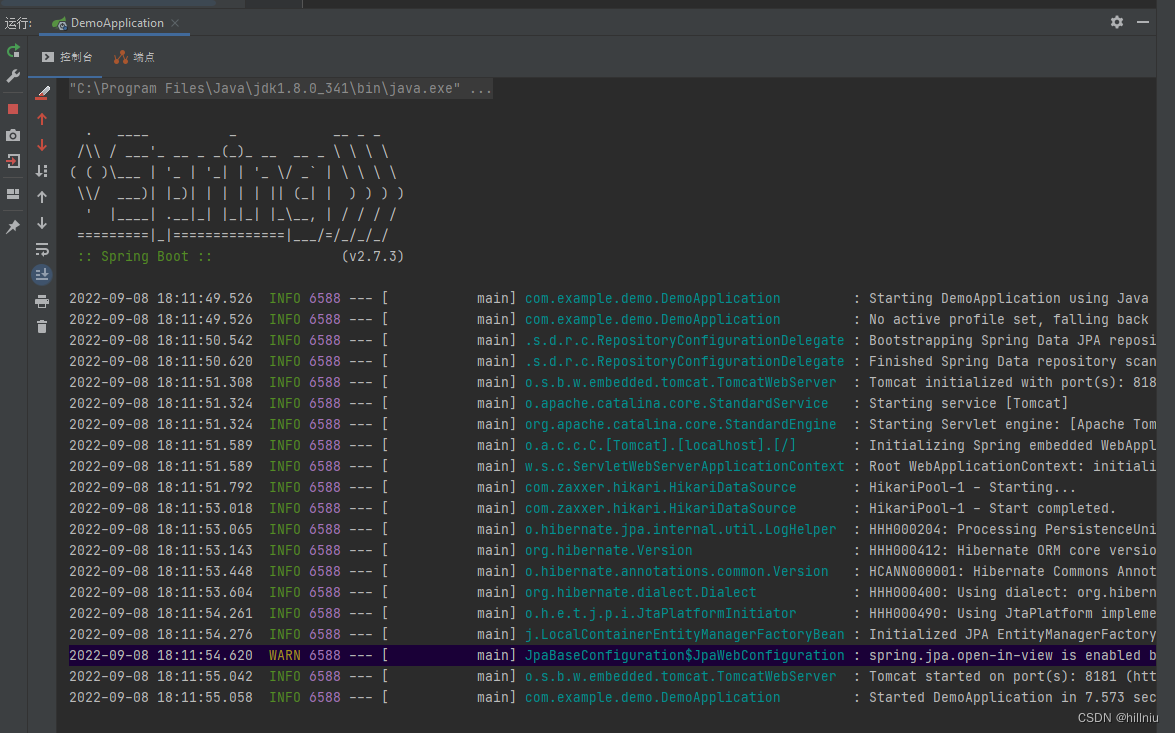

以上springboot项目完成


 1万+
1万+

 被折叠的 条评论
为什么被折叠?
被折叠的 条评论
为什么被折叠?
 到【灌水乐园】发言


