


此博客主要介绍C语言中爱心代码的实现,从简单到复杂,从静态到动态。
数学公式
(x^2 + y^2 - 1)^3 - x^2 * y^3 = 0
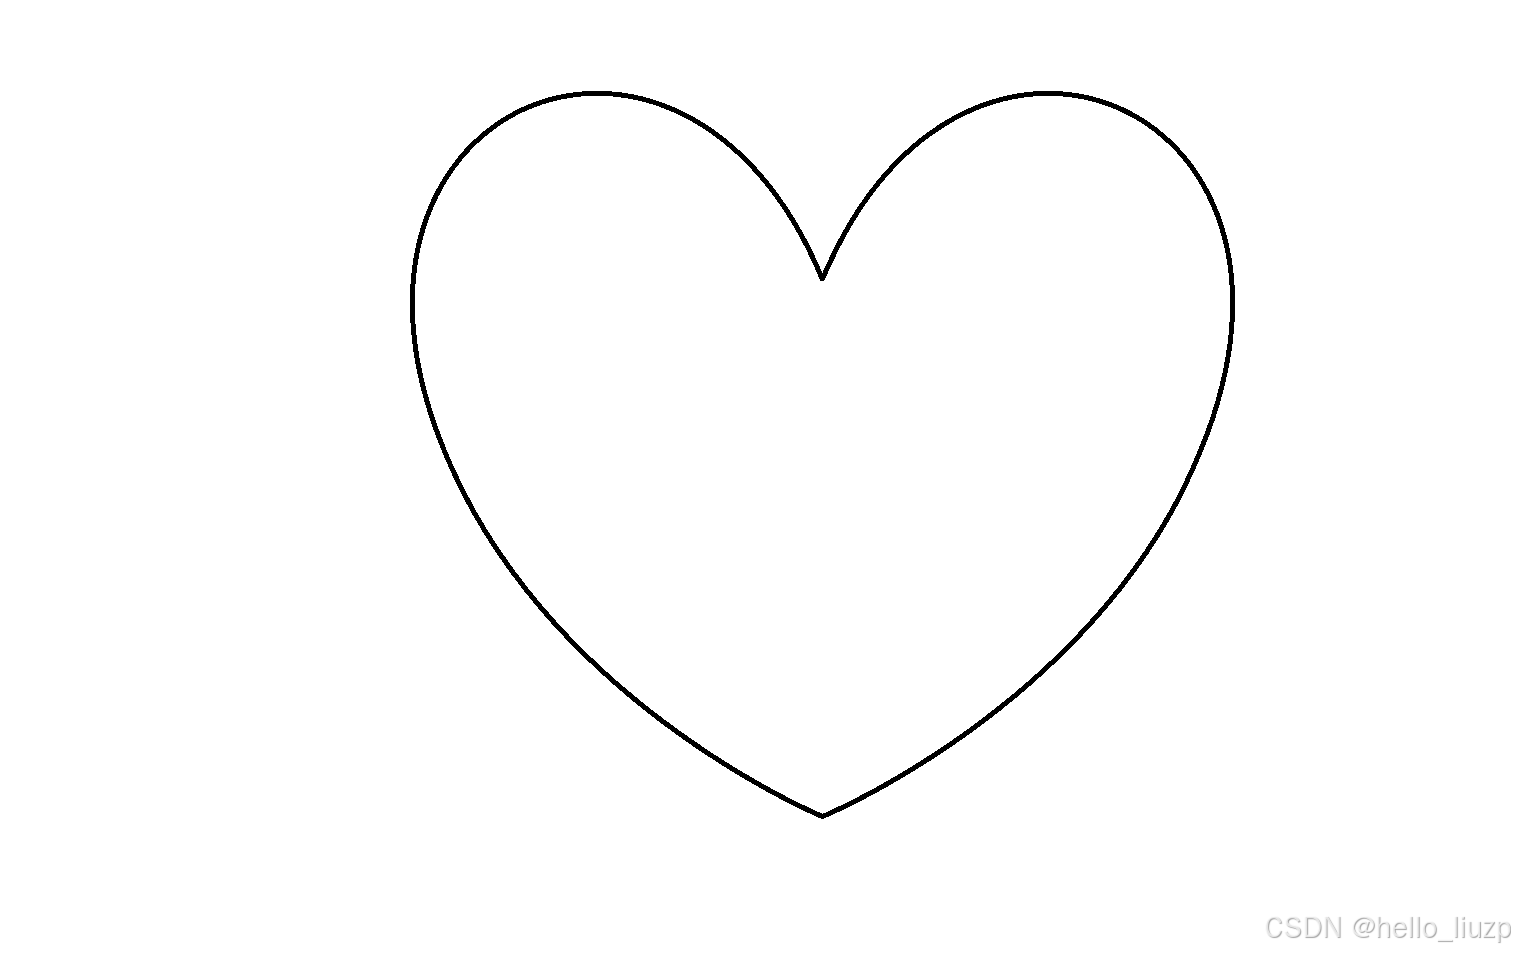
爱心代码
效果展示

代码实现
#include<stdio.h>
int main()
{
	float a, x, y;
	for (y = 1.7f; y >= -1.7f; y -= 0.1f)
	{
		printf("\t\t\t");
		for (x = -2.0f; x <= 2.0f; x += 0.05f)
		{
			a = (x * x + y * y - 1);
			if (a * a * a <= x * x * y * y * y)
				printf("*");
			else
				printf(" ");
		}
		printf("\n");
	}
}
爱心颜色优化
统一颜色优化
控制台的颜色大全
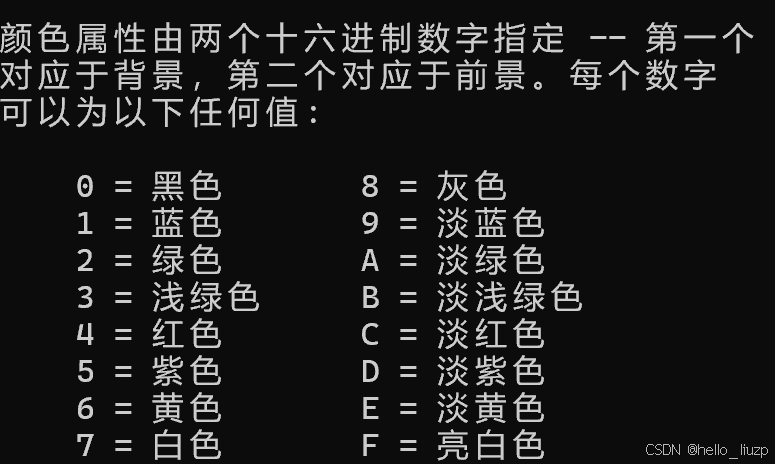
通过使用system函数来来执行系统命令,进而来改变控制台的字体的颜色
成功返回0,失败返回-1
#include<stdio.h>
#include<stdlib.h>
int main()
{
	system("color c");
	float a, x, y;
	for (y = 1.7f; y >= -1.7f; y -= 0.1f)
	{
		printf("\t\t\t");
		for (x = -2.0f; x <= 2.0f; x += 0.05f)
		{
			a = (x * x + y * y - 1);
			if (a * a * a <= x * x * y * y * y)
				printf("*");

			else
				printf(" ");
		}
		printf("\n");
	}
}

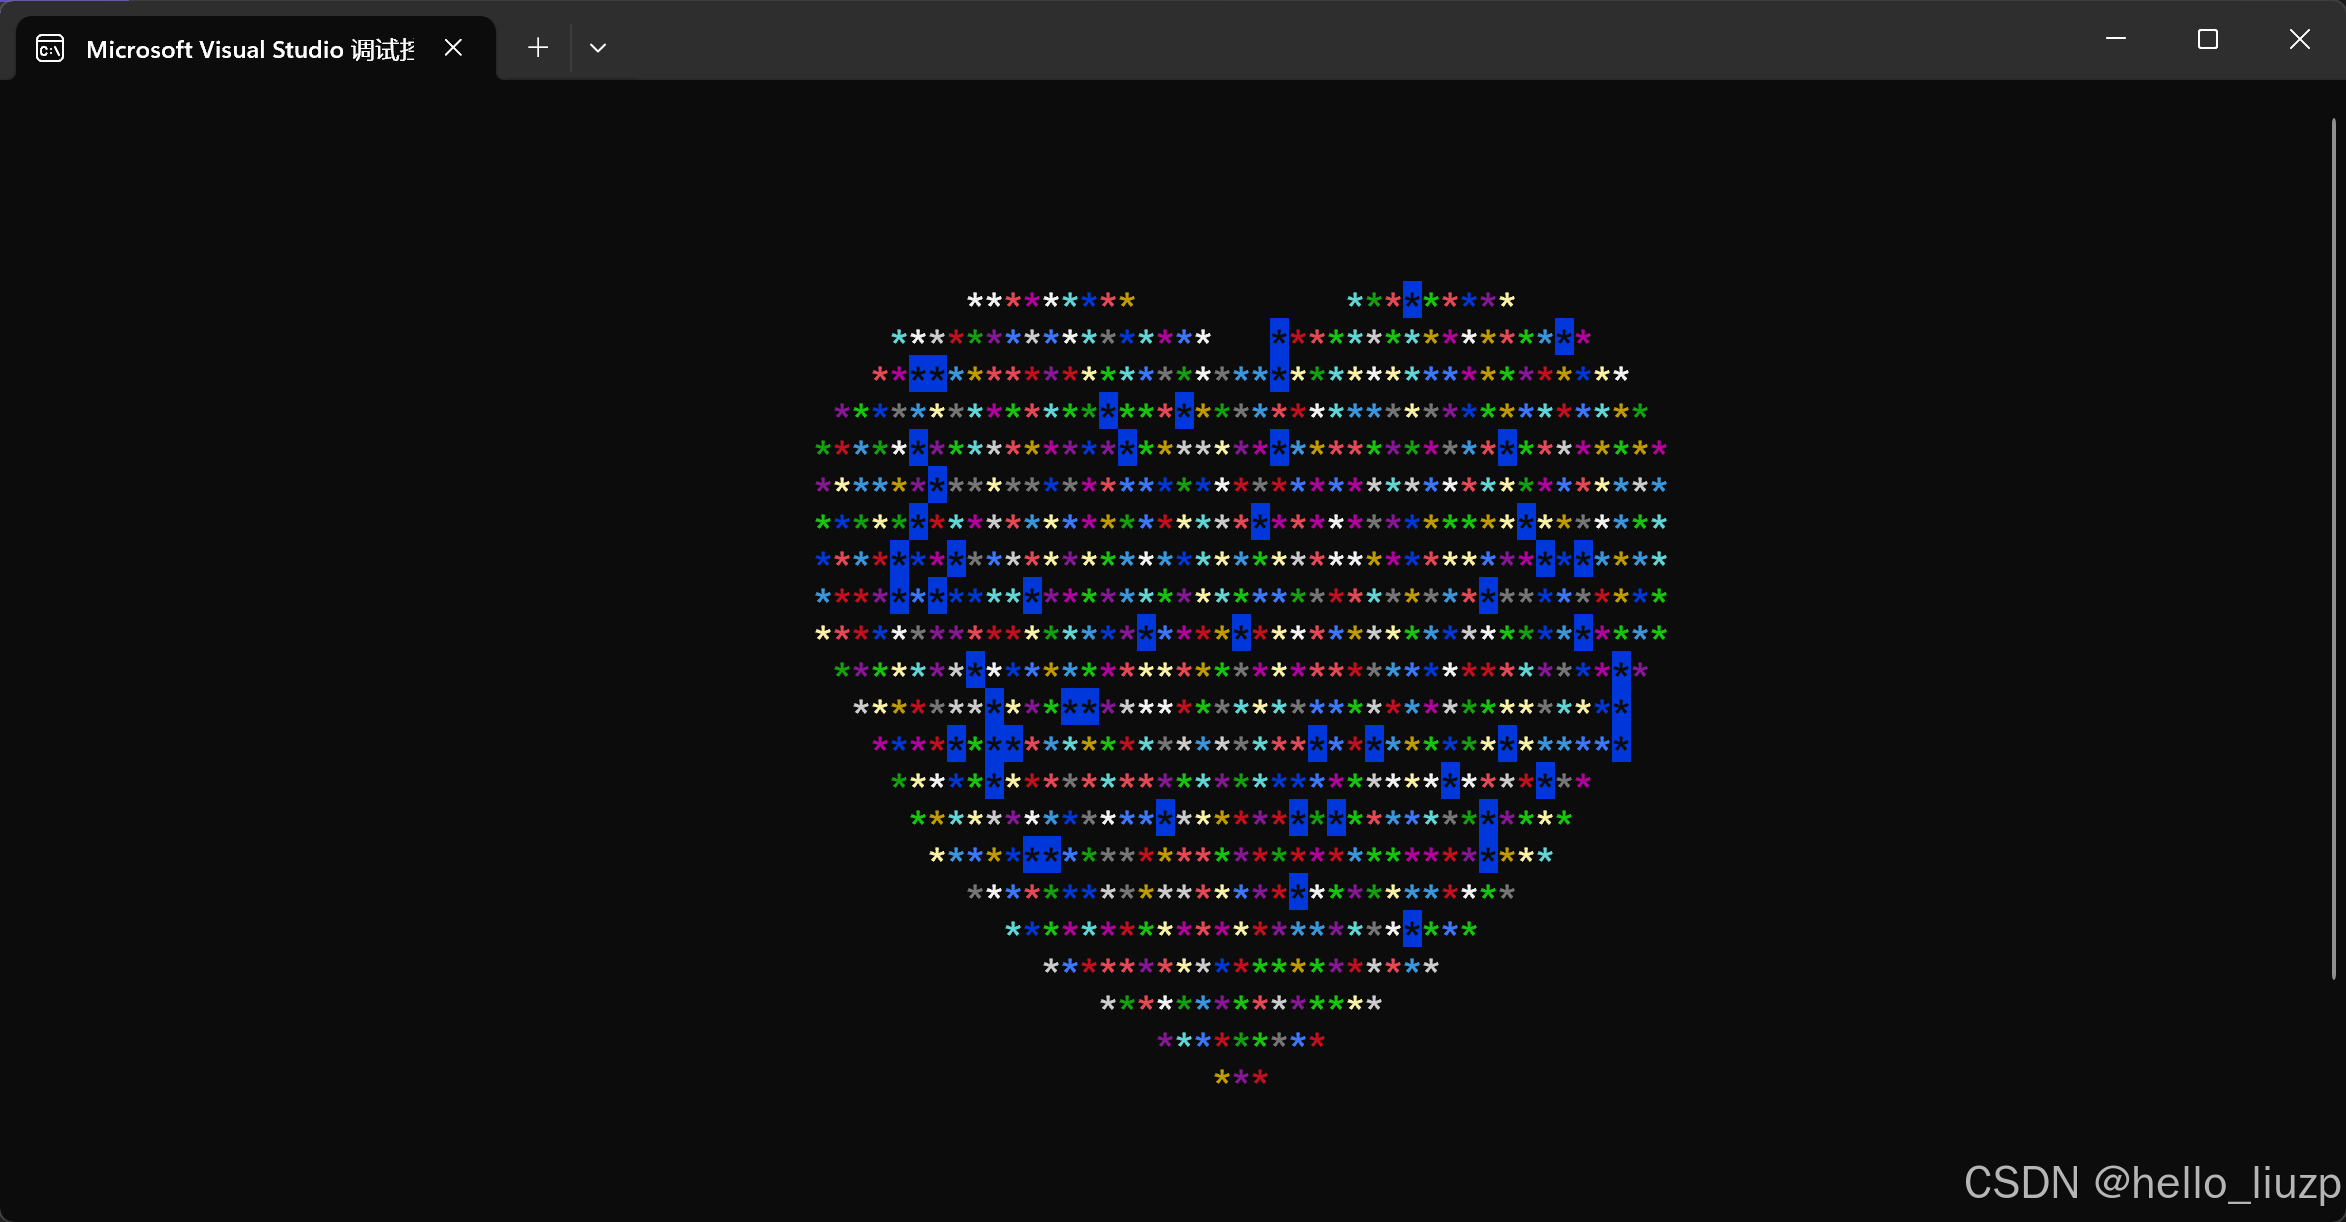
每个心颜色都不同
#include<stdio.h>
#include<stdlib.h>
#include<windows.h>
#include<time.h>
int main()
{
srand((unsigned int ) time(NULL));
float a, x, y;
for (y = 1.7f; y >= -1.7f; y -= 0.1f)
{
int m = 0;
m = rand() % 16 + 1;
HANDLE ihon = GetStdHandle(STD_OUTPUT_HANDLE);
SetConsoleTextAttribute(ihon, m);
printf("\t\t\t");
for (x = -2.0f; x <= 2.0f; x += 0.05f)
{
a = (x * x + y * y - 1);
if (a * a * a <= x * x * y * y * y)
printf("*");
else
{
SetConsoleTextAttribute(ihon, 7);
printf(" ");
SetConsoleTextAttribute(ihon, m);
}
}
printf("\n");
}
}
通过调用windows头文件,使用句柄变量(handle)来获取控制台的文本属性,以及使用随机数生成函数rand(),通过srand()函数给rand()播撒种子,随机生成1到15的数(不要0是因为控制台的背景颜色是黑色,所以不要0)
如果只是想使用爱心函数,不用过于深入了解!
心碎代码
效果展示

代码实现
#include<stdio.h>
#include<stdlib.h>
int main()
{

		float a, x, y, m;
		m = 0.4f;
		for (y = 1.7f; y >= -1.7f; y -= 0.1f)
		{
			if (y >= 0.5f)
				m -= 0.06f;
			else if (y < 0.5f && y >= -0.4f)
				m += 0.06f;
			else
				m -= 0.06f;
			for (x = -2.0f; x <= 2.0f; x += 0.05f)
			{
				if (x >= m && x <= m + 0.2f)
				{
					printf(" ");
				}
				else
				{
					a = (x * x + y * y - 1);
					if (a * a * a <= x * x * y * y * y)
						printf("*");
					else
						printf(" ");
				}

			}
			printf("\n");
		}

}
心碎优化
可以参考上面的爱心代码颜色优化,对心碎代码进行优化,自己动手还可以对代码有更加深入的了解。
动态爱心代码
效果展示
环境配置
在c++环境下运行C语言代码,搭配使用easyx图形库。
1.安装下载easyx图形库并且配置到你所使用的IDE中,下载安装教程https://blog.youkuaiyun.com/qq_52661581/article/details/125124212
2.创建一个 .cpp文件
(作者使用的是vs2022)
代码实现
#define _CRT_SECURE_NO_WARNINGS
#include<stdio.h>
#include<graphics.h>
#include<time.h>
#include<stdlib.h>
#include<math.h>

struct point {
	double x, y;
	COLORREF color;
};
const int xscreen = 1000;
const int yscreen = 800;
const double PI = 3.1415926;
const double e = 2.71828;
const double average_distance = 0.17;//水平宽度
const int quantity = 500;//粒子数量
const int circles = 210;
const int frames = 30;//帧数
point outpoints[quantity];//外部
point points[circles * quantity];//内部

IMAGE image[frames];

COLORREF colors[7];
void creat_picture();
int creatRandom(int x1, int x2);
double srceen_x(double x);
double srceen_y(double y);

int main()
{
	colors[0] = RGB(255, 32, 83);
	colors[1] = RGB(255, 0, 0);
	colors[2] = RGB(255, 5, 5);
	colors[3] = RGB(252, 22, 25);
	colors[4] = RGB(255, 0, 0);
	colors[5] = RGB(255, 2, 2);
	colors[6] = RGB(255, 0, 8);

	srand((unsigned int)time(NULL));
	//创建窗口
	initgraph(xscreen, yscreen,0);

	//开启双缓冲绘图
	BeginBatchDraw();
	//爱心粒子的创建
	creat_picture();


	int f = 0;
	bool extend = true, shrink = false;
	while (1)
	{
		putimage(0, 0, &image[f]);
		FlushBatchDraw();
		cleardevice();
		if (extend)
			f == 19 ? (shrink = true, extend = false) : f++;
		else
			f == 0 ? (shrink = false, extend = true) : f--;
		Sleep(20);
	}
	EndBatchDraw();
	closegraph();
}

void creat_picture()
{
	int number = 0;
	double x1 = 0, x2 = 0, y1 = 0, y2 = 0;
	for (double t = 0.1; t <= 2 * PI; t += 0.005)
	{
		x2 = 16 * pow(sin(t), 3);
		y2 = 13 * cos(t) - 5 * cos(2 * t) - 2 * cos(3 * t) - cos(4 * t);
		double distance = sqrt(pow(x2 - x1, 2) + pow(y2 - y1, 2));
		if (distance > average_distance)
		{
			x1 = x2;
			y1 = y2;
			outpoints[number].x = x2;
			outpoints[number].y = y2;
			number++;
		}
	}
	number = 0;
	for (double size = 0.1, light = 1.5; size <= 20; size += 0.1)
	{
		double p = 1 / (1 + pow(e, 8 - size / 2));
		for (int i = 0; i < quantity; ++i)
		{
			if (p > creatRandom(0, 100) / 100.0)
			{
				points[number].color = colors[creatRandom(0, 6)];
				points[number].x = size * outpoints[i].x + creatRandom(-4, 4);
				points[number++].y = size * outpoints[i].y + creatRandom(-4, 4);
			}
		}
	}
	int points_size = number;
	for (int f = 0; f < frames; ++f)
	{
		image[f] = IMAGE(xscreen, yscreen);
		SetWorkingImage(&image[f]);

		for (number = 0; number < points_size; number++)
		{
			double x = points[number].x, y = points[number].y;
			double dis = sqrt(pow(x, 2) + pow(y, 2));
			double dis_in = -0.0009 * dis * dis + 0.35714 * dis + 5;
			double x_dis = dis_in * x / dis / frames;
			double y_dis = dis_in * y / dis / frames;
			points[number].x += x_dis;
			points[number].y += y_dis;
			setfillcolor(points[number].color);
			solidcircle(srceen_x(points[number].x),srceen_y(points[number].y), 1);
		}
	}
	SetWorkingImage();
}


int creatRandom(int x1, int x2)
{
	if (x2 > x1)
	{
		return rand() % (x2 - x1 + 1) + x1;
	}
}

double srceen_x(double x)
{
	x += xscreen / 2;
	return x;
}

double srceen_y(double y)
{
	y = -y + yscreen / 2;
	return y;
}
原理讲解
数学公式
x=16sin^3(t),y=13cos(t)-5cos(2t)-2cos(3t)-cos(4t)
数学中用来画爱心的轮廓
代码片段
struct point {
	double x, y;
	COLORREF color;
};
创建一个粒子的结构体,成员变量有粒子的x坐标和y坐标,以及粒子的颜色
const int xscreen = 1000;
const int yscreen = 800;
const double PI = 3.1415926;
const double e = 2.71828;
const double average_distance = 0.17;//水平宽度
const int quantity = 500;//粒子数量
const int circles = 210;
const int frames = 30;//帧数
point outpoints[quantity];//外部
point points[circles * quantity];//内部
IMAGE image[frames];
COLORREF colors[7];
前两行是用来定义终端窗口的大小,长1000像素,宽800像素
因为要用到圆所以定义一个PI
数学符号e后面也要用到
为了防止后续生成的粒子 过于黏在一起,所以定义了一个平均的距离aver_distance当两个粒子的距离小于平均距离时不生成。
quantity是最外层的一圈的粒子的数量。circles*quantity时每一张图片中内部粒子的总和。
frames是帧数,赋值是30是因为人眼所认为的流畅程度的一般最低是30帧
IMAGE定义一个图片数组
COLORREF定义一个颜色数组
void creat_picture()
{
	int number = 0;
	double x1 = 0, x2 = 0, y1 = 0, y2 = 0;
	for (double t = 0.1; t <= 2 * PI; t += 0.005)
	{
		x2 = 16 * pow(sin(t), 3);
		y2 = 13 * cos(t) - 5 * cos(2 * t) - 2 * cos(3 * t) - cos(4 * t);
		double distance = sqrt(pow(x2 - x1, 2) + pow(y2 - y1, 2));
		if (distance > average_distance)
		{
			x1 = x2;
			y1 = y2;
			outpoints[number].x = x2;
			outpoints[number].y = y2;
			number++;
		}
	}
	number = 0;
	for (double size = 0.1, light = 1.5; size <= 20; size += 0.1)
	{
		double p = 1 / (1 + pow(e, 8 - size / 2));
		for (int i = 0; i < quantity; ++i)
		{
			if (p > creatRandom(0, 100) / 100.0)
			{
				points[number].color = colors[creatRandom(0, 6)];
				points[number].x = size * outpoints[i].x + creatRandom(-4, 4);
				points[number++].y = size * outpoints[i].y + creatRandom(-4, 4);
			}
		}
	}
	int points_size = number;
	for (int f = 0; f < frames; ++f)
	{
		image[f] = IMAGE(xscreen, yscreen);
		SetWorkingImage(&image[f]);

		for (number = 0; number < points_size; number++)
		{
			double x = points[number].x, y = points[number].y;
			double dis = sqrt(pow(x, 2) + pow(y, 2));
			double dis_in = -0.0009 * dis * dis + 0.35714 * dis + 5;
			double x_dis = dis_in * x / dis / frames;
			double y_dis = dis_in * y / dis / frames;
			points[number].x += x_dis;
			points[number].y += y_dis;
			setfillcolor(points[number].color);
			solidcircle(srceen_x(points[number].x),srceen_y(points[number].y), 1);
		}
	}
	SetWorkingImage();
}
前十八行来来创建最外部的轮廓的粒子。
当两个粒子的距离distance大于平均距离就不生成后面的两个for循环用来创建内部粒子。当size越大时p越小生成的粒子越少。
手续的代码,将所生成的粒子渲染到图片中,SetWorkingImage()函数来设置当前要渲染的图片
后面再写一个SetWorkingImage(NULL)恢复默认的渲染地址。
并且在后续的代码利用随机数生成函数来改变每个图片中内部的粒子的位置,从而实现动态效果。


 6149
6149


 到【灌水乐园】发言


