


 本文介绍如何在生产环境中部署使用Angular2和RESTful WebAPI构建的企业级单页应用程序(SPA),包括不同域和同一域下的部署流程,以及配置更新、代码编译和上传等关键步骤。
使用Angular2及RESTful WebApi开发SPA类型的企业应用 - Part 6 RESTful 和 WebApi
作者:techcoaching,翻译:飘落寒冰
原文 有道
注:第一次翻译文章,有错译之处还请多多包涵,欢迎指出以便改进。
在本文中,我们将简单介绍本项目如何使用RESTful/WebApi
从Github上下载源码
该系列的全部文章
简介
本文将介绍在Production环境部署App的两种情况
- Client 和 Api 属于不同的域
- Client 和 Api 属于同一个域
当我们分别在不同的域下部署Client和Api时,应该做什么
在此情况下部署简单如下
1. 更新configuration(in app.common/configurations/configuration.release.config) 成 production环境
2. 使用VS Editor 发布代码
3. 上传Api 代码到Api服务器
4. 更新 ApiBaseUrl (在app/config/appConfig.ts) 指向Api服务器
5. Build客户端
6. 上传Client代码到Client服务器
1. 更新configuration
在VS中打开你的代码并定位到app.common项目下的 “configurations/configuration.release.config”文件:
<?xml version="1.0" encoding="utf-8" ?>
<appconfiguration>
  <authentication tokenExpiredAfterInMinute="20" ></authentication>
  <paging pageSize="10"></paging>
  <databases>
    <clear />
    <add name="DefaultConnection"

    database="MyERP" server="<server>" port="<port>"

     userName="<username>" password="<pwd>"

     dbType="MSSQL" default="true"></add>
  </databases>
  <localization defaultLanguageCode="en"></localization>
  <uitest reportTemplate="templates/report.xlsx"

  notificationReceiver="thanhtuit27@gmail.com"

   zipFile="report_{0}.zip" environtmenFile="environments.xml"

   basePath="C:\data\projects\myERP\api\App.UI.Test\config\"

   baseOutput="C:\data\projects\myERP\api\App.UI.Test\output\"

   timeout="10"></uitest>
  <mail server="smtp.gmail.com" port="587"

  ssl="true" username="techcoaching123465789@gmail.com "

   password="pwd" displayName="No-reply"

   defaultSender="techcoaching123465789@gmail.com " />
  <folder mailTemplate="templates/email/"

   baseResourceFolder="C:\data\projects\myERP\api\App.UI.Test/resources/"></folder>
</appconfiguration>
请注意 节点。该部分是App用到的connectionstrings列表,ConnectionString默认的名称为”DefaultConnection”。
请更改相应部分的信息,例如:
<add name="DefaultConnection"
database="MyERP" server="localhost" port="1433"
userName="tinyerp" password="123456"
dbType="MSSQL" default="true"></add>
2. 使用VS Editor 发布代码
在App.Api项目上右键单击然后再菜单中选择”发布”:
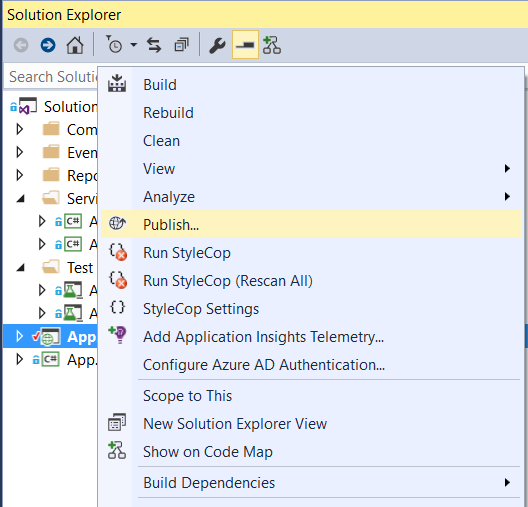
发布部分不做翻译,这一部分有本地发布和Web Deploy发布,原文不详,容易给大家造成混淆,大家可以在网上搜索Web项目发布寻找相关的教程。
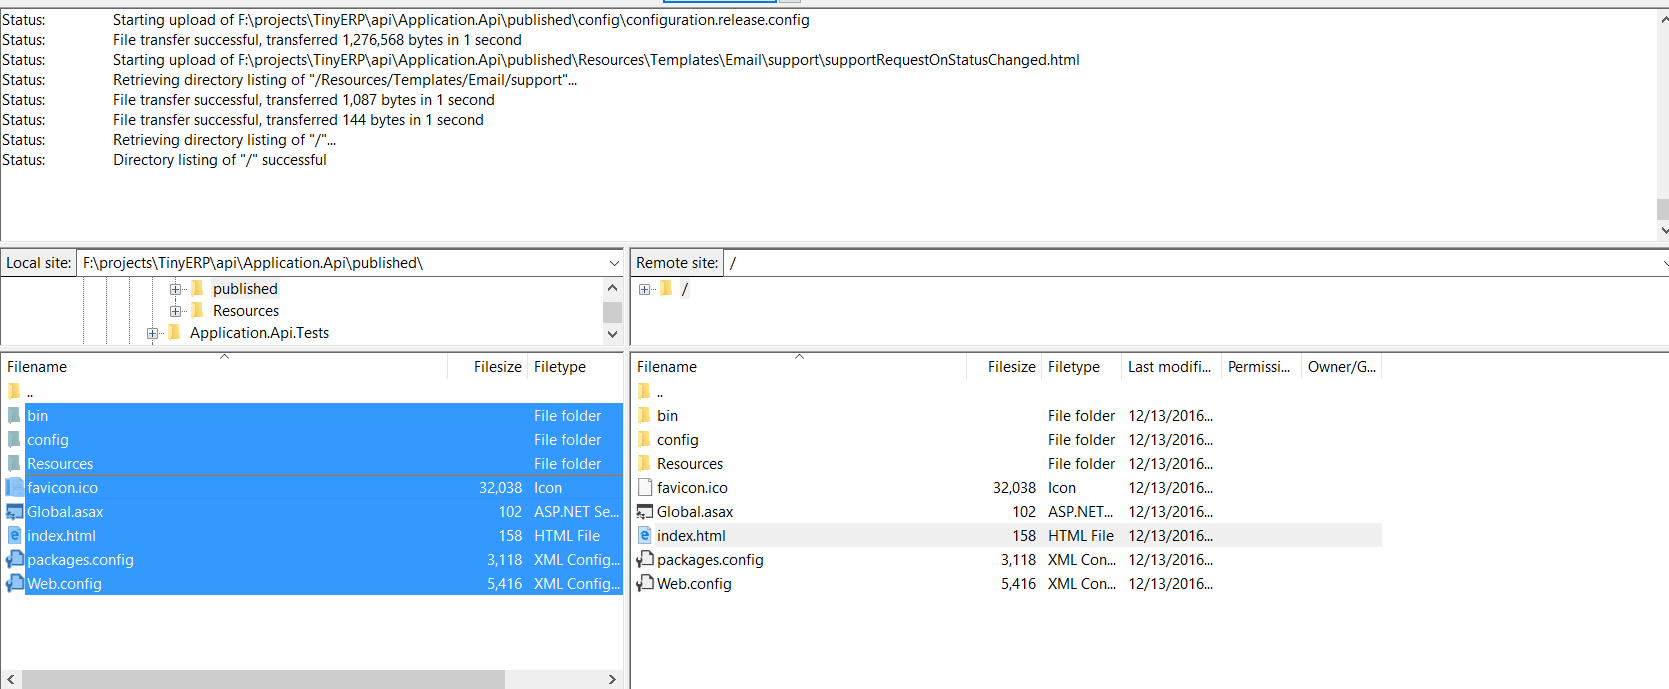
3. 上传Api 代码到Api服务器
如果发布到本地,请将发布后的文件上传到Api服务器上。
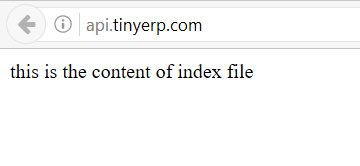
访问 api.tinyerp.com(请换成api的实际地址):
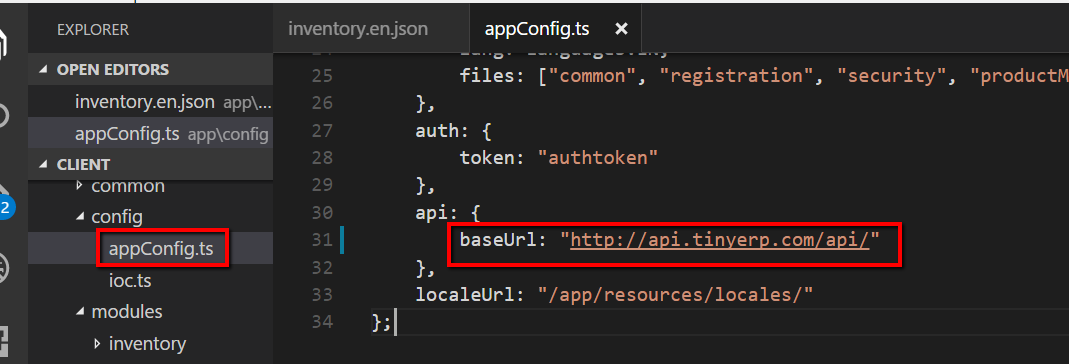
4. 更新 ApiBaseUrl (在app/config/appConfig.ts) 指向Api服务器
在”/app/config/appConfig.ts” 将baseUrl更新成Api服务器的实际地址
5. Build客户端
在 command prompt中,进入”/client/”目录, 然后运行”gulp build”:
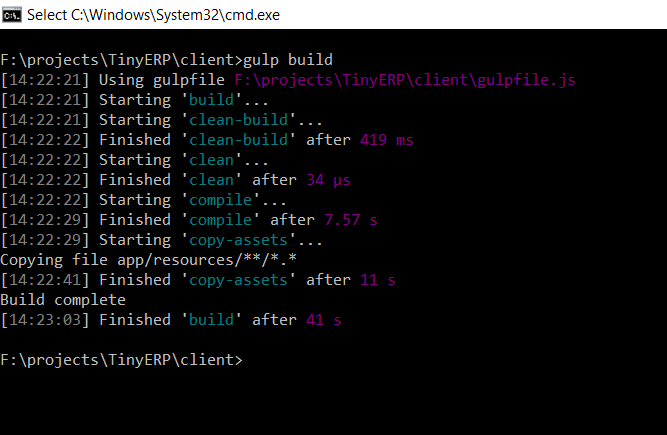
命令执行完成后,编译好的代码会放在 “/client/dist” 目录:
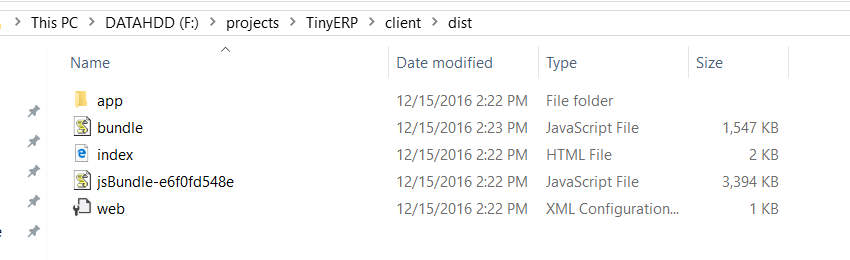
查看该目录,所有的ts文件会被编译成js文件,并被合并成 “/client/dist/bundle.js”, html文件和image文件将会被保留。
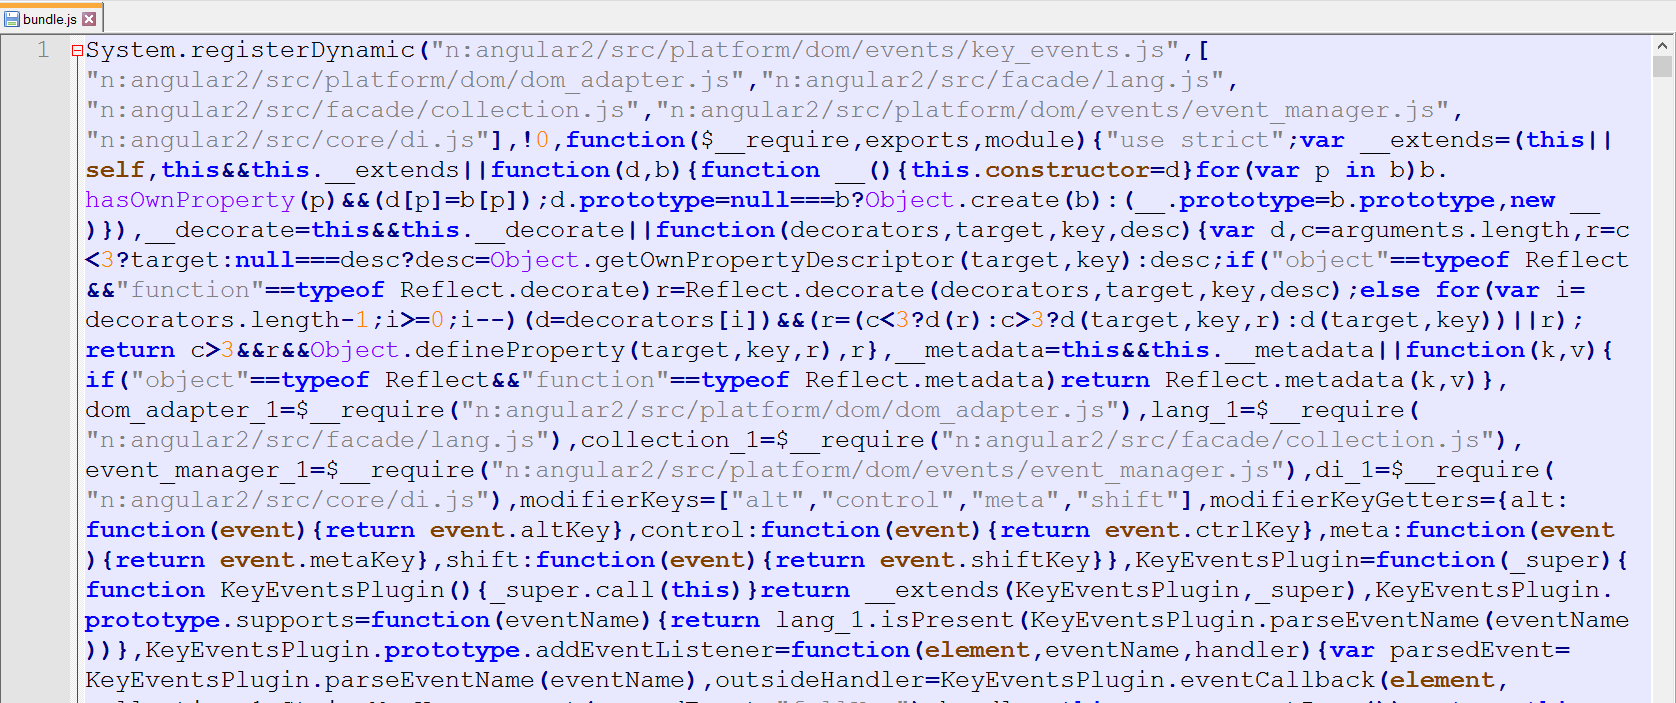
打开 “/client/dist/bundle.js”, 我们能看到合并之后的内容:
We can also apply some minification during the compile process. So the code is safe to be delivered.
我们也可以对js文件做一些压缩和混淆的工作,保证我们的代码安全传播。
6. 上传Client代码到Client服务器
上传客户端代码到Client服务器,然后请求”http://tinyerp.com“(请换成client的实际地址):
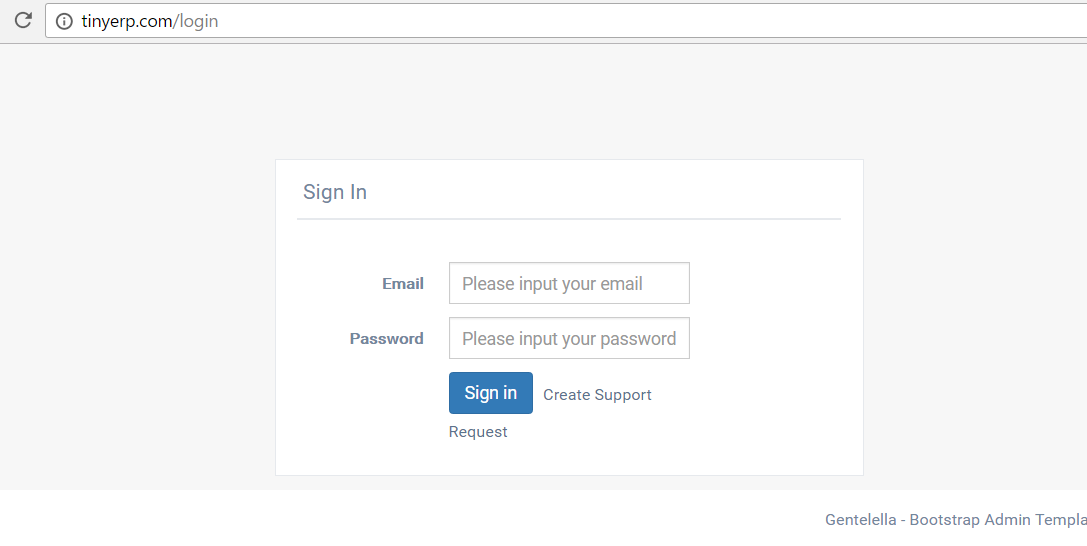
使用 “tu.tran@yahoo.com/123456”. 登录:
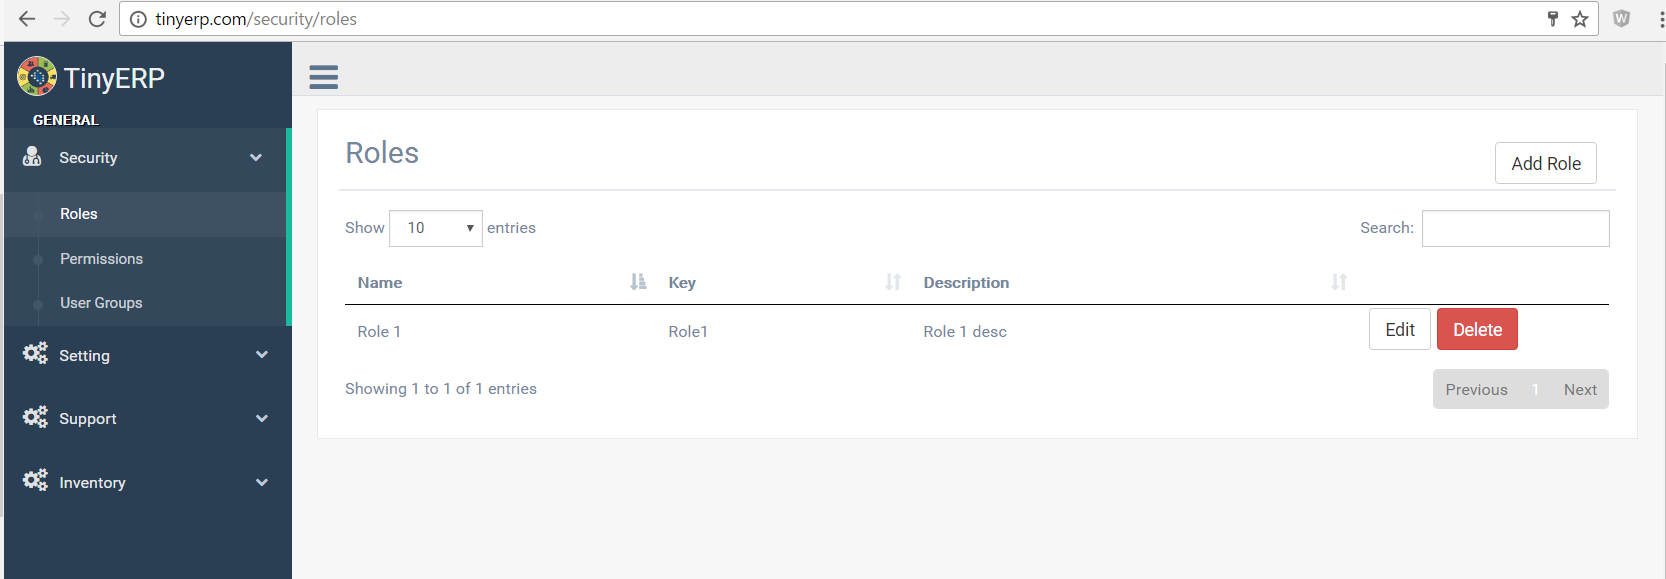
发布成功!
我在IIS中出现如下错误,如何解决?
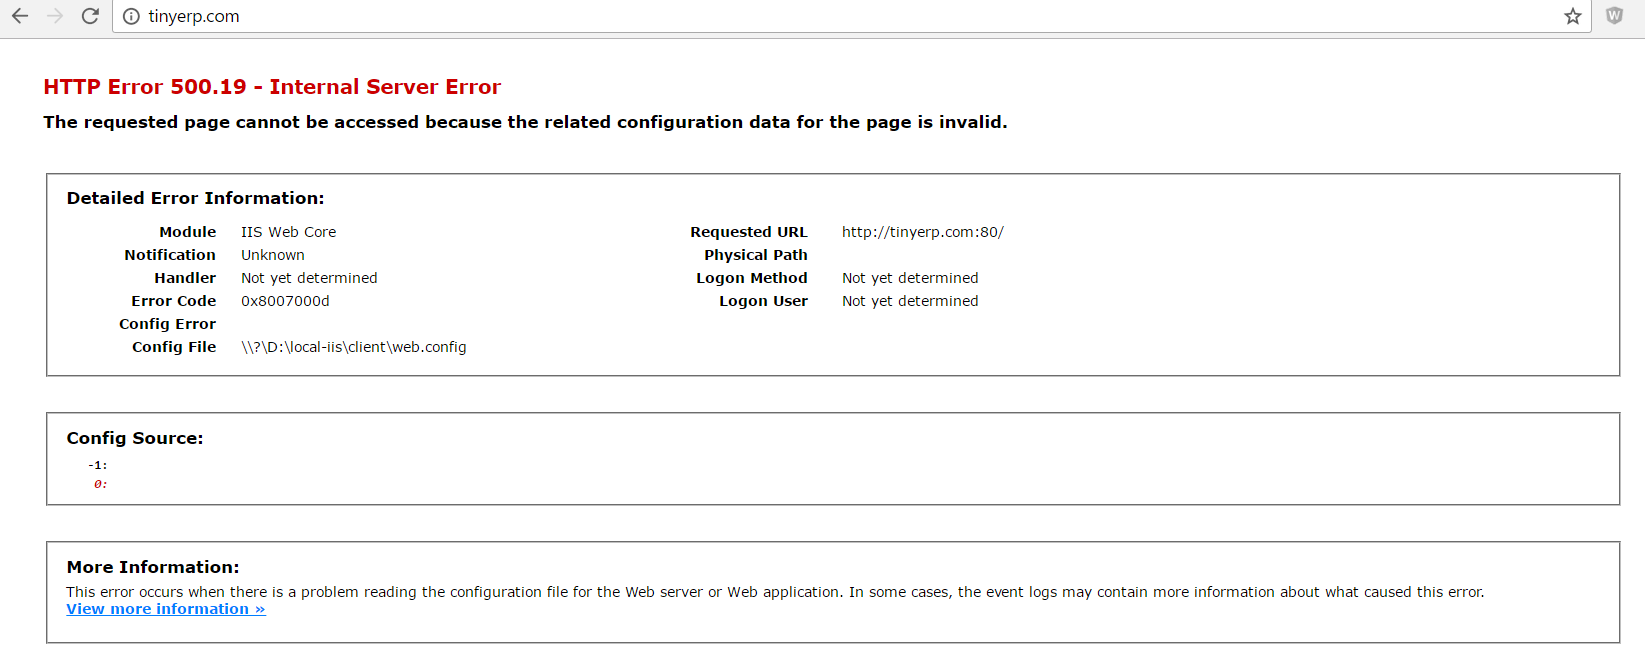
将”/client/dist”目录下web.config部署到App所在的IIS.
Web.config中有重定位的规则,保证总是跳转到index.html.
<rewrite>
    <rules>
        <rule name="Rewrite to default" enabled="true" stopProcessing="true">
            <match url="^[^.]+$" />
            <conditions>
                <add input="/api/" pattern="^OFF$"/>
            </conditions>
            <action type="Rewrite" url="/" />
        </rule>
    </rules>
</rewrite>
如果没有这条规则,IIS,将无法处理用户的请求”tinyerp.com/security/permissions”。
为了达成此目的,我们需要为IIS安装”Url Rewrite”,下载地址为
下载
我在安装”Url Rewrite Module”时发生错误?
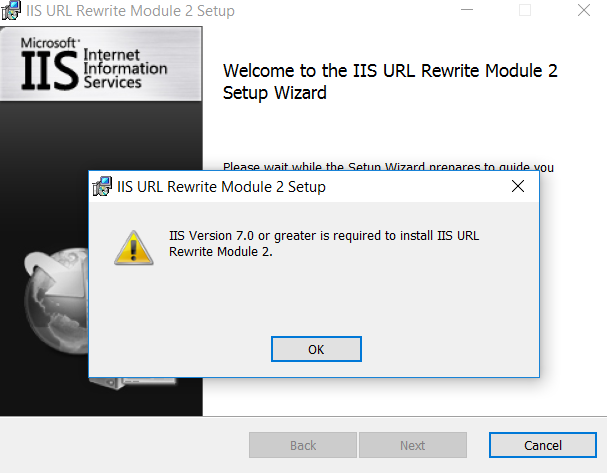
大部分与IIS相关的问题,可以参阅此处。
Client和Api在同一个域下,该怎么做?
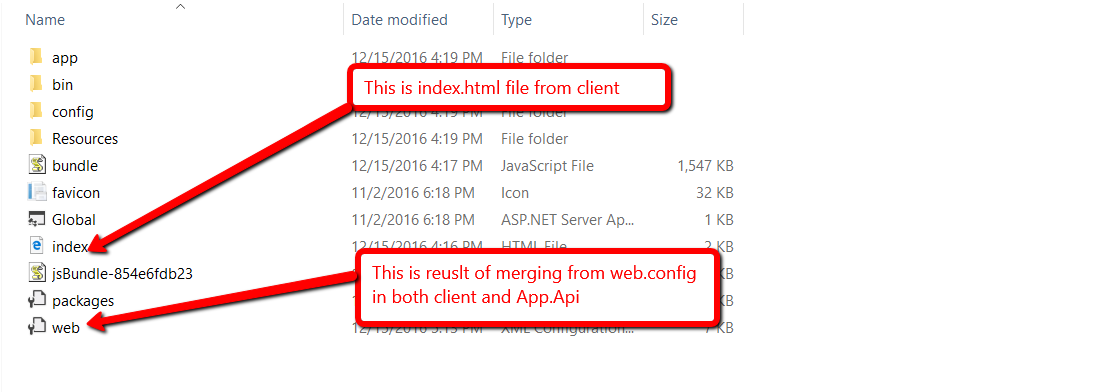
将Client和Api部署在在同一个域下,大部分工作与分别部署是相同的。将编译完的Api代码上传到图示Client所在目录下,并做一些修改:
- 移除 App.Api的index.html
- 将 App.Api的web.config与clien的web.config合并
最终的文件夹为:
授权
本文,以及所包含的源码,文件遵循CPOL协议


 3594
3594

 被折叠的 条评论
为什么被折叠?
被折叠的 条评论
为什么被折叠?
 到【灌水乐园】发言


