


 本文深入探讨了系统调用的基础,如获取进程ID、用户ID等,并通过实例展示了如何使用C语言进行进程控制,包括创建子进程、发送信号终止进程。此外,文章还介绍了多线程编程,包括线程创建、线程间通信以及使用互斥锁实现资源的同步访问。
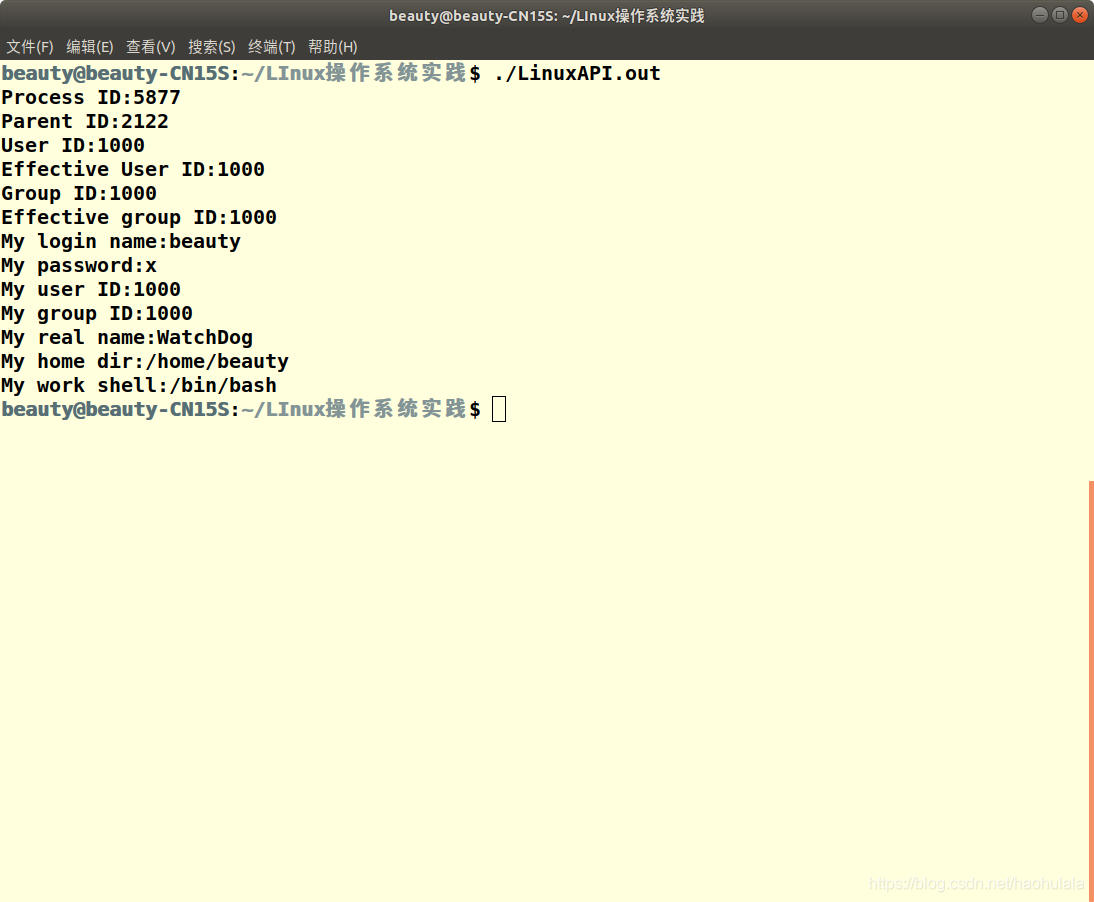
首先是简单的系统调用,类似于当前的进程号,组号,用户名等等
#include <unistd.h>
#include <pwd.h>
#include <sys/types.h>
#include <stdio.h>
int main(int argc, char **argv){
    pid_t my_pid, parent_pid;
    uid_t my_uid, my_euid;
    gid_t my_gid, my_egid;
    struct passwd *my_info;
    my_pid = getpid();          //process id
    parent_pid = getppid();     //parent process id
    my_uid = getuid();          //user id
    my_euid = geteuid();        //effective user id
    my_gid = getgid();          //group id
    my_egid = getegid();        //effective group id
    my_info = getpwuid(my_uid); //user information
    printf("Process ID:%1d\n", my_pid);
    printf("Parent ID:%1d\n", parent_pid);
    printf("User ID:%1d\n", my_uid);
    printf("Effective User ID:%1d\n", my_euid);
    printf("Group ID:%1d\n", my_gid);
    printf("Effective group ID:%1d\n", my_egid);
    if(my_info){
        printf("My login name:%s\n", my_info->pw_name);
        printf("My password:%s\n", my_info->pw_passwd);
        printf("My user ID:%1d\n", my_info->pw_uid);
        printf("My group ID:%1d\n", my_info->pw_gid);
        printf("My real name:%s\n", my_info->pw_gecos);
        printf("My home dir:%s\n", my_info->pw_dir);
        printf("My work shell:%s\n", my_info->pw_shell);
    }
    return 0;
}
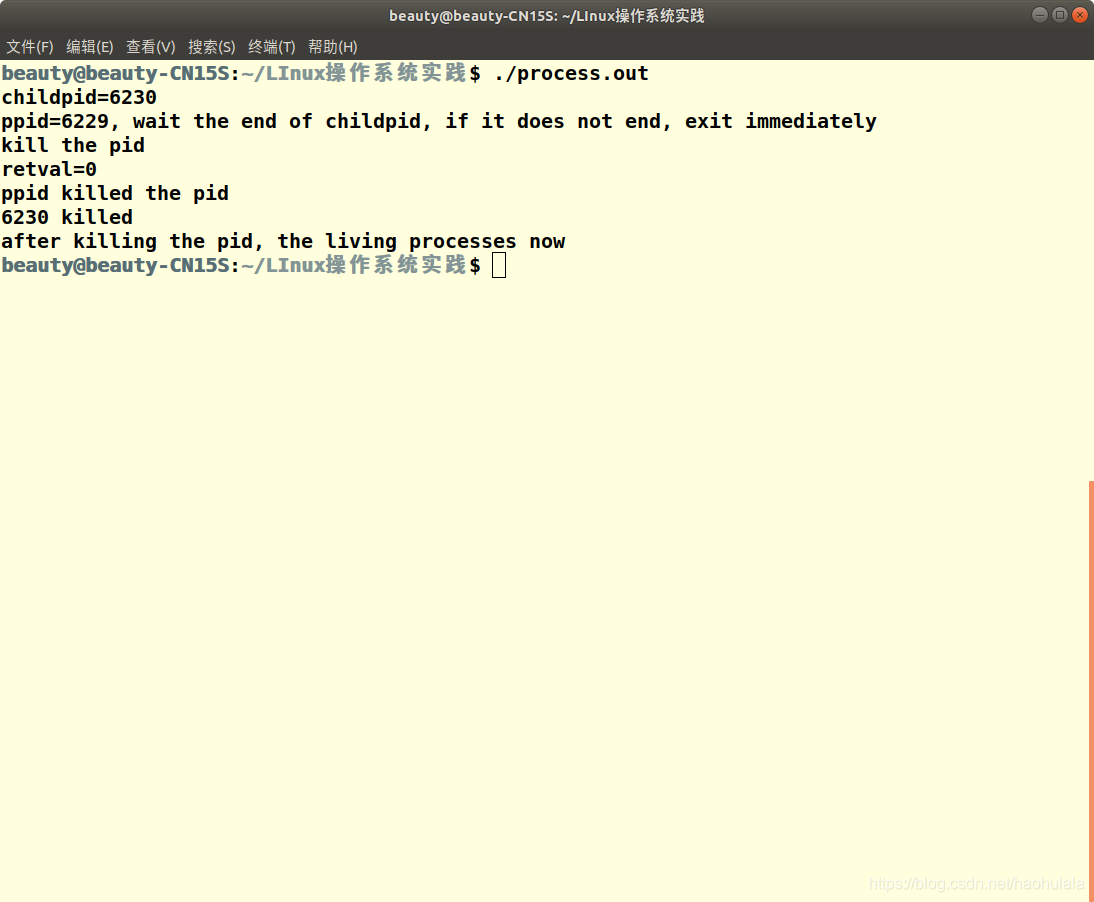
接下来是进程的基本操作,比如kill
#include <sys/wait.h>
#include <sys/types.h>
#include <stdio.h>
#include <stdlib.h>
#include <signal.h>
int main(void){
    pid_t childpid;
    int status;
    int retval;
    childpid = fork();      //clone a new process
    printf("childpid=%d\n", childpid);
    if(childpid == -1){     //fail to create a new process
        perror("fork()");
        exit(EXIT_FAILURE);
    }
    else if(childpid == 0){
        puts("In child process\n");
        printf("pid=%d, sleep 100 sec\n", (int)getpid());
        sleep(100);
        exit(EXIT_SUCCESS);
    }
    else{
        printf("ppid=%d, wait the end of childpid, if it does not end, exit immediately\n", (int)getpid());
        if(waitpid(childpid, &status, WNOHANG)==0){
            //pid does not end
            printf("kill the pid\n");
            retval = kill(childpid, SIGKILL);
            printf("retval=%d\n", retval);
            printf("ppid killed the pid\n");
            if(retval){
                puts("kill failed.\n");
                perror("kill");
                waitpid(childpid, &status, 0);
            }
            else{
                printf("%d killed\n", childpid);
                printf("after killing the pid, the living processes now\n");
            }
        }
    }
    exit(EXIT_SUCCESS);
    return 0;
}
然后是简单的多线程操作
#include <pthread.h>
#include <stdio.h>
/*
*  you should add -lpthread while compiling this file
*  like gcc multiThreads.c -o multiThreads.out -lpthread
*/
void *printyou(void* unused){
    int c=20;
    while(c--)  printf("11  ", stderr);
    return NULL;
}
void *printme(void* unused){
    int c=20;
    while(c--) printf("22  ", stderr);
    return NULL;
}
void *printhim(void* unused){
    int c=20;
    while(c--) printf("33  ", stderr);
    return NULL;
}
int main(){
    int c=20;
    pthread_t t1, t2, t3;
    //create new thread
    /*
    *   param1 thread identifier
    *   param2 the attribute of the thread
    *   param3 the starting addr of function
    *   param4 the running attribute
    */
    pthread_create (&t1, NULL, &printyou, NULL);
    pthread_create (&t2, NULL, &printme, NULL);
    pthread_create (&t3, NULL, &printhim, NULL);
    while(c--) printf("44  ", stderr);
    return 0;
}
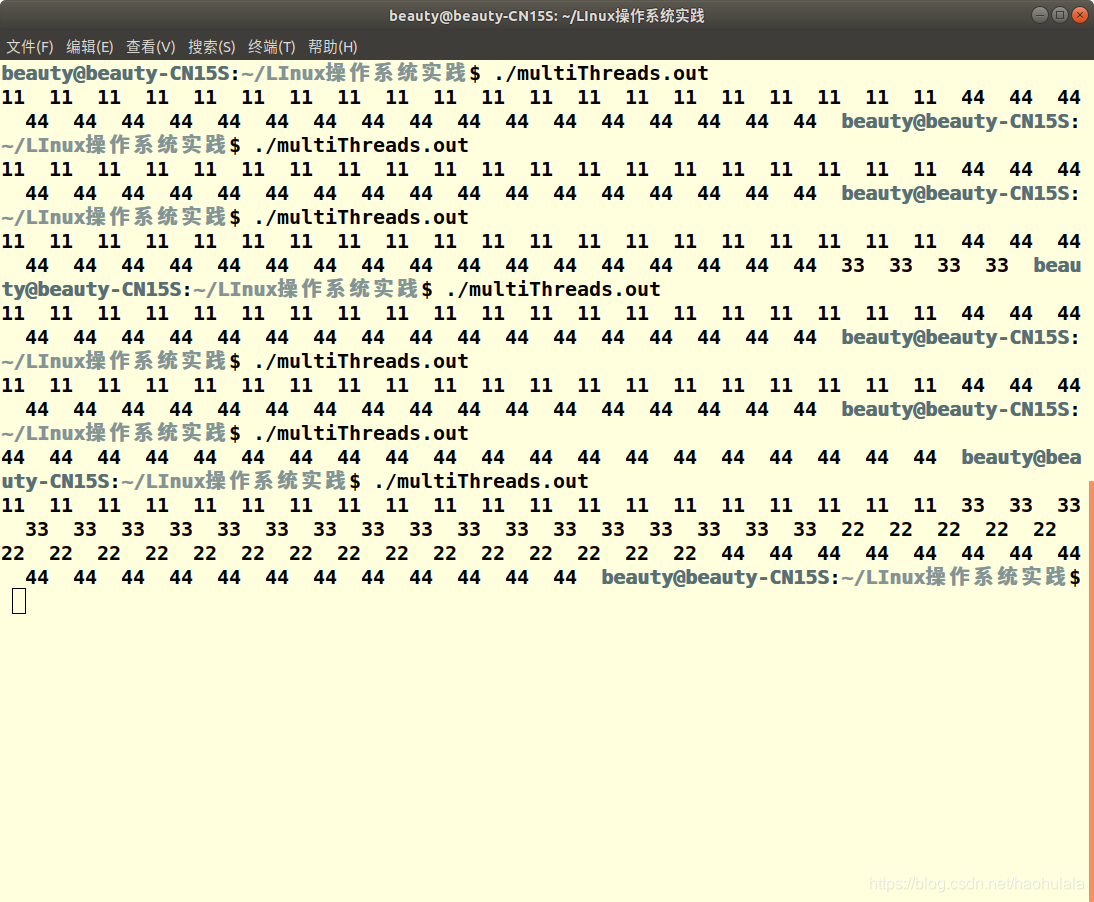
不知道为什么每次结果都不太一样。。
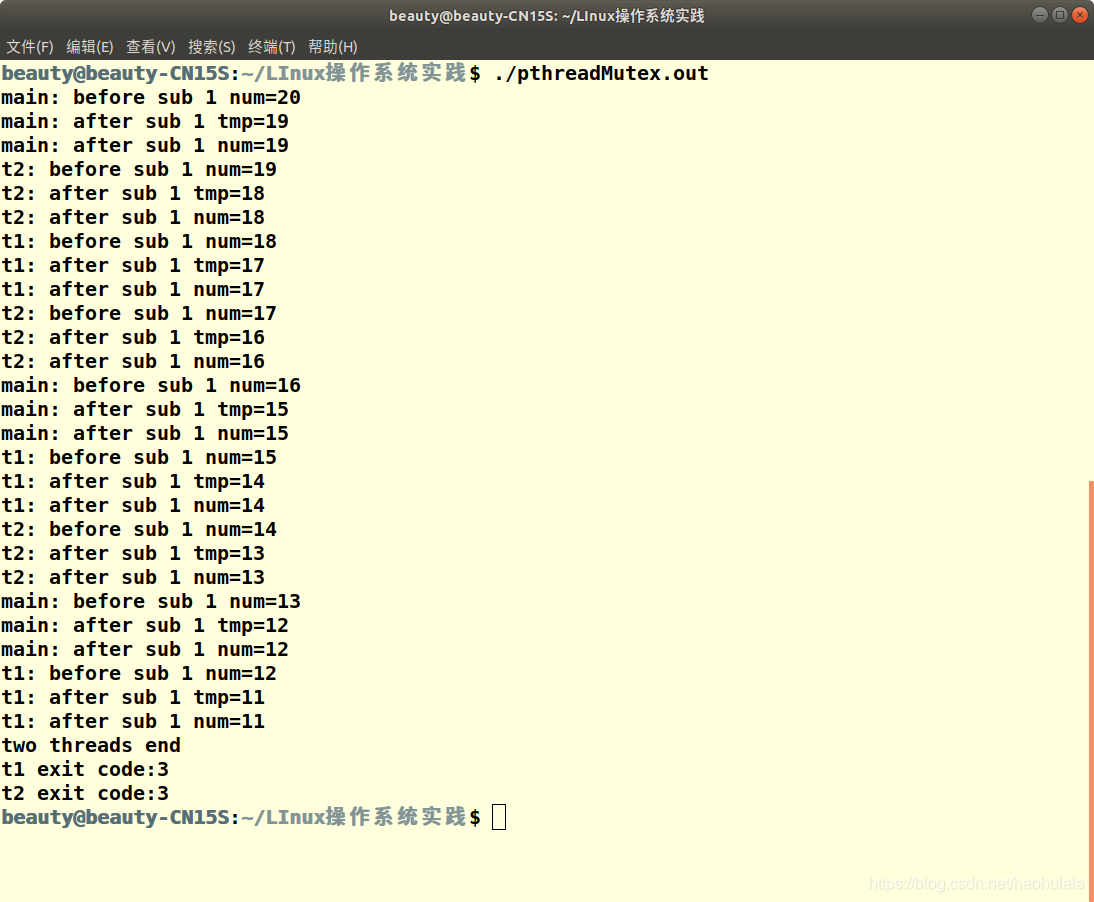
最后是有锁保护的多线程访问理解资源
#include <stdio.h>
#include <stdlib.h>
#include <pthread.h>
#include <unistd.h>
#include <string.h>
int num=20,count=3;
pthread_mutex_t mylock=PTHREAD_COND_INITIALIZER;
void *sub1(){
    int i=0,tmp;
    for(;i<count;i++){
        pthread_mutex_lock(&mylock);
        printf("t1: before sub 1 num=%d\n", num);
        tmp = num-1;
        printf("t1: after sub 1 tmp=%d\n", tmp);
        num = tmp;
        printf("t1: after sub 1 num=%d\n", num);
        pthread_mutex_unlock(&mylock);
        sleep(1);
    }
}
void *sub2(){
    int i=0,tmp;
    for(;i<count;i++){
        pthread_mutex_lock(&mylock);
        printf("t2: before sub 1 num=%d\n", num);
        tmp = num-1;
        printf("t2: after sub 1 tmp=%d\n", tmp);
        num = tmp;
        printf("t2: after sub 1 num=%d\n", num);
        pthread_mutex_unlock(&mylock);
        sleep(1);
    }
}
int main(int argc, char **argv){
    pthread_t t1, t2;
    int err, i=0, tmp;
    void *tret;
    err = pthread_create(&t1, NULL, sub1, NULL);
    if(err!=0){
        printf("t1 create error:%s\n", strerror(err));
        exit(-1);
    }
    err = pthread_create(&t2, NULL, sub2, NULL);
    if(err!=0){
        printf("t2 create error:%s\n", strerror(err));
        exit(-1);
    }
    for(;i<count;i++){
        pthread_mutex_lock(&mylock);
        printf("main: before sub 1 num=%d\n", num);
        tmp = num-1;
        printf("main: after sub 1 tmp=%d\n", tmp);
        num = tmp;
        printf("main: after sub 1 num=%d\n", num);
        pthread_mutex_unlock(&mylock);
        sleep(1);
    }
    printf("two threads end\n");
    err = pthread_join(t1, &tret);   //block the thread
    if(err!=0){
        printf("can not join the thread t1:%s", strerror(err));
        exit(-1);
    }
    printf("t1 exit code:%d\n", (int)tret);
    err = pthread_join(t2, &tret);   //block the thread
    if(err!=0){
        printf("can not join the thread t2:%s", strerror(err));
        exit(-1);
    }
    printf("t2 exit code:%d\n", (int)tret);
    return 0;
}


 1873
1873

 被折叠的 条评论
为什么被折叠?
被折叠的 条评论
为什么被折叠?
 到【灌水乐园】发言


