


 本文详细介绍了如何在Zabbix中监控Linux CentOS主机,包括创建监控项、配置触发器,以及设置本地和第三方邮箱(如163邮箱)进行告警通知。通过邮件服务安装、授权码配置、邮件格式设定,确保告警信息能准确发送。同时,还展示了如何编写和测试脚本,以实现更灵活的邮件告警功能。
在所监控的主机上创建一个被监控的测试文件
[root@localhost ~]# touch /etc/test
选择需要监控的主机

新建监控项

配置监控项信息

添加触发器


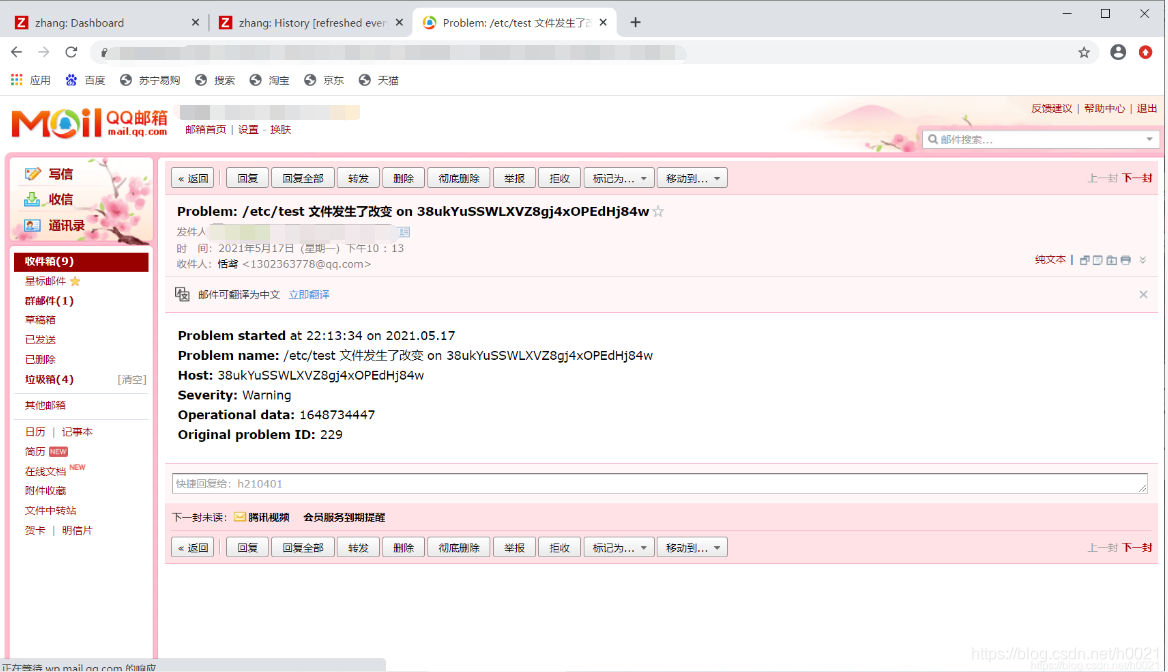
验证


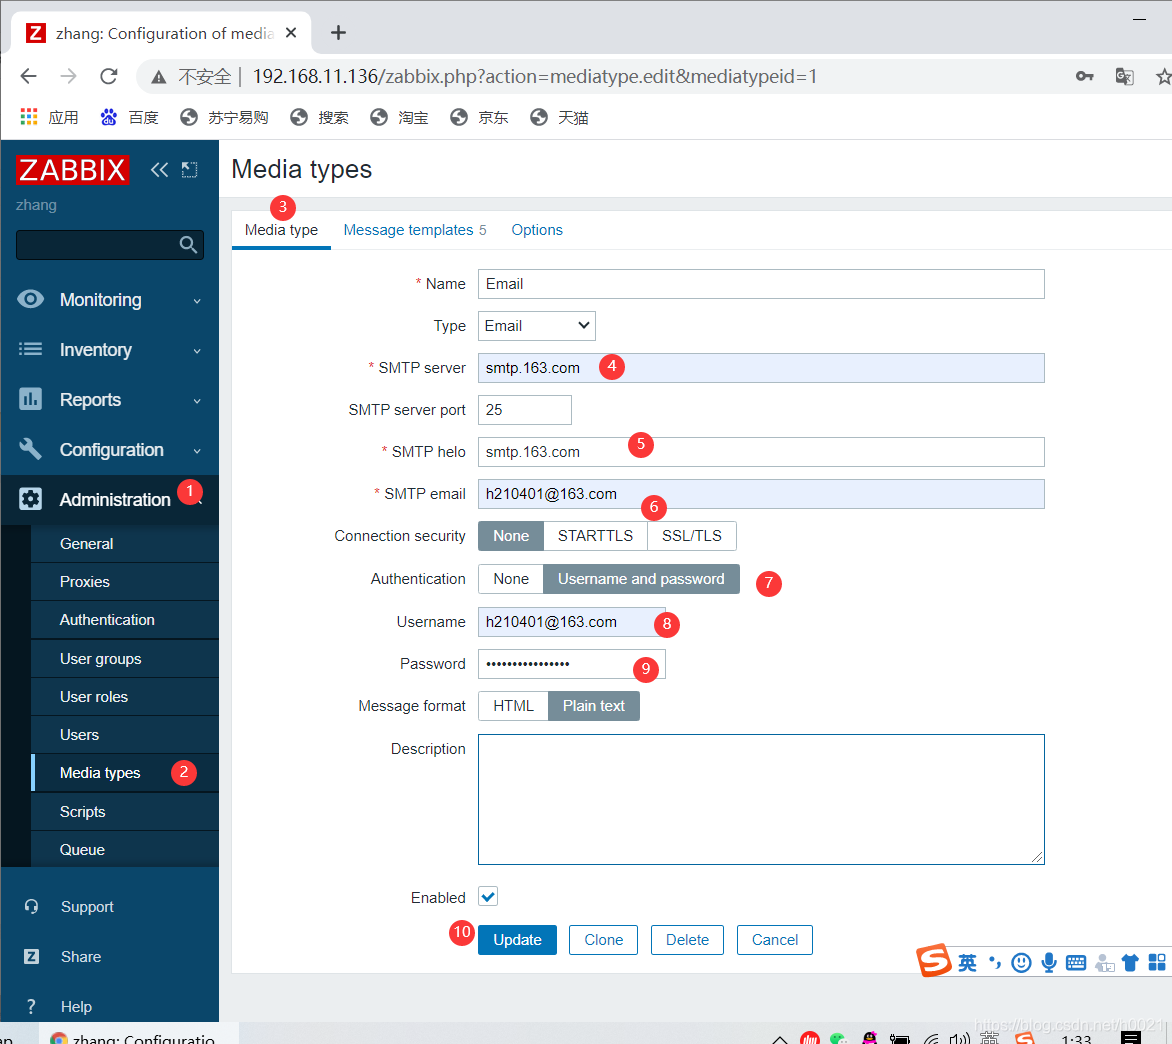
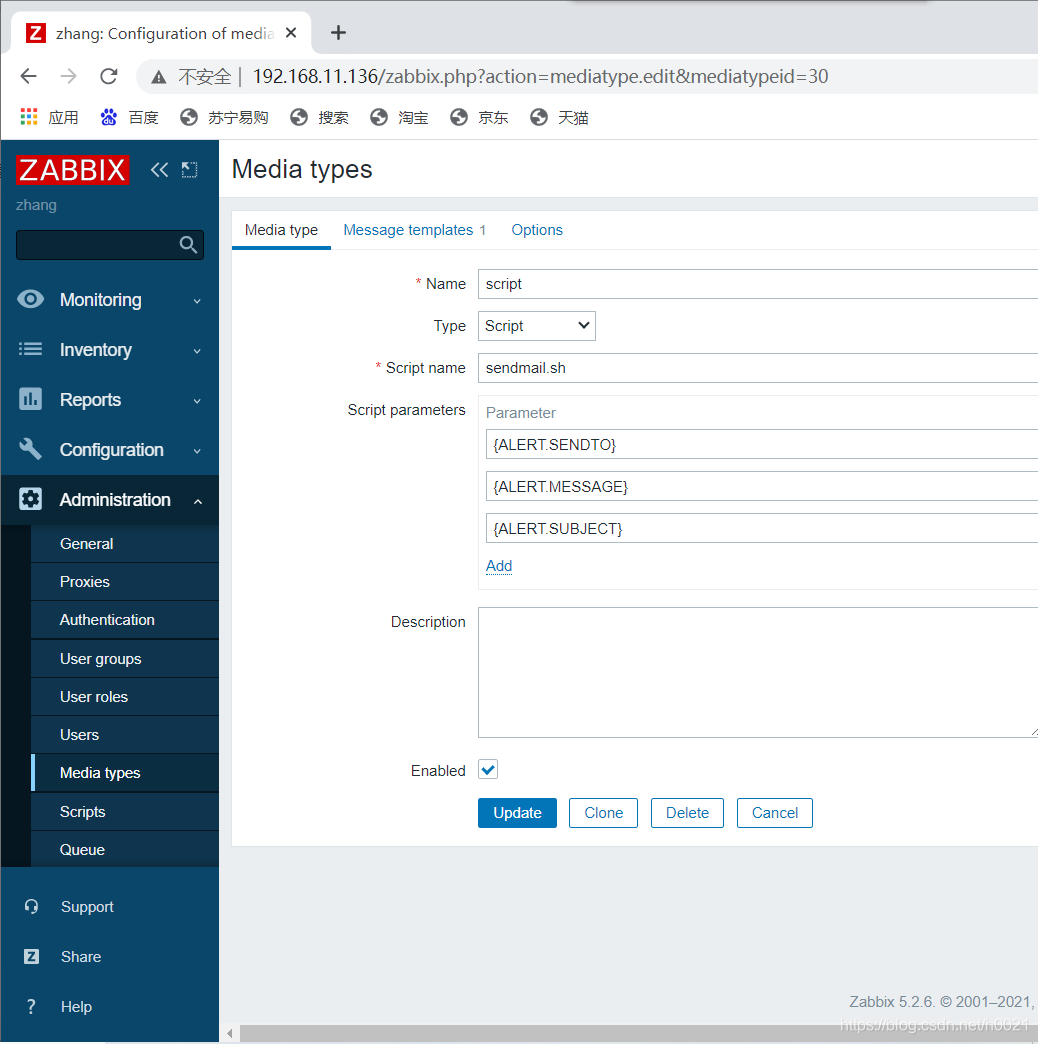
定义媒介
开启163邮箱的POP3和/SMTP服务并且保存授权码

授权码:

配置邮件发送格式

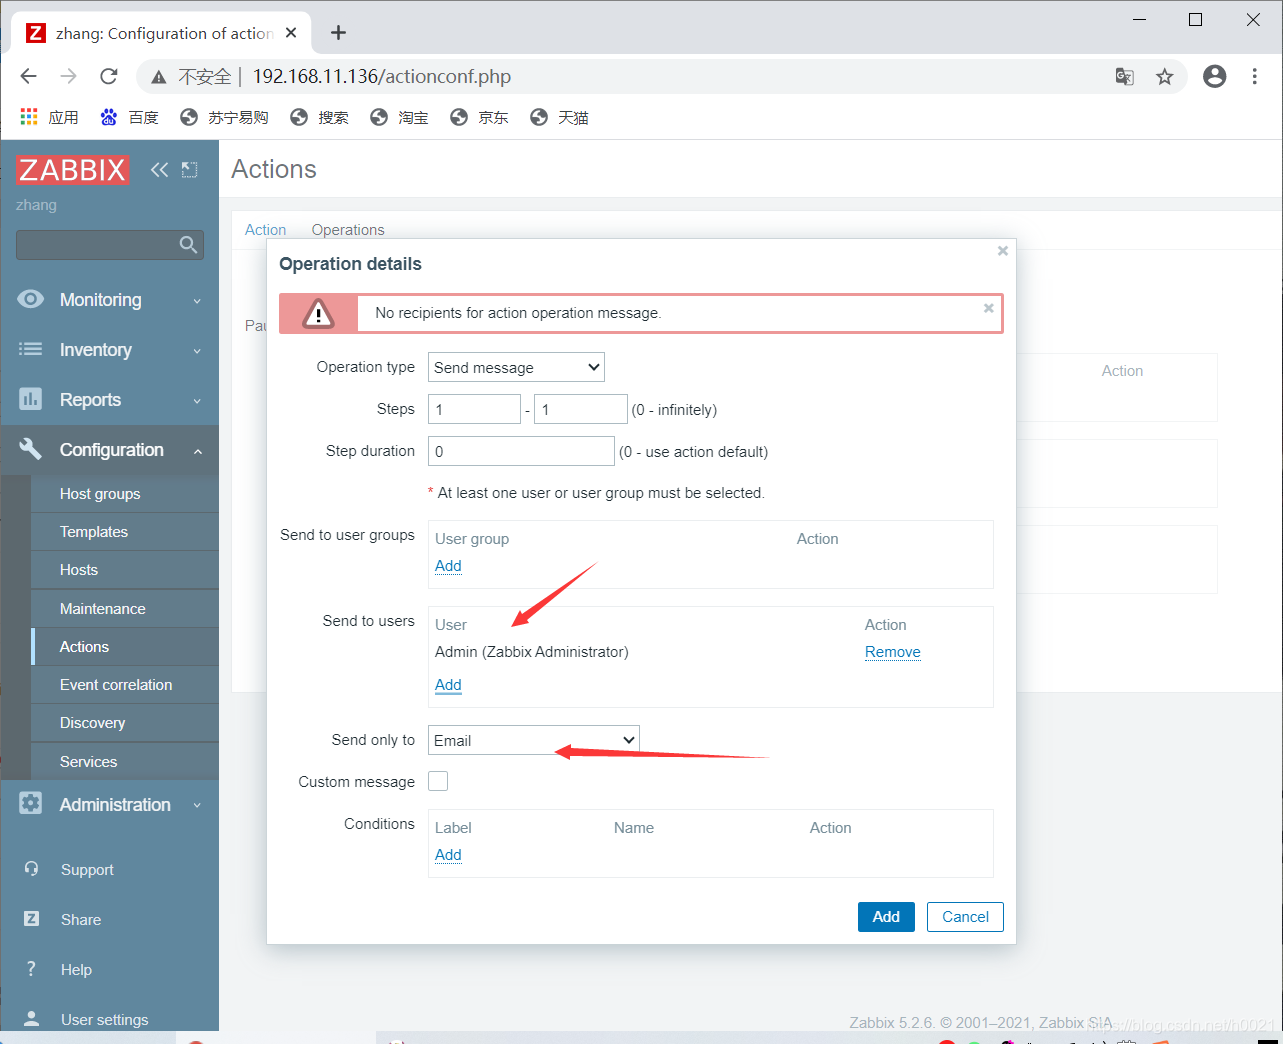
为不同的用户选择媒介


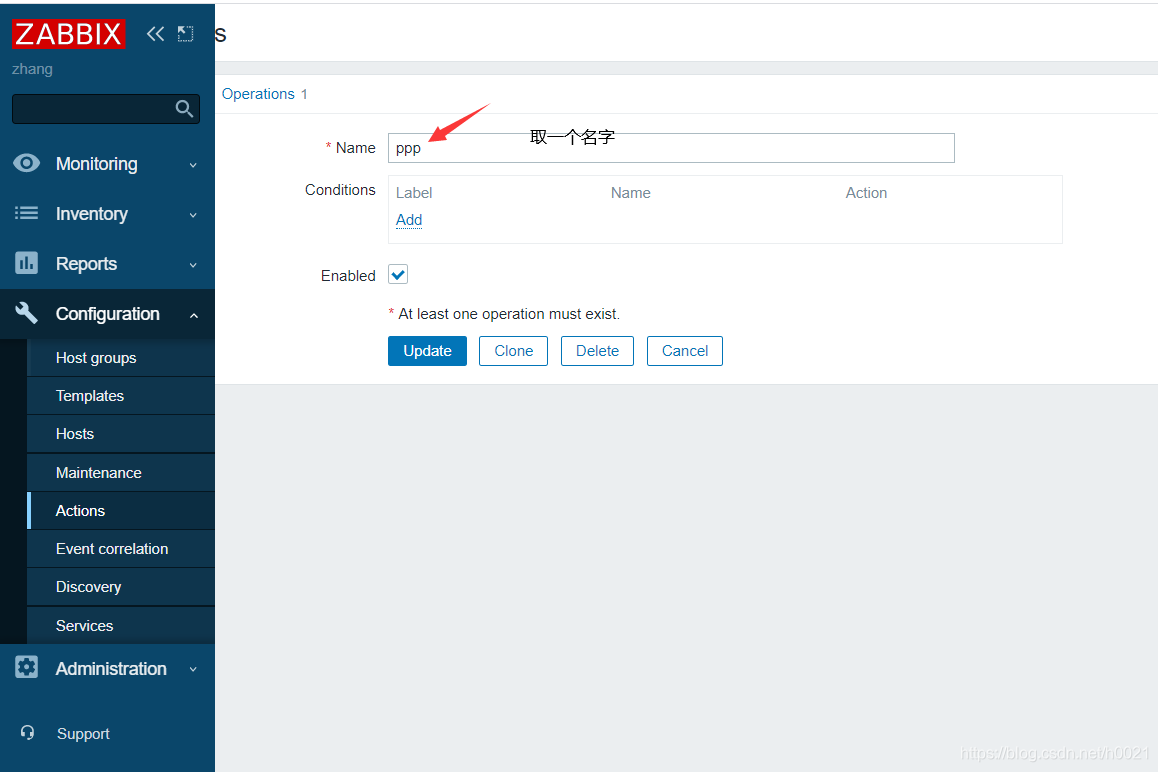
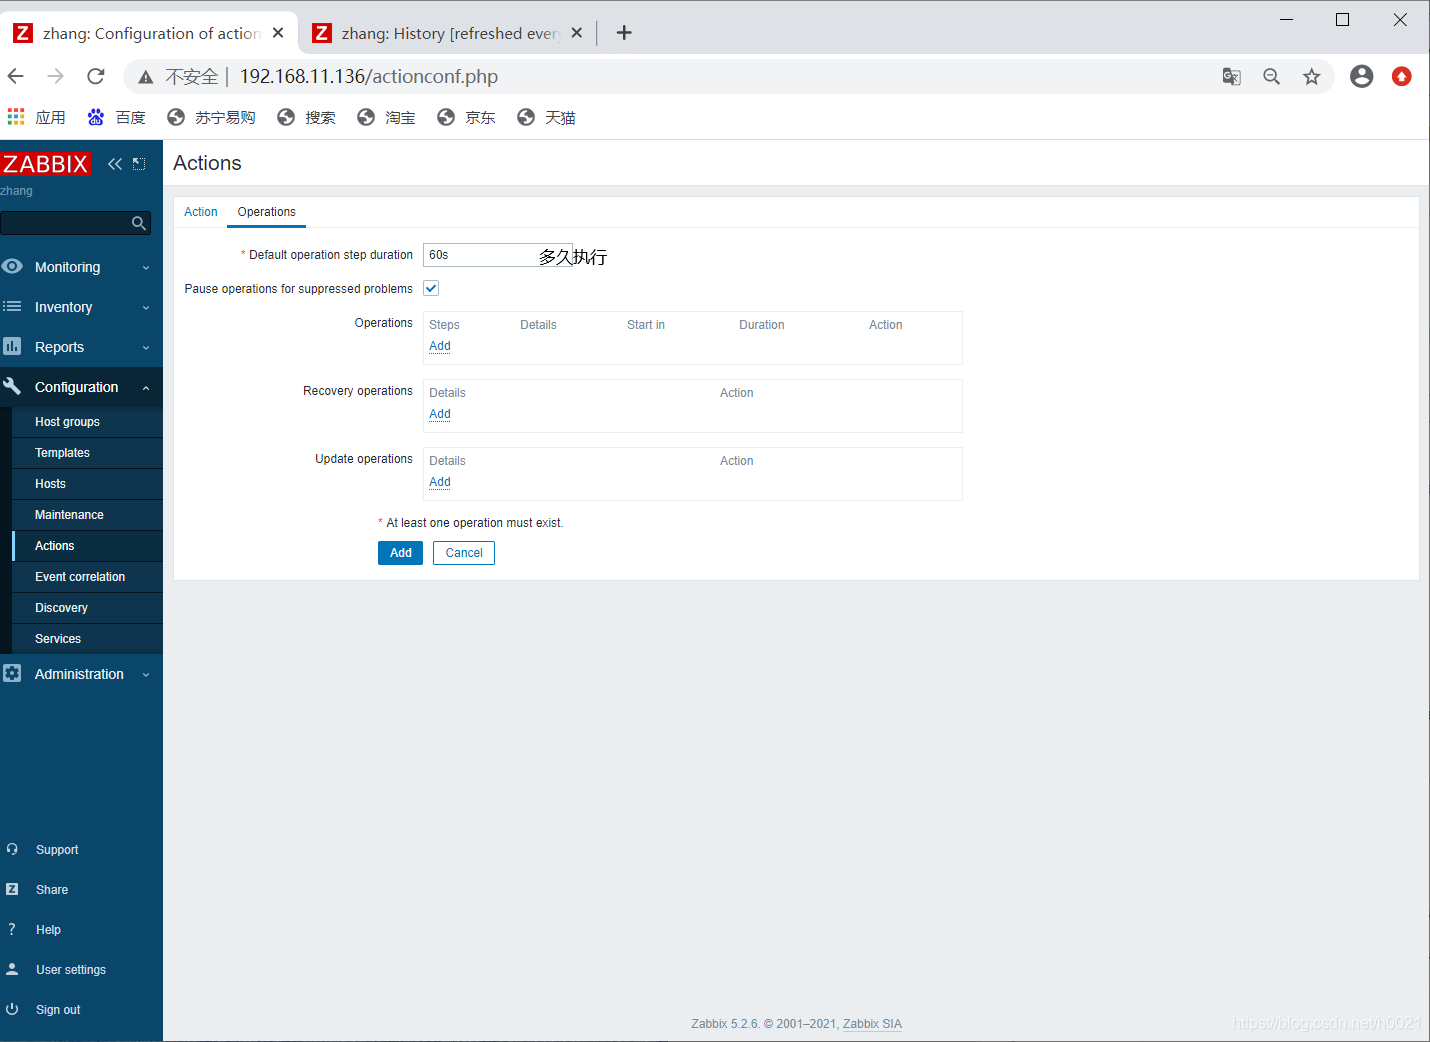
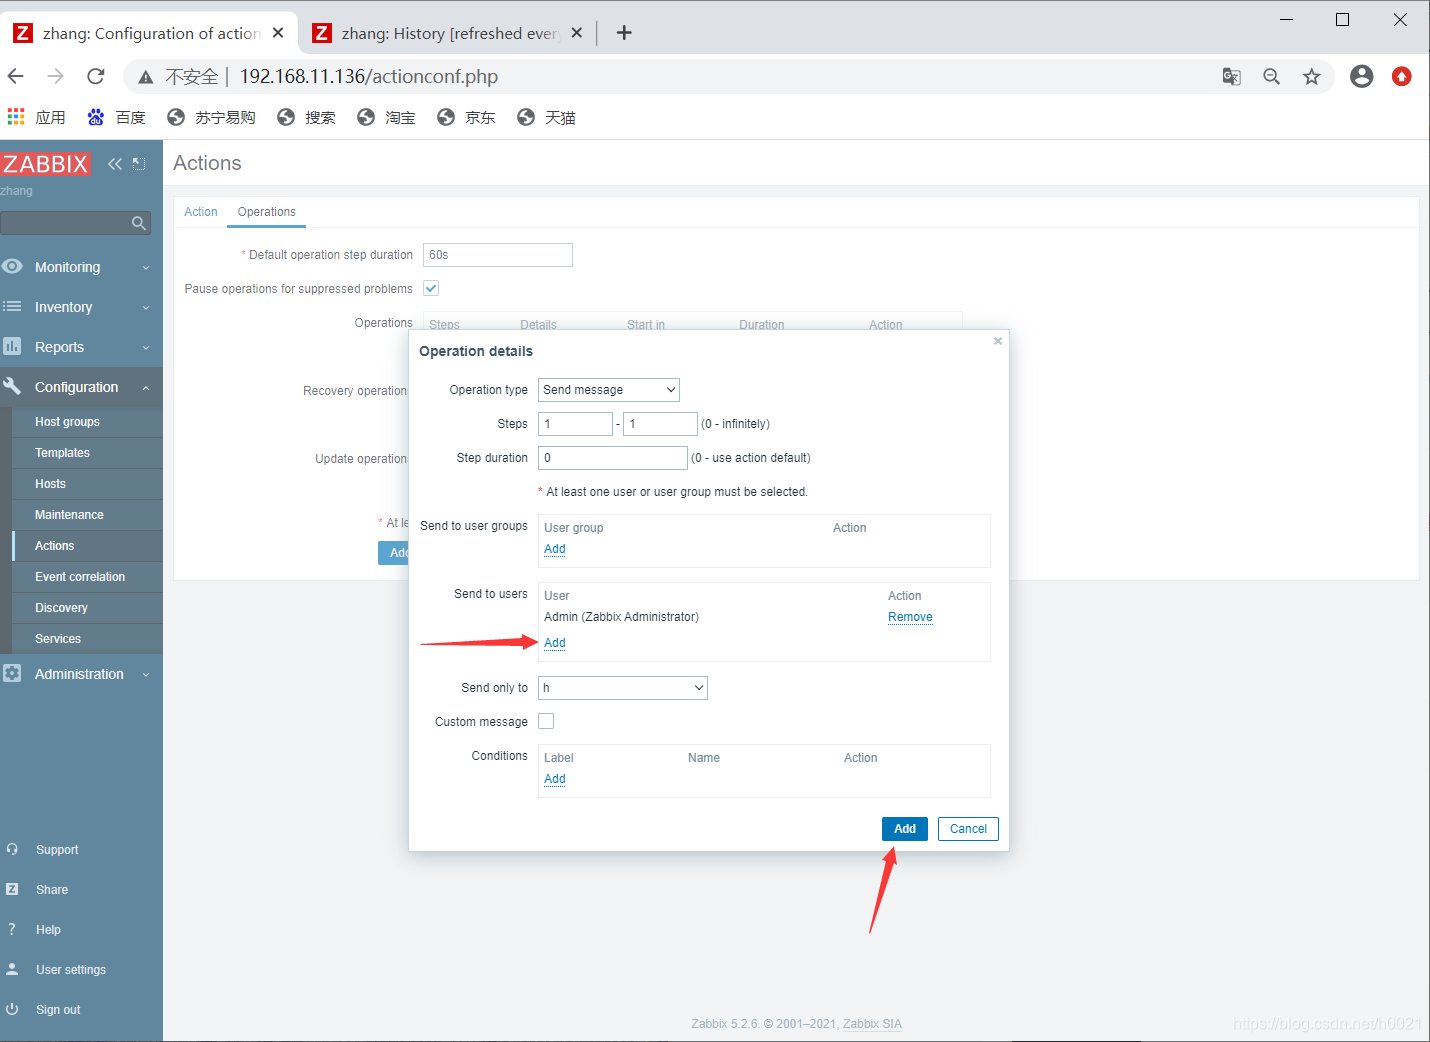
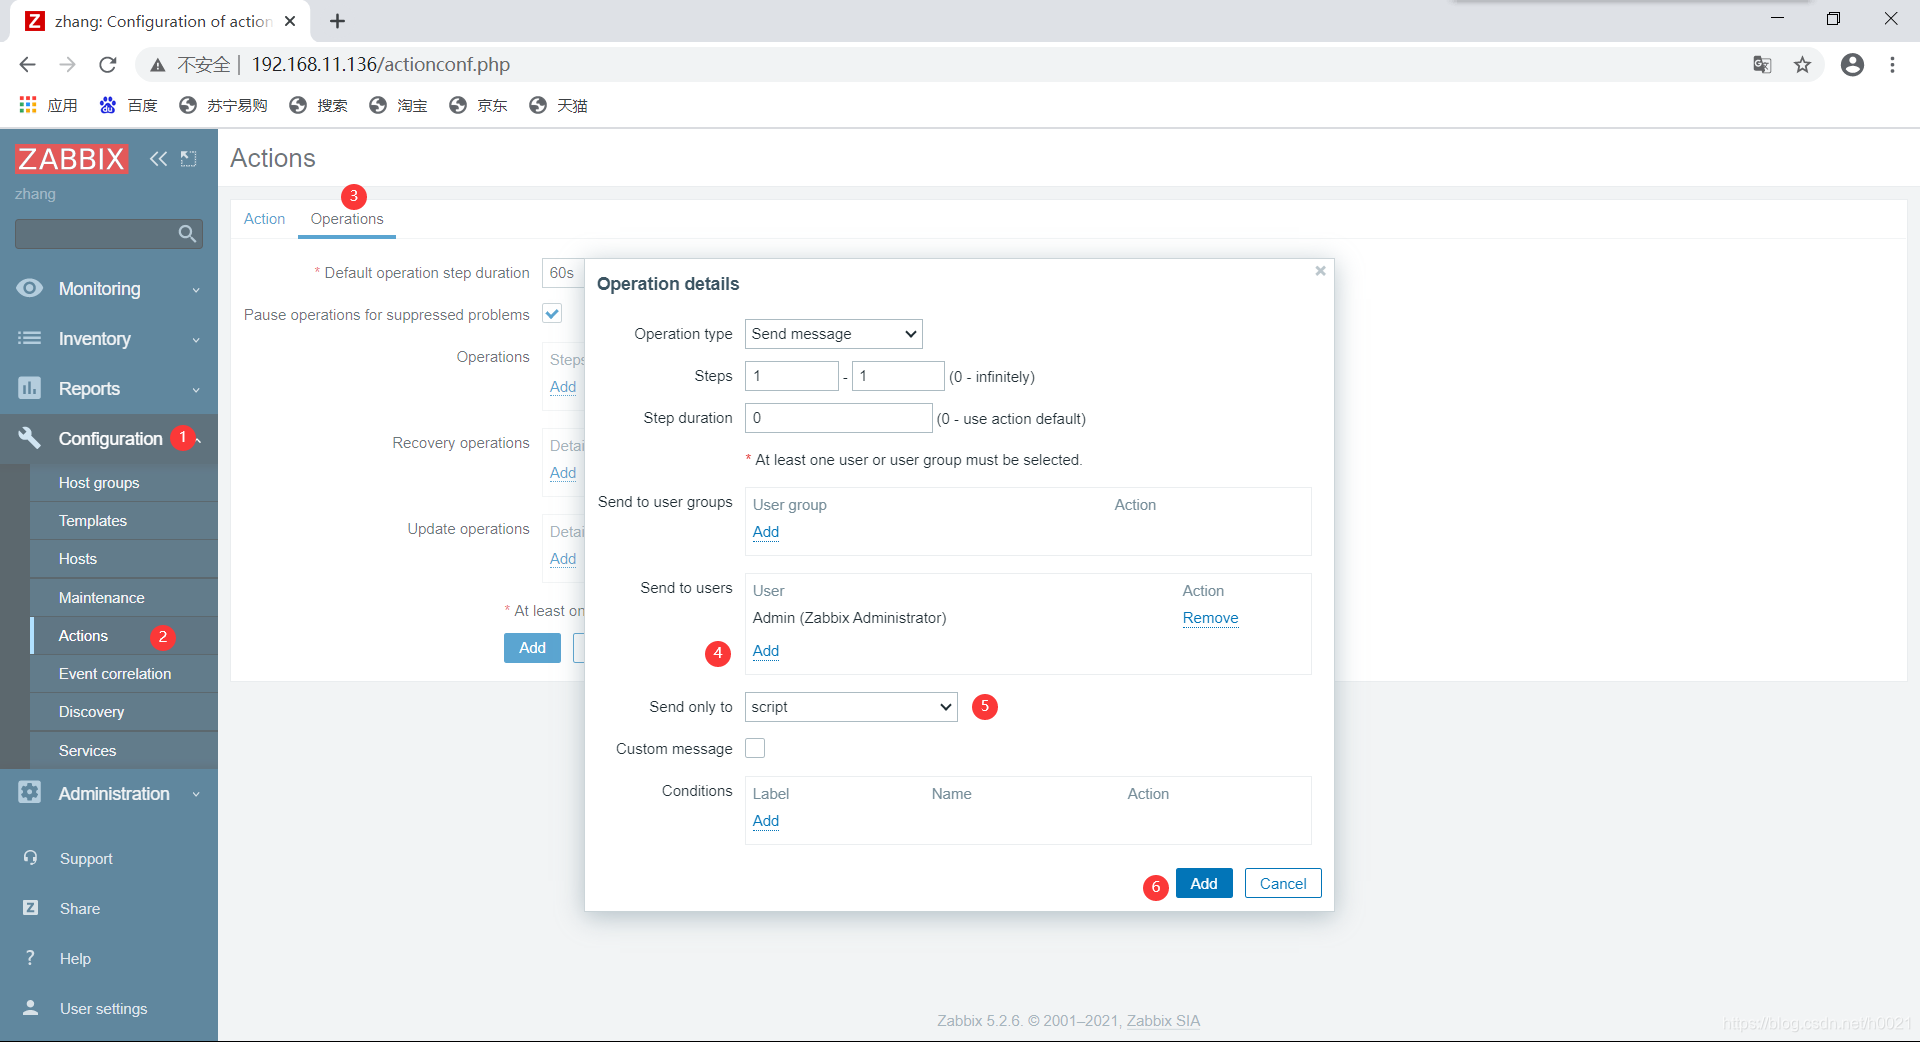
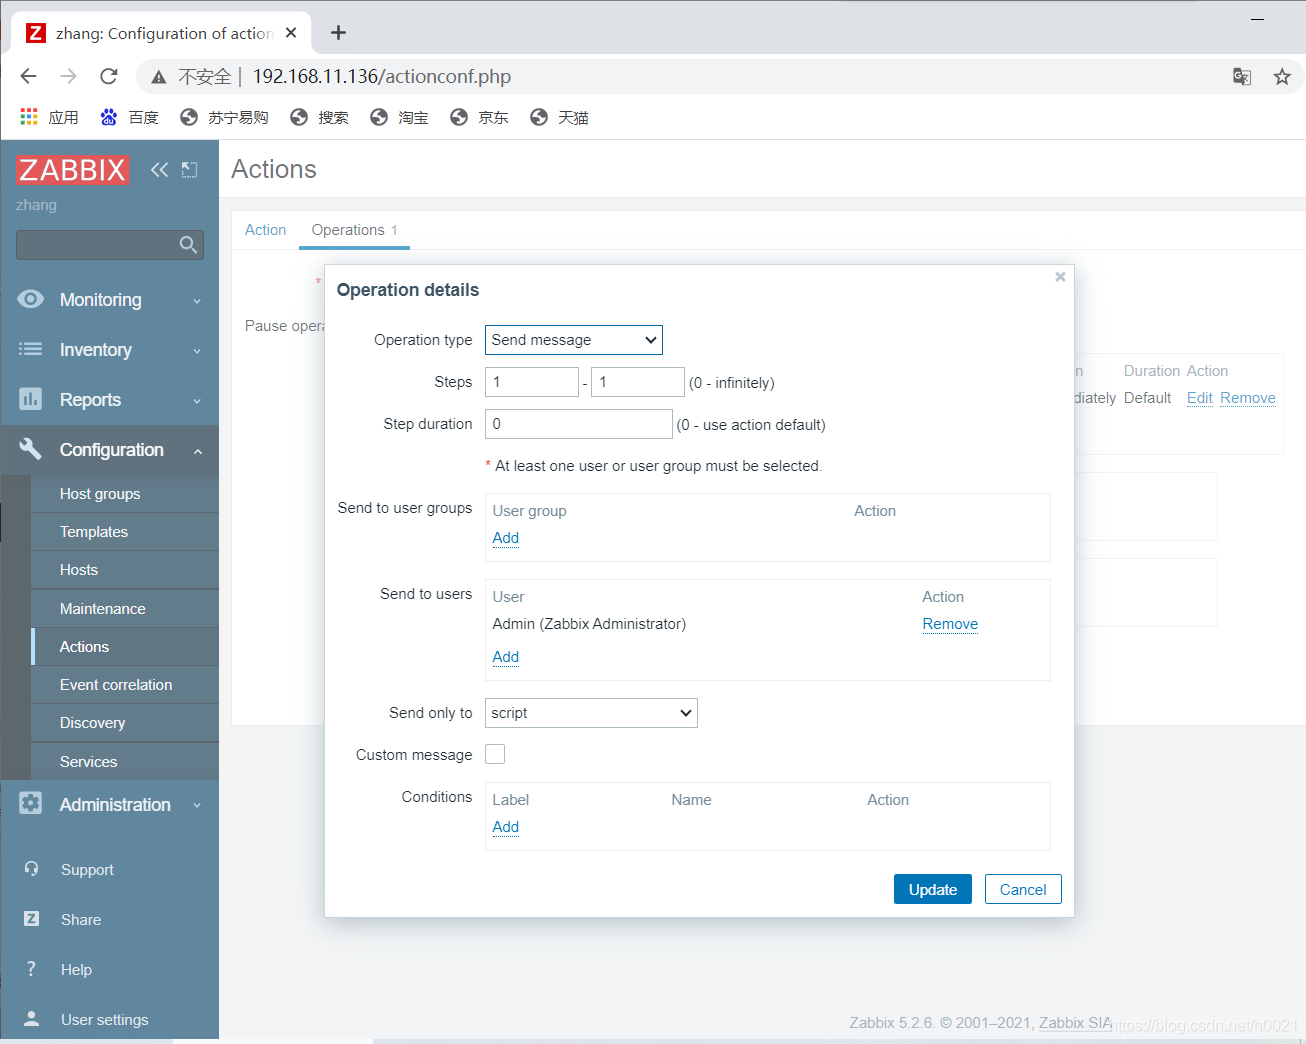
为触发器配置动作


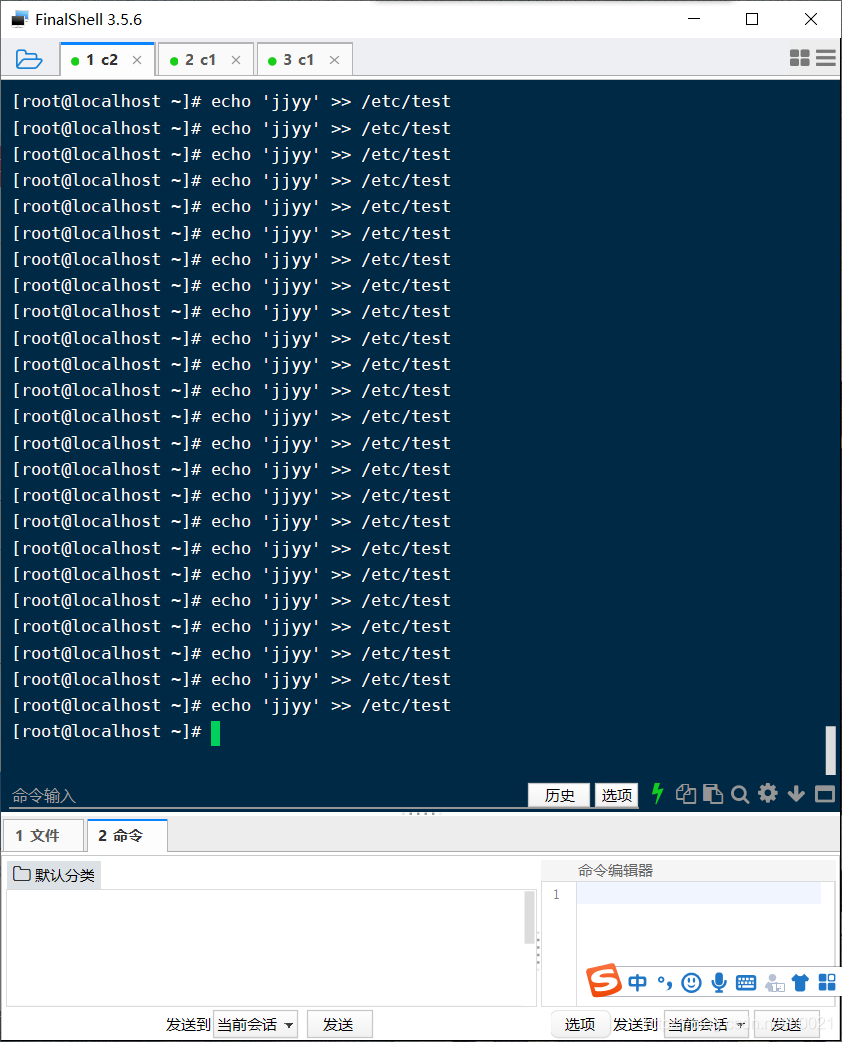
手动触发问题
修改test文件
[root@localhost ~]# echo 'shjkdhkashd' >>/etc/test
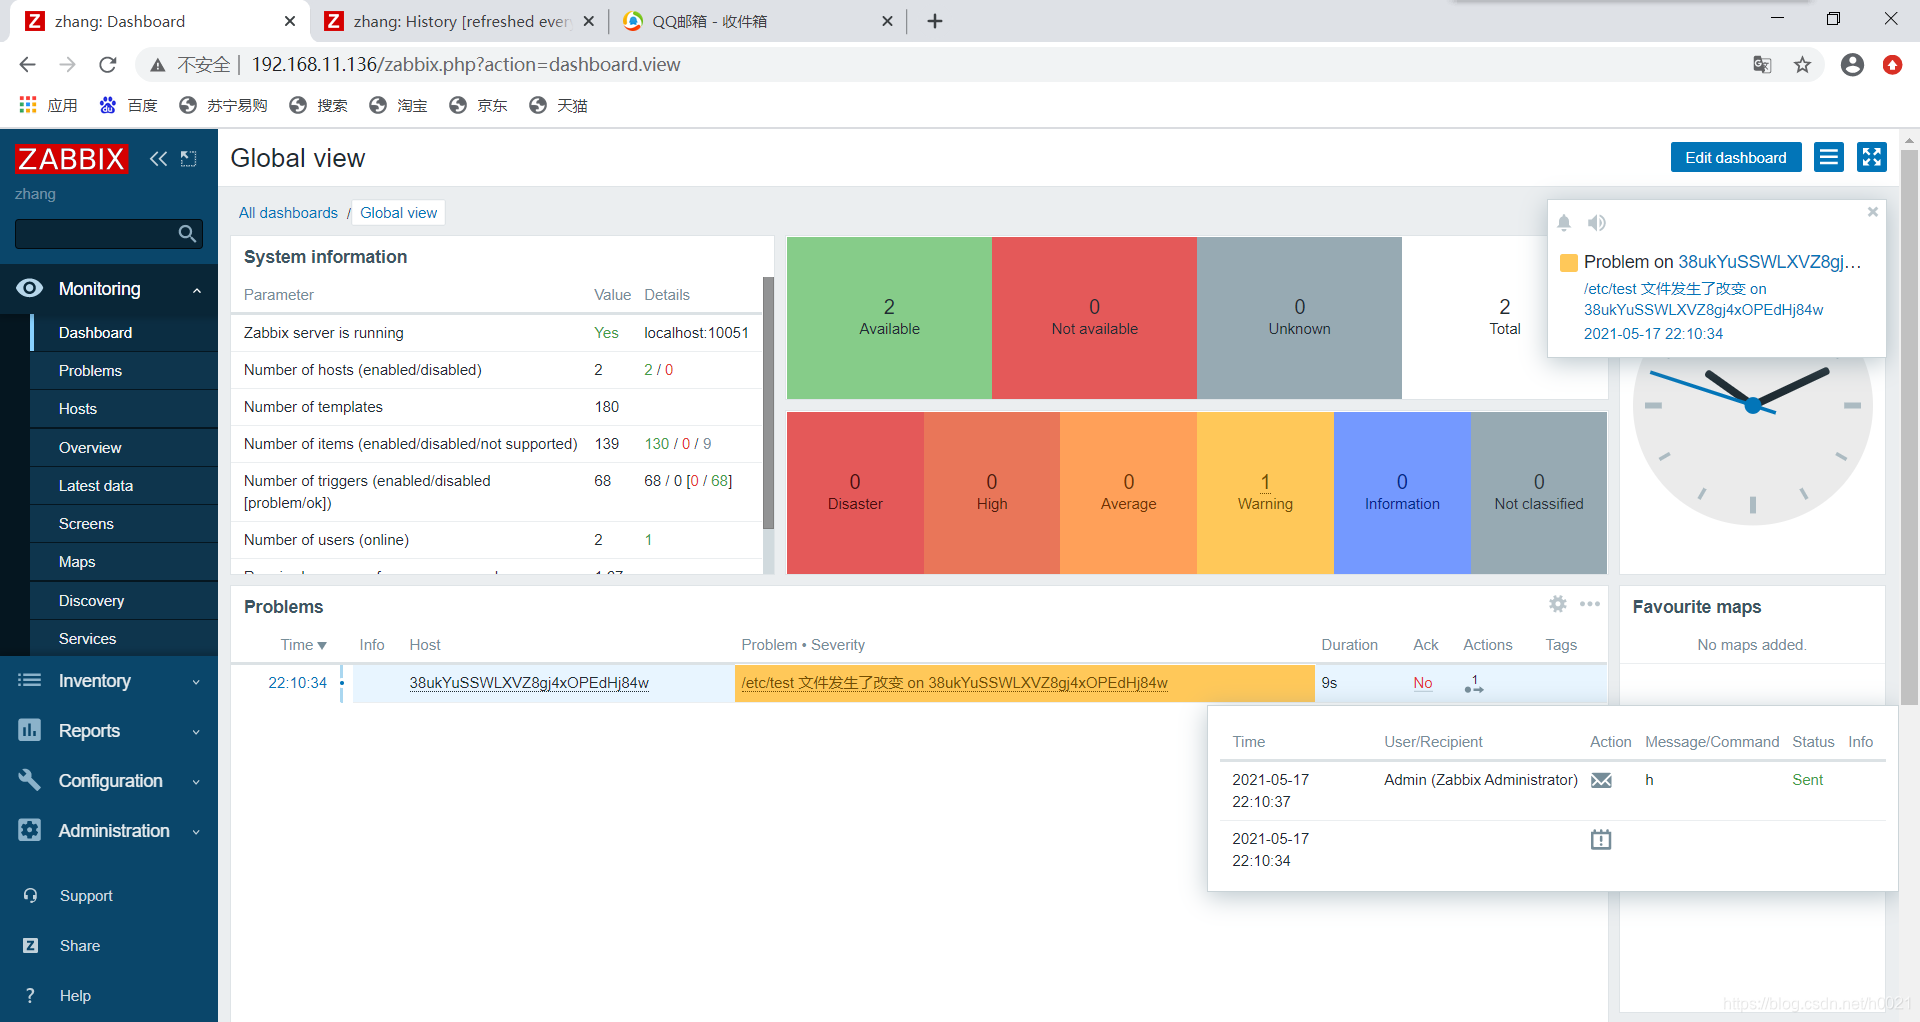
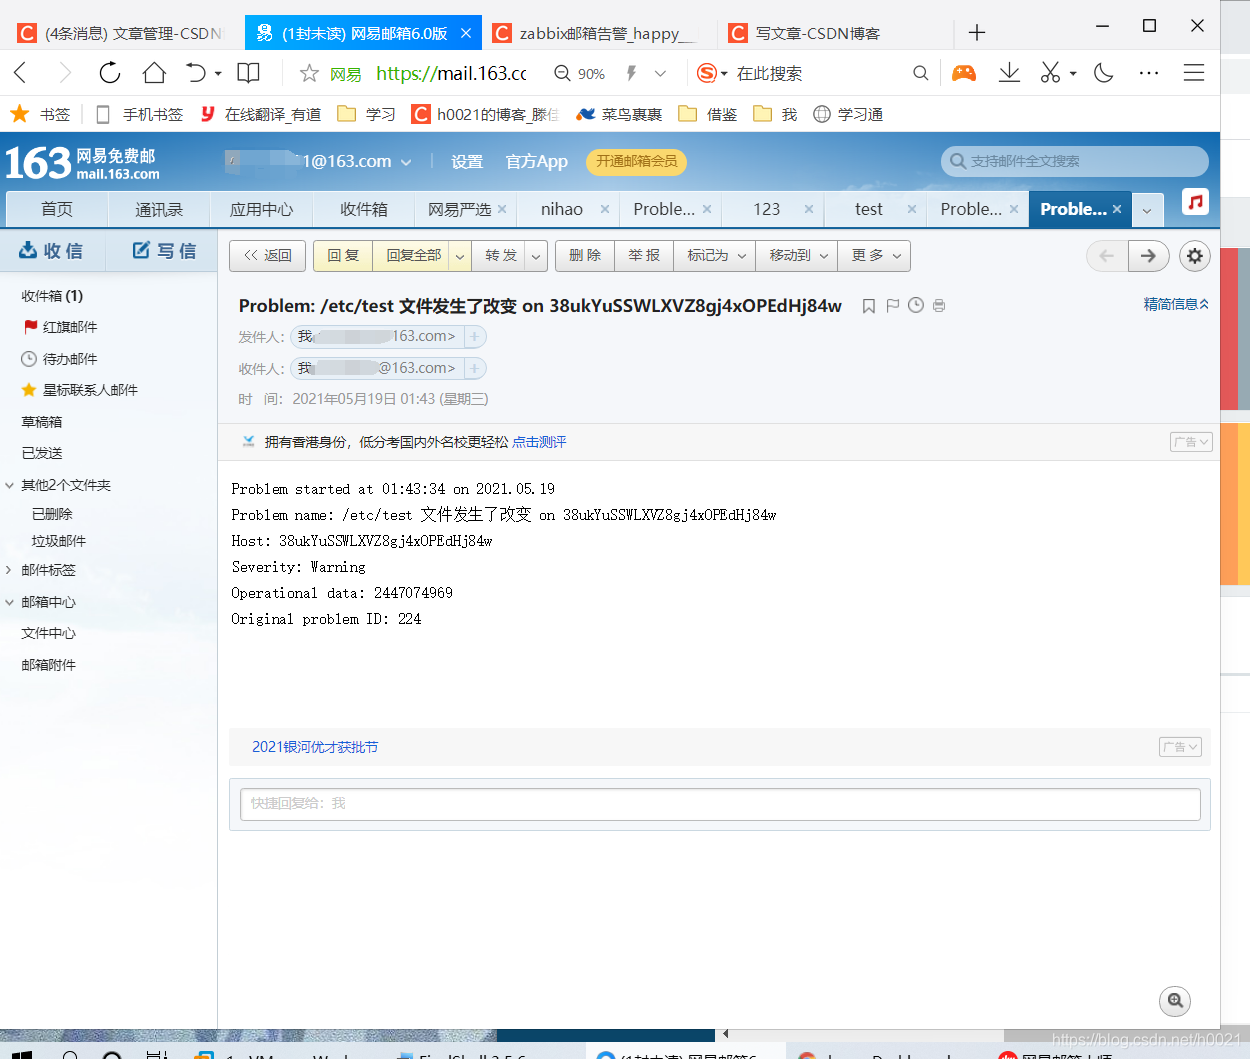
验证
本地邮箱
安装邮箱服务
[root@localhost ~]# systemctl stop firewalld
[root@localhost ~]# setenforce 0
[root@localhost ~]# systemctl status firewalld.service
● firewalld.service - firewalld - dynamic firewall daemon
   Loaded: loaded (/usr/lib/systemd/system/firewalld.service; disabled; vendor prese>
   Active: inactive (dead)
     Docs: man:firewalld(1)

[root@localhost ~]# dnf install -y postfix
[root@localhost ~]# which mail
/usr/bin/which: no mail in (/usr/local/mysql/bin:/usr/local/sbin:/usr/local/bin:/usr/sbin:/usr/bin:/root/bin)
[root@localhost ~]# dnf install -y mailx
[root@localhost ~]# ss -antl
State    Recv-Q   Send-Q     Local Address:Port        Peer Address:Port   Process
LISTEN   0        128              0.0.0.0:10050            0.0.0.0:*
LISTEN   0        128              0.0.0.0:10051            0.0.0.0:*
LISTEN   0        128              0.0.0.0:9000             0.0.0.0:*
LISTEN   0        128              0.0.0.0:111              0.0.0.0:*
LISTEN   0        128              0.0.0.0:80               0.0.0.0:*
LISTEN   0        32         192.168.122.1:53               0.0.0.0:*
LISTEN   0        128              0.0.0.0:22               0.0.0.0:*
LISTEN   0        5              127.0.0.1:631              0.0.0.0:*
LISTEN   0        80                     *:3306                   *:*
LISTEN   0        128                 [::]:111                 [::]:*
LISTEN   0        128                 [::]:22                  [::]:*
LISTEN   0        5                  [::1]:631                 [::]:*
[root@localhost ~]# systemctl enable --now postfix
Created symlink /etc/systemd/system/multi-user.target.wants/postfix.service → /usr/lib/systemd/system/postfix.service.
[root@localhost ~]# ss -antl
State    Recv-Q   Send-Q     Local Address:Port        Peer Address:Port   Process
LISTEN   0        128              0.0.0.0:10050            0.0.0.0:*
LISTEN   0        128              0.0.0.0:10051            0.0.0.0:*
LISTEN   0        128              0.0.0.0:9000             0.0.0.0:*
LISTEN   0        128              0.0.0.0:111              0.0.0.0:*
LISTEN   0        128              0.0.0.0:80               0.0.0.0:*
LISTEN   0        32         192.168.122.1:53               0.0.0.0:*
LISTEN   0        128              0.0.0.0:22               0.0.0.0:*
LISTEN   0        5              127.0.0.1:631              0.0.0.0:*
LISTEN   0        100            127.0.0.1:25               0.0.0.0:*
LISTEN   0        80                     *:3306                   *:*
LISTEN   0        128                 [::]:111                 [::]:*
LISTEN   0        128                 [::]:22                  [::]:*
LISTEN   0        5                  [::1]:631                 [::]:*
LISTEN   0        100                [::1]:25                  [::]:*
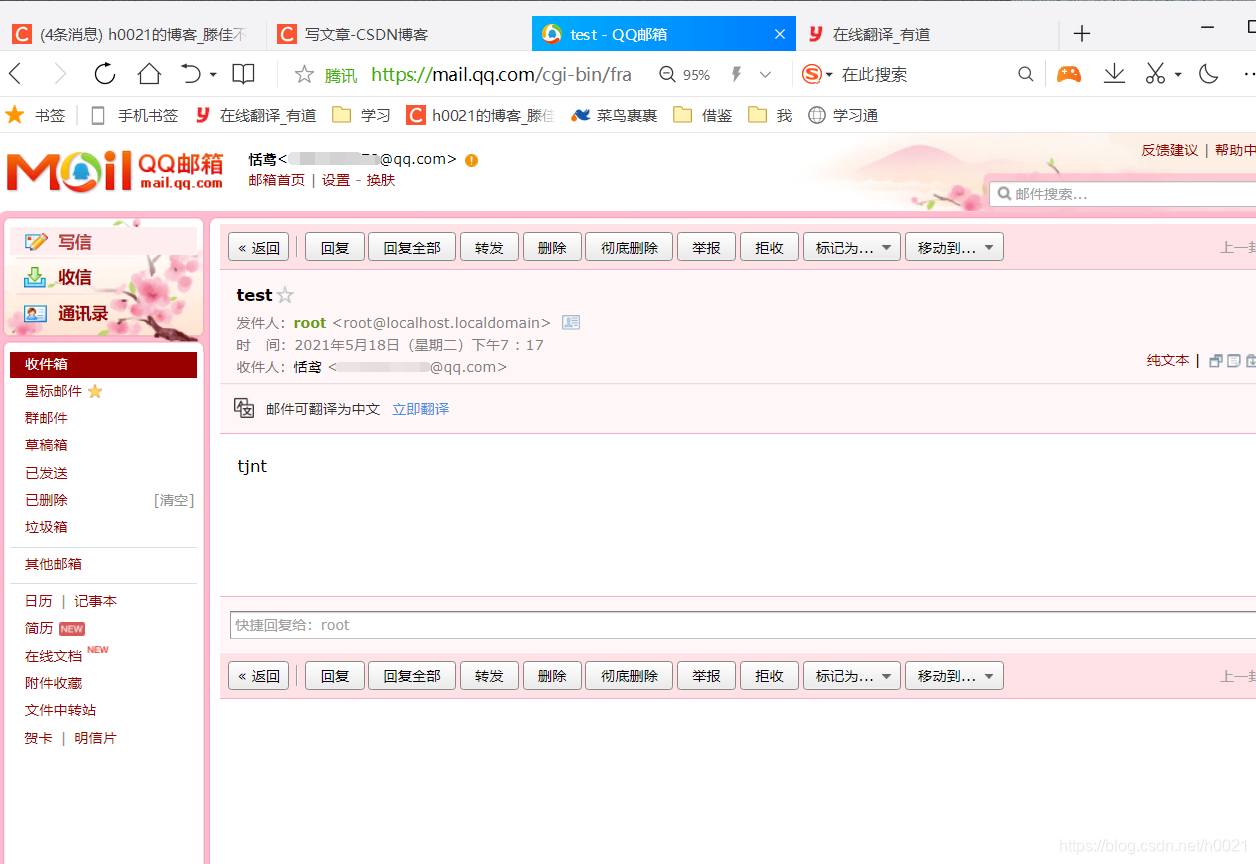
测试
[root@localhost ~]# echo "tjnt" |mail -s 'test' **************@qq.com
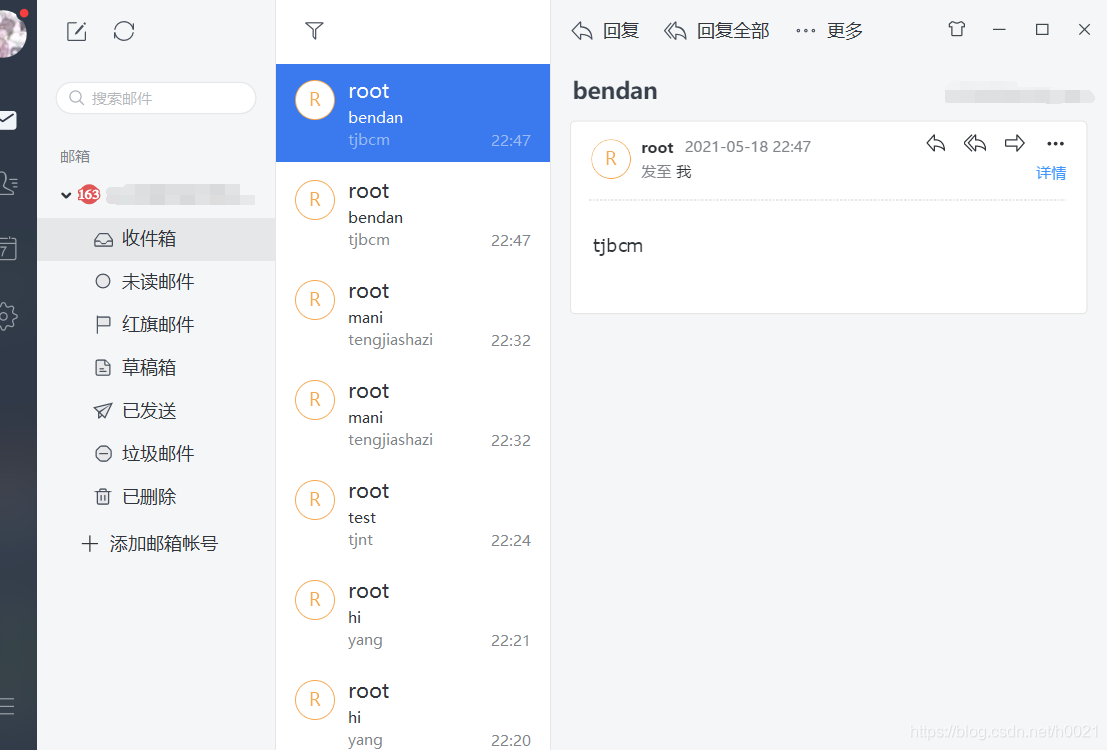
改域名
[root@localhost ~]# hostnamectl set-hostname zabbix.example.com
[root@localhost ~]# hostname
zabbix.example.com
[root@localhost ~]# echo "tjbcm" | mail -s 'bendan'  *******@163.com
把域名设置为白名单

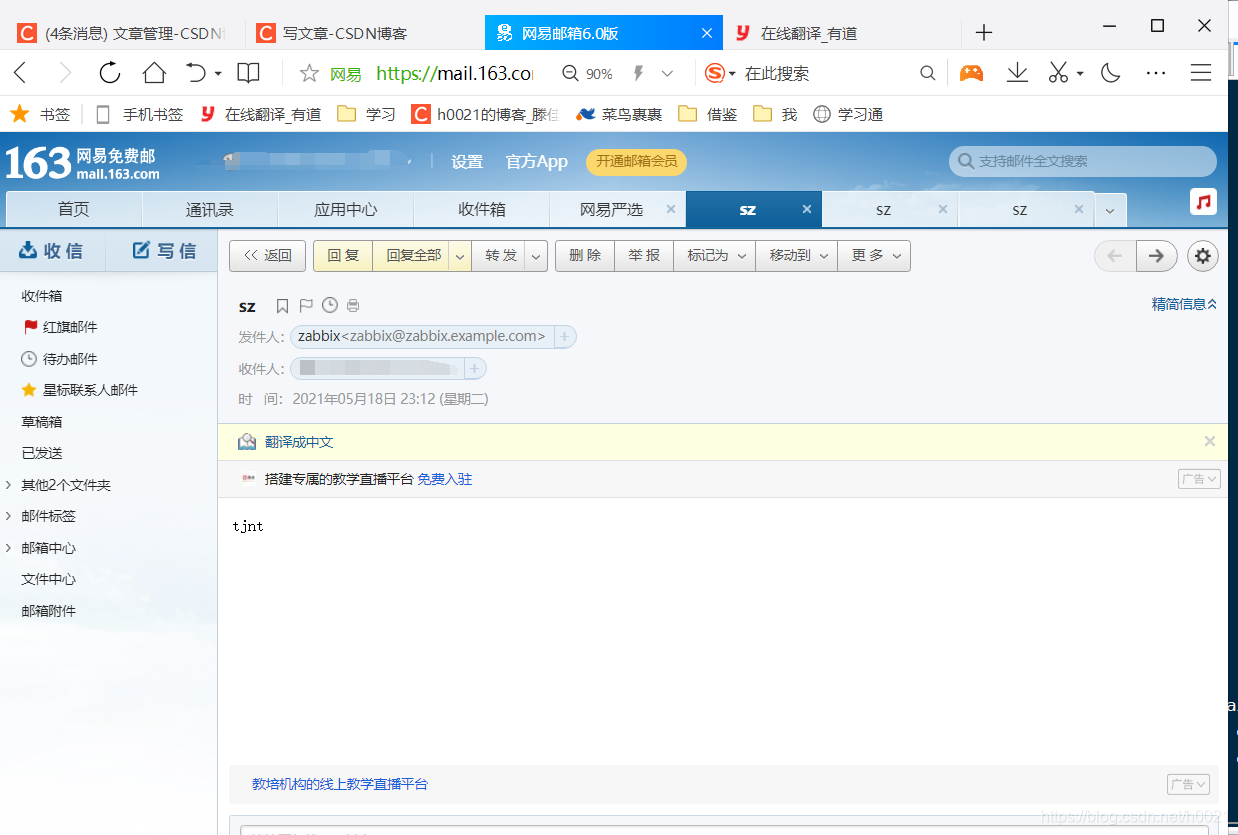
脚本邮件
[root@localhost ~]# cd /usr/local/share/zabbix/alertscripts/
[root@localhost alertscripts]# ls
[root@localhost alertscripts]# vi sendmail.sh
#!/bin/bash


echo "tjnt" | mail -s 'sz' ********@163.com

[root@localhost alertscripts]# chmod +x sendmail.sh                  //给脚本执行权限
验证
[root@zabbix ~]# su - zabbix -s /bin/bash                            //用zabbix账户测试,给了权限测试
su: warning: cannot change directory to /home/zabbix: No such file or directory
[zabbix@zabbix etc]$ /usr/local/share/zabbix/alertscripts/sendmail.sh
测试脚本可以发邮件
编辑脚本
[root@localhost alertscripts]# vi sendmail.sh
#!/bin/bash

MESSAGE=$2
SUBJECT=$3
MAILTO=$1

echo "$MESSAGE" | mail -s "$SUBJECT" $MAILTO
测试

添加脚本
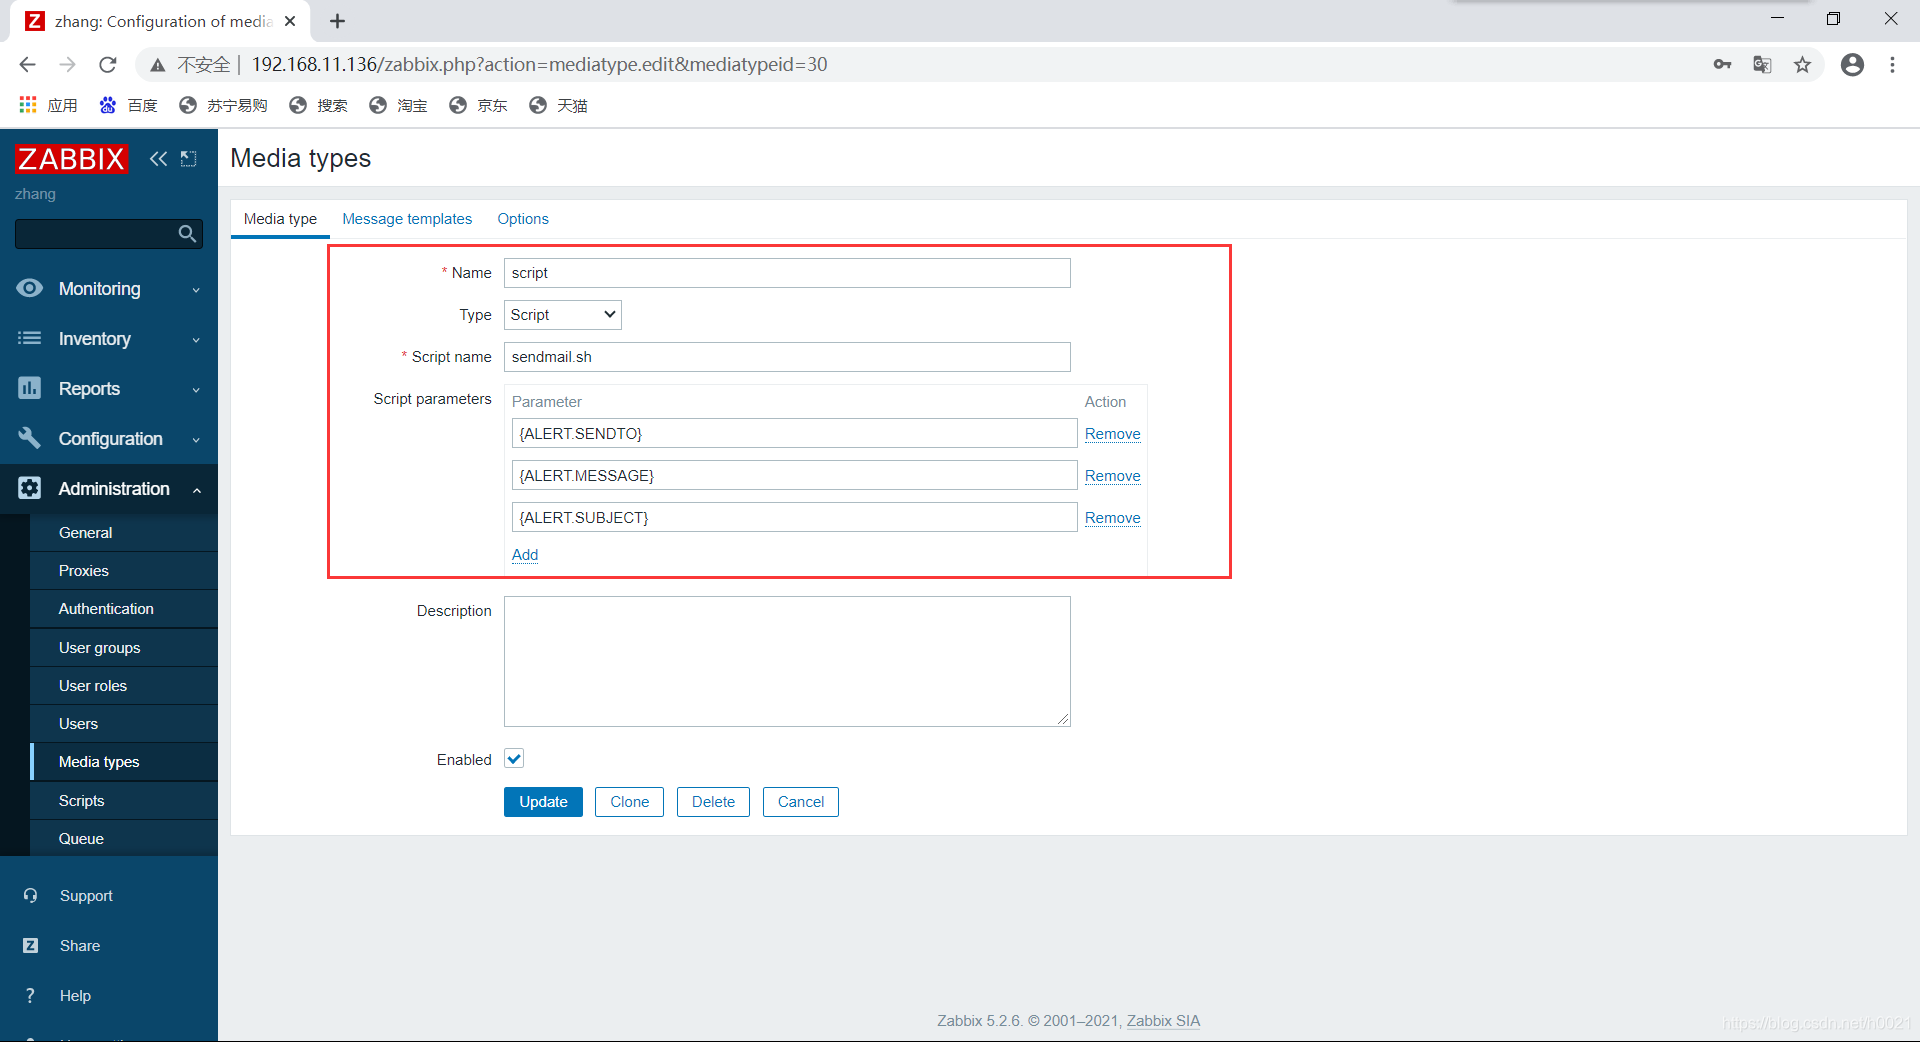
测试

第三方邮箱配置邮箱告警+脚本
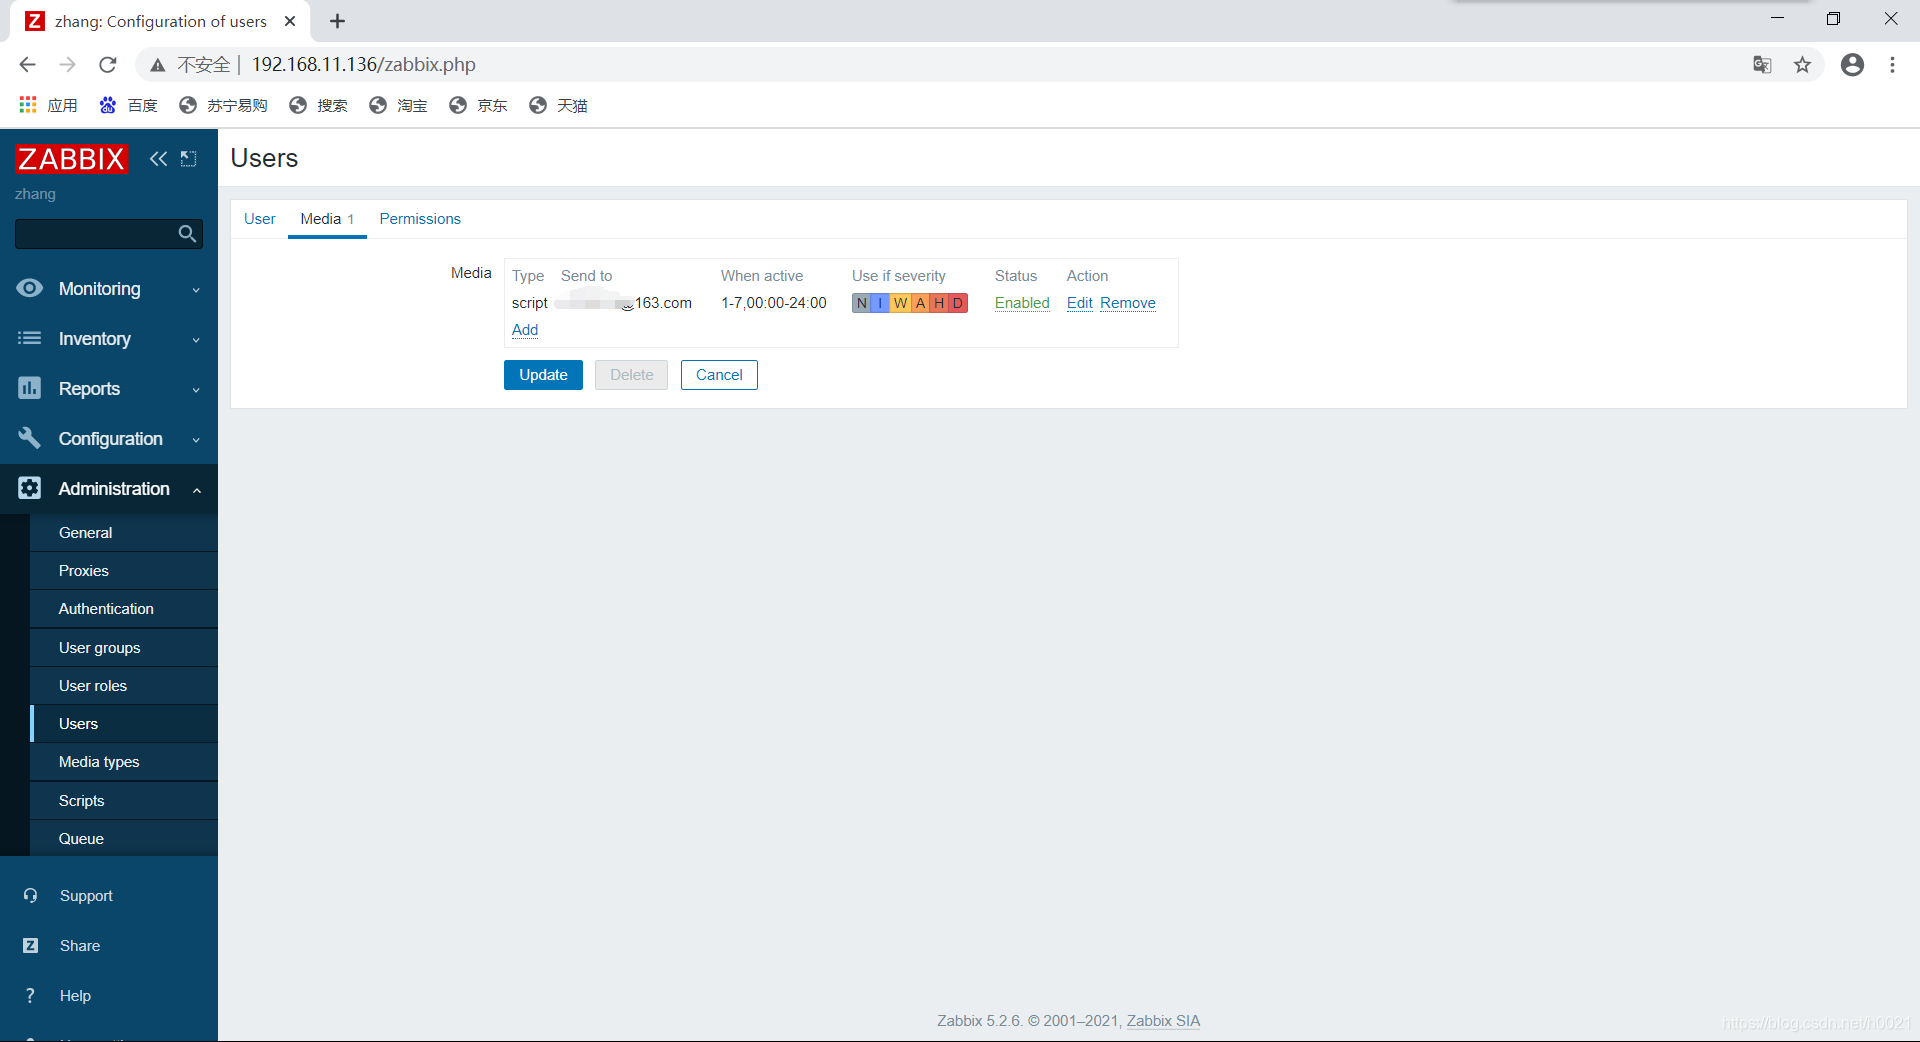
编辑用户的媒介

编辑动作
手动触发告警并验证
[root@localhost ~]# echo 'jjyyll' >> /etc/test

配置mail.rc
[root@zabbix ~]# vi /etc/mail.rc
set smtp=smtp.163.com
set smtp-auth=login
set smtp-auth-user=h210401@163.com
set smtp-auth-password=  邮箱授权码
set from=h210401@163.com
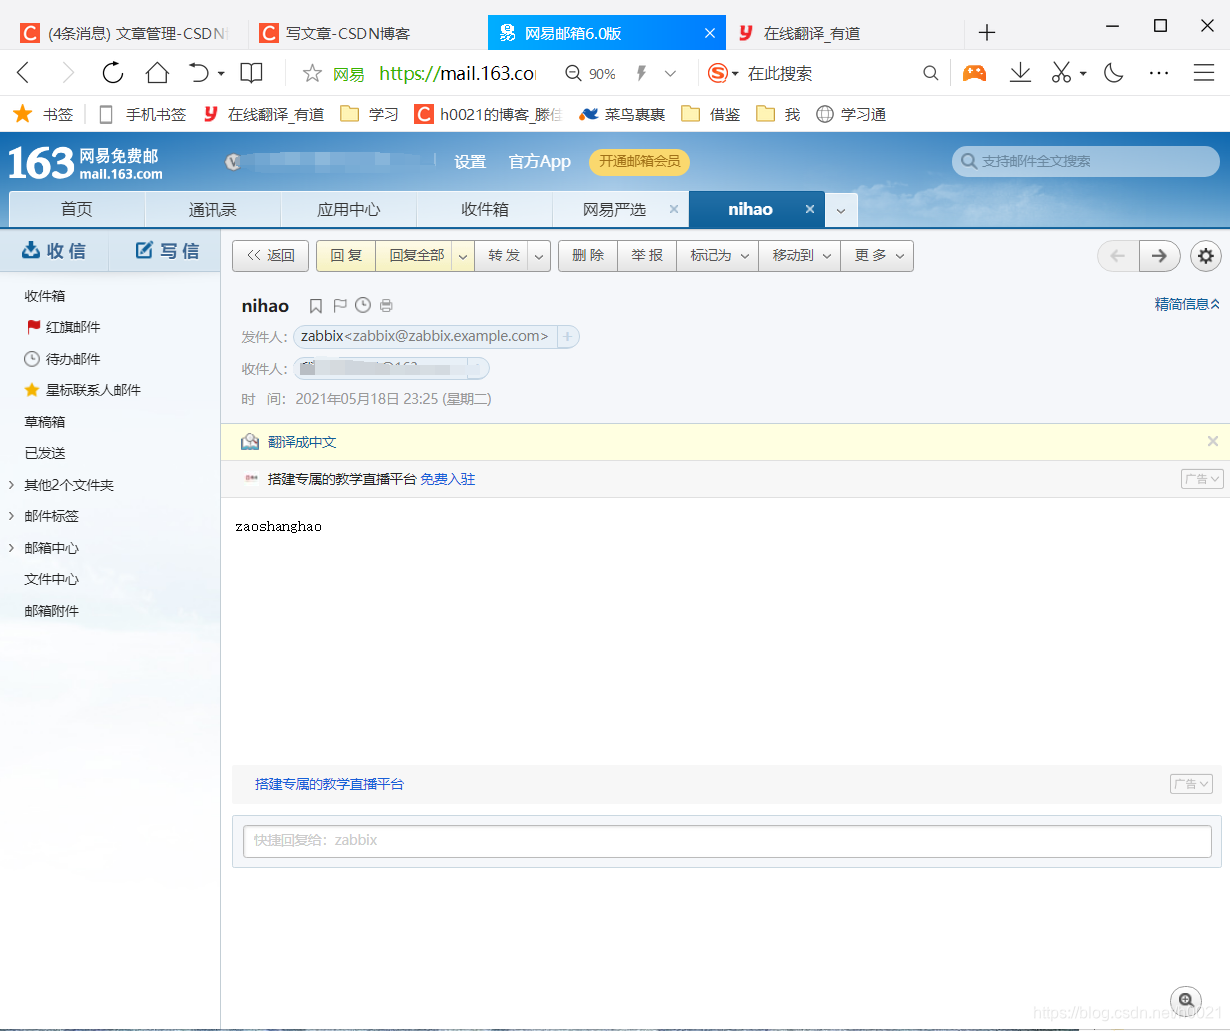
回到ui界面,还是使用之前配置好的脚本
修改用户的媒介为脚本

这里变成了发件方是我的网易邮箱,收件箱还是我的网易邮箱, 我收到的文件打开就是这样


 721
721

 被折叠的 条评论
为什么被折叠?
被折叠的 条评论
为什么被折叠?
 到【灌水乐园】发言


