


 本文详细介绍如何在Linux环境下从零开始安装并配置Nginx服务。包括安装所需依赖、创建用户、下载源码包、编译配置及安装等步骤,并解决80端口占用问题。
[root@localhost home]# yum install -y gcc openall-develpcre-develzlib-devel pcre-devel openssl openssl-devel
[root@localhost home]# useradd -M -s /sbin/nologin nginx
[root@localhost home]# wget -c https://nginx.org/download/nginx-1.9.9.tar.gz
[root@localhost home]# tar -zxf nginx-1.9.9.tar.gz
[root@localhost home]# cd nginx-1.9.9
[root@localhost nginx-1.9.9]#
[root@localhost nginx-1.9.9]# vim /etc/profile
在最后一行加上
PATH=$PATH:/usr/local/nginx/sbin
export PATH
[root@localhost nginx-1.9.9]# ./configure
[root@localhost nginx-1.9.9]# make && make install
[root@localhost nginx-1.9.9]# source /etc/profile
[root@localhost nginx-1.9.9]# curl 127.0.0.1
如果显示拒绝连接的话那可能就是80端口被占用,使用以下命令来查看80端口被什么占用
[root@localhost nginx-1.9.9]# lsof -i tcp:80
使用以下命令可以一次性清除80端口被占用
[root@localhost nginx-1.9.9]# lsof -i :80|grep -v "PID"|awk '{print "kill -9",$2}'|sh
到这里就完成了。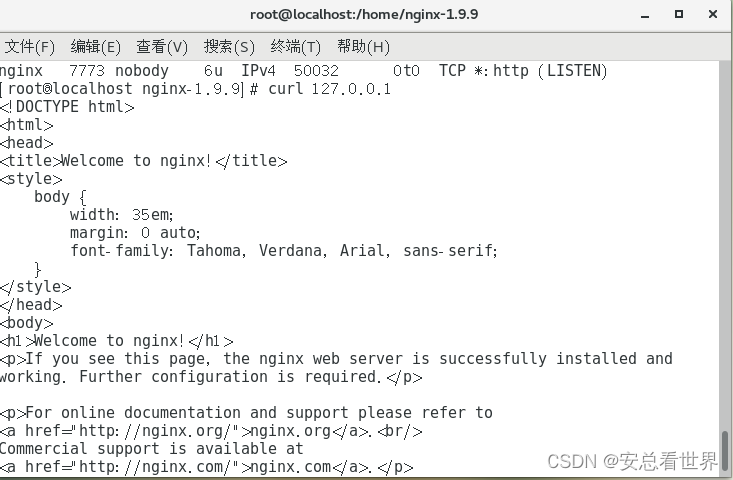


 896
896

 被折叠的 条评论
为什么被折叠?
被折叠的 条评论
为什么被折叠?
 到【灌水乐园】发言


