


 本文详细介绍了如何在虚拟机中手动下载并安装Nginx 1.20.0版本,包括从华为镜像源获取软件包、解压、配置模块、安装依赖、编译及安装过程。此外,还涉及到了创建系统用户、配置启动脚本、测试语法、启动及验证Nginx服务,并提供了配置文件修改和防火墙关闭等步骤。
安装镜像源
在华为官网下载https://mirrors.huaweicloud.com/homeNginx镜像源
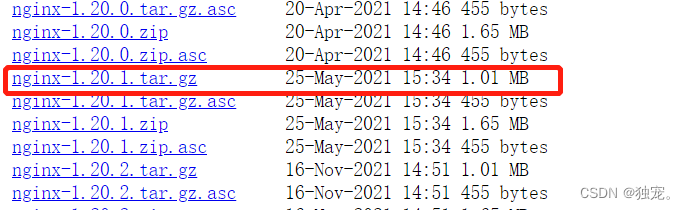
我下载的是1.20.0版本的,复制链接,在虚拟机中wget -c 下载
wget -c https://repo.huaweicloud.com/nginx/nginx-1.20.0.tar.gz

ls查看一下,我们系统里就有了nignx-1.20.0.的压缩包了

解压
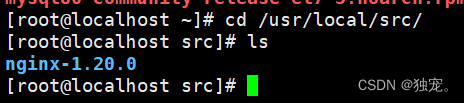
tar xf nginx-1.20.0.tar.gz -C /usr/local/src/
我解压到 /usr/local/src/这个路径下,我们切换到这个目录下去查看一下,发现解压成功

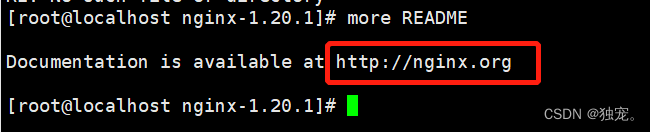
查看README文件,可以看到nginx的官方站点
创建系统用户
useradd -r -s /sbin/nologin -M nginx

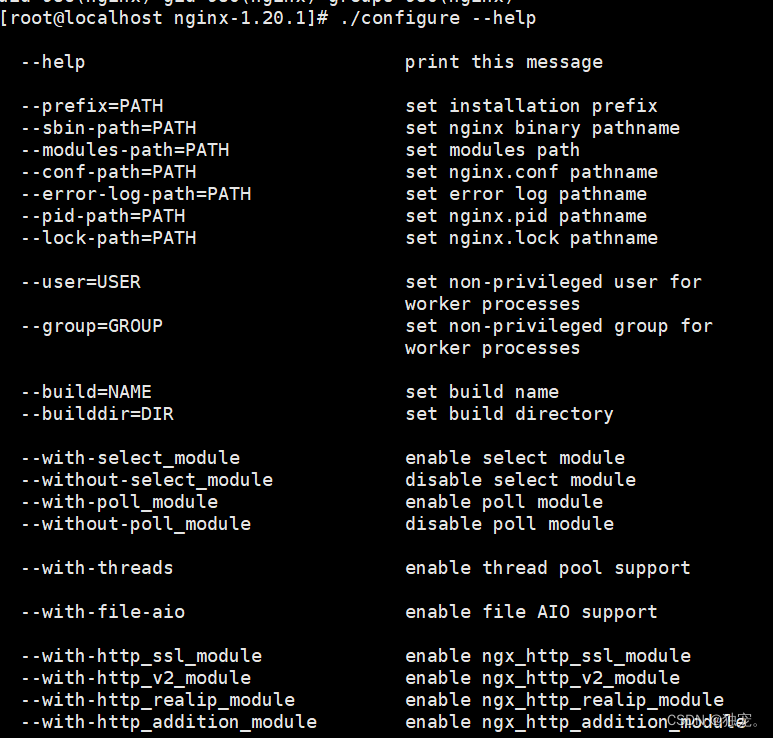
查看帮助
查看我们所需要的模块,–help来查看帮助,显示的所有模块,我们需要什么就下载什么模块
./configure --help
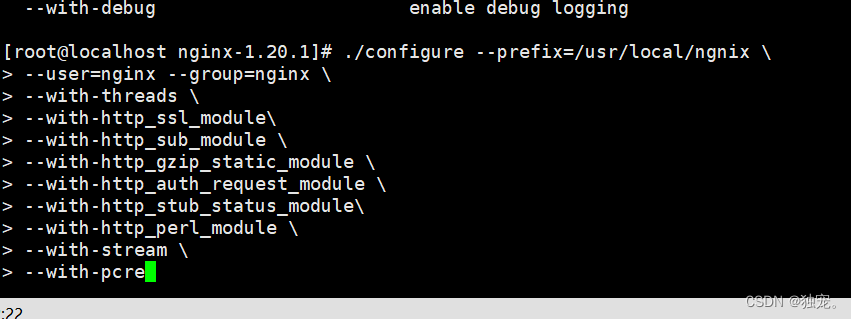
配置模块
我们先配置一部分的模块,运行之后,看缺什么就补什么
[root@localhost nginx-1.20.1]# ./configure --prefix=/usr/local/ngnix \
> --user=nginx --group=nginx \ #配置路径
> --with-threads \  #支持线程
> --with-http_ssl_module\  #加密
> --with-http_sub_module \
> --with-http_gzip_static_module \ #gzip压缩
> --with-http_auth_request_module \ #请求
> --with-http_stub_status_module\
> --with-http_perl_module \  #正则表达式
> --with-stream \  #TCP/IP
> --with-pcre  #正则表达式
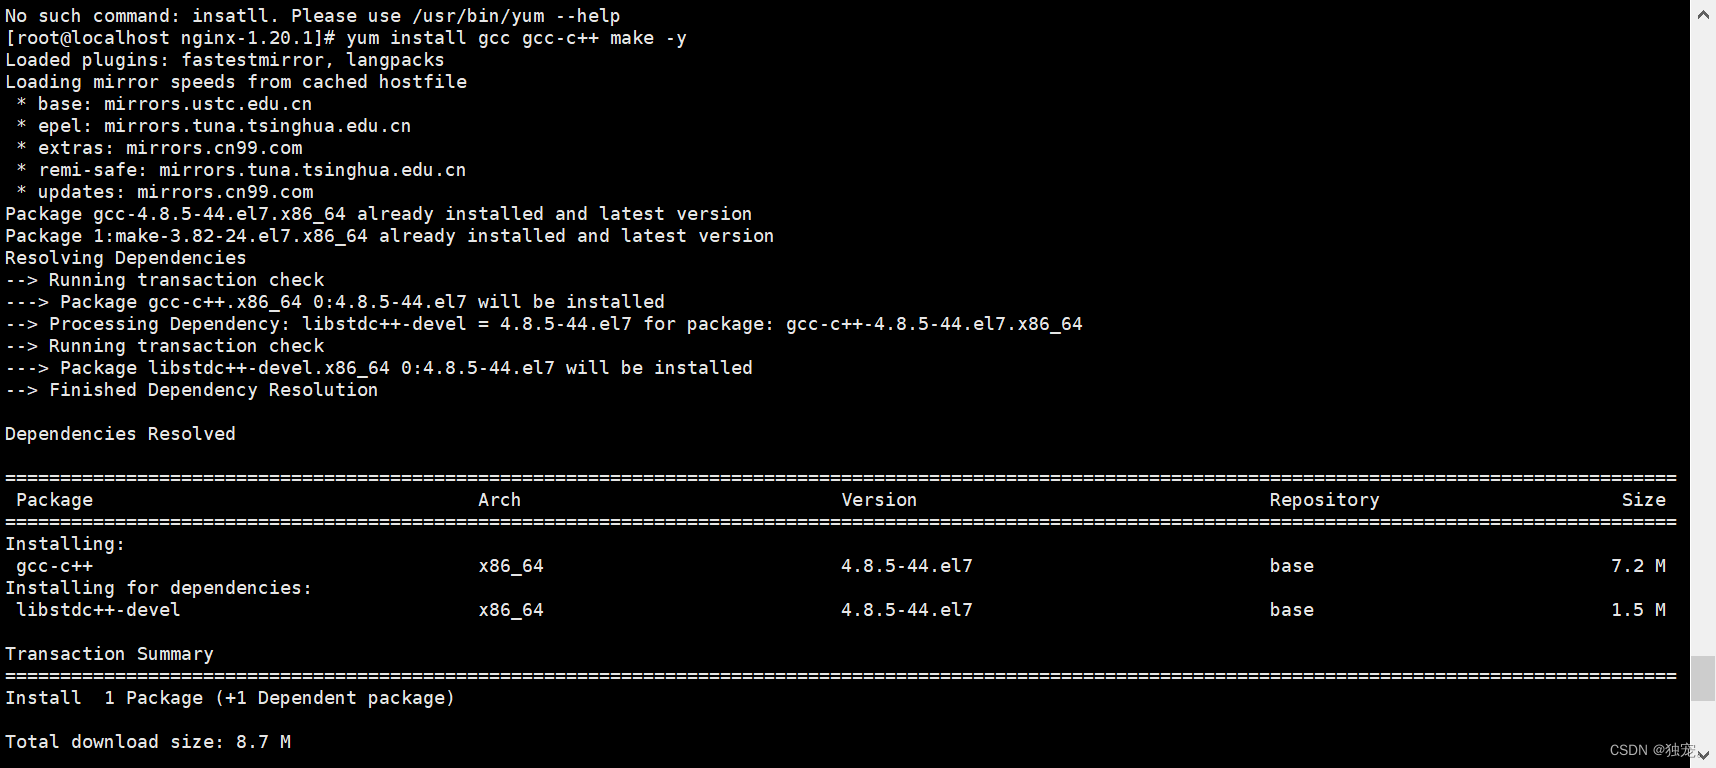
安装启动环境
yum install gcc gcc-c++ make -y
添加补充模块
然后再执行一遍模块的执行,看看还缺什么模块
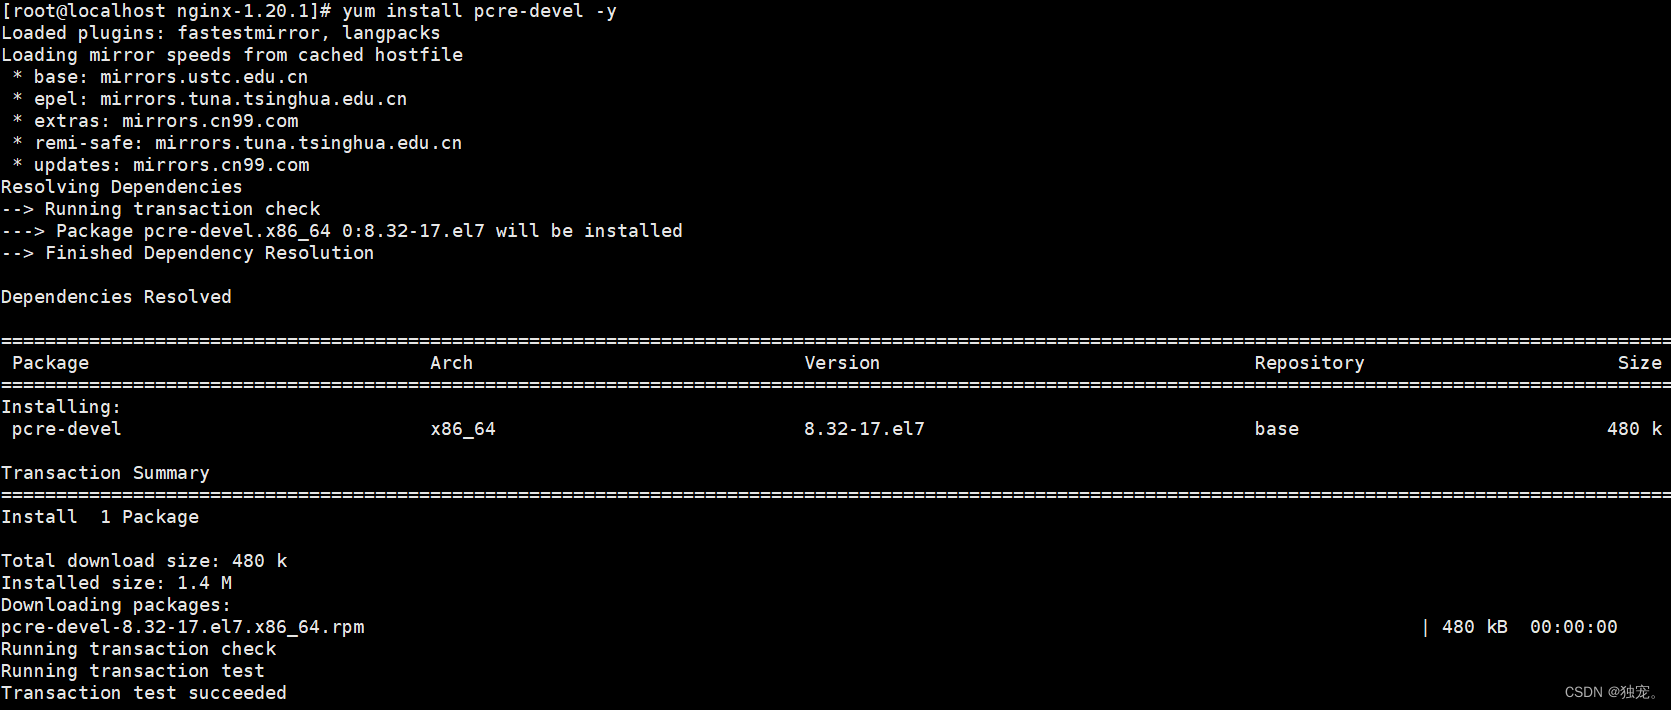
第一次会发现缺少HTTP的需求模块

yum install pcre-devel -y
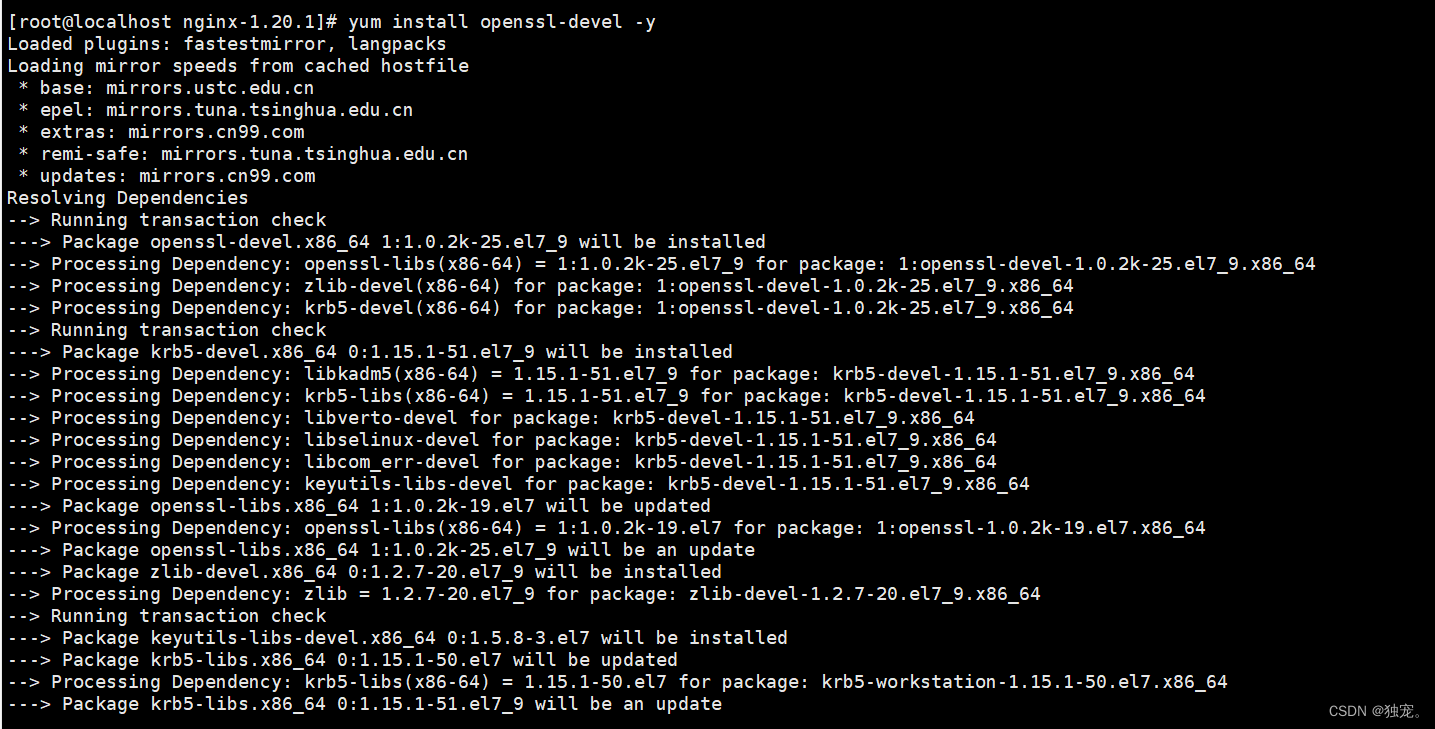
再去执行安装模块那一步,会发现还是缺少OpenSSL模块

yum install openssl-devel -y
再运行安祖模块命令
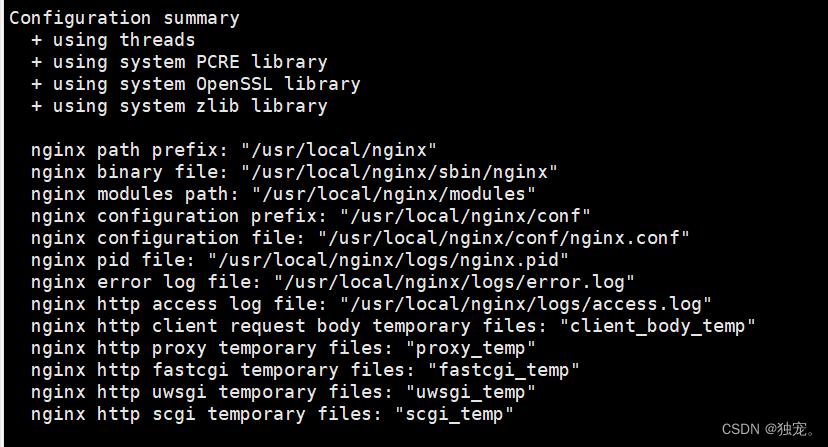
显示这个模块就代表成功了
接下来
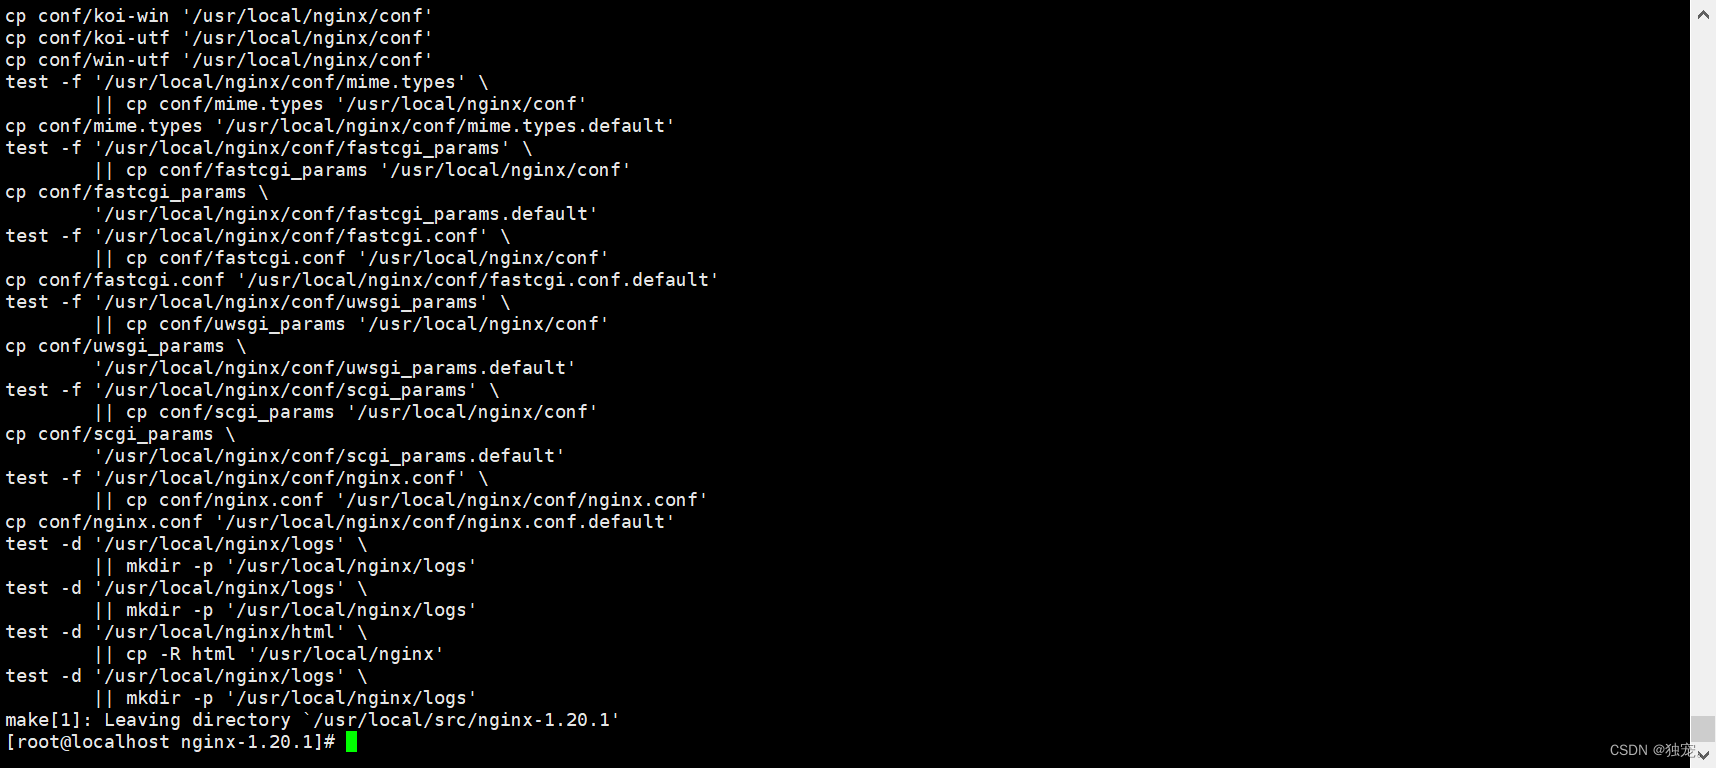
make
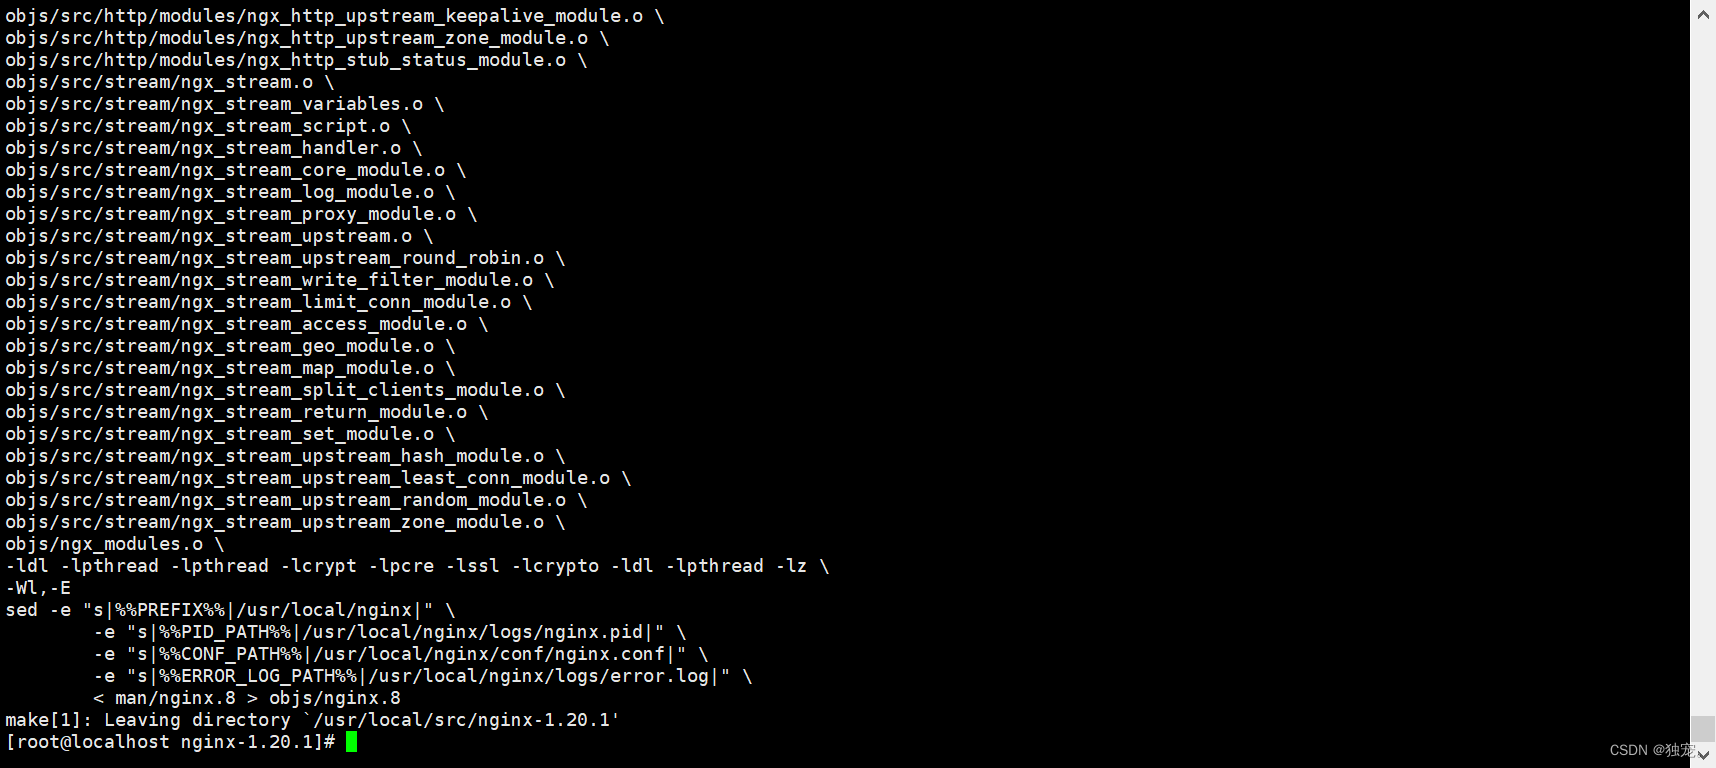
make install
查看目录结构
用tree查看一下/usr/local/nginx/的目录结构
tree /usr/local/nginx/
如果没有tree模块用yum install tree下载tree命令
yum install tree
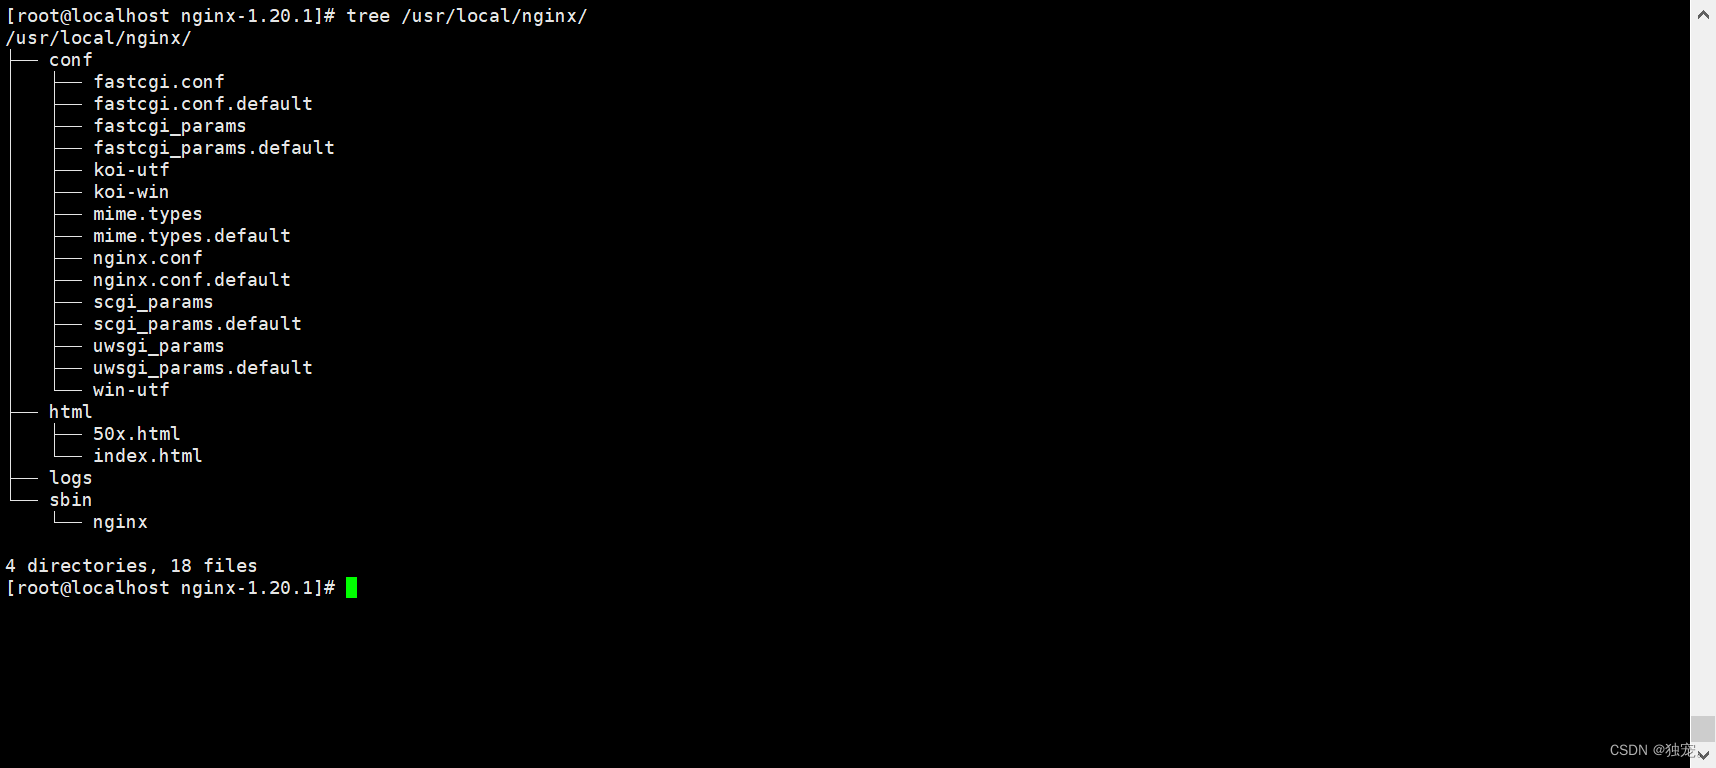
conf:配置文件
html:网页目录
logs:日志文件
sbin:命令
软连接命令文件
软连接之后就可以直接使用这个命令了
ln -sv /usr/local/nginx/sbin/nginx /usr/sbin/nginx

查看版本
nginx -v

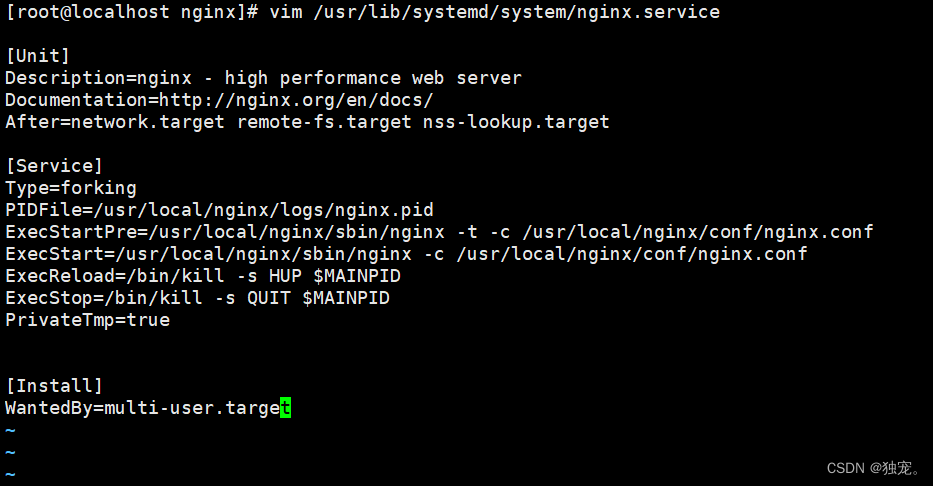
配置启动脚本文件
vim /usr/lib/systemd/system/nginx.service
[Unit]
Description=nginx - high performance web server
Documentation=http://nginx.org/en/docs/
After=network.target remote-fs.target nss-lookup.target

[Service]
Type=forking
PIDFile=/usr/local/nginx/logs/nginx.pid
ExecStartPre=/usr/local/nginx/sbin/nginx -t -c /usr/local/nginx/conf/nginx.conf
ExecStart=/usr/local/nginx/sbin/nginx -c /usr/local/nginx/conf/nginx.conf
ExecReload=/bin/kill -s HUP $MAINPID
ExecStop=/bin/kill -s QUIT $MAINPID
PrivateTmp=true


[Install]
WantedBy=multi-user.target
关闭防火墙
关闭防火墙命令
注意:只有关闭防火墙之后才能成功启动nginx,否则用ip访问不成功
systemctl stop firewalld
查看防火墙状态
firewall-cmd --state

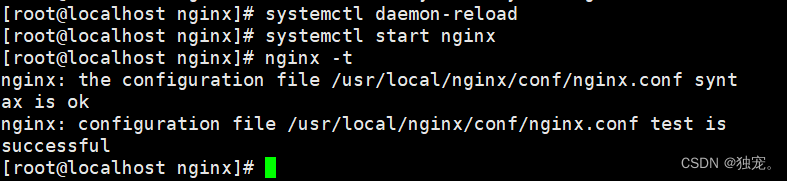
启动nginx
[root@localhost nginx]# systemctl daemon-reload
[root@localhost nginx]# systemctl start nginx
[root@localhost nginx]# nginx -t
显示successful就代表启动成功了
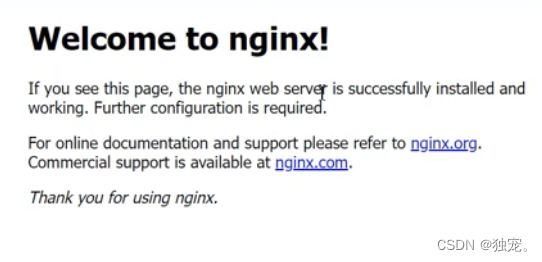
验证
如果安装成功,默认主页就有我们的nginx了,用自己的ip地址访问一下显示下面的页面就代表安装成功了
配置
完成安装之后,现在进行nginx的配置
修改配置文件
我们可以先切换到我们的conf目录文件下,查看是否有nginx.conf的配置文件,然后vim
加入编辑模式
vim conf/nginx.conf
现在在配置文件中添加我们nginx的路径,我的nginx的路径在/usr/local/下,所以我就修改成这个路径,查看路径用pwd命令
include /usr/local/nginx/default.d/*.conf;

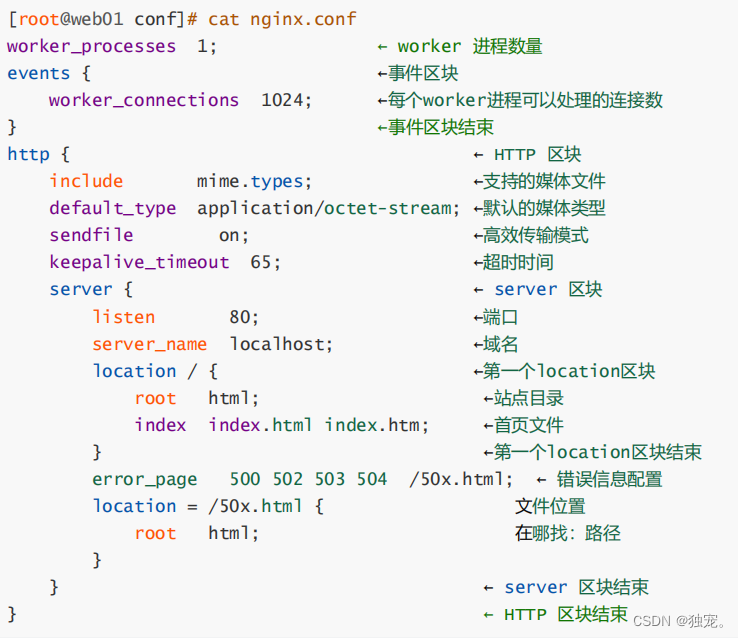
配置文件说明
测试语法
测试一下我们修改配置文件之后是否还能成功启动nginx,下图说明成功
nginx -t

重启nginx
systemctl restart nginx


 4435
4435

 被折叠的 条评论
为什么被折叠?
被折叠的 条评论
为什么被折叠?
 到【灌水乐园】发言


