


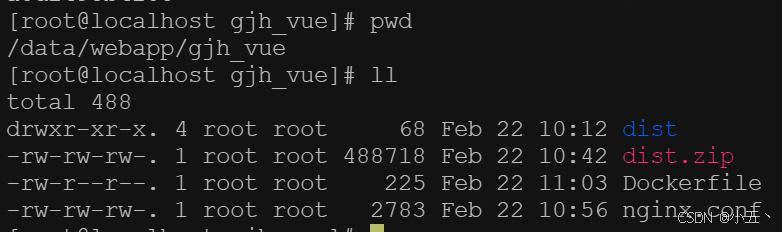
1、将vue打包文件和nginx.conf文件上传到自己指定目录,本例 /data/webapp/gjh_vue,
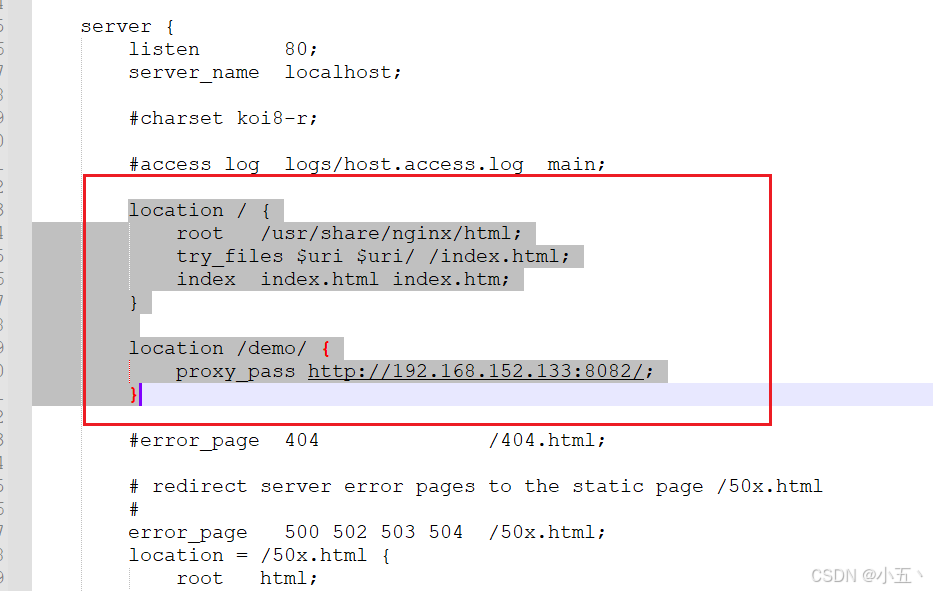
nginx.conf可以官网下载nginx修改nginx.conf文件,
location / {
            root   /usr/share/nginx/html;
			try_files $uri $uri/ /index.html;
            index  index.html index.htm;
        }

location /demo/ { #自己vue中配置的访问后端地址的前缀
		proxy_pass http://192.168.152.133:8082/;  #修改成自己后端应用访问地址
	}
2、在当前目录下编写Dockerfile,vim Dockerfile ,再将下面内容拷贝进去保存
FROM nginx:1.26.1
RUN rm -f /etc/localtime \
&& ln -sv /usr/share/zoneinfo/Asia/Shanghai /etc/localtime \
&& echo "Asia/Shanghai" > /etc/timezone
COPY ./dist /usr/share/nginx/html/
COPY ./nginx.conf /etc/nginx/nginx.conf
3、构建镜像 docker build -t gjh_vue:1.0 . 确保联网能正常下载nginx:1.26.1镜像

4、成功后docker images 查看镜像

5、运行镜像,因为使用挂载,请将dist、nginx.conf文件提前放到主机挂载目录 /data/webapp
再执行命令
docker run -d --name=gjh_vue -p 80:80 --restart=always -v /data/webapp/dist:/usr/share/nginx/html -v /etc/localtime:/etc/localtime:ro -v /data/webapp/nginx.conf:/etc/nginx/nginx.conf -v /data/webapp/log:/var/log/nginx gjh_vue:1.0
6、成功之后docke ps 查看运行容器,访问服务器地址,正常访问,并能获取后端应用端口。点击连接查看docker 部署应用jar包


7、每次发布应用将打包文件dist放到挂载目录 /data/webapp 中即可正常更新,
稳妥点重启容器: docker restart 容器id


 1044
1044

 被折叠的 条评论
为什么被折叠?
被折叠的 条评论
为什么被折叠?
 到【灌水乐园】发言


