


 这篇文章介绍了如何在Flutter中创建自定义的AppBar,包括设置背景色、居中标题、添加左侧图标以及右侧多个操作按钮。同时,通过使用DefaultTabController和TabBarView展示了如何实现顶部导航栏,并给出了TabController实现顶部菜单的示例。
一 自定义AppBar
appBar: AppBar(
        title: Text("登录页面"),
        // 背景色
        backgroundColor: Colors.blue,
        // 标题是否居中
        centerTitle: false,
        // 左边的leading
        leading: IconButton(
          icon: Icon(Icons.menu),
          onPressed: () {
            print("this is leading");
          },
        ),
        // 自定义多个按钮
        actions: [
          IconButton(
            icon: Icon(Icons.search),
            onPressed: () {
              print("this is search");
            },
          ),
          IconButton(
            icon: Icon(Icons.settings),
            onPressed: () {
              print("this is  settings");
            },
          )
        ],
      ),
二 tabbar 放在顶部导航栏
基于DefaultTabController 来实现这个顶部导航栏的效果
 DefaultTabController(
      // 这个是必须配置的参数 意思是有3个Tab 选项
      length: 3,
      child: Scaffold(
        appBar: AppBar(
          title: Text("自定义AppBar页面"),
          bottom: TabBar(tabs: <Widget>[
            Text("家用电器"),
            Text("洗漱用品"),
            Text("手机数码"),
          ]),
        ),
        body: TabBarView(children: [
          // 分别对应三个tabbar 选项的内容
          Text("1111"),
          Text("2222"),
          Text("3333"),
        ]),
      ),
    );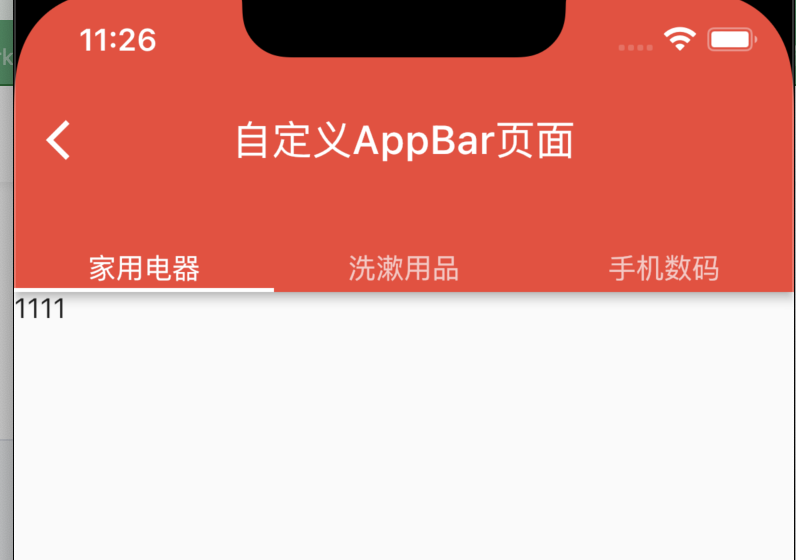
将tabbar 放到顶部 类似头条效果
三 使用TabController 实现顶部菜单
一定不要忘记给 TabBar 和 TabBarView 设置tabController
import 'package:flutter/material.dart';

class TabbarControllerPage extends StatefulWidget {
  const TabbarControllerPage({super.key});

  @override
  State<TabbarControllerPage> createState() => _TabbarControllerPageState();
}

class _TabbarControllerPageState extends State<TabbarControllerPage>
    with TickerProviderStateMixin {
  late TabController _tabController;

  @override
  void dispose() {
    // TODO: implement dispose
    _tabController.dispose();
    super.dispose();
  }

  @override
  void initState() {
    // TODO: implement initState
    super.initState();
    _tabController = TabController(length: 3, vsync: this);
  }

  @override
  Widget build(BuildContext context) {
    return Scaffold(
        appBar: AppBar(
          title: Text("TabbarControllerPage"),
          bottom: TabBar(
            // 注意 一定要设置
            controller: this._tabController,
            tabs: [
              Text("热销"),
              Text("推荐"),
              Text("爆品"),
            ],
          ),
        ),
        body: TabBarView(
            // 注意 一定要设置
            controller: _tabController,
            children: <Widget>[
              Center(
                child: Text("热销页面"),
              ),
              Center(
                child: Text("推荐页面"),
              ),
              Center(
                child: Text("爆品页面"),
              )
            ]));
  }
}


 275
275

 被折叠的 条评论
为什么被折叠?
被折叠的 条评论
为什么被折叠?
 到【灌水乐园】发言


