


最近小编接触到使用微信小程序蓝牙链接硬件设备,于是就开始了这方面的研究,之前都是使用android进行APP上面开发的。现在将小编研究过程中踩过的坑给分享出来,让大家少走弯路哈哈哈哈哈哈
一. 初始化项目
确保你已经使用 HBuilderX 或者其他开发工具创建了一个 UniApp 项目,并且已经配置好了微信小程序的开发环境。我是使用uniapp+vue2的方式进行开发,测试方面使用了硬件设备和测试软件。以下就是用过的测试装备。
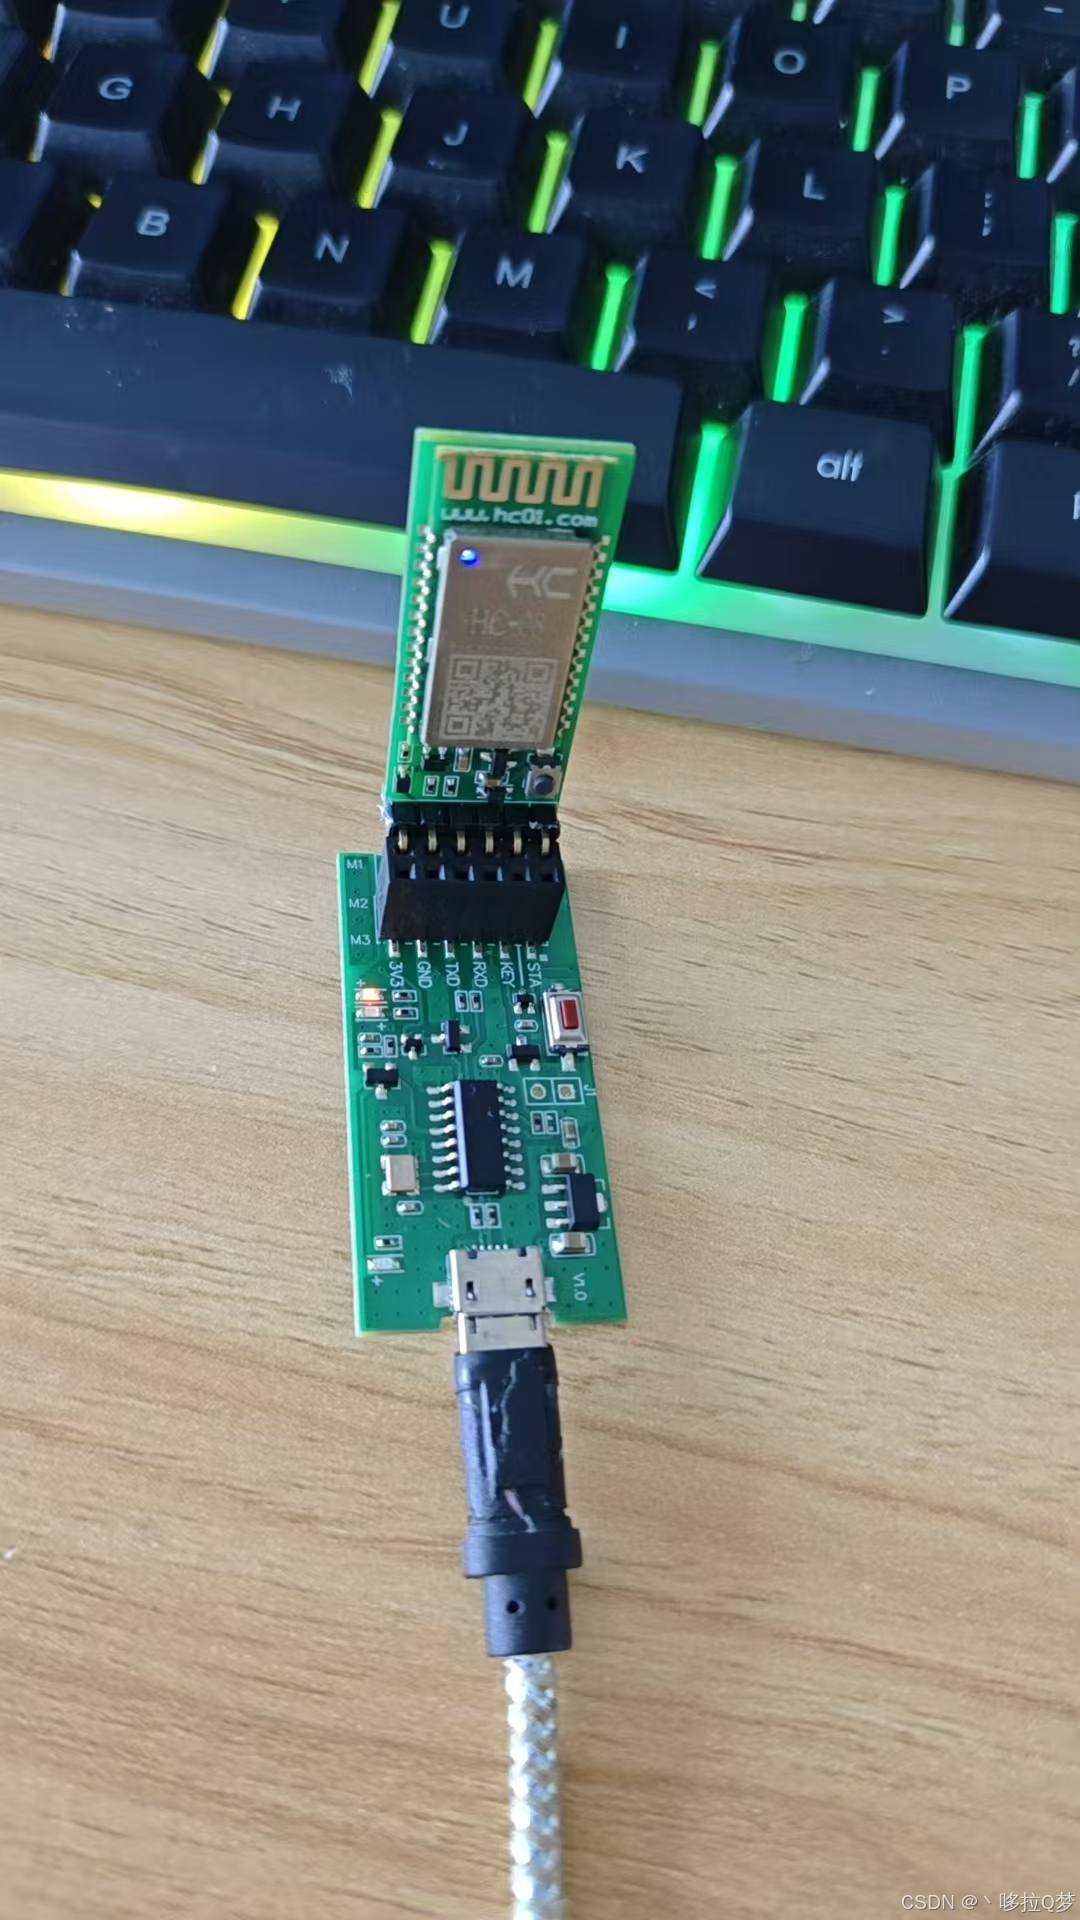
蓝牙设备:HC-08才支持微信小程序,之前用的06版本测试好久始终连不上(第一坑)

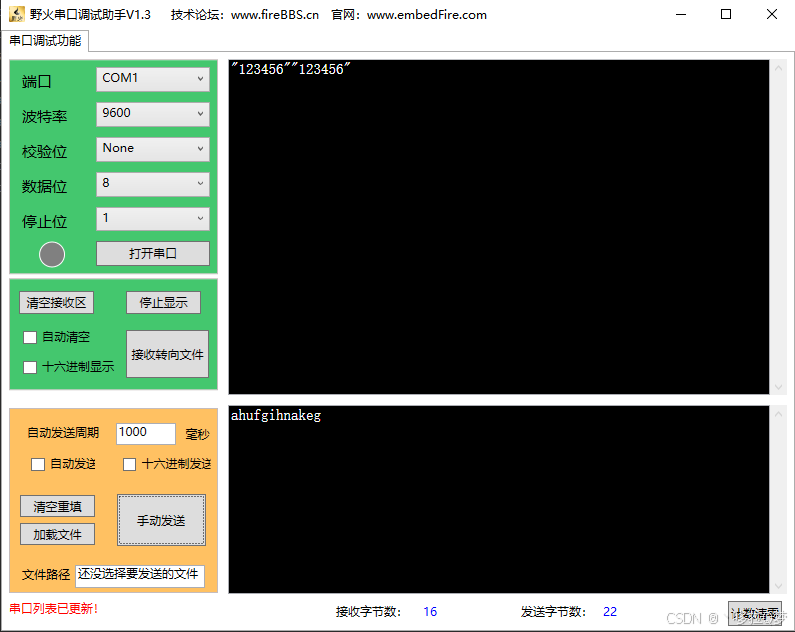
野火串口调试助手:使用这个调试助手进行硬件的调试和数据的发送接收,前提是要有一个蓝牙硬件设备。端口设置COM6,波特率为9600,然后打开串口即可开始调试。
HCBLE串口助手:微信小程序版串口调试助手,使用这个和上面的野火串口调试助手进行配合,相当于2个设备之间蓝牙配对,互发信息测试硬件是否有问题。如果测试没问题即可进行小程序代码的开发。
二. 权限配置
在 manifest.json 中配置微信小程序的权限,确保你有使用蓝牙的权限。
{
"mp-weixin": {
"appid": "your-app-id",
"setting": {
"bluetooth": true,
"request": [
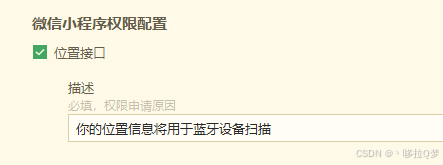
"scope.userLocation",
"scope.userInfo"
]
}
}
}还需要开启定位权限
三. 代码编写
1、初始化蓝牙和扫描设备:使用openBluetoothAdapter方法初始化蓝牙适配器,再使用startBluetoothDevicesDiscovery开始扫描周围的蓝牙设备。扫描开始前,它会清空之前扫描到的设备列表。
startScan() {
	let that=this;
	that.devices = []; // 清空设备列表
	uni.openBluetoothAdapter({
		success(res) {
			console.log("蓝牙适配器初始化成功", res);
			uni.startBluetoothDevicesDiscovery({
				success: (res) => {
					console.log('开始扫描', res);
					that.listenDevices();
				},
				fail: (err) => {
					console.error('扫描失败', err);
				},
			});
		},
		fail(err) {
			console.error("蓝牙初始化失败", err);
		}
	});
}
2、监听发现的设备:使用onBluetoothDeviceFound方法找到附近的蓝牙设备并把他们放入我定义的设备列表中。
listenDevices() {
	uni.onBluetoothDeviceFound((res) => {
	    const device = res.devices[0];
	    if (device && !this.devices.some((d) => d.deviceId === device.deviceId)) {
		    this.devices.push(device); // 添加到设备列表
	    }
	});
},
3、连接设备:使用createBLEConnection方法链接设备,上述的deviceId就是设备的(deviceId:44:EE:14:12:4F:4E)将这个保存到缓存中,方便我主页调用(我这里是将蓝牙扫描和链接单独放的一个界面)。然后使用stopBluetoothDevicesDiscovery方法停止扫描,既然连上了想要链接的设备就停止扫描,节省资源。最后这里跳转我的主页。
connectDevice(device) {
	uni.createBLEConnection({
		deviceId: device.deviceId,
		success: (res) => {
			console.log('连接成功', res);
			this.connectedDevice = device;
			uni.setStorageSync("deviceId",device.deviceId);//将蓝牙id存入缓存
			console.log("deviceId:"+uni.getStorageSync("deviceId"));//打印
			uni.stopBluetoothDevicesDiscovery();//停止扫描附近蓝牙
			uni.showToast({ title: '连接成功', icon: 'success' });
			uni.reLaunch({
				url:'/pages/index/index?state=true'
			})
		},
		fail: (err) => {
			console.error('连接失败', err);
			uni.showToast({ title: '连接失败', icon: 'none' });
		},
	});
},4、这里附上我的搜寻蓝牙界面代码和运行图:注意,微信小程序模拟器不能使用蓝牙,最好是用真机调试。点击扫描后出现设备列表,点击想要链接的那个即可,连接失败会提示失败,成功了直接跳转主页。并显示蓝牙状态在线。我的设备是那个heart。。
<template>
	<view class="container">
		<!-- 扫描按钮 -->
		<button @tap="startScan">扫描设备</button>

		<!-- 设备列表 -->
		<view class="device-list">
			<view v-for="(device, index) in devices" :key="index" class="device-item" @tap="connectDevice(device)">
				<text>{{ device.name || '未知设备' }}</text>
				<text>{{ device.deviceId }}</text>
			</view>
		</view>

		<!-- 连接状态 -->
		<view class="status">
			<text v-if="connectedDevice">已连接设备: {{ connectedDevice.name }}</text>
			<text v-else>未连接设备</text>
		</view>
	</view>
</template>

<script>
export default {
	data() {
		return {
		  devices: [], // 扫描到的设备列表
		  connectedDevice: null, // 当前连接的设备
		};
	},
	methods: {
		// 开始扫描设备
		startScan() {
			let that=this;
			that.devices = []; // 清空设备列表
			uni.openBluetoothAdapter({
				success(res) {
					console.log("蓝牙适配器初始化成功", res);
					uni.startBluetoothDevicesDiscovery({
						success: (res) => {
							console.log('开始扫描', res);
							that.listenDevices();
						},
						fail: (err) => {
							console.error('扫描失败', err);
						},
					});
				},
				fail(err) {
					console.error("蓝牙初始化失败", err);
				}
			});
		},
		// 监听发现的设备
		listenDevices() {
			uni.onBluetoothDeviceFound((res) => {
				const device = res.devices[0];
				if (device && !this.devices.some((d) => d.deviceId === device.deviceId)) {
					this.devices.push(device); // 添加到设备列表
				}
			});
		},

		// 连接设备
		connectDevice(device) {
			uni.createBLEConnection({
				deviceId: device.deviceId,
				success: (res) => {
					console.log('连接成功', res);
					this.connectedDevice = device;
					uni.setStorageSync("deviceId",device.deviceId);//将蓝牙id存入缓存
					console.log("deviceId:"+uni.getStorageSync("deviceId"));//打印
					uni.stopBluetoothDevicesDiscovery();//停止扫描附近蓝牙
					uni.showToast({ title: '连接成功', icon: 'success' });
					uni.reLaunch({
						url:'/pages/index/index?state=true'
					})
				},
				fail: (err) => {
					console.error('连接失败', err);
					uni.showToast({ title: '连接失败', icon: 'none' });
				},
			});
		},
	},
};
</script>

<style>
.container {
  padding: 20px;
}

.device-list {
  margin-top: 20px;
}

.device-item {
  padding: 10px;
  border-bottom: 1px solid #eee;
}

.status {
  margin-top: 20px;
  font-size: 16px;
  color: #333;
}
</style>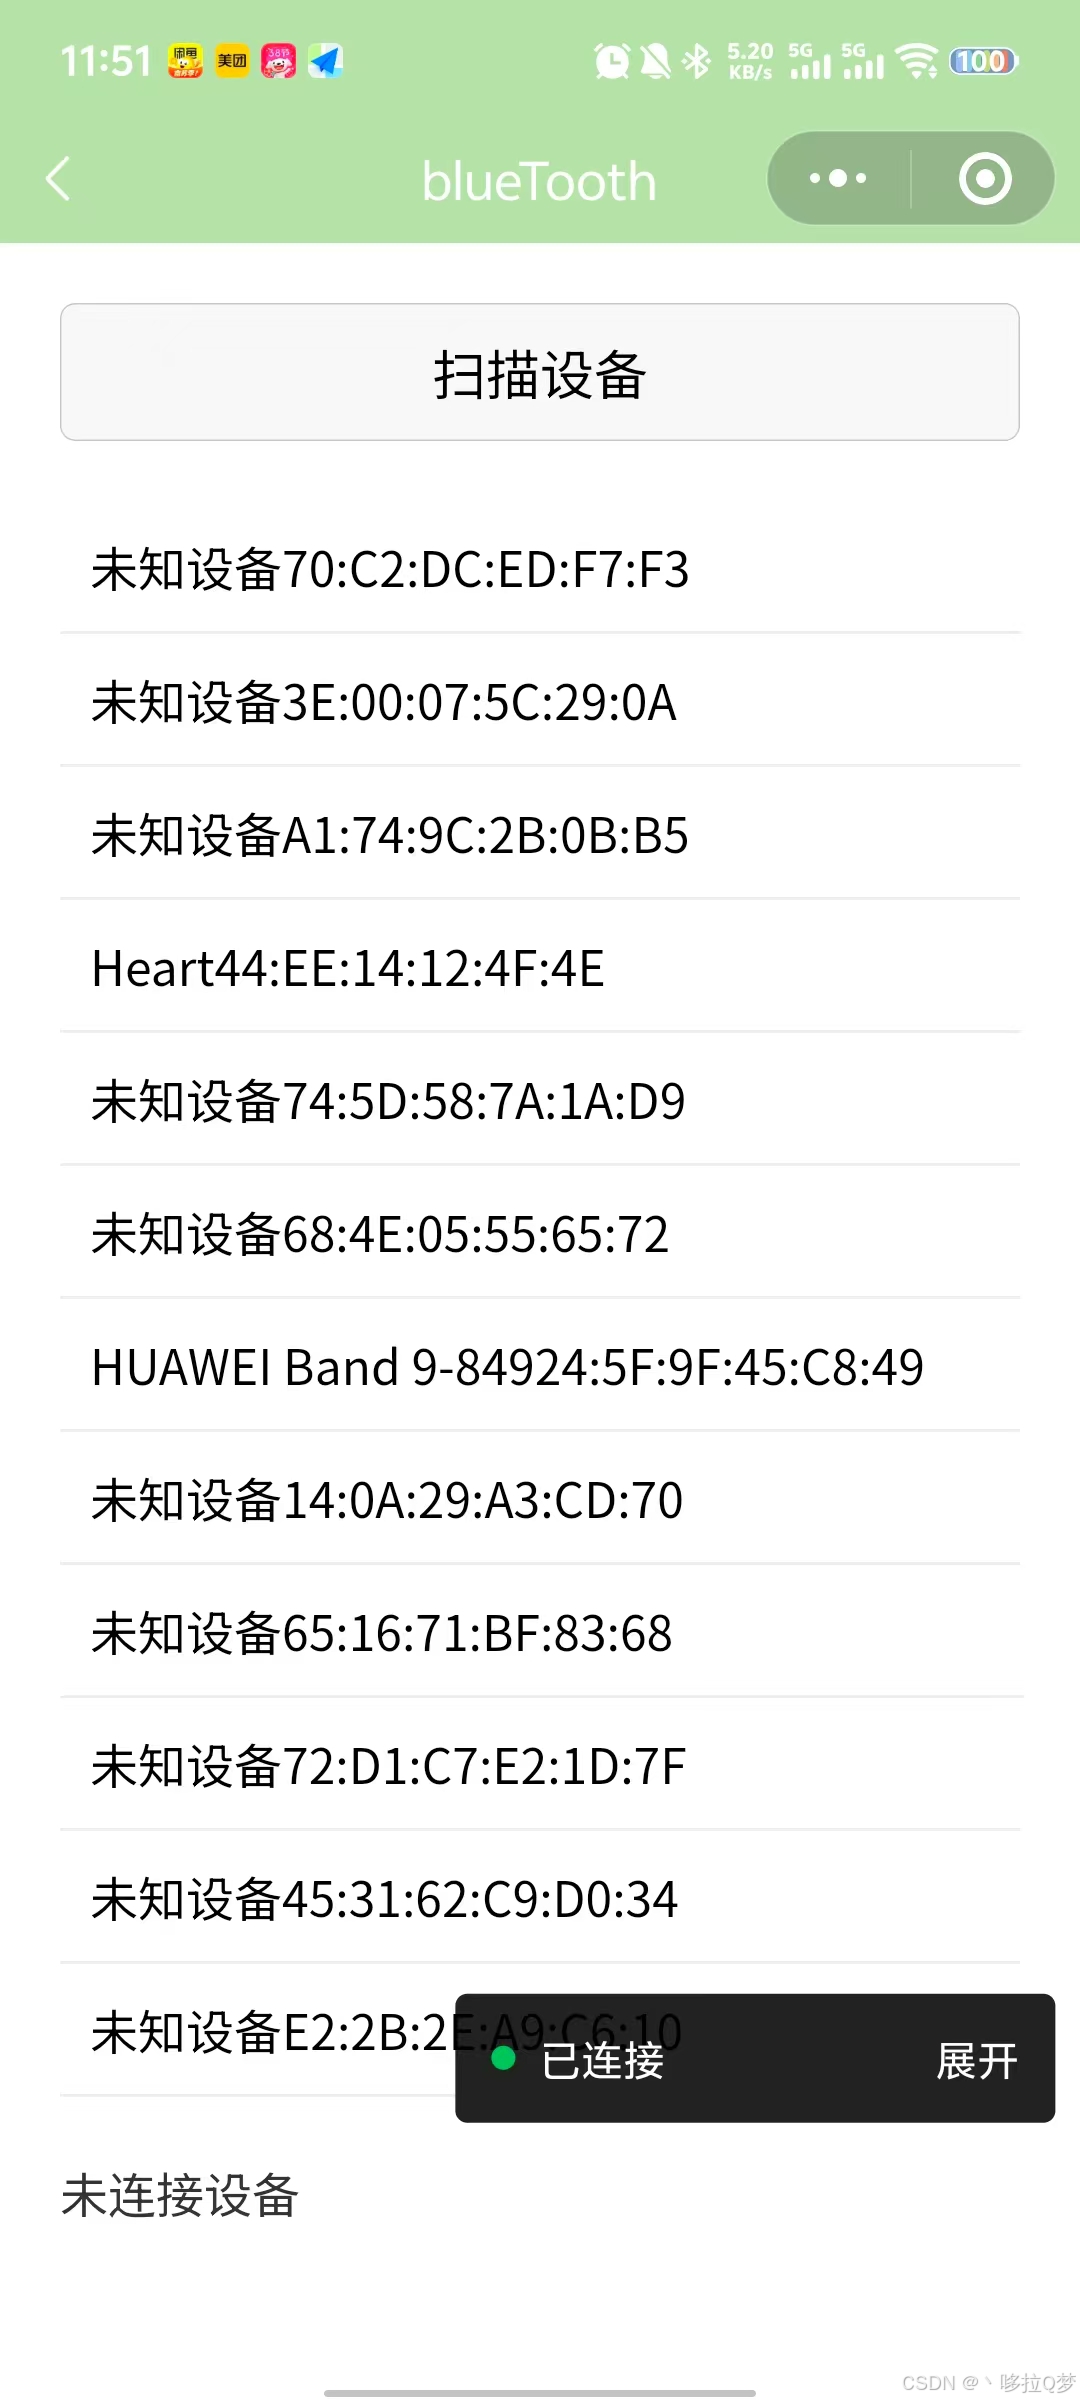
5、在主页中获取缓存中的deviceId(deviceId:44:EE:14:12:4F:4E),使用getBLEDeviceServices方法获取蓝牙设备所有服务(注意这里蓝牙服务不止一个,但是只有固定的那个服务才能使用,我这里的服务是用“0000FFE0-0000-1000-8000-00805F9B34FB”这一个,其他的有部分也可以连上但是连上了收发不了信息,也就是下面监听设备失败,踩过的第二坑)
getDeviceId(){
				// 获取缓存中的 deviceId
				const deviceId = uni.getStorageSync("deviceId");
				// 判断 deviceId 是否为空
				if (deviceId) {
					// 如果 deviceId 不为空,进行赋值操作
					// console.log("从缓存中获取的 deviceId:", deviceId);
					this.deviceId=deviceId;//赋值
					this.onlineState="在线";
					uni.getBLEDeviceServices({
					    deviceId: deviceId,
					    success: (res) => {
					      // console.log("设备服务列表:", res.services);
					      // const serviceId = res.services[0].uuid; // 获取第一个服务
						  // this.serviceId=serviceId;//赋值
					      this.getBLECharacteristics(deviceId, this.serviceId);
					    },
					    fail: (err) => {
					      console.error("获取服务失败", err);
					    }
					});
				} else {
					// 如果 deviceId 为空,执行其他逻辑
					console.log("缓存中没有 deviceId");
				}
			},
可以看到服务的uuid有好几个,小编最开始用的是第二个(0000FFF0-0000-1000-8000-00805F9B34FB),以至于后面调试了很久也没有成功。最后换了第三个才成功的,大家写的时候可以去问问硬件贩子,用哪个,不然只有自己测试哪个能用了。

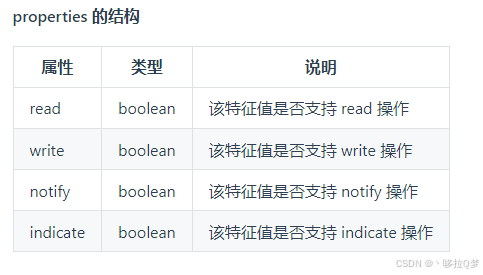
6、获取设备的特征值:上面的方法调用这个方法实现获取设备的特征值,根据上面使用的不同uuid所得到的特征值不唯一,例如小编最开始使用的那个得到的特征值就有5个

然后这下面5个特征值都测试过了,用不上并且还需要检查properties的属性是true还是flase
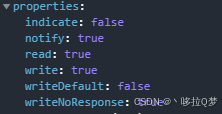
由于上面使用的serviceId错误导致后面一系列的问题。以下是完整代码,使用的是正确的那个serviceId,得到的特征值只有一个。可以直接拿到,走到这就可以进行接下来的流程,前提是拿到正确的serviceId。踩过的第三坑。
getBLECharacteristics(deviceId, serviceId){ //获取设备的特征值
				uni.getBLEDeviceCharacteristics({
				    deviceId: deviceId,
				    serviceId: serviceId,
				    success: (res) => {
						console.log("特征值列表:", res.characteristics);
				        this.writeCharacteristicId = res.characteristics[0].uuid; // 记录可写特征值
						const data="123456";
						this.sendData(deviceId,serviceId,this.writeCharacteristicId,data)
				        this.startNotify(deviceId, serviceId, res.characteristics[0].uuid);//监听特征值
				    },
				    fail: (err) => {
				      console.error("获取特征值失败", err);
				    }
				});
			},
7、监听设备返回的数据:这里通过notifyBLECharacteristicValueChange方法启用低功耗蓝牙设备特征值变化时的 notify 功能,订阅特征值。注意:必须设备的特征值支持 notify 或者 indicate 才可以成功调用。 另外,必须先启用 notifyBLECharacteristicValueChange 才能监听到设备 characteristicValueChange 事件。此外返回的数据也使用方法进行转换格式。
ab2hex(buffer) {// ArrayBuffer转16进度字符串示例
				const hexArr = Array.prototype.map.call(
					new Uint8Array(buffer),
					function (bit) {
						return ('00' + bit.toString(16)).slice(-2)
					}
				)
				return hexArr.join('')
			},
			hexCharCodeToStr(hexCharCodeStr) {// 将16进制的内容转成我们看得懂的字符串内容
			    var trimedStr = hexCharCodeStr.trim();
			    var rawStr = trimedStr.substr(0, 2).toLowerCase() === "0x" ? trimedStr.substr(2) : trimedStr;
			    var len = rawStr.length;
			    if (len % 2 !== 0) {
					console.log("存在非法字符!");
					return "";
			    }
			    var curCharCode;
			    var resultStr = [];
			    for (var i = 0; i < len; i = i + 2) {
					curCharCode = parseInt(rawStr.substr(i, 2), 16);
					resultStr.push(String.fromCharCode(curCharCode));
			    }
			    return resultStr.join("");
			},
			startNotify(deviceId, serviceId, notifyId) {//监听设备返回的数据
				uni.notifyBLECharacteristicValueChange({
					deviceId: deviceId,
					serviceId: serviceId,
					characteristicId: notifyId,
					state: true,
					success: (result) => {
						// console.log("notifyId:",notifyId)
						// console.log("开启监听成功", result);
						this.read(deviceId, serviceId, notifyId)
						uni.onBLECharacteristicValueChange((res) => {
							// console.log("res:",res);
							let resHex = this.ab2hex(res.value)
							let result = this.hexCharCodeToStr(resHex)
							console.log("收到 JSON 数据:", String(result))
						});
					},
					fail: (err) => {
						// console.log("notifyId:",notifyId)
						console.error("开启监听失败", err);
					}
				});
			},
8、发送数据到蓝牙设备:writeBLECharacteristicValue使用向低功耗蓝牙设备特征值中写入二进制数据。注意:必须设备的特征值支持 write 才可以成功调用。
sendData(deviceId, serviceId, characteristicId, data) {//发送json数据到蓝牙设备
				try {
				    // 将 JSON 转换为字符串
				    let jsonString = JSON.stringify(data);
				    console.log("发送 JSON:", jsonString);
					let buffer = new ArrayBuffer(jsonString.length); // 每个字符占用2个字节
					let bufView = new Uint8Array(buffer);
					for (let i = 0; i < jsonString.length; i++) {
						bufView[i] = jsonString.charCodeAt(i);
					}

				    // 发送数据
				    uni.writeBLECharacteristicValue({
						deviceId: deviceId,
						serviceId: serviceId,
						characteristicId: characteristicId,
						value: buffer, // 需要传 ArrayBuffer
						success: (res) => {
							console.log("JSON 发送成功", res);
							this.read(deviceId, serviceId, characteristicId)
						},
						fail: (err) => {
							console.error("JSON 发送失败", err);
						}
				    });
				} catch (error) {
				    console.error("JSON 转换错误", error);
				}
			},
9、读取低功耗蓝牙设备的特征值的二进制数据值。注意:必须设备的特征值支持 read 才可以成功调用。发送和接收必须使用这个方法进行回调。也就是说,从你小程序向其他蓝牙设备发送指令,而这个指令分2种情况,一种是你要发送一些数据给蓝牙设备,另一种情况是你叫蓝牙设备给你发点信息。不带上这个方法就会导致你向设备发送信息,设备给你发送消息,发送成功了,收不收得到是另外一回事。(最后一个坑)
read(deviceId, serviceId, characteristicId){
				uni.readBLECharacteristicValue({
					deviceId: deviceId,
					serviceId: serviceId,
					characteristicId: characteristicId,
					success(res) {
						console.log("read指令发送成功");
					},
					fail(err) {
						console.error("read指令发送失败");
					}
				})
			}
10、主页完整代码如下:页面展示无所谓
export default {
		data() {
			return {
				title: 'Hello',
				deviceId:"",
				serviceId:"0000FFE0-0000-1000-8000-00805F9B34FB",
				writeCharacteristicId:"",// 可写特征值
				notifyCharacteristicId:"",//监听特征值
				onlineState:"离线",//蓝牙在线状态
				history:[],//血氧等历史数据
				boxHistory:[],//药品使用历史数据
				historyState:false,//历史记录遮罩层状态
				boxState:false,//药品历史记录遮罩层状态
			}
		},
		onLoad(option) {
			if(!option.state){
				uni.removeStorageSync("deviceId");
			}
			this.getDeviceId();
		},
		methods: {
			openHistory(){//打开历史面板
				this.historyState=true;
			},
			closeHistory(){//关闭历史面板
				this.historyState=false;
				this.history=[];//置空
			},
			openBox(){//打开药品历史面板
				this.boxState=true;
			},
			closeBox(){//关闭药品历史面板
				this.boxState=false;
				this.boxHistory=[];//置空
			},
			toBuleTooth(){//跳转蓝牙链接页面
				uni.navigateTo({
					url:'/pages/bluetooth/bluetooth'
				})
			},
			getDeviceId(){
				// 获取缓存中的 deviceId
				const deviceId = uni.getStorageSync("deviceId");
				// 判断 deviceId 是否为空
				if (deviceId) {
					// 如果 deviceId 不为空,进行赋值操作
					// console.log("从缓存中获取的 deviceId:", deviceId);
					this.deviceId=deviceId;//赋值
					this.onlineState="在线";
					uni.getBLEDeviceServices({
					    deviceId: deviceId,
					    success: (res) => {
					      console.log("设备服务列表:", res.services);
					      // const serviceId = res.services[0].uuid; // 获取第一个服务
						  // this.serviceId=serviceId;//赋值
					      this.getBLECharacteristics(deviceId, this.serviceId);
					    },
					    fail: (err) => {
					      console.error("获取服务失败", err);
					    }
					});
				} else {
					// 如果 deviceId 为空,执行其他逻辑
					console.log("缓存中没有 deviceId");
				}
			},
			getBLECharacteristics(deviceId, serviceId){ //获取设备的特征值
				uni.getBLEDeviceCharacteristics({
				    deviceId: deviceId,
				    serviceId: serviceId,
				    success: (res) => {
						console.log("特征值列表:", res.characteristics);
				        this.writeCharacteristicId = res.characteristics[0].uuid; // 记录可写特征值
						const data="123456";
						this.sendData(deviceId,serviceId,this.writeCharacteristicId,data)
				        this.startNotify(deviceId, serviceId, res.characteristics[0].uuid);//监听特征值
				    },
				    fail: (err) => {
				      console.error("获取特征值失败", err);
				    }
				});
			},
			ab2hex(buffer) {// ArrayBuffer转16进度字符串示例
				const hexArr = Array.prototype.map.call(
					new Uint8Array(buffer),
					function (bit) {
						return ('00' + bit.toString(16)).slice(-2)
					}
				)
				return hexArr.join('')
			},
			hexCharCodeToStr(hexCharCodeStr) {// 将16进制的内容转成我们看得懂的字符串内容
			    var trimedStr = hexCharCodeStr.trim();
			    var rawStr = trimedStr.substr(0, 2).toLowerCase() === "0x" ? trimedStr.substr(2) : trimedStr;
			    var len = rawStr.length;
			    if (len % 2 !== 0) {
					console.log("存在非法字符!");
					return "";
			    }
			    var curCharCode;
			    var resultStr = [];
			    for (var i = 0; i < len; i = i + 2) {
					curCharCode = parseInt(rawStr.substr(i, 2), 16);
					resultStr.push(String.fromCharCode(curCharCode));
			    }
			    return resultStr.join("");
			},
			startNotify(deviceId, serviceId, notifyId) {//监听设备返回的数据
				uni.notifyBLECharacteristicValueChange({
					deviceId: deviceId,
					serviceId: serviceId,
					characteristicId: notifyId,
					state: true,
					success: (result) => {
						// console.log("notifyId:",notifyId)
						// console.log("开启监听成功", result);
						this.read(deviceId, serviceId, notifyId)
						uni.onBLECharacteristicValueChange((res) => {
							// console.log("res:",res);
							let resHex = this.ab2hex(res.value)
							let result = this.hexCharCodeToStr(resHex)
							console.log("收到 JSON 数据:", String(result))
						});
					},
					fail: (err) => {
						// console.log("notifyId:",notifyId)
						console.error("开启监听失败", err);
					}
				});
			},
			sendData(deviceId, serviceId, characteristicId, data) {//发送json数据到蓝牙设备
				try {
				    // 将 JSON 转换为字符串
				    let jsonString = JSON.stringify(data);
				    console.log("发送 JSON:", jsonString);
					let buffer = new ArrayBuffer(jsonString.length); // 每个字符占用2个字节
					let bufView = new Uint8Array(buffer);
					for (let i = 0; i < jsonString.length; i++) {
						bufView[i] = jsonString.charCodeAt(i);
					}

				    // 发送数据
				    uni.writeBLECharacteristicValue({
						deviceId: deviceId,
						serviceId: serviceId,
						characteristicId: characteristicId,
						value: buffer, // 需要传 ArrayBuffer
						success: (res) => {
							console.log("JSON 发送成功", res);
							this.read(deviceId, serviceId, characteristicId)
						},
						fail: (err) => {
							console.error("JSON 发送失败", err);
						}
				    });
				} catch (error) {
				    console.error("JSON 转换错误", error);
				}
			},
			read(deviceId, serviceId, characteristicId){
				uni.readBLECharacteristicValue({
					deviceId: deviceId,
					serviceId: serviceId,
					characteristicId: characteristicId,
					success(res) {
						console.log("read指令发送成功");
					},
					fail(err) {
						console.error("read指令发送失败");
					}
				})
			}
		}
	}
四. 配套资料
可以根据官方文档查询上述方法的使用说明,地址如下:uni-app官网
在蓝牙和低功耗蓝牙模块,配合使用。
五. 个人总结
上述代码大部分是根据小编的使用逻辑编写,部分工具方法是借鉴AI和其他小编的方法,没有其他商用,纯属个人开发经验分享。喜欢的点个赞,后期不定期更新学习方法。哈哈哈哈哈哈哈哈,有问题可以在底下评论或者私信,我看到了都会回答的哦~


 2879
2879

 被折叠的 条评论
为什么被折叠?
被折叠的 条评论
为什么被折叠?
 到【灌水乐园】发言


